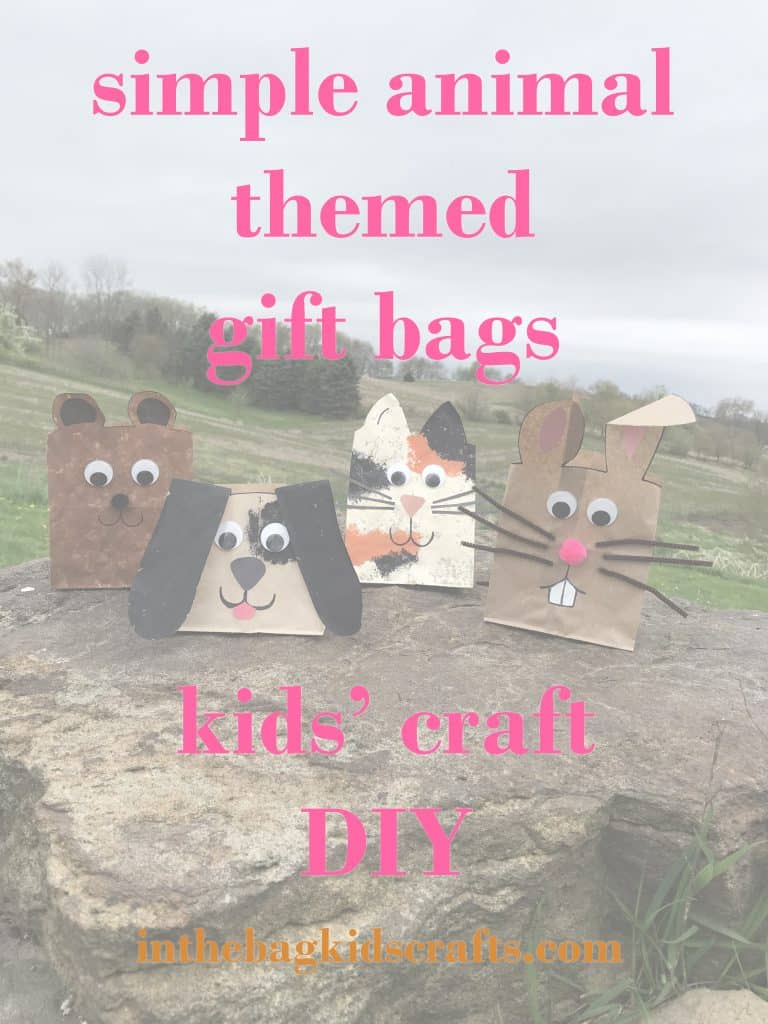
Animal Gift Bag Kids’ Craft

When I was in kindergarten I was invited to an epic birthday party. It was summer in PA, and the weather was finally nice enough to play outside. Not only was it nice enough to play outside, it was warm enough to get wet and enjoy it. At this particular party, the hosts took full advantage (thank you Heather’s mom! You were always full of good ideas). We didn’t just do the usual pool thing or your standard slip and slide. Instead, we were all instructed to get in our bathing suits and were each given a pot of finger paint. Then we just went crazy painting each other while the sprinklers and hoses were in full force to clean us right off. Now, in this day and age, I don’t know that a party like that would be very PC (Hey, man, it was the 80’s. And we were just kindergarteners! Get your mind out of the gutter.) Since that might be off the table (you do you), we might need to come up with some other ideas. This project is a step in the right direction. After all, these days the goody bags MAKE the party. In this case, you can even include the CREATING of the goody bags as a fun party activity. Let’s make your next kids’ party epic!
If you don’t have a special event coming up, these adorable animal designed paper bags can be used to hold any number of things…paper clips or pencils on your desk, hair ties on top of the dresser, actual treats for your pet (pictured on the front of the bag, of course), cotton balls in the bathroom…you get the idea. Making them is only half the fun. Enjoying these little bits of happiness placed around your home is an added bonus.
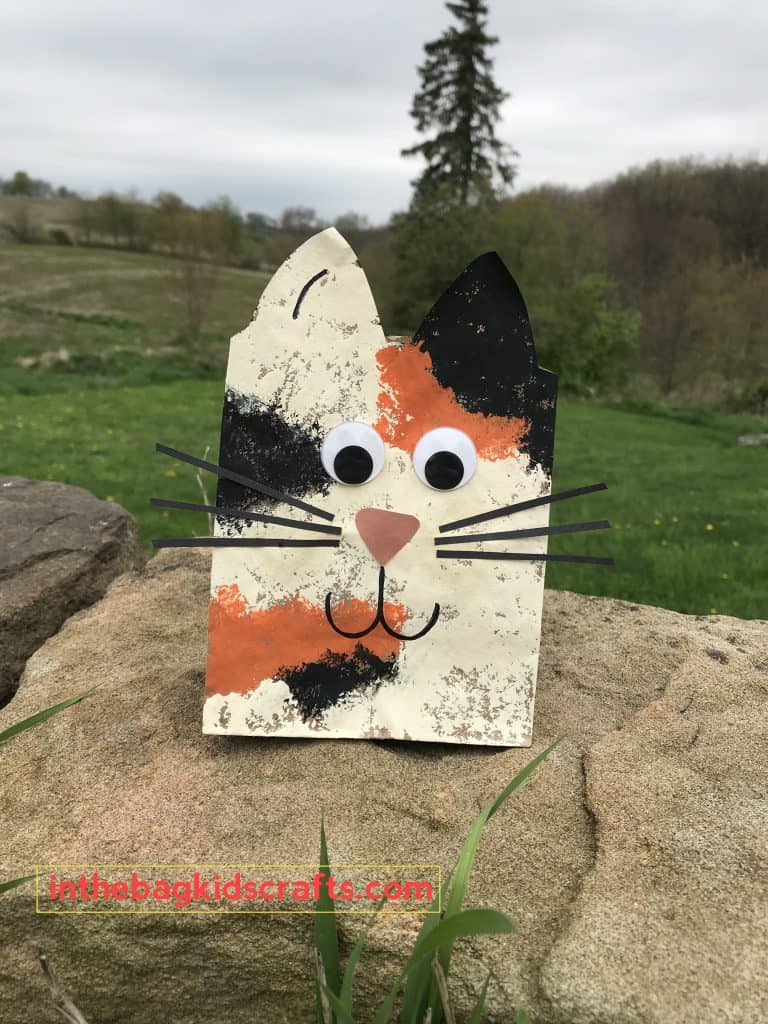
Today, let’s make the kitty gift bag…
A cat party sounds like just thing! As a matter of fact, I have come across the perfect song to go with this theme. Check it out HERE
SUPPLIES FROM THE BAG
- Paper bag
- Assorted paints (Cat pictured: Brown, black, cream)
- Scissors
- Black Sharpie marker
- 2 large wiggly eyes
- Elmer’s glue
- Scraps of black and brown construction paper
- Glue stick
- Paper plate
- Clothespin(s)
- Pompom(s)-medium
STEP 1
- Use the black sharpie to draw cat ears on the bag as pictured.

STEP 2
- Cut along the black line
- Trim the excess off the side and back of the bag so that there is a flat top everywhere except on the front (where you see the ears).

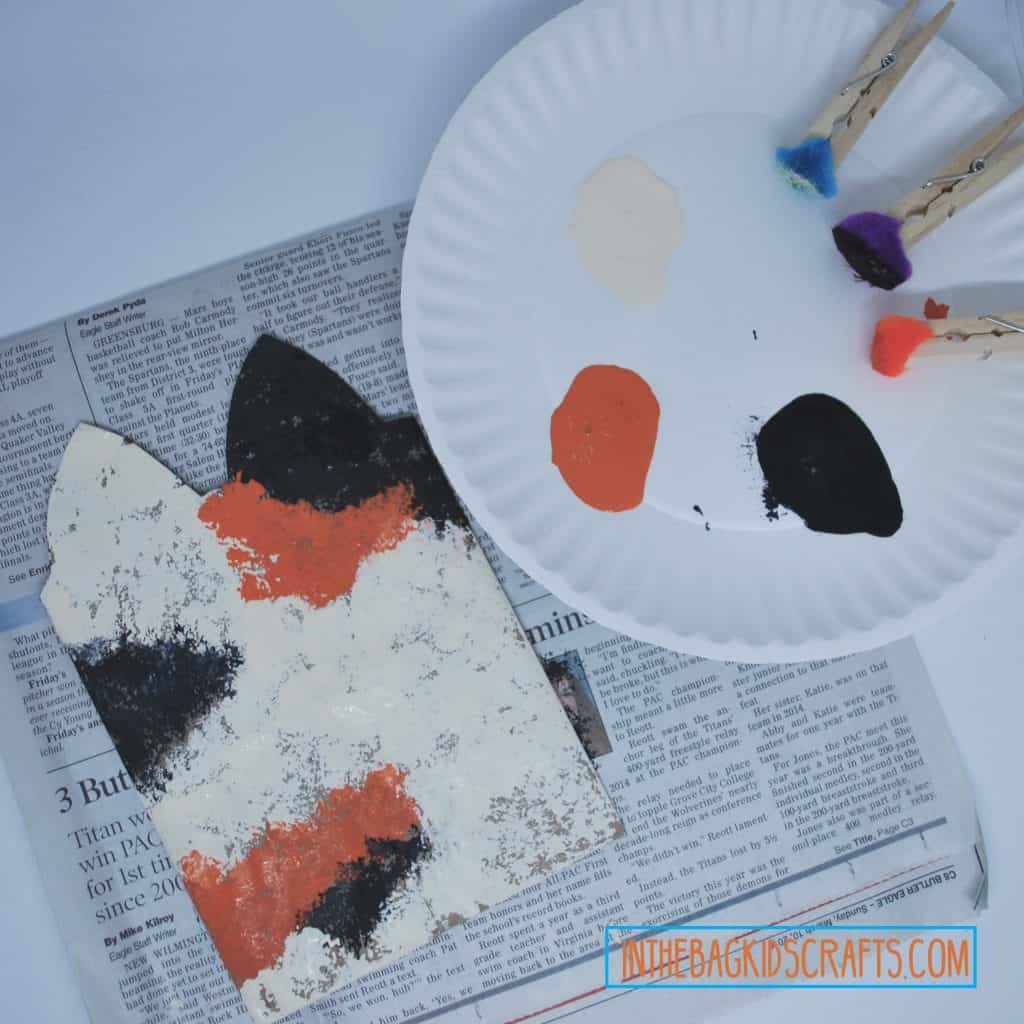
STEP 3
- Pinch a pompom (medium) with the clothespin to form a “paint brush” for each paint
- Squeeze a dab of paint for each color that is to be used on the paper plate
- Paint the cat’s fur as desired. Use your imagination! There are not rules. Your cat could be purple with pink polka dots. Or it could look like your own little kitty.
- Just dab on a light coat of paint (not too thick)
- Allow the paint to dry
STEP 4
- Cut thin strips of black construction paper for whiskers
- Cut a triangle with rounded corners out of brown construction paper (or another color if you prefer) for the nose
- Use the glue stick to secure whiskers and nose
- Use the Elmer’s glue to secure that wiggly eyes

STEP 5
- Use the black sharpie marker to draw on a mouth
- Draw a small curve on each ear with the black sharpie marker
- Open up the bag and fill it with goodies of your choice

Save this for later by pinning it to your favorite board!

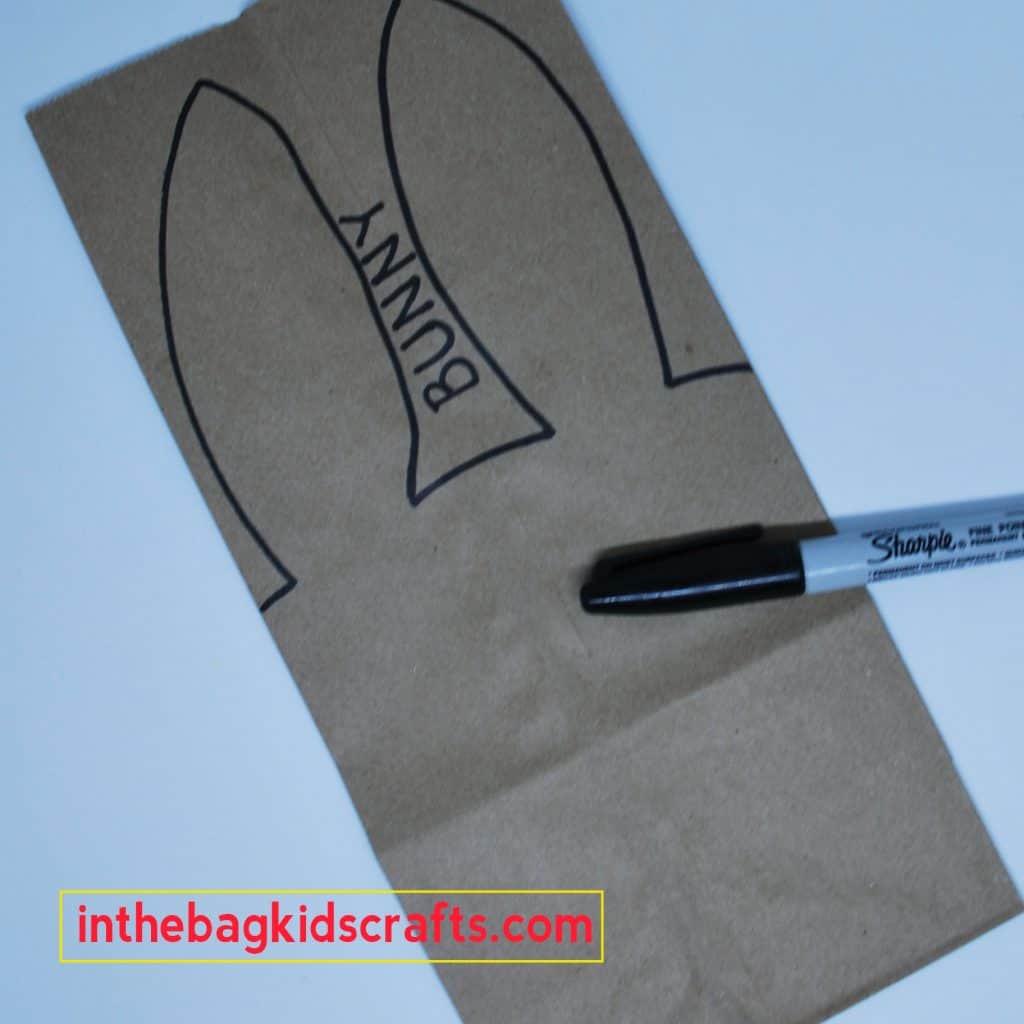
Project 2: Rabbit Gift Bag

SUPPLIES FROM THE BAG
- Paper bag
- 2 large Googly eyes
- Elmer’s glue
- 2 Pipe cleaners
- White paint
- Q-tip
- Black Sharpie marker
- Glue stick
- 2 scraps of pink construction paper
- Medium or small pink pompom
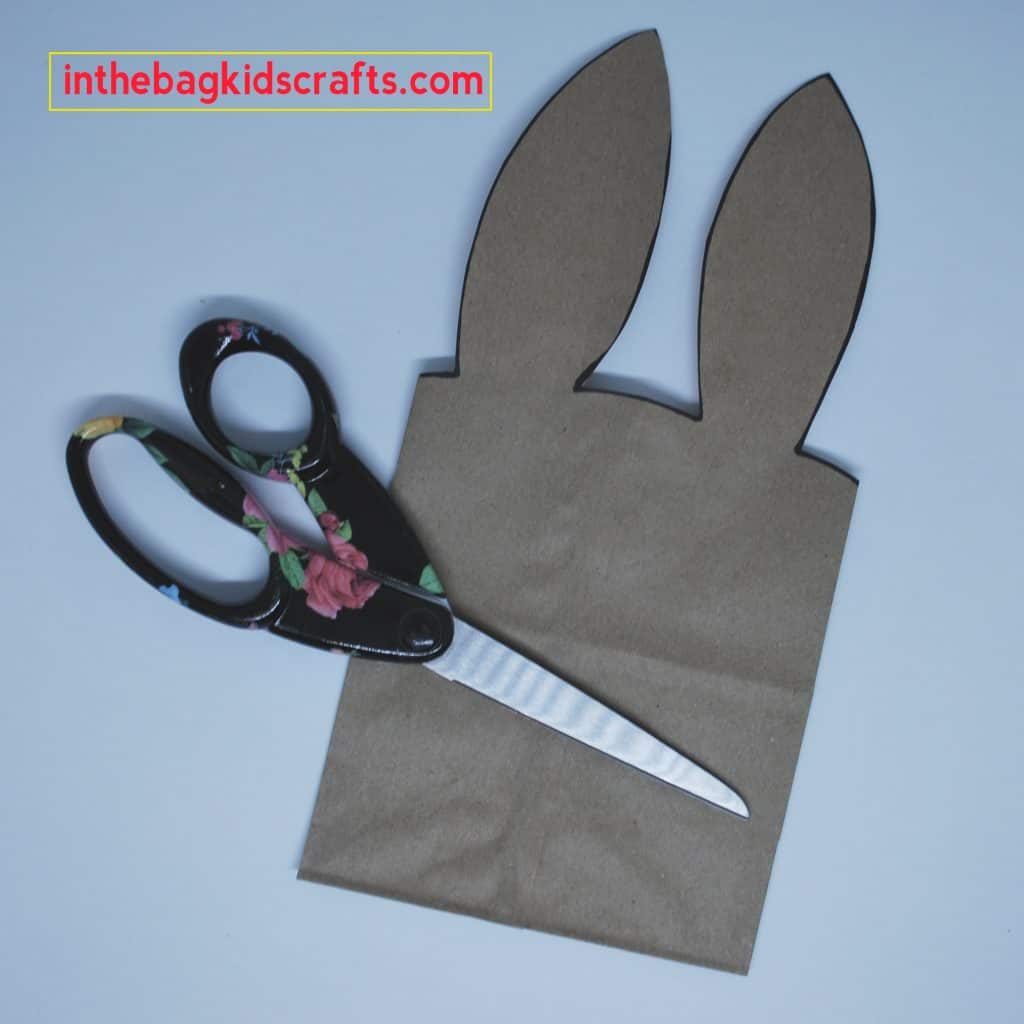
Step 1
- Use the black sharpie marker to draw bunny ears on the upper half of the paper bag
Step 2
- Cut out the ears with the bag laying flat, cutting through all layers
- Trim the sides and back of the bag so that the ears are only showing on the front side and other sides are straight across.
Step 3
- Glue the pink pompom in the center of the bunny’s face
- Cut each pipe cleaner into three pieces
- Use the Elmer’s glue to glue on pipe cleaners for whiskers
- Glue the large googly eyes in place
- Allow glue to dry before moving on to next step
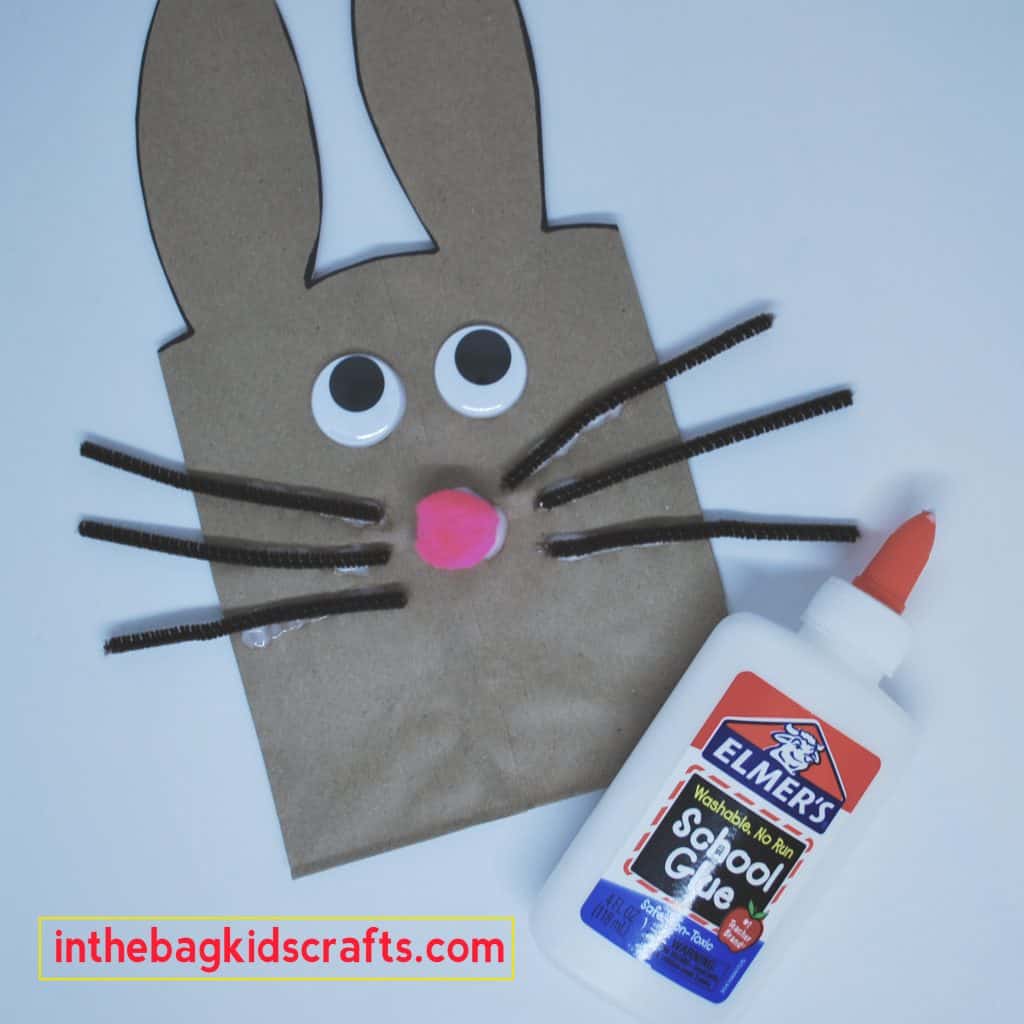
Step 4
- Cut 2 oblong pieces out of pink construction paper
- Use glue stick to adhere in middle of each ear

Step 5
- Use the q-tip to paint a tooth…a sort of house shape…about 1 inch below the nose
- Allow the paint to dry

Step 6
- Use the black sharpie to draw on a mouth and add details to the tooth
- Open the bag up to full size and fill with goodies

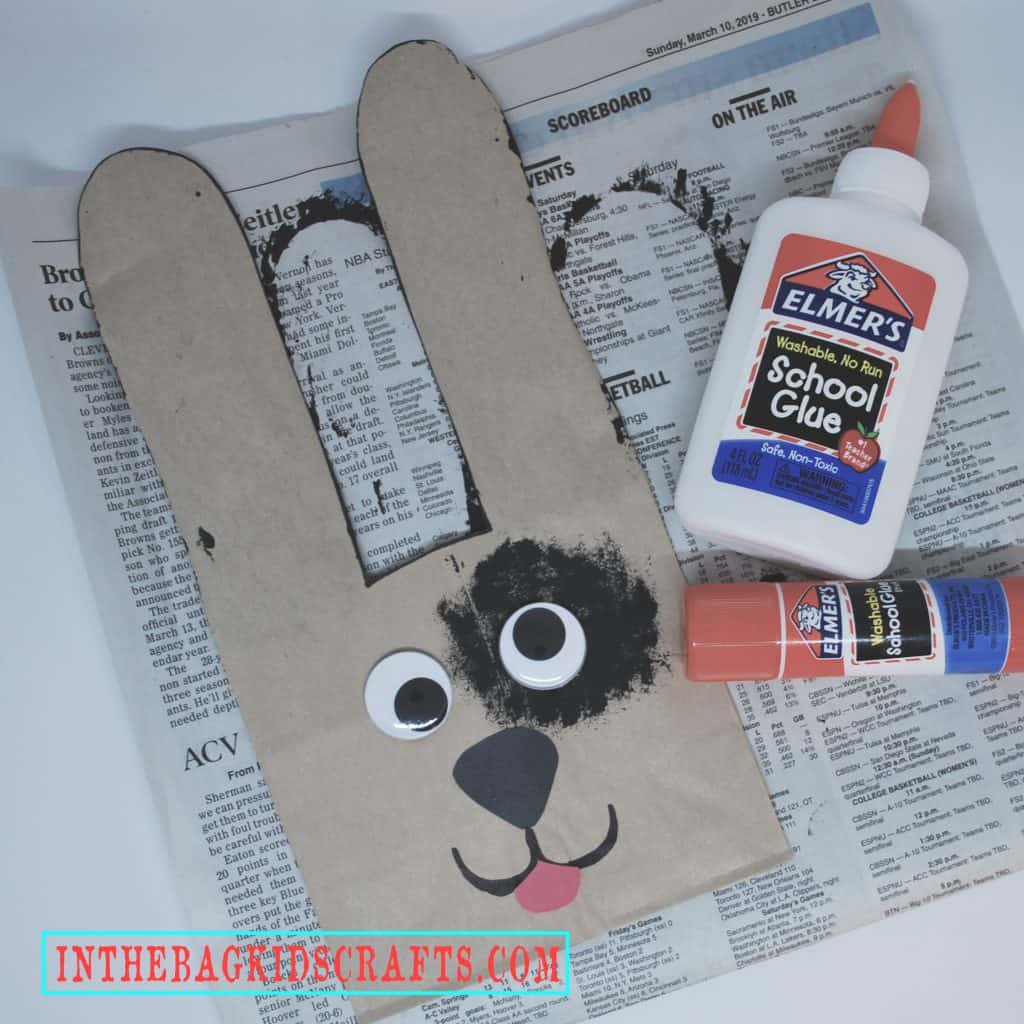
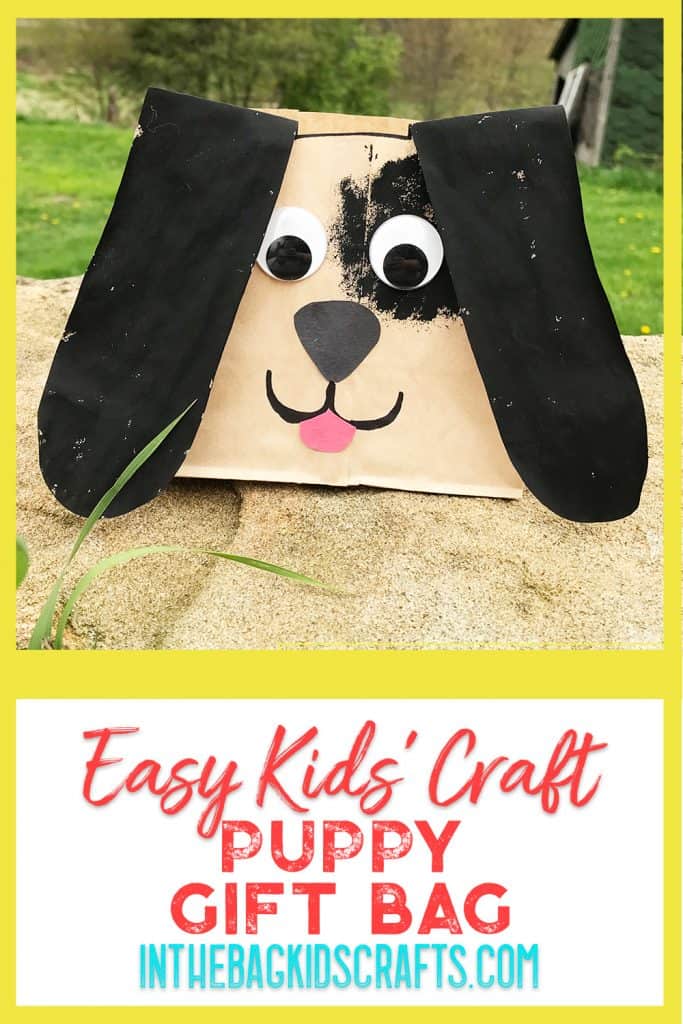
Project 3: Puppy Dog Gift Bag

SUPPLIES FROM THE BAG
- Brown paper bag
- 2 large googly eyes
- Elmer’s glue
- Black paint
- Scraps of black and red construction paper
- Glue stick
- Black Sharpie marker
- Pompom (medium-any color)
- Paper plate
- Newspaper
- Clothespin
Step 1
- Draw long rounded dog ears on top half of paper bag

Step 2
- Cut out the ears with the bag flat
- Trim the excess from the sides and back of the bag, leaving a flat edge on all sides except the front

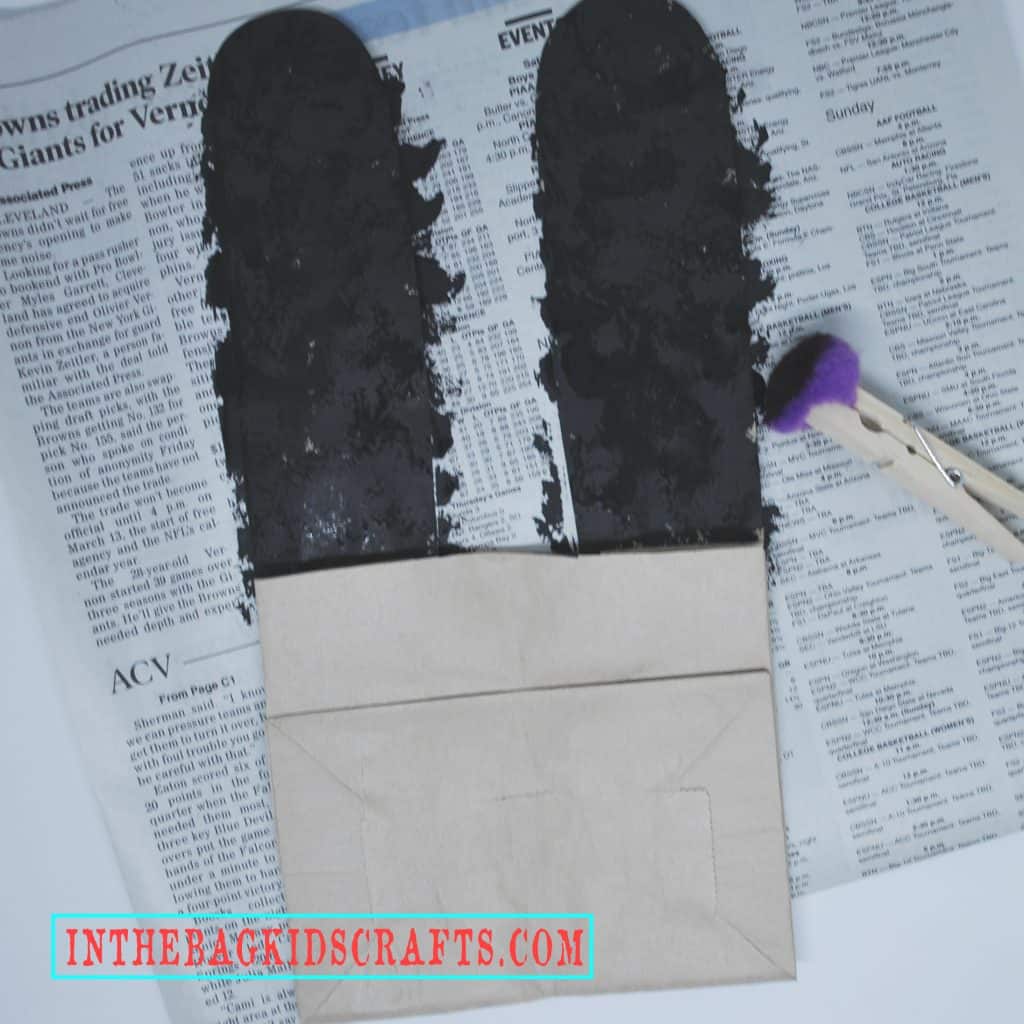
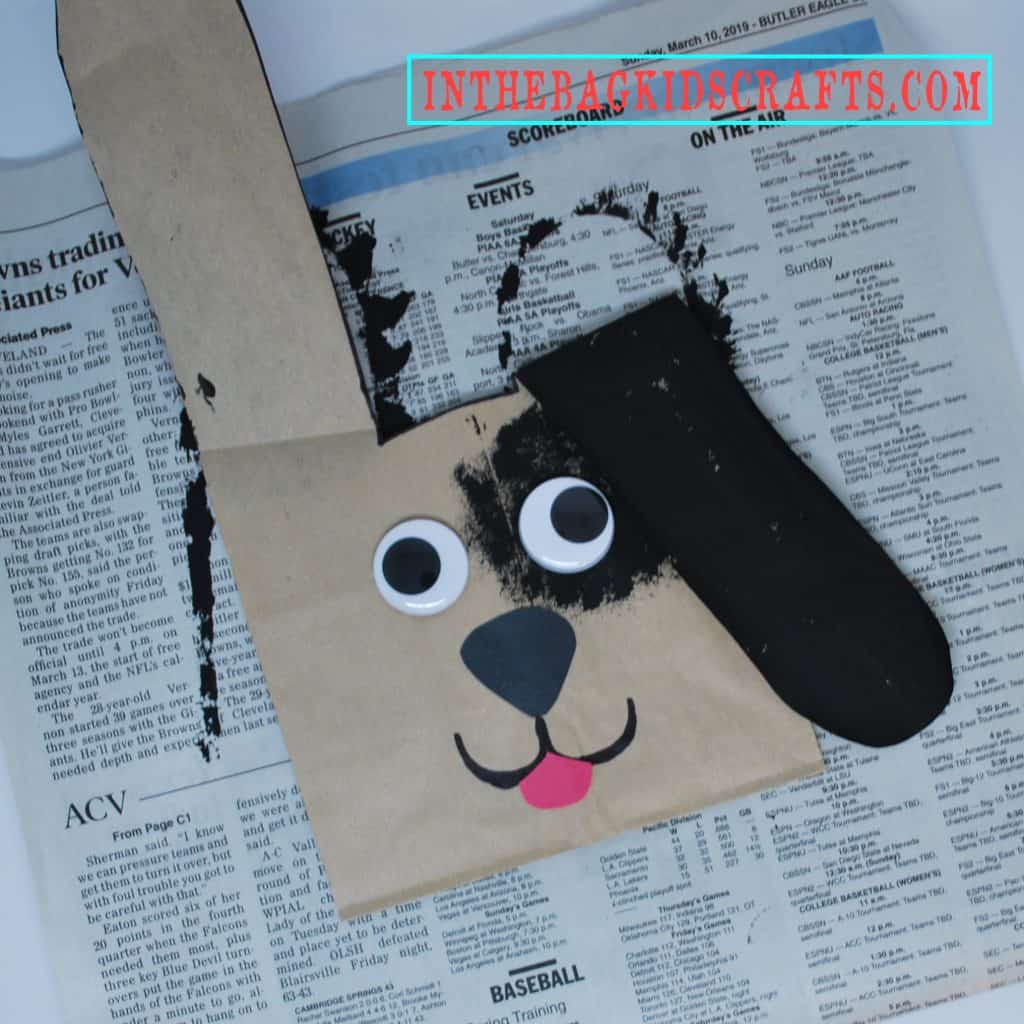
Step 3
- Pinch the pompom in the clothespin to create a “paint brush”
- With the bag lying on the newspaper, face down, paint the back of the puppy ears black. Put the paint on in a thin layer
- Allow the paint to dry
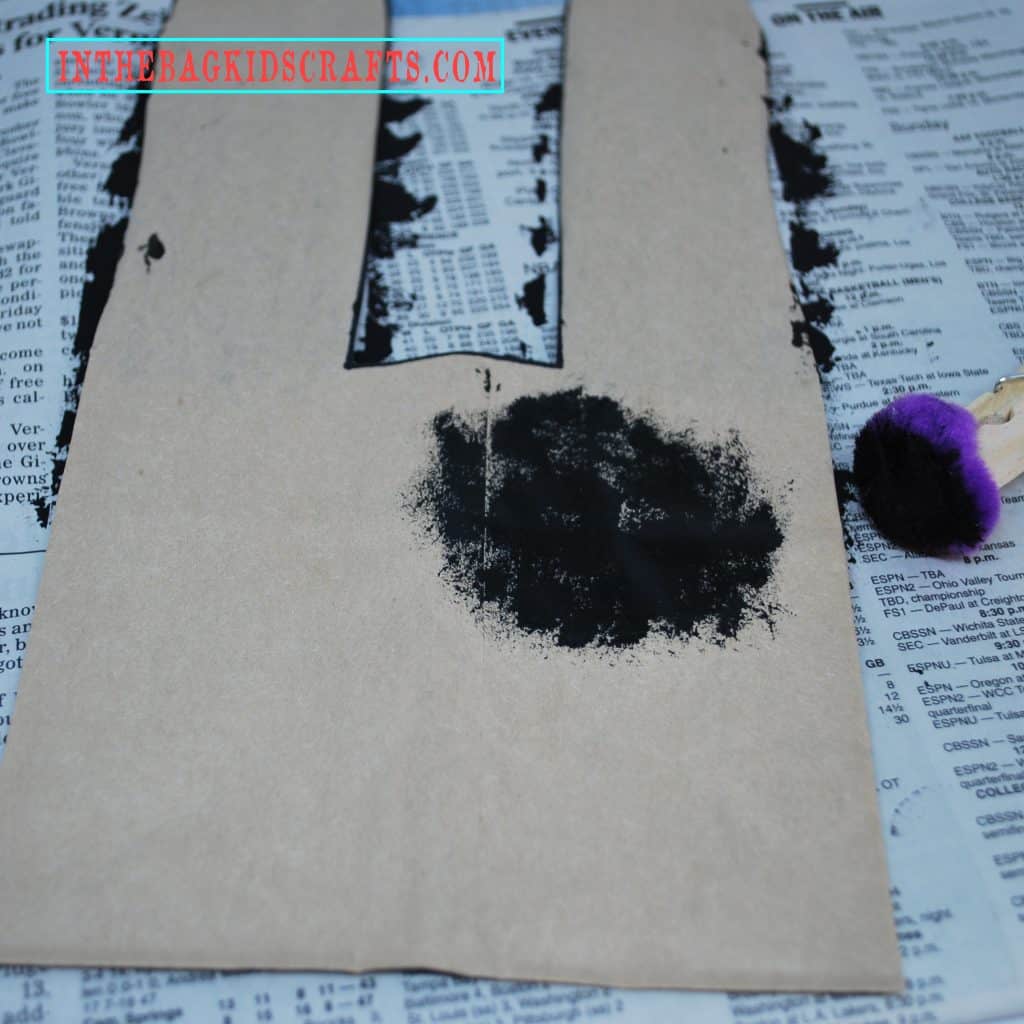
Step 4
- On the front of the bag, paint a small patch of black using the clothespin and pompom “paint brush”
- Allow the paint to dry
Step 5
- Cut a tongue from the red construction paper and a nose from the black scrap of paper
- Use the glue stick to adhere the nose and tongue
- Glue on the large googly eyes
- Use the sharpie to draw in the mouth
Step 6
- Fold the ears down at a slight angle so that the face is still visible
- Open the bag up and fill with whatever your little heart desires
Save this project for later…pin it to your favorite board!
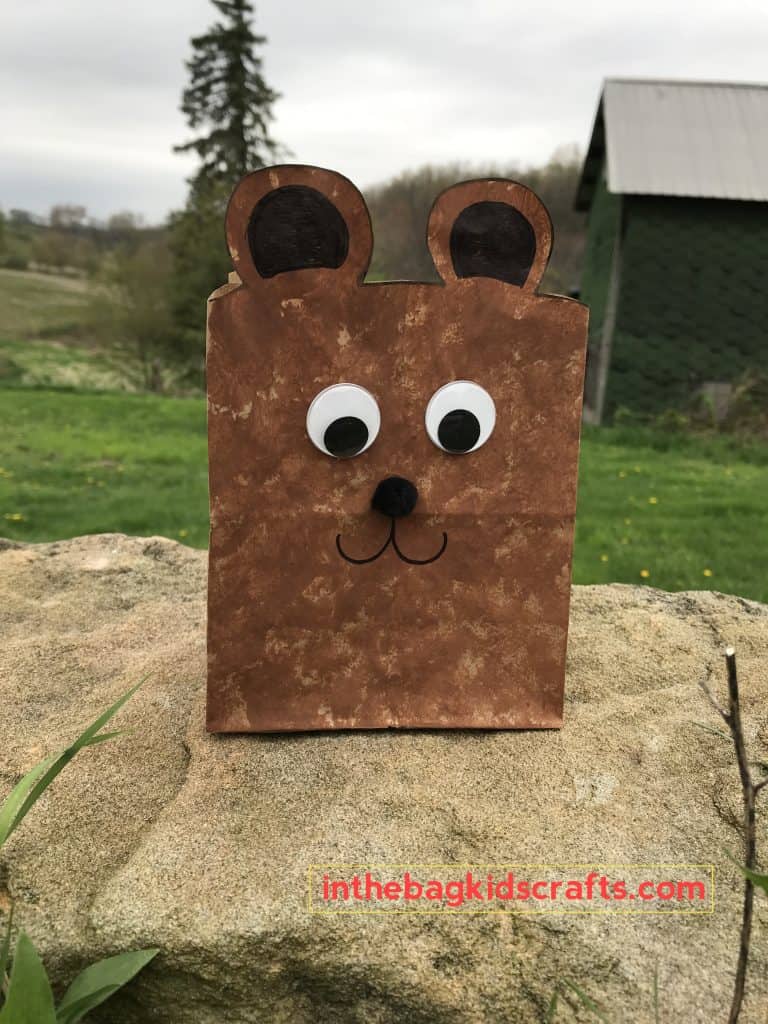
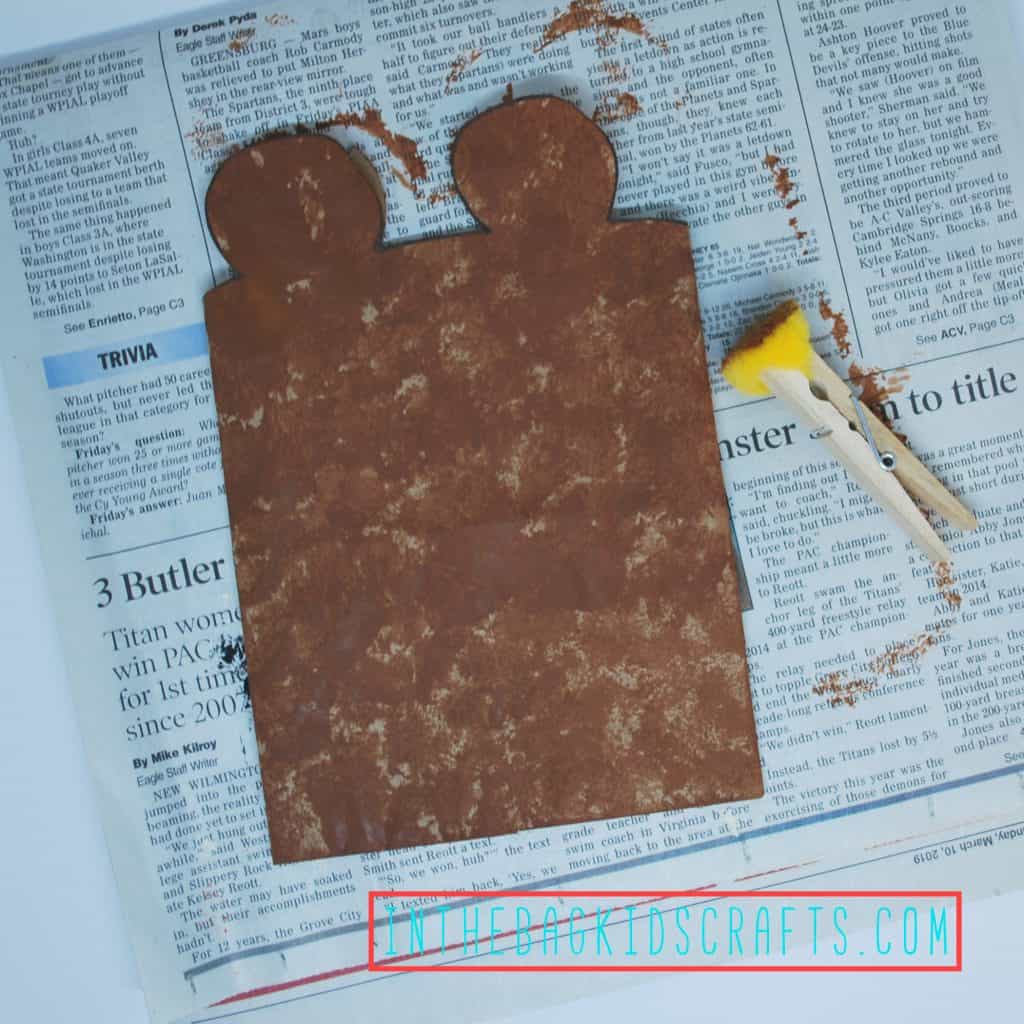
Project 4: Bear Gift Bag
SUPPLIES FROM THE BAG
- Paper bag
- Brown paint
- Newspaper
- Medium pompom of any color
- Clothespin
- 2 large googly eyes
- Elmer’s glue
- Small or medium black pompom
- Black sharpie marker
Step 1
- Draw bear ears about half way up on the front of the paper bag

Step 2
- Cut the ears out
- Trim the excess off of the sides and back of the bag, making a straight edge

Step 3
- Pinch the medium pompom (not black) with the clothespin to form a “paint brush”
- Place the project on a piece of newspaper
- Tap paint the front of the paper bag using the brown paint. Put the paint on in a light layer.
- Allow paint to dry
Step 4
- Using the Elmer’s glue, adhere the googly eyes on
- Glue the black pompom on for a nose
- Allow the glue to dry
- Use the black sharpie to draw on a mouth and add other details as desired
- Open the bag and fill it with goodies

Liked this project? Revisit it by pinning it to your favorite board!


