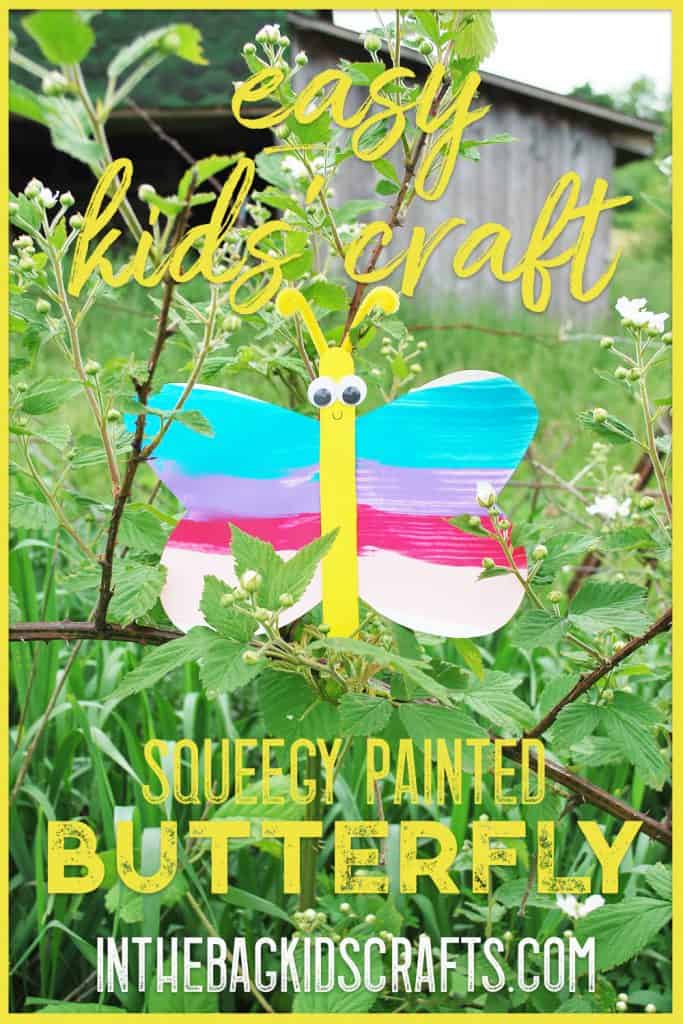
DIY Squeegy Painted Butterfly Kids Craft
The painting technique used for this butterfly kids’ craft is fun and strangely soothing. You will want to squeegy paint everything once you try it. As a matter of fact, after you make this beautiful butterfly craft, why not try it on other projects. Maybe make a rainbow colored squeegy painted squirrel or unicorn or rainbow (thought that one was a little obvious).
Save this paper plate butterfly craft for later. Pin it to your favorite Pinterest board…
This post contains affiliate links, which means if you make a purchase through these links, I may receive a small commission at no extra cost to you. Click here to read my full disclosure policy.
SUPPLIES FROM THE BAG
- 2 Paper plates (9″ coated)
- Scissors
- Pencil
- Variety of paints
- 3 popsicle sticks
- 1 pipe cleaner
- Elmer’s glue
- 2 small googly eyes
- Glue stick
- Clothespin
- Medium pompom
- Butterfly Craft Template
*If you are new to this blog, let me bring you up to speed. To save you time and energy when wanting to do hands-on activities with your kiddos, I have created a finite list of supplies to fill your bag. Once your bag is loaded up you will be able to craft along and make every single project on this blog. Easy Peasy. Go HERE to get the list.
Step 1: Make the Butterfly Wings
- Draw a butterfly wing as large as will fit on the plate
- Cut out the wing that you have drawn
- Trace the butterfly wing that you have cut out onto the other paper plate
- Then, cut out the second butterfly wing
- OR…use the printable template for the butterfly wings
Step 2: Squeegy Paint the Paper Butterfly Wings
- Place one of the butterfly wings on a piece of newspaper
- Deposit several generous drops of paint across the straight section of one of the butterfly wings. I used 4 colors, but you can use as many or as few as you would like. Just place the drops of paint close together so that they are touching.
- Use a popsicle stick to pull the paint across the wing
- Repeat this process on the second butterfly wing, using a clean popsicle stick
- Allow the paint to dry thoroughly
Step 3: Paint the Butterfly Craft Body
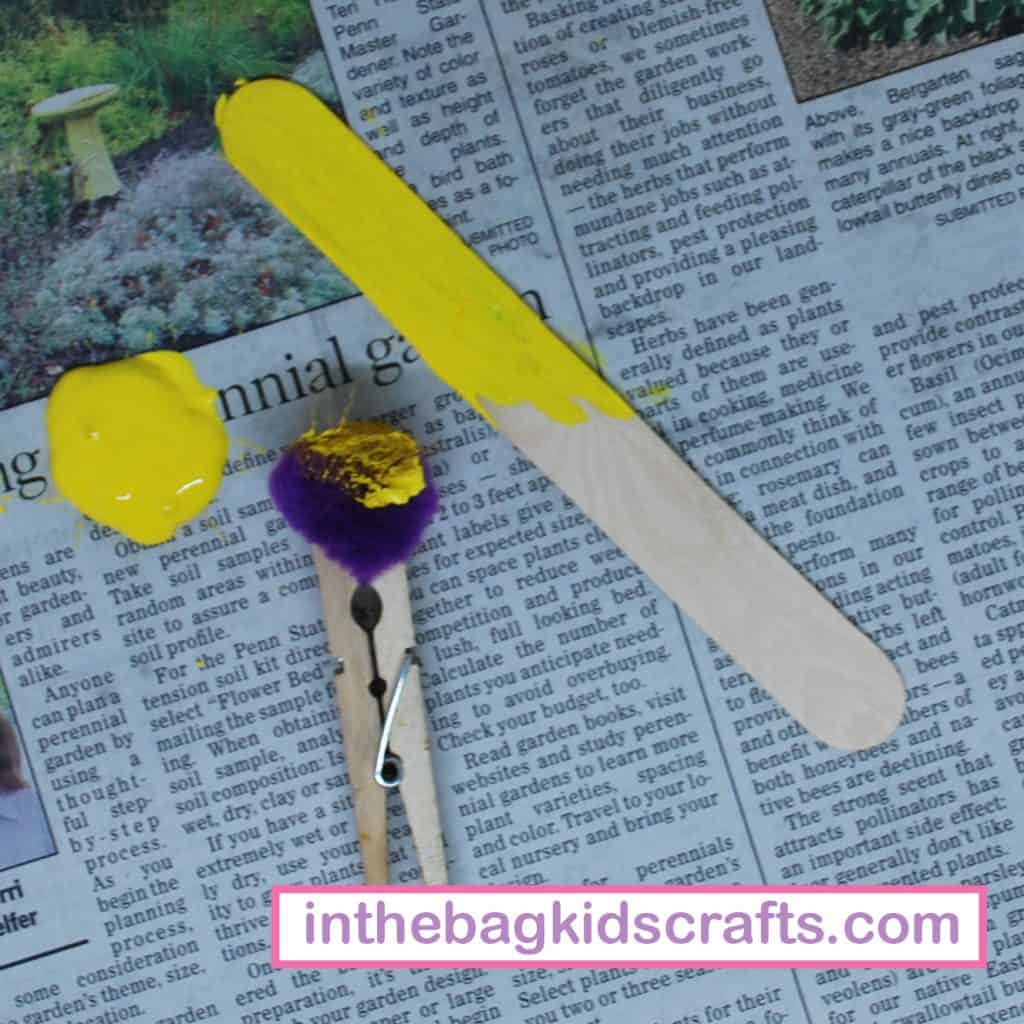
- Pinch the pompom with the clothespin to form a “paint brush”.
- Then squeeze out a little bit of paint of the color of your choice.
- Paint the popsicle stick and set it aside to give it time to dry.
*This step is optional. If you would prefer, just leave the popsicle stick natural.
Step 4: Give Your Butterfly Kids Craft Some Details
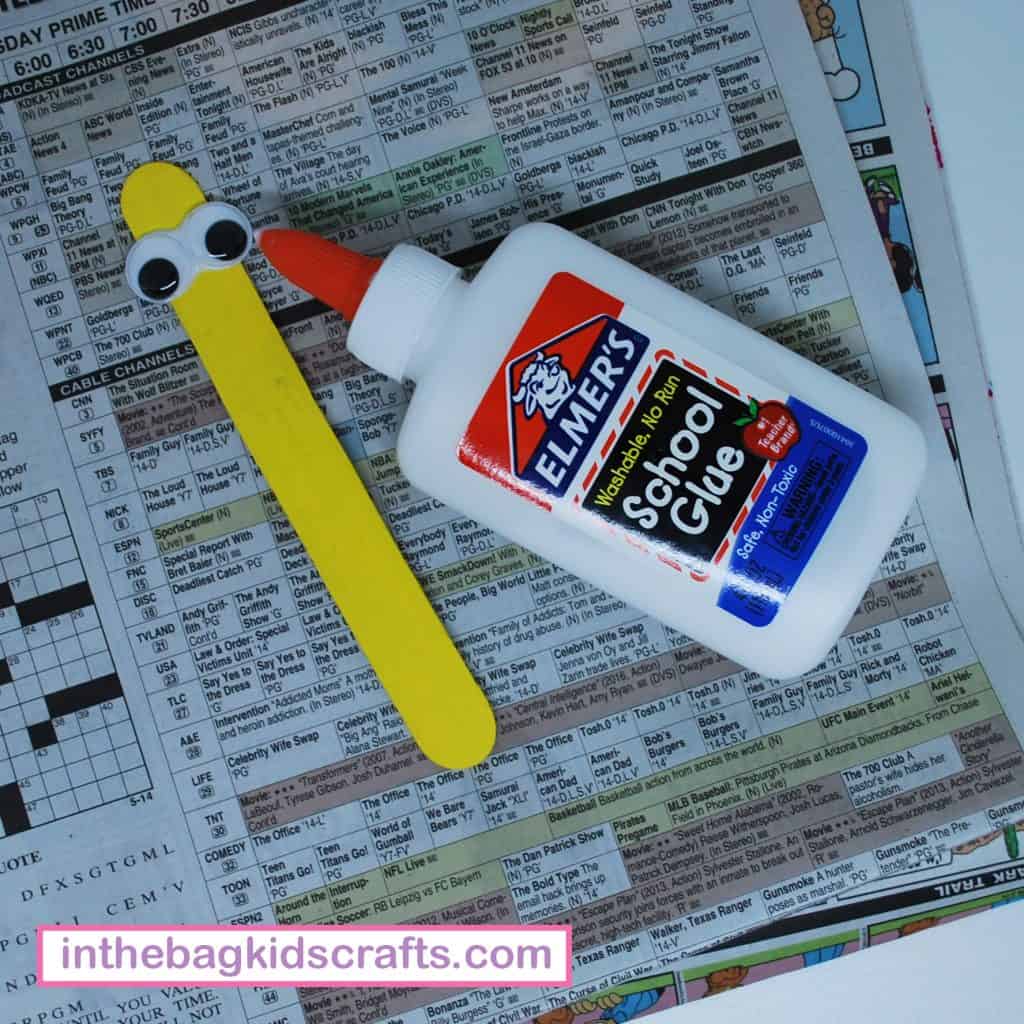
- Use the Elmer’s glue to adhere googly eyes (if they are not self-adhesive)
- Then draw on a little mouth. Your butterfly should be happy.
Step 5: Give the Paper Plate Butterfly Antennae
- Cut the pipe cleaner in half
- Fold that piece in half and curl the ends
- Glue the pipe cleaner to the back of the painted popsicle stick using Elmer’s glue
*If you do not want to wait for dry time, use tape instead to attach the antennae.
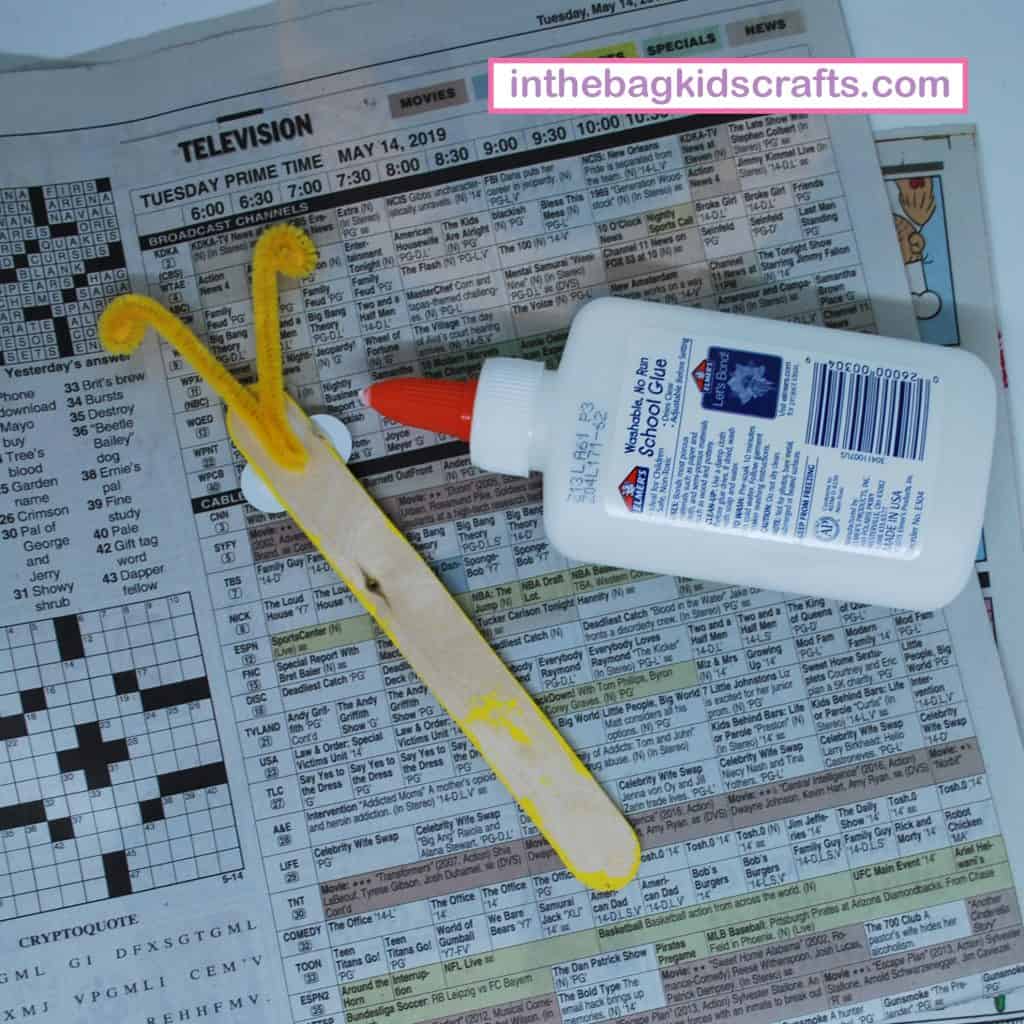
Step 6: Put It All Together
- Once the glue has dried, use the glue stick to connect the wings
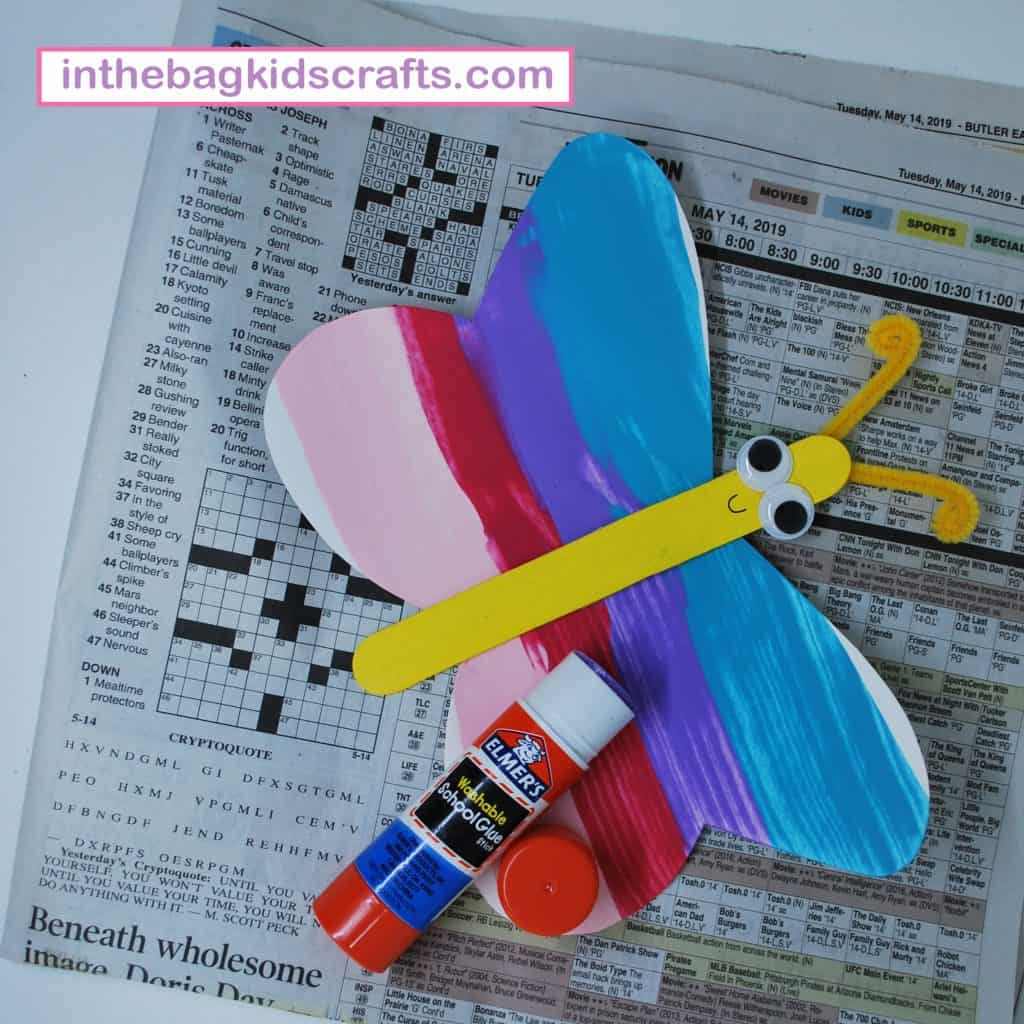
I would love to see your version of this craft. Please, use your imagination and make it your own! Share it in the comments, email it or go to the contact me page and load up your pics. We will add your creations to the gallery (with credit given). Thanks for being a part of this amazing community of makers.
Save this Butterfly Art for Kids for later. Pin to your favorite Pinterest board…
