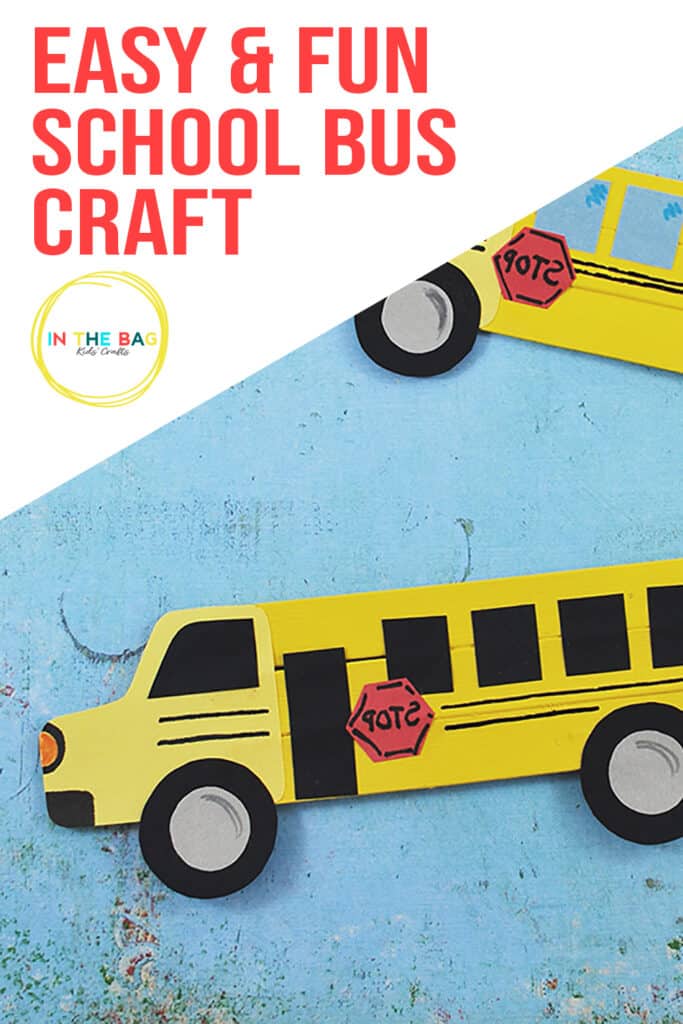
School Bus Craft {with FREE Template}
Let’s make a school bus craft! First days of school are such an exciting time. And riding the school bus is a hallmark of “growing up”. It’s a right of passage from being a little kid to beginning to experience that bit of independence from mom and dad. Moms shed a tear as they watch their little ones drive off toward a new era. If your kiddo is a little nervous about this new chapter, making this bus art and craft may be a way to work through some of the anxiety and build excitement instead.
Save this School Bus Craft for Preschoolers for later. Pin it to your favorite Pinterest board…

All activities require adult supervision. By using this site, you are agreeing to our terms of use. This post contains affiliate links, which means if you make a purchase through these links, I may receive a small commission at no extra cost to you. Click here to read my full disclosure policy.
SUPPLIES FROM THE BAG
- 4 Large popsicle sticks
- Paper plate (9-inch coated)
- Yellow paint
- Pompom
- Clothespin
- Elmer’s glue (or Glue Dots)
- Scissors
- Yellow Construction paper
- Scraps of black, gray and red construction paper
- Glue stick
- Markers
- School bus craft template
All of the supplies on this list come from the master list of basic craft supplies that we use for every single creative project here at “In the Bag Kids’ Crafts”. This may seem like a strange way to approach crafting with kids, to limit ourselves in this way. But you might be surprised to find out that it actually promotes creativity and imagination. We are challenged to make things with what we have on hand, and, most importantly, it makes crafting with your kids so much easier and more fun for you and them.
Instructions for the Bus Craft
Step 1: Build the Foundation
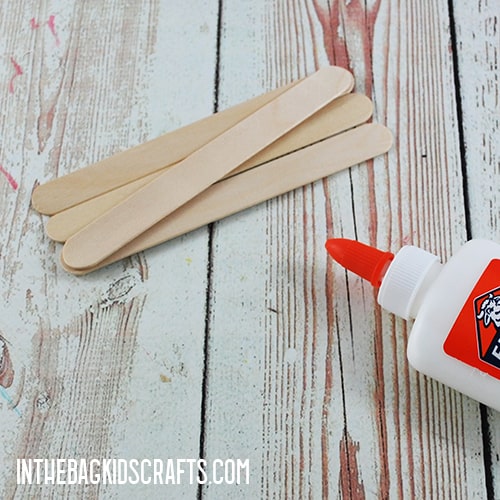
- Lay 3 large popsicle sticks side by side
- Then put a bead of Elmer’s glue all along a fourth popsicle stick.
- Place the popsicle stick at an angle across the other three so that they are all stuck together.
- Give the glue some time to dry. You may even want to do this step the night before so that it has plenty of time to set up.
*If you really don’t want to wait for the Elmer’s glue to dry, use some Glue Dots all along the fourth popsicle stick instead.
Step 2: Paint Your School Bus Craft
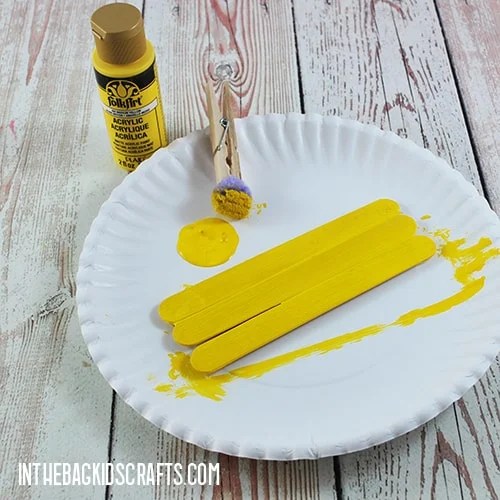
- Place the popsicle sticks on the paper plate and squeeze out a bit of yellow paint.
- Pin the pompom with a clothespin to form a “paint brush”
- Then paint the front of the three popsicle sticks and give it some time to dry.
Step 3: Use the School Bus Craft Template
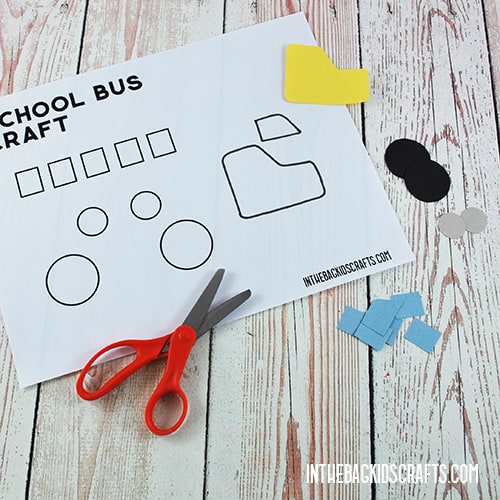
- Print out the school bus craft template.
- Use it to cut out the pieces for your school bus craft according to the picture below.
Step 4: Put Together Your School Bus Design
- Now that the paint has dried, glue all of the pieces that you have cut out from the template into place.
*We used black for the windows and door, but you may choose to use light blue or white instead.
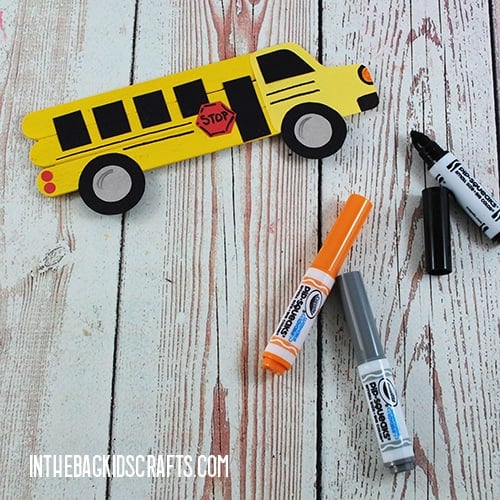
Step 5: Add Details to the Bus Art and Craft
- Now that your school bus craft is all together, just add some details.
- Use your markers to give the bus some character. I also punched some circles out for the rear tail lights.

Now that you know how to make the school bus craft, what will you do with it? Maybe you will build an entire village or paper bag city for your bus to drive through the streets. Perhaps you will create a road out of lego blocks or draw one with chalk in your driveway. Or maybe you will add some magnets to the back of the bus and put it on the fridge. The only limits are your imagination.
Happy Crafting!
XOXO Joy
Save this Easy School Bus Craft for later. Pin it to your favorite Pinterest board…
