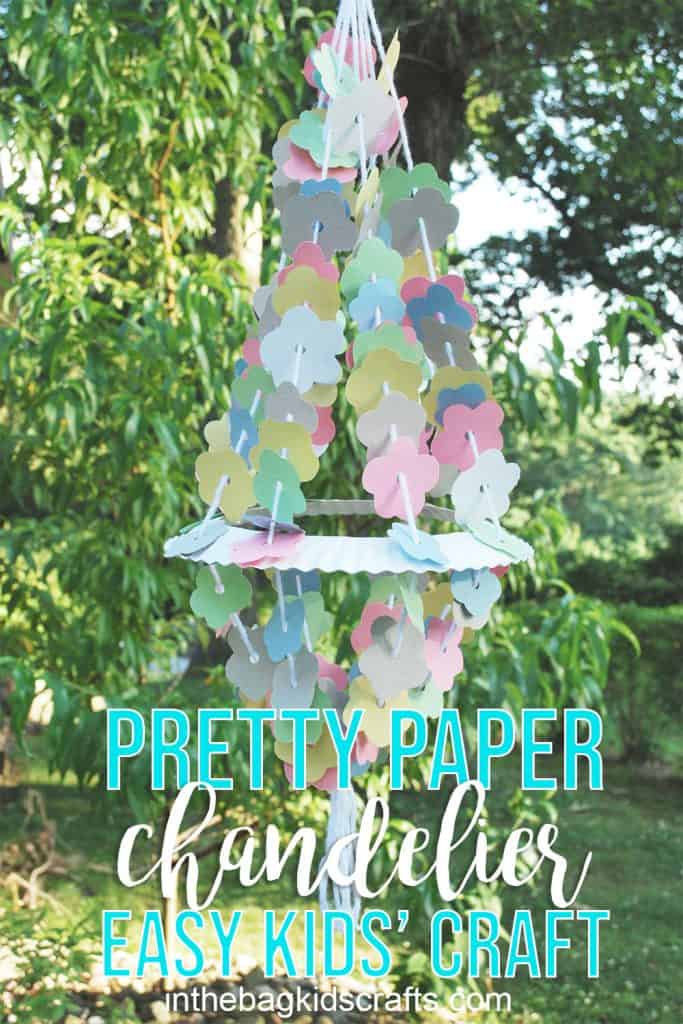
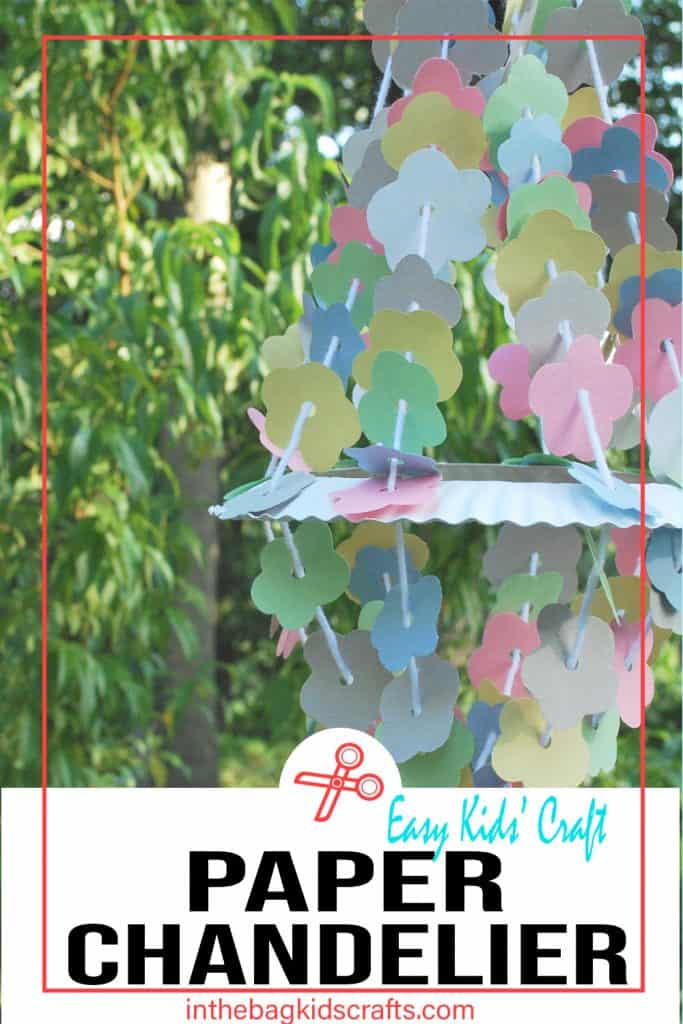
Paper Chandelier Craft
Sometimes a craft comes to me in my dreams, and I just have to make it. This paper chandelier craft is one of those projects. And, I have to say, the reality came out darn close to the one that I dreamed up. It is rather simple to make and will pretty up any room. (Just don’t let your cats get it. Mine also thought that it would make a fantastic toy…crazy cats!)
*Even though this craft is quite simple, there are a couple of steps that may be slightly more time consuming or work better with two people helping. This is a great craft for older kids. But if you are making crafts with younger kiddos, precut the pieces and have them help with the lacing on of the flowers. This is the perfect fine motor activity.
SUPPLIES FROM THE BAG
- White yarn
- Scissors
- Paper plate (9″ coated)
- Hole punch
- Construction paper (variety of colors of your choice)
- 4 White pony beads
- Scotch tape
- Optional: Pencil
You will notice that this list is nice and short (yay!) And every single supply on the list comes from the MASTER LIST (found HERE) of supplies that we use for ALL of the crafts on this site. And we do this to take some of the work out of creating with your kids. Because I know that you want to do hands-on activities with your kiddos, but let’s be honest, who has the time? Hopefully this approach of filling your bag only once, using our basic list, so that you are ready to go anytime you find yourself with a free moment, like that rainy day or just 15 minutes while dinner is in the oven that you can connect with your kids, YOU…ARE…READY! And you will never regret spending time creating something with your kids…trust me!
Save this paper chandelier craft for later! Pin it to your favorite Pinterest board…
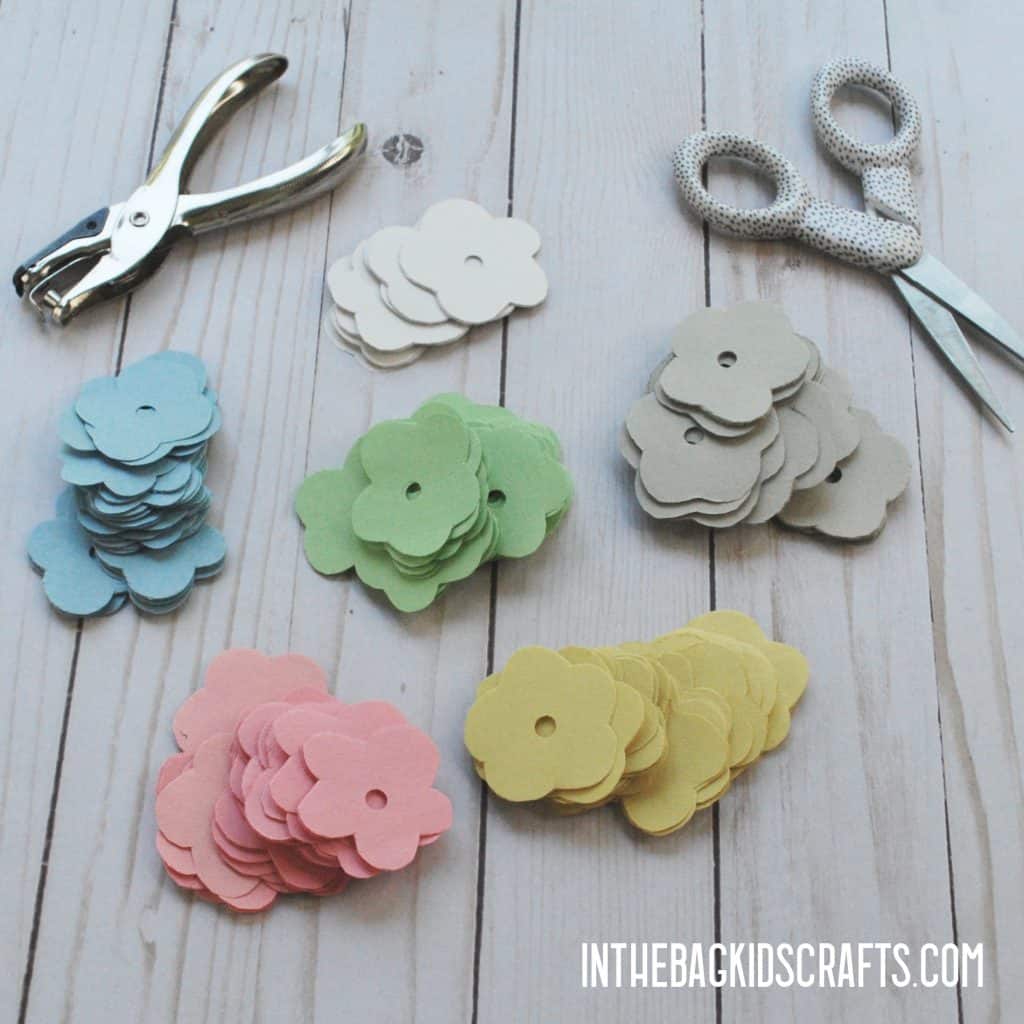
Step 1: Cut the Flowers
- Choose what colors you would like to make your chandelier. I chose pastels, but you can choose whatever you like. It can be one color, two or a whole bunch. There is no wrong choice.
- Cut a strip of paper about 1″ wide and fold it into fourths. This will make it so that when you cut out one flower, you will actually get four.
- Now cut a flower shape. You can draw it on in pencil first if you would like. The flowers do not need to be all the same but should be approximately the same size. *If it is easier, you can make circles instead of flowers.
- You will need approximately 140 flowers (or circles or hearts or squares or whatever shape you choose)
- Use the hole punch to put holes in the middle of each flower. You can also do this several at a time.
*Keep the holes that you punch out for future craft projects, like mosaics. Just put them in a little baggie.
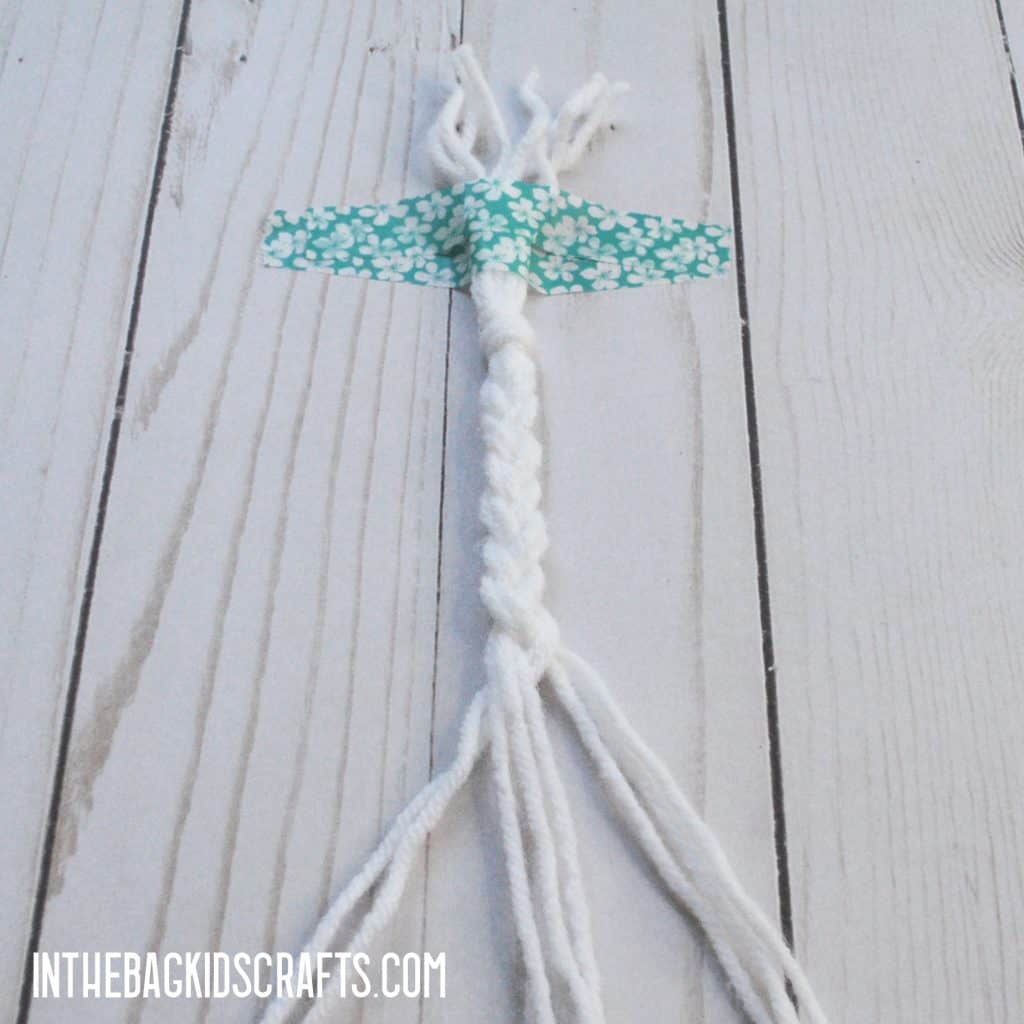
Step 2: Braid
- Cut 8 pieces of white yarn, approximately 5-6 feet long
- Gather the yarn together and tie a knot at the top
- Optional: Tape the knot to a surface and braid the pieces together for about 5 inches. At the end of the braid, tie another knot.
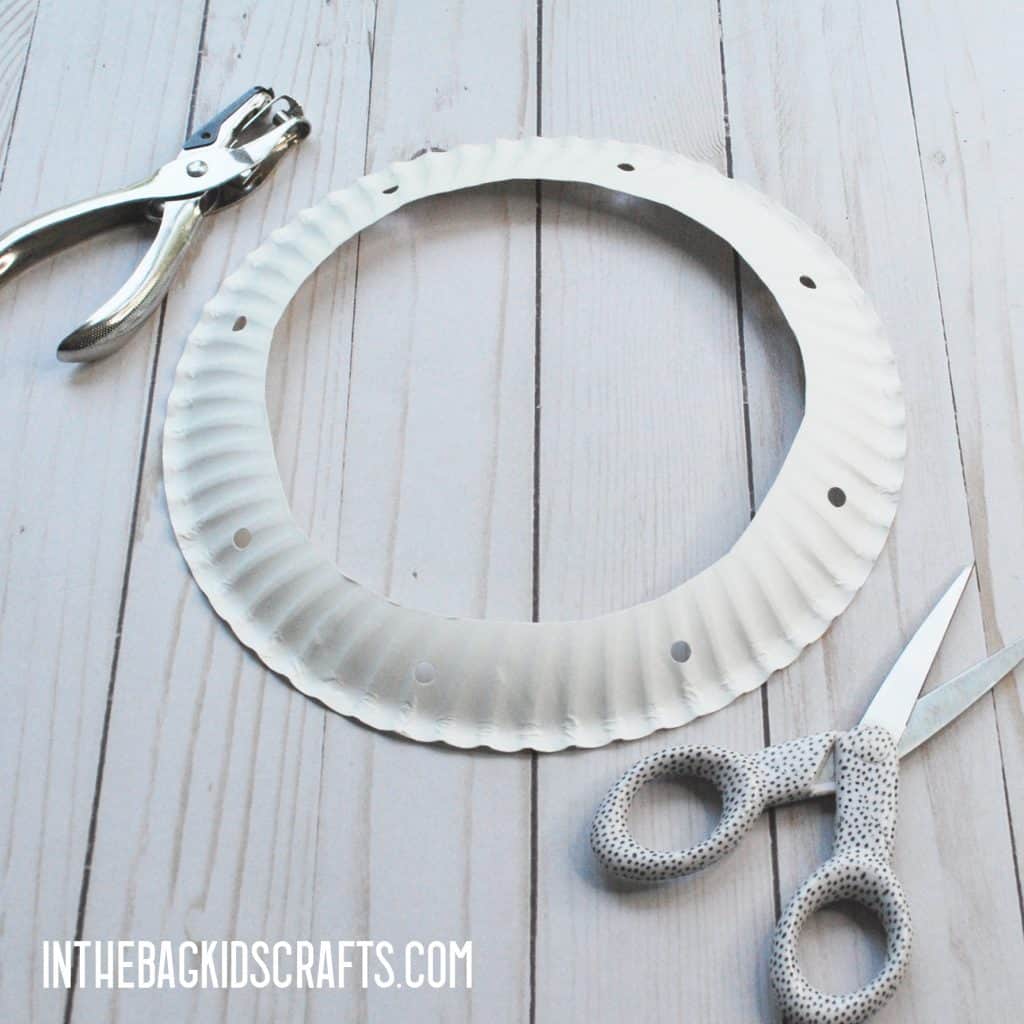
Step 3: Prepare the Plate
- Cut the center out of the plate, leaving about 1 inch all around.
- Punch 8 holes around the outside of the plate, placing them equal distances apart (you can just eyeball it).
Step 4: Top of the Chandelier
- Place scotch tape around the end of each piece of yarn so that it is easier to slide on the paper flowers.
- Onto each string, slide on 10-12 flowers (or whatever shape you chose). Don’t worry about spreading them out. At this point, just keep them all bunched together.
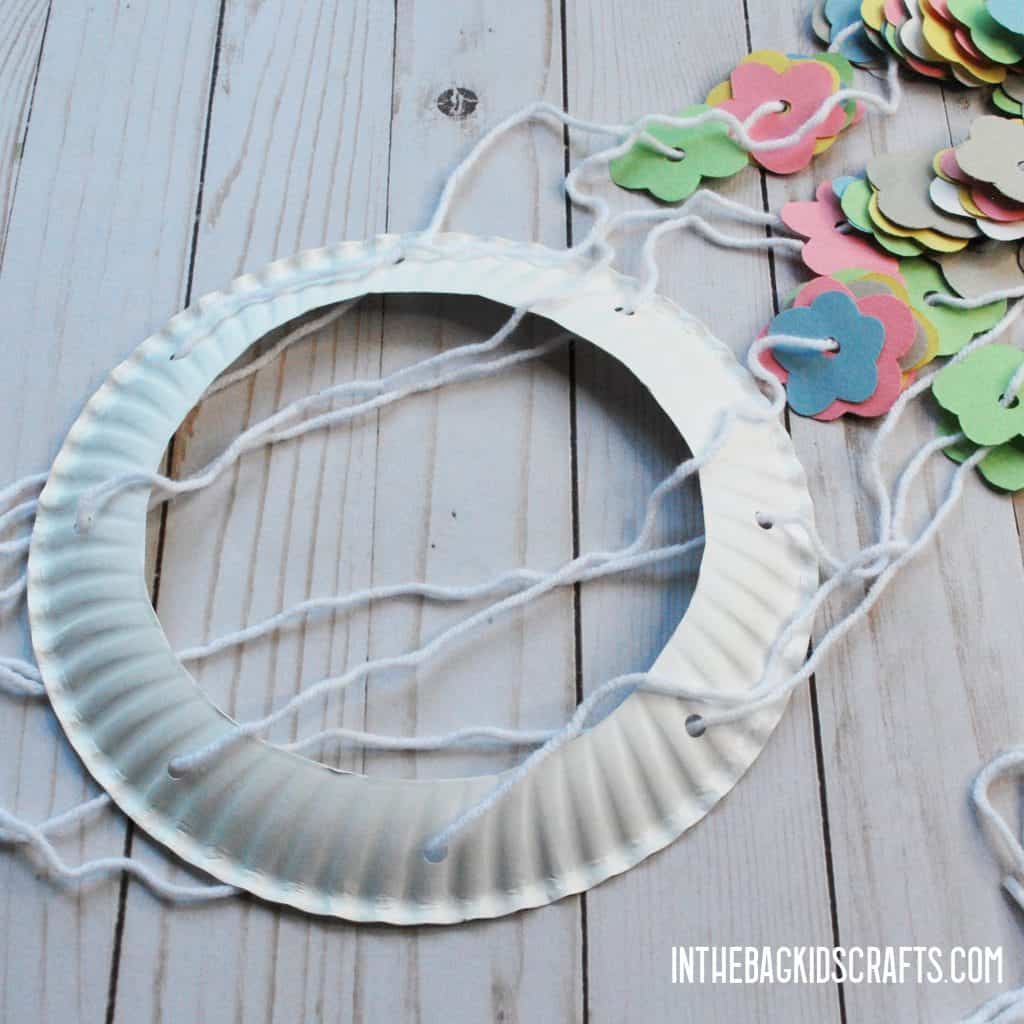
Step 5: Plate in Place
- Now, with the plate face down, lace each string through one of the holes.
- *Here is where you may need a little help or somewhere to tie up your paper chandelier.
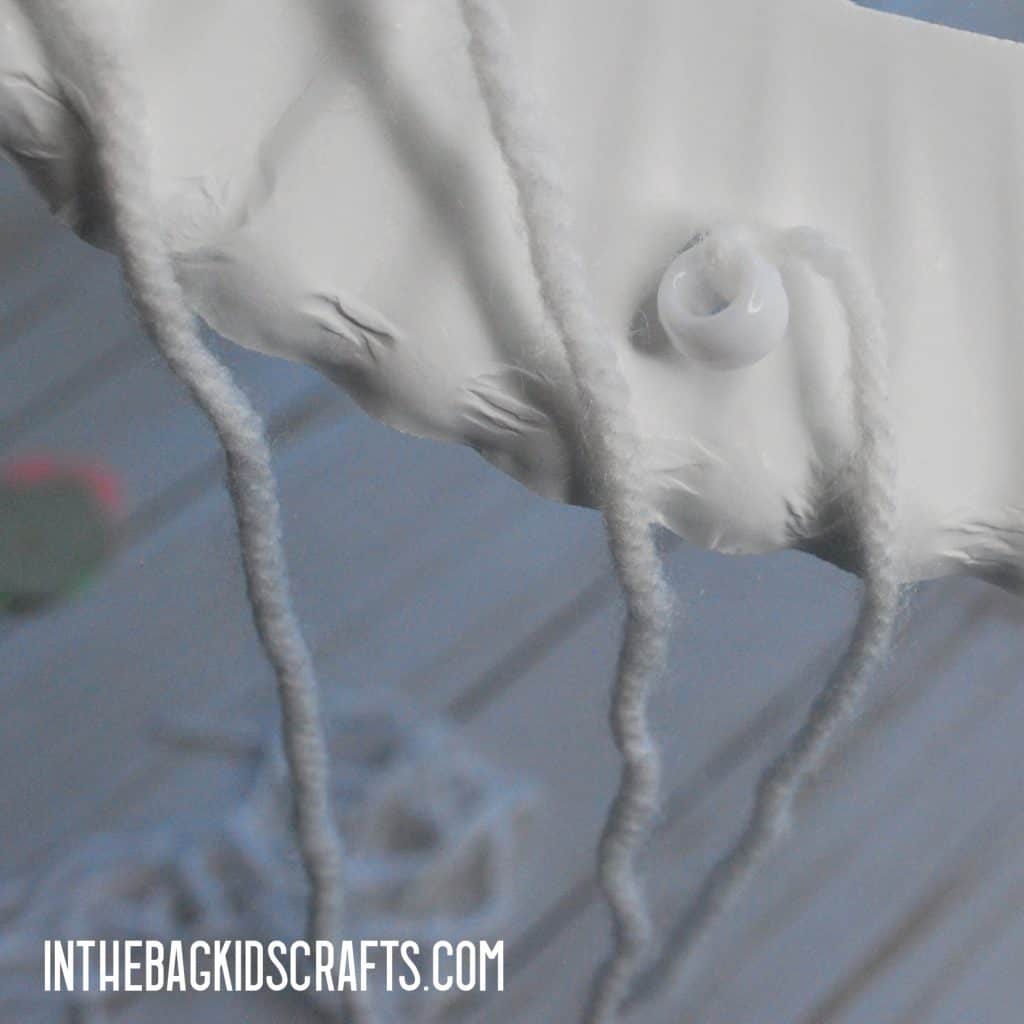
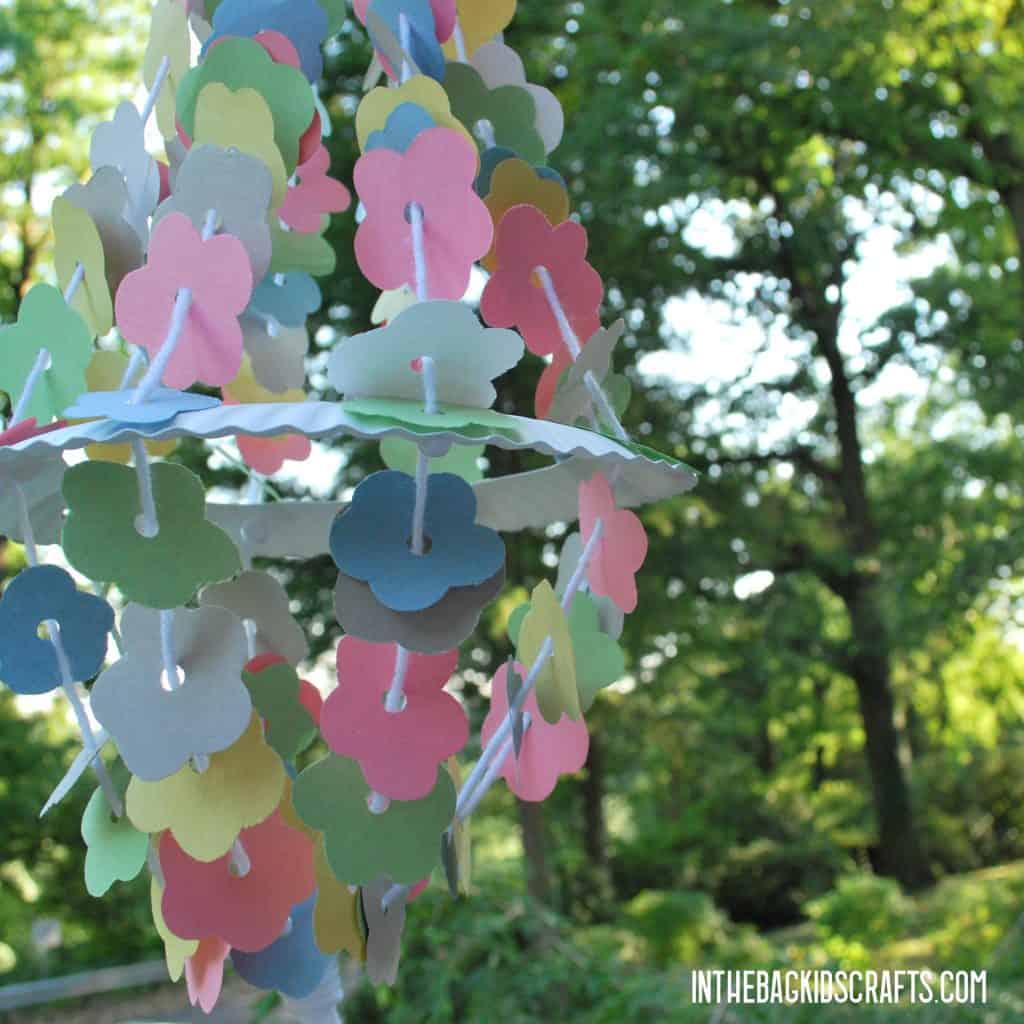
- Once the chandelier is suspended, slide the plate into place so the it is about 10-12 inches below the top knot. To balance it out and keep it flat, tie the pony beads onto the string just below the plate. You do not need to put a bead on every string. Four spread out will be enough to keep the plate from going crooked.
Step 6: Finish it Off
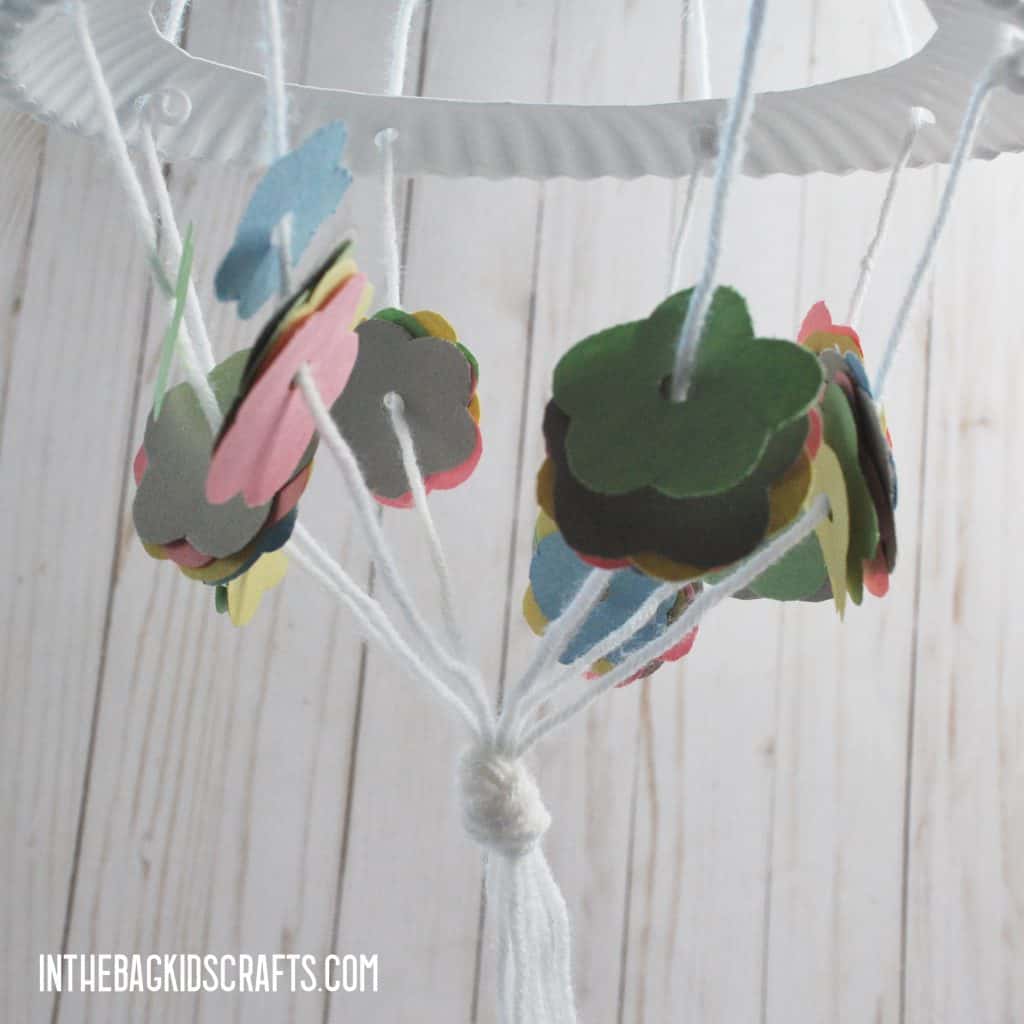
- Onto each piece of yarn, slide on 5 more paper flowers (or circles). Again, don’t worry about spreading these apart at this point.
- Gather the strings together in the middle at the bottom, about 5-6 inches below the plate and knot them all together.
- Leave a tail of yarn about 4 inches long and trim away the excess.
Step 7: Make it Pretty
- The final step of this project is to simply to slide the paper flowers so that they are spread out on the strings. This should be done while it is hanging.
- Then hang it somewhere for all to enjoy!
Save this paper chandelier craft for later! Pin it to your favorite Pinterest board…