Brilliant DIY Back to School Craft
This fun and simple DIY back to school craft takes just a few items from “in the bag” (see the list below). Have you prepared your bag of craft supplies yet so that you can craft along to every single project on this site? If not, it is totally easy and will save you loads of preparation time! Just use our printable list and fill up your bag. By keeping the crafts simple and working from the same master list of craft supplies, you may actually be able to find the time to get creative with your family, even when life is hectic. Because I know you want to 🙂
Start the school year off right with some support for improving how your child holds a pencil. Check out this FREE mini course, that gets sent straight to your inbox…
FREE MINI COURSE: TEACH YOUR CHILD TO HOLD A PENCIL BETTER!
SUPPLIES FROM THE BAG
- Paper plate (9-inch coated)
- Markers
- Scissors
- Hole punch
- Large popsicle stick
- Newspaper
- Clothespin
- Medium pompom (any color)
- Black paint
- Scotch tape
- Glue stick
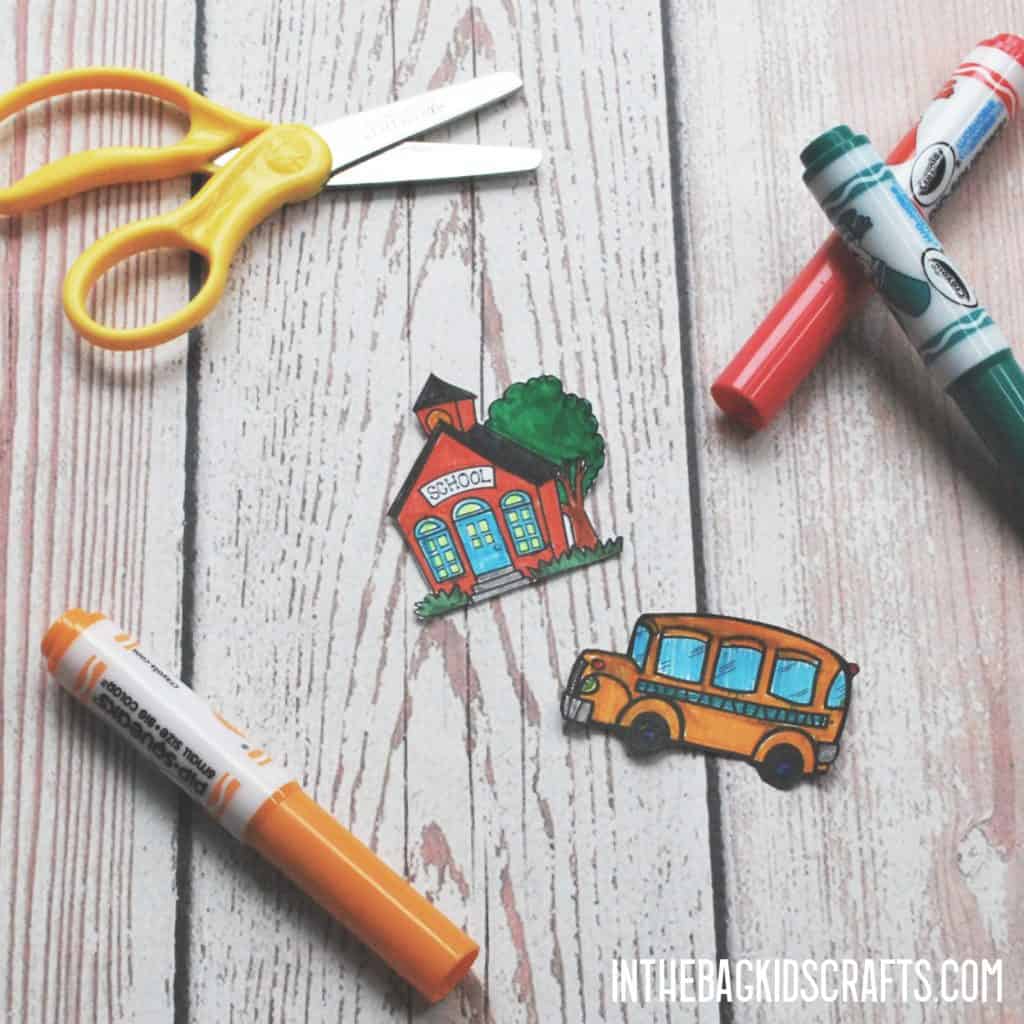
Step 1: Make the Pieces
- Draw a small school bus OR print the free clip art below
- Color it and cut it out
- Repeat this for the little school house.
- *For little ones, either precut the pieces after they do the coloring or draw a square around the picture and have them cut out the basic shape if that is where their skill level is.
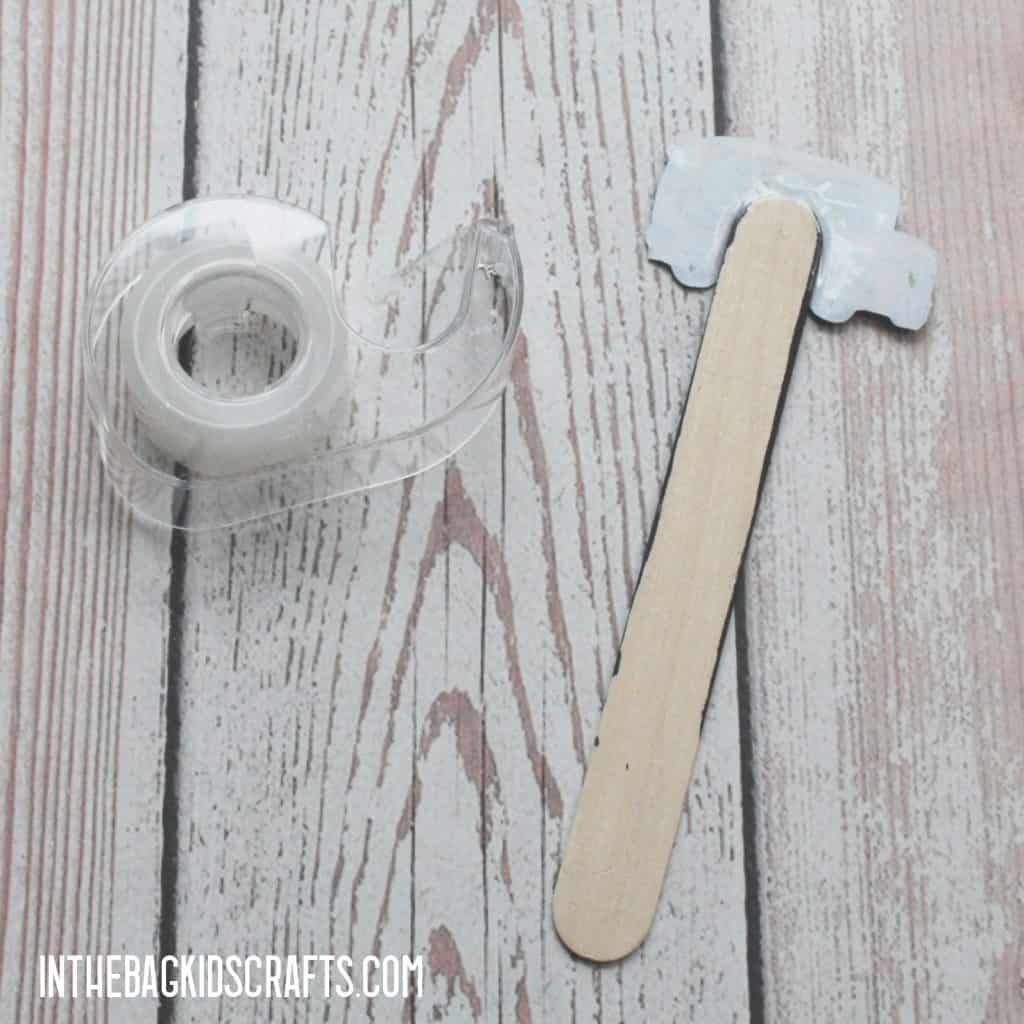
- Place the large popsicle stick on the newspaper and pinch the pompom with a clothespin to form a “paint brush”
- Squeeze a bit of black paint onto the newspaper and paint one side of the popsicle stick.
- Set these pieces aside for later
Step 2: Cut the Road
- Draw a curvy line diagonally across the bottom of the paper plate. this will be the road your school bus travels on.
- Use the hole punch to make a hole at one end for a place where the scissors can start
- Cut on the line.
- *If you are working with a beginning scissor user, just make a straight line for cutting. Draw it first with a bold marker and let your little one cut on the line. If they go past the end of the line and cut through the edge of the plate instead of stopping, just tape it up in the back…This is a common mistake for early scissor users. No worries! Making mistakes is how we learn. Have your kiddo help “fix” the mistake so that they know it is alright not to do things perfectly every time.

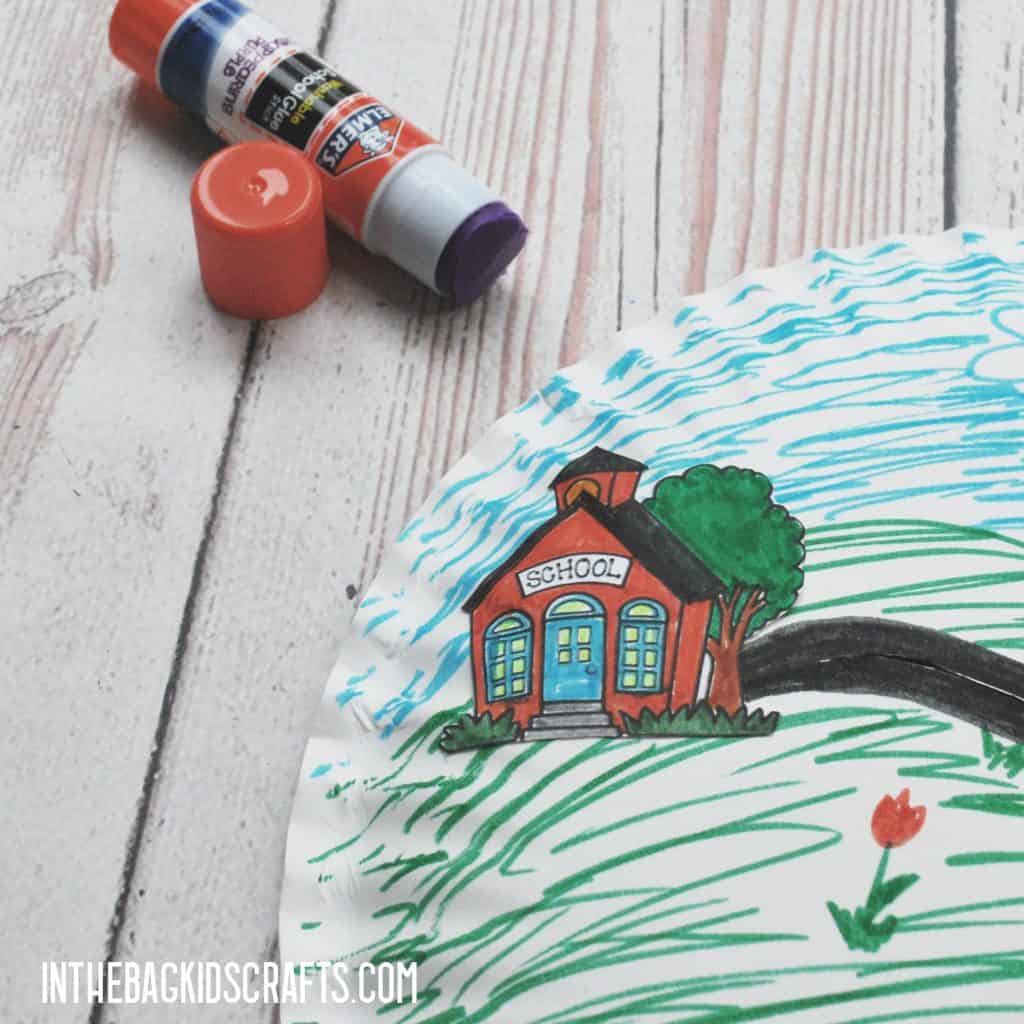
Step 3: Create the Scene
- Color in your road over the cut you made.
- Draw a scene on your plate (on the bottom side where the plate is not coated) that the school bus will pass by on its way to school. I colored a simple country scene, but you should make whatever picture you want. If your school is in the city, your picture may look complete different, with tall buildings, stores and city squirrels (yes, there is always a squirrel…ha). Make your scene as basic or elaborate as you want. Use your imagination!
- Finally, use the glue stick to adhere the school house (which you colored in step 1) at the end of the road, on the left side of the plate. Your DIY back to school craft is almost finished…

Step 4: Take the Bus to School
- Tape the school bus that you colored and cut out in step 1 and tape it to the top of the painted popsicle stick
- Slide the popsicle stick into the slit the you cut in your plate.
- Now your bus can drive up the road to school!
Save this DIY back to school craft for later! Pin it to your favorite Pinterest board now…