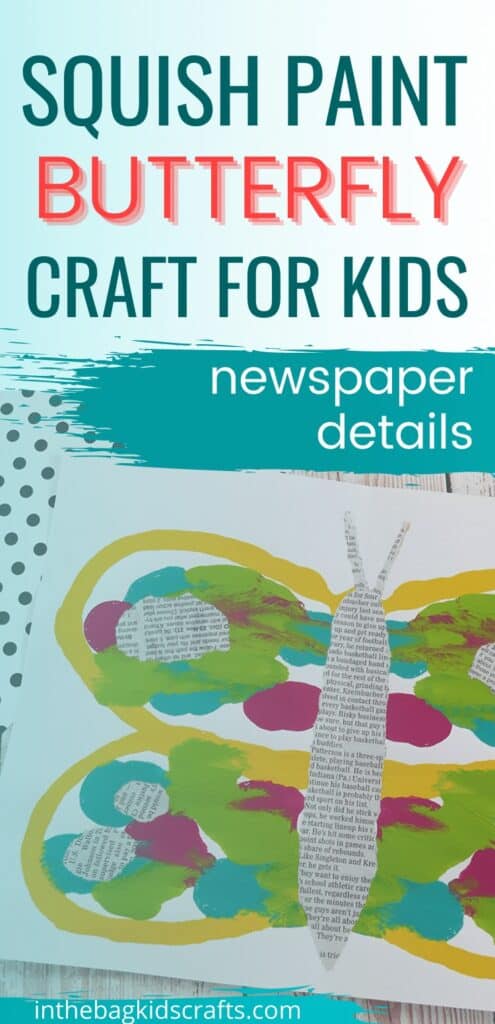
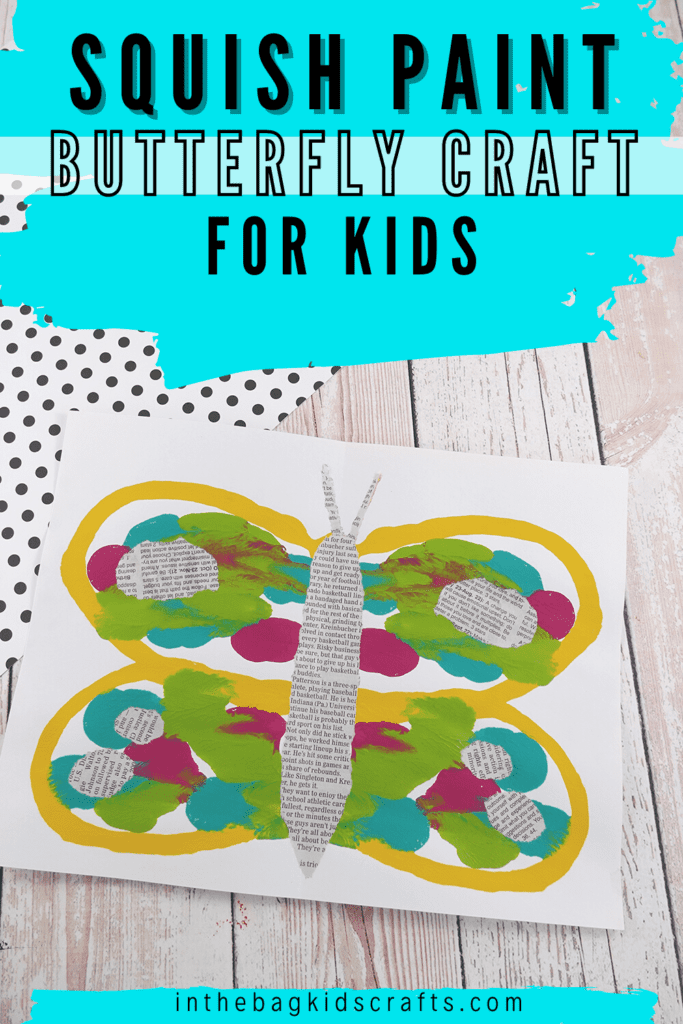
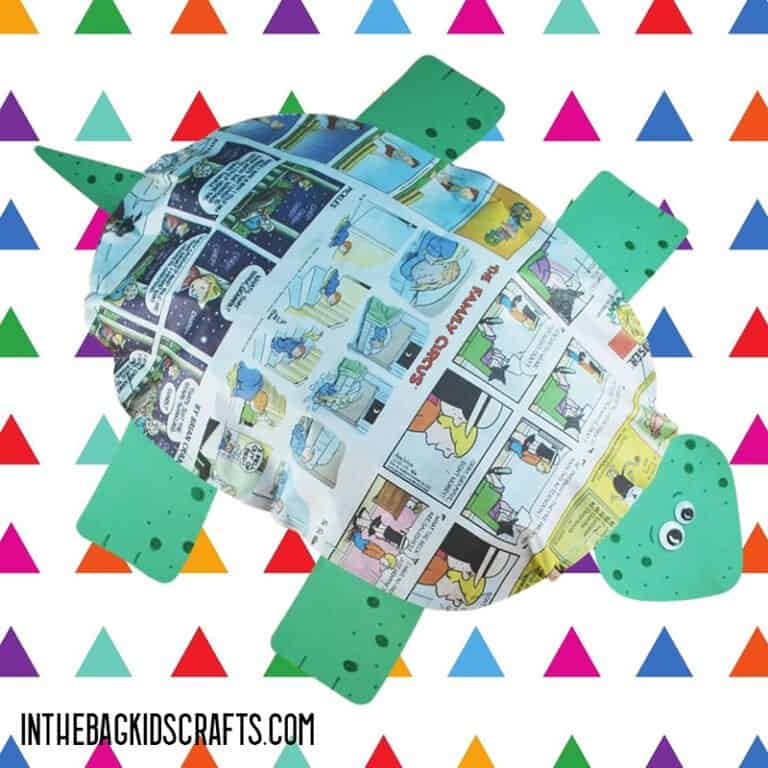
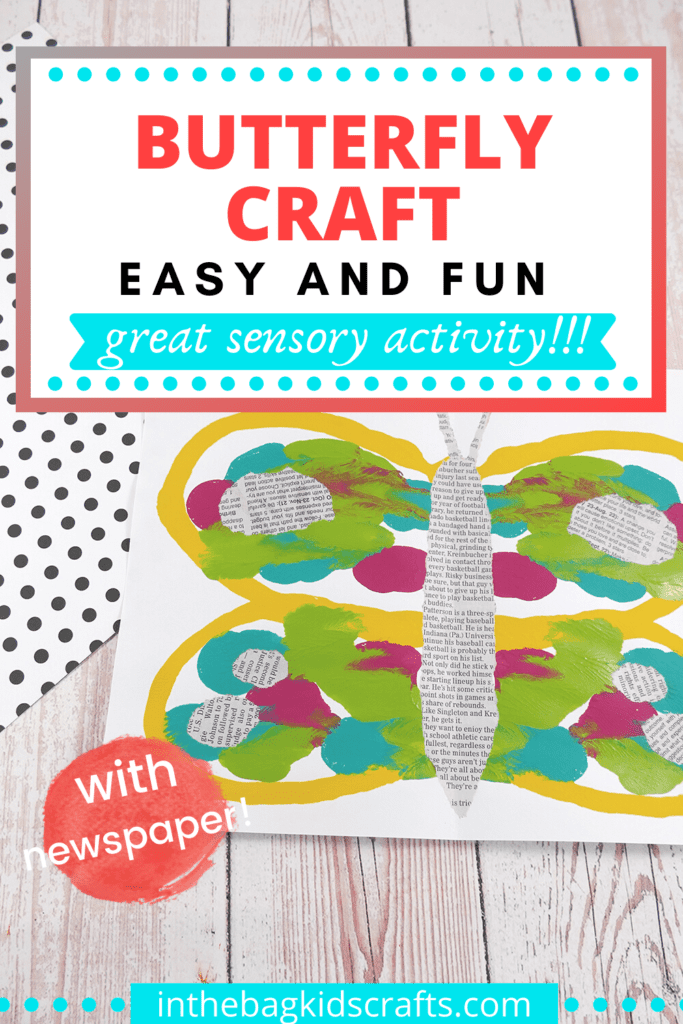
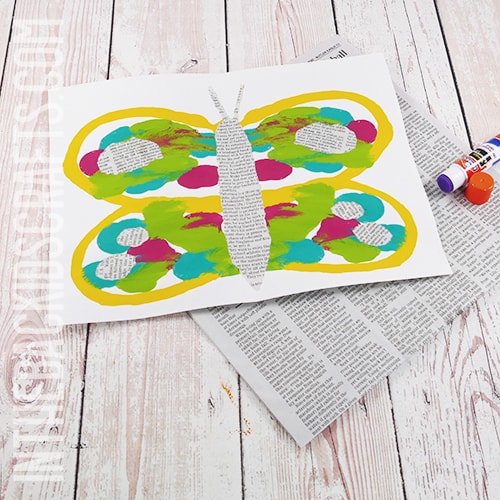
Butterfly Craft for Kids {with Recycled Newspaper!}
This butterfly craft for kids is so simple and fun to make. And it’s an excellent sensory activity with the squish painting technique and then the tearing of newspaper to add some print details. Truly, it’s very calming and oddly satisfying. What I like best about this bug craft is that no two butterflies will look the same. They are as unique as your child.
If you like this butterfly craft, you will also enjoy making this squeegy painted butterfly craft and this collection of popsicle stick insect crafts.
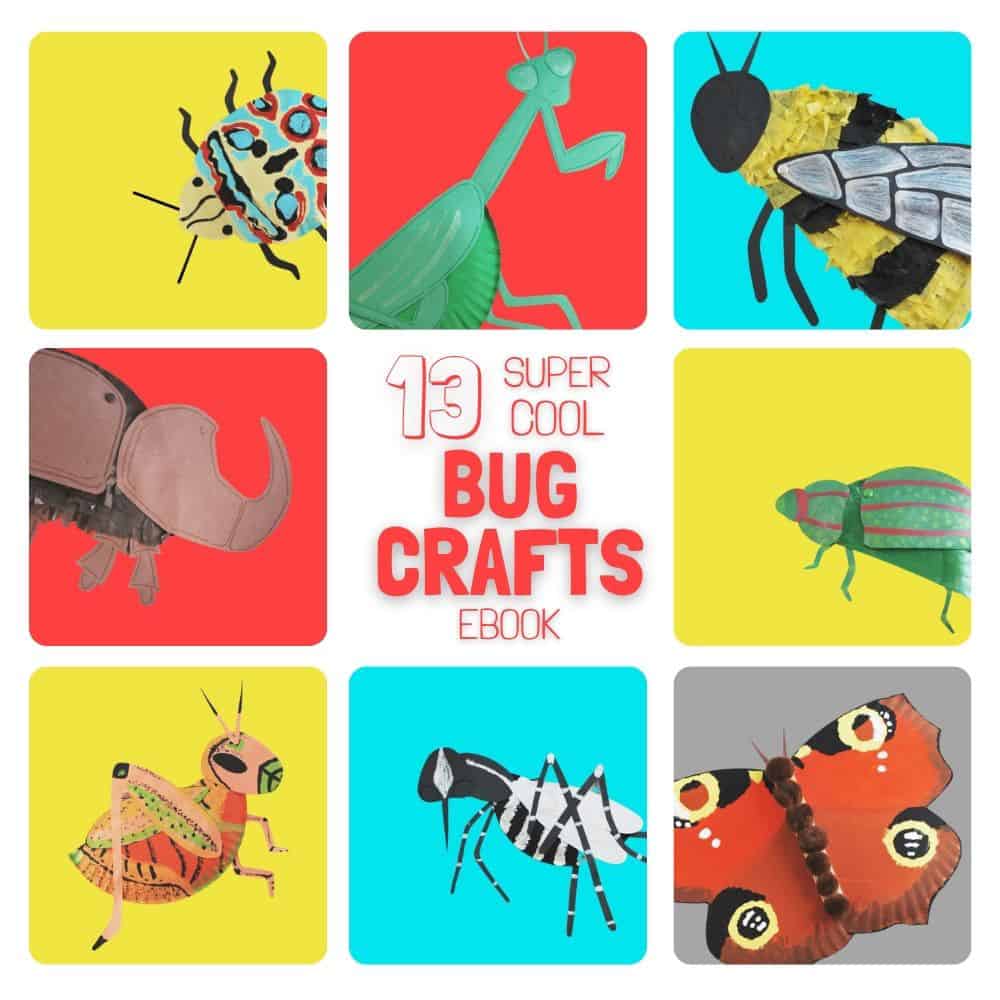
If you have a bug lover in your house, check out this collection of 13 Super Cute Bug Crafts that are made from paper plates!
Save this Bug Craft for later. Pin it to your favorite Pinterest board…
All activities require adult supervision. By using this site, you are agreeing to our terms of use. This post contains affiliate links, which means if you make a purchase through these links, I may receive a small commission at no extra cost to you. Click here to read my full disclosure policy.
SUPPLIES FROM THE BAG
- Construction paper
- Newspaper
- Glue stick
- Paint (variety of colors)
This butterfly craft only takes a few basic supplies, and the good news is that you already have everything that you need if you have used our master list to fill your kids’ craft bag. That means no more running to the store…no more putting off the craft (and maybe never doing it) because you don’t have what you need…no more missing out on having fun with your kids creating things together. Just fill your bag, and you are all set to make any of the hundreds of crafts that you see here…including the items in our SHOP.
A great way to enhance the creative experience is to combine making crafts with reading a good book. Why not combine tasks that will improve fine motor skills, language skills, basic literacy, and grow the imagination all at once?
Here are some of our favorite Butterfly books to give a try.


Butterfly Craft for Kids Instructions
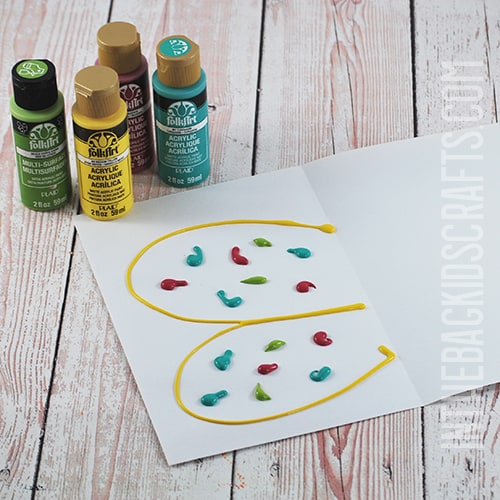
Step 1: Squeeze Out Some Paint
- Choose a light colored piece of construction paper and fold it in half.
- Now choose some of your favorite paint colors.
- Start by squeezing a line of paint to outline your butterfly wings, just on one side of the paper. To make this step easier, you can first draw the shape with a pencil and then go over it with the paint.
- Next, squeeze out dots of paint inside your butterfly’s wings. *Be careful not to use too much paint. You can always go back and add more if you want after you see the result.
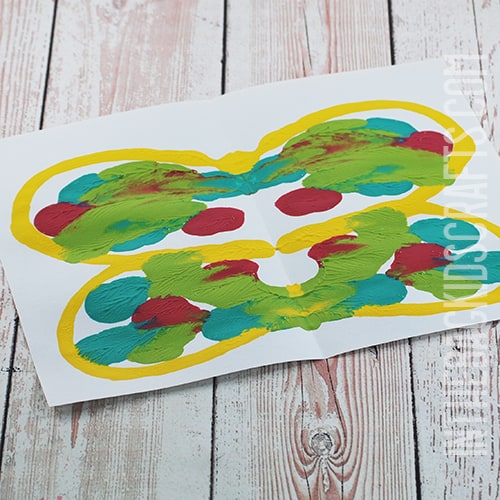
Step 2: Squish to Make Your Butterfly Craft
- Now that you have squeeze out some paint on one side of your paper, fold it in half again and press down gently so that the paint squishes out into patterns.
- Open your paper and see your design. If you haven’t used enough paint, put on a few more dots and squish it again.
Step 3: Add the Recycled Newspaper Details
- Now it’s time to add some unique print details to your butterfly.
- Tear a long strip of paper the length of your buttefly to use as its body. Once the paint has dried, glue the torn newspaper in place using your glue stick.
- The rest of the details are up to you. Tear circles, ovals, hearts, or whatever from newspaper and glue it onto your butterfly’s wings. Since butterflies are uniform, we tore 2 of the same shapes at a time by layering 2 small pieces of newspaper together.
- We also tore some newspaper to create the butterfy antennae and glued them in place.
*It’s easier to work with smaller pieces of newspaper when tearing, rather than an entire large piece.
Now that you know how to make this butterfly craft, what will you do next? Maybe make more butterflies? You can cut each one out and string them together to make a beautiful banner for your room. Or hang each one from the ceiling to celebrate the sunshine! Whatever you do…keep crafting!!!
Save this Insect Craft for later. Pin it to your favorite Pinterest board…