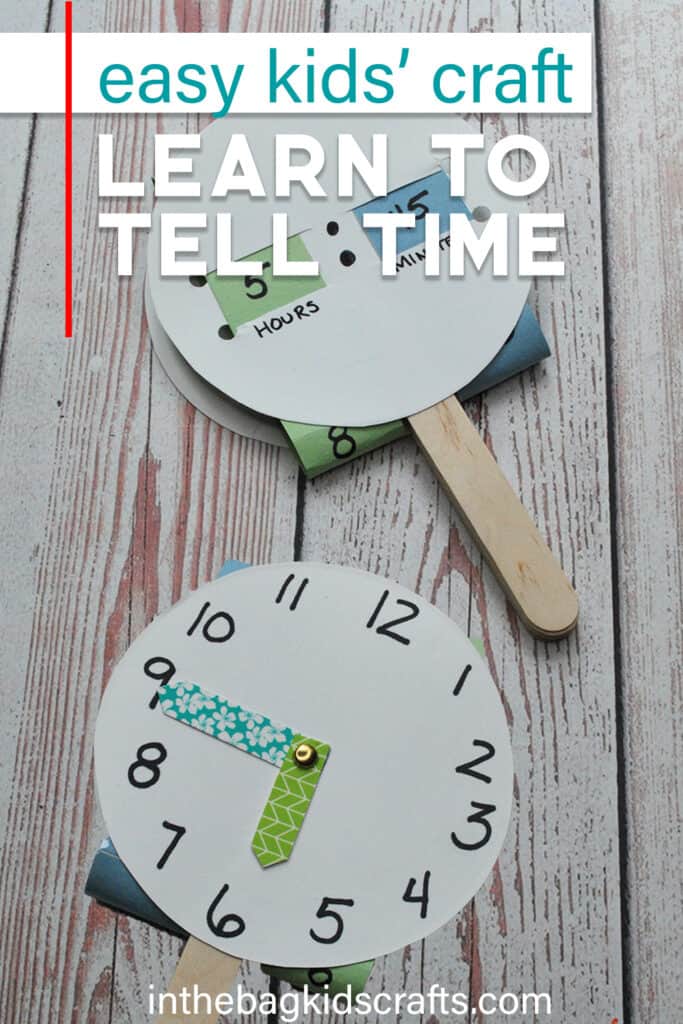
Easy Telling Time Craft for Kids
Learning to tell time can be a daunting task for many kids, at least learning on an analog clock. This flip style clock is easy to make and is a great way to quiz your kiddo on this important skill. Plus it is a great way to practice counting, forearm rotation and learning to cut a circle…so many skills in one little craft. Give it a try! And make sure you check out the free template to make it a little simple to measure things out when making this easy telling time craft.
SUPPLIES FROM THE BAG
- 2 Paper plates (9-inch coated)
- Scissors
- Black Sharpie marker
- Hole punch
- Pencil
- Washi tape (2 colors of your choice)
- 2 Strips of construction paper (colors of your choice)
- Brad
- Elmer’s glue
- 6 Large popsicle sticks
- Glue stick
- Scotch tape
Time Frame: 20 minutes
Ages: Kingergarten and older
We aim to make crafting with your kids actually do-able, even when life is hectic (and, we know, LIFE IS HECTIC!) So, we have developed a couple of little tricks to make it easy for you to create memories with your family by keeping the crafts simple, like this clock craft, and sticking to a master list of supplies for every project on this site (SERIOUSLY!) You can find the master list HERE. It is just 27 basic and inexpensive items, half or more of which you probably already have in your home, and they all fit in one bag. This makes prep and clean up a breeze!
Step 1: Make the Handle
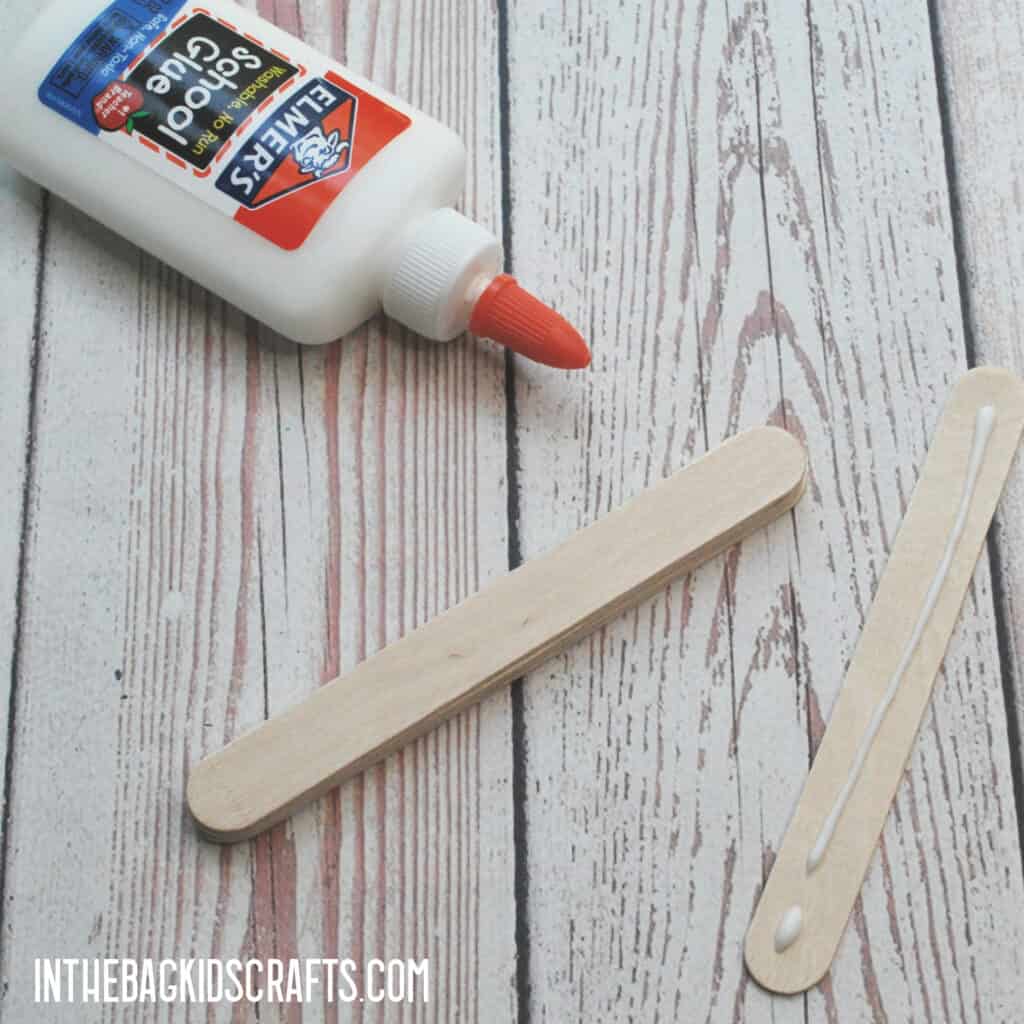
- Glue together about 6 large popsicle sticks, stacked up on each other, to form the handle for your flip clock
- Set the handle aside to give it plenty of time to dry
Step 2: Digital Face
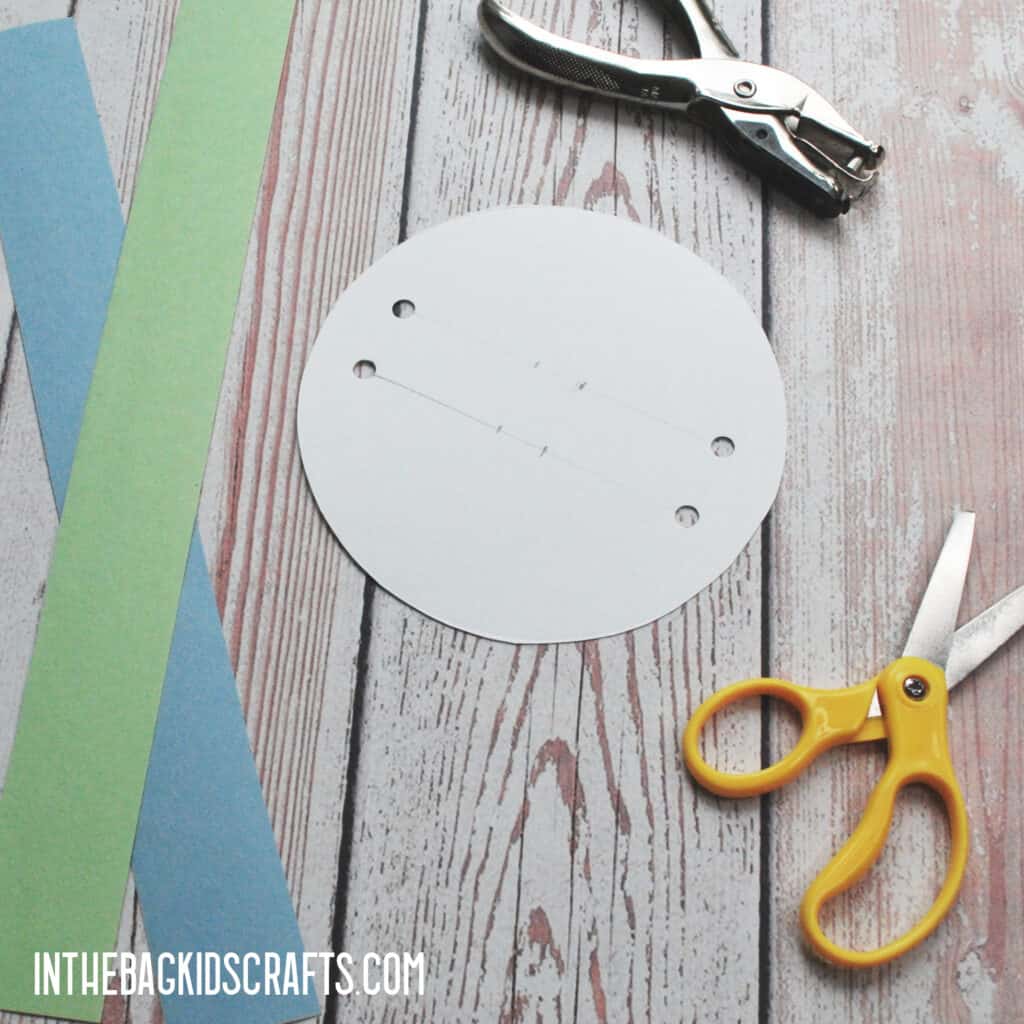
- Cut the center circle out one of the paper plates. Find out the trick to learning how to cut a circle with this free template!
- Then cut long strips of paper, approximately 1″ wide, from 2 different colors of construction paper and set them aside
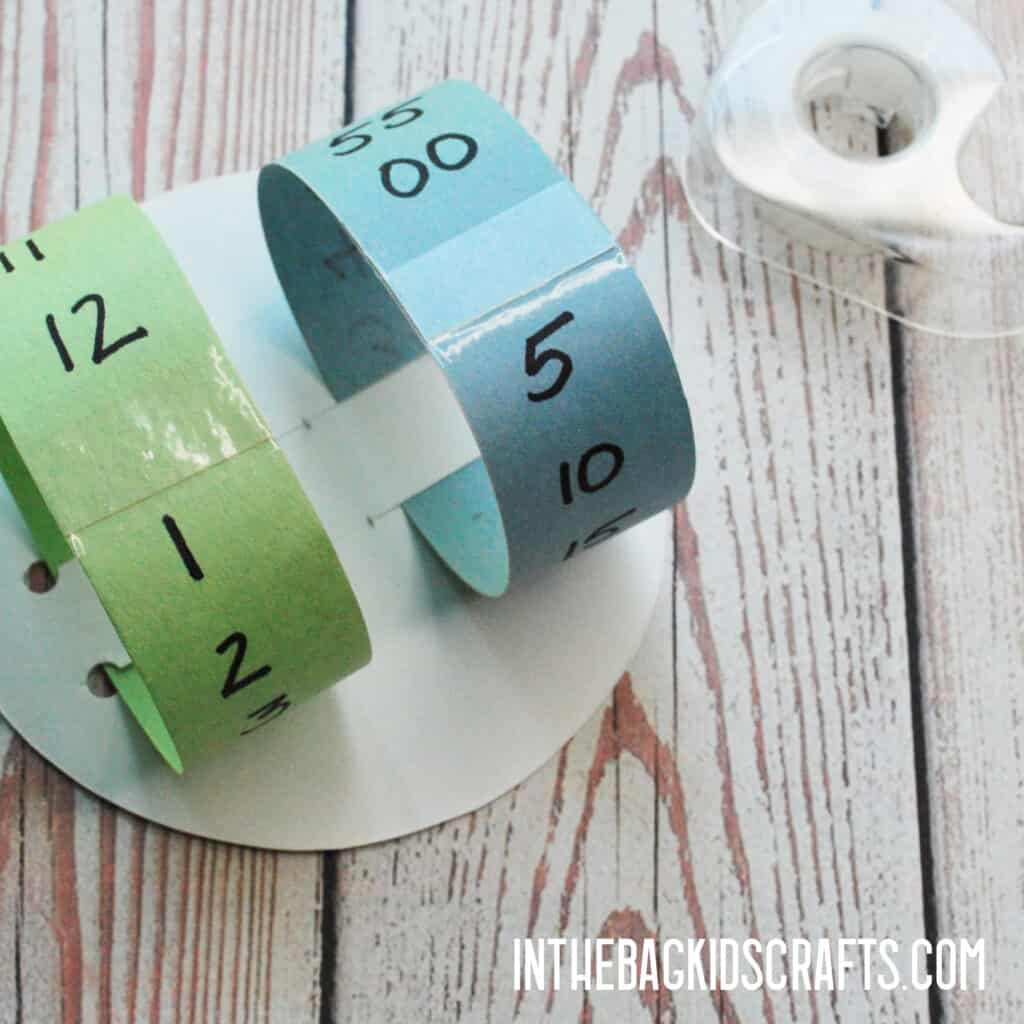
- Use the hole punch to punch starter holes for the slots that your paper will slide through (see pic below for location)
- Now cut the slits that the paper strips will slide through, just wider than the paper strips
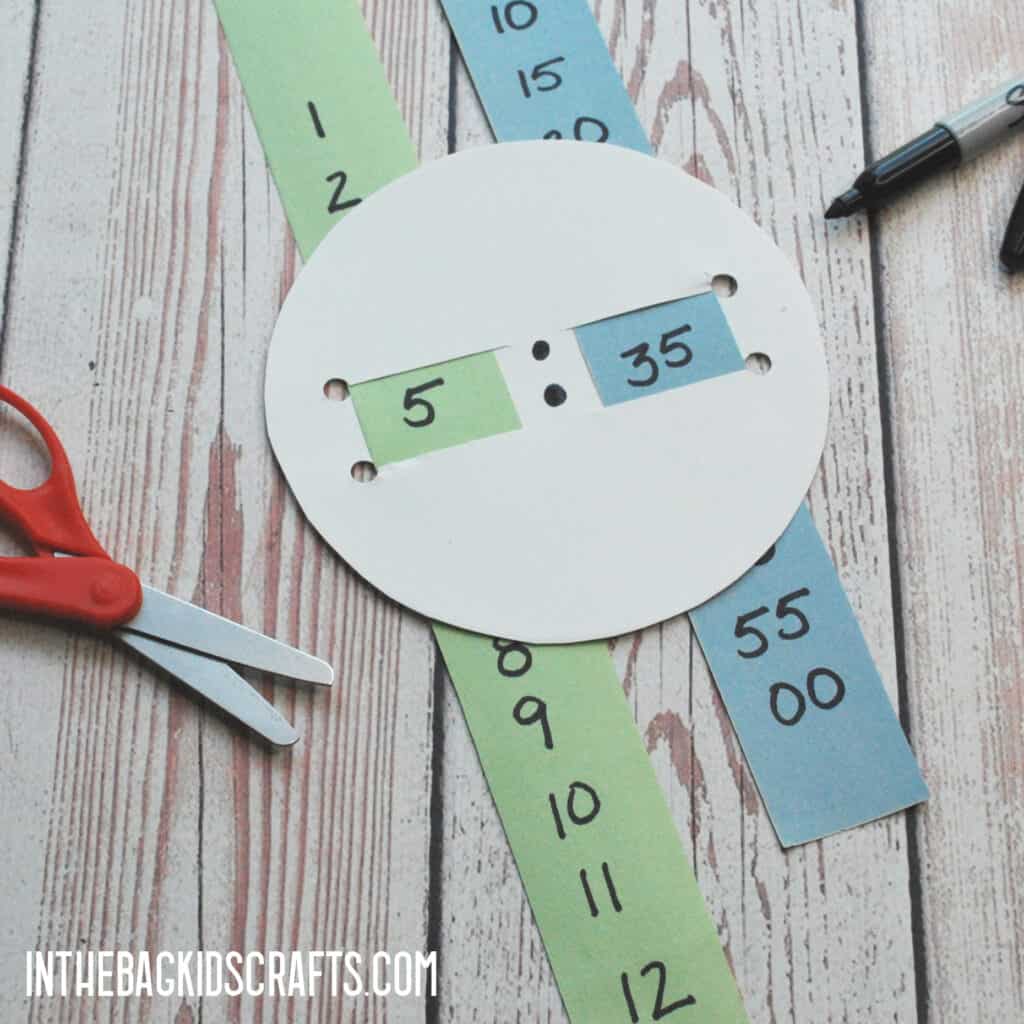
- Write hour numbers on one strip of paper and minute numbers, counting by 5’s, on the other strip, be sure to space them out so that they fit with in the space of the 2 slits you cut. You will find all of the measurements needed on the free template.
- Last, slide the strips of paper through the slits and tape the ends together (optional). You can also just leave the strips long if you would prefer.
- Use the black sharpie to draw the dots in the middle of the hour and minute numbers. And, wahla!, you have made the digital clock part of this craft.
Step 3: Analog Face
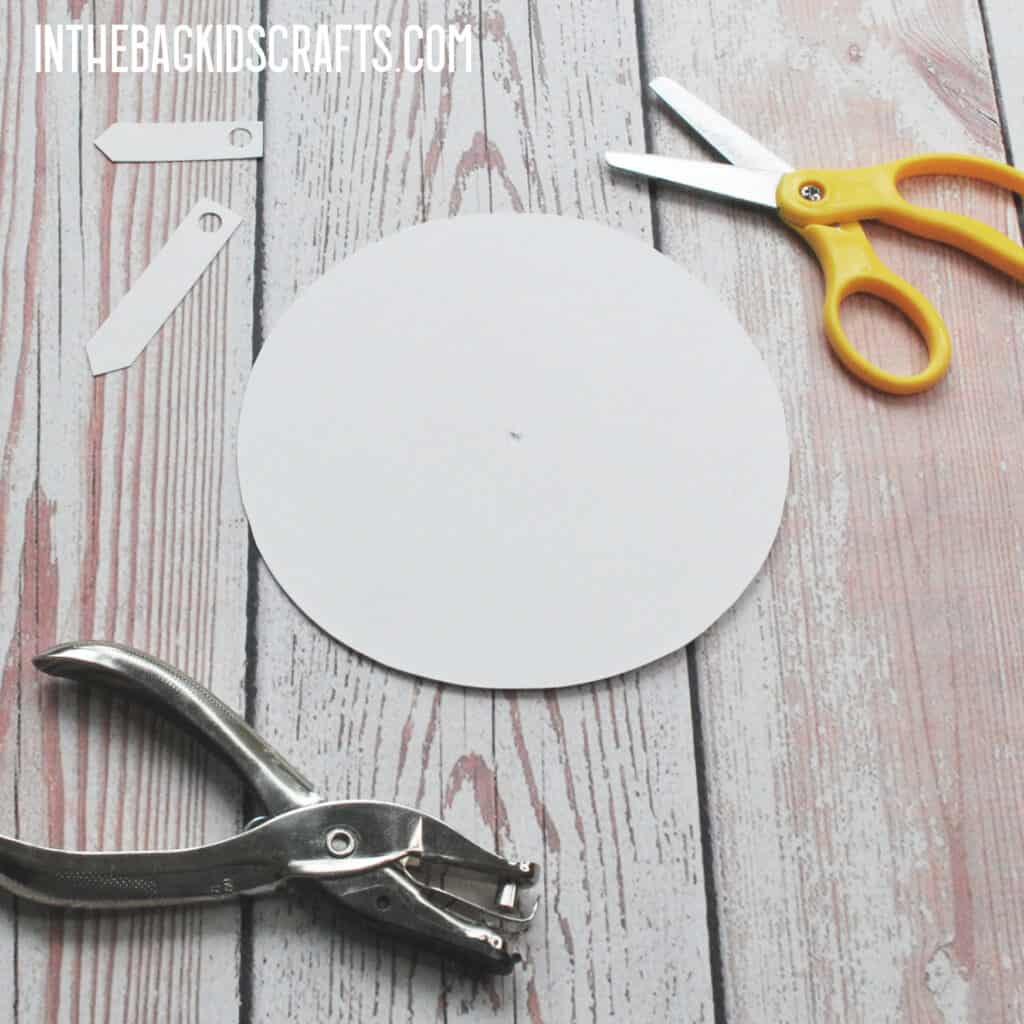
- Cut a circle out of the other paper plate
- Use your scissors to poke a hole directly in the middle of the clock face
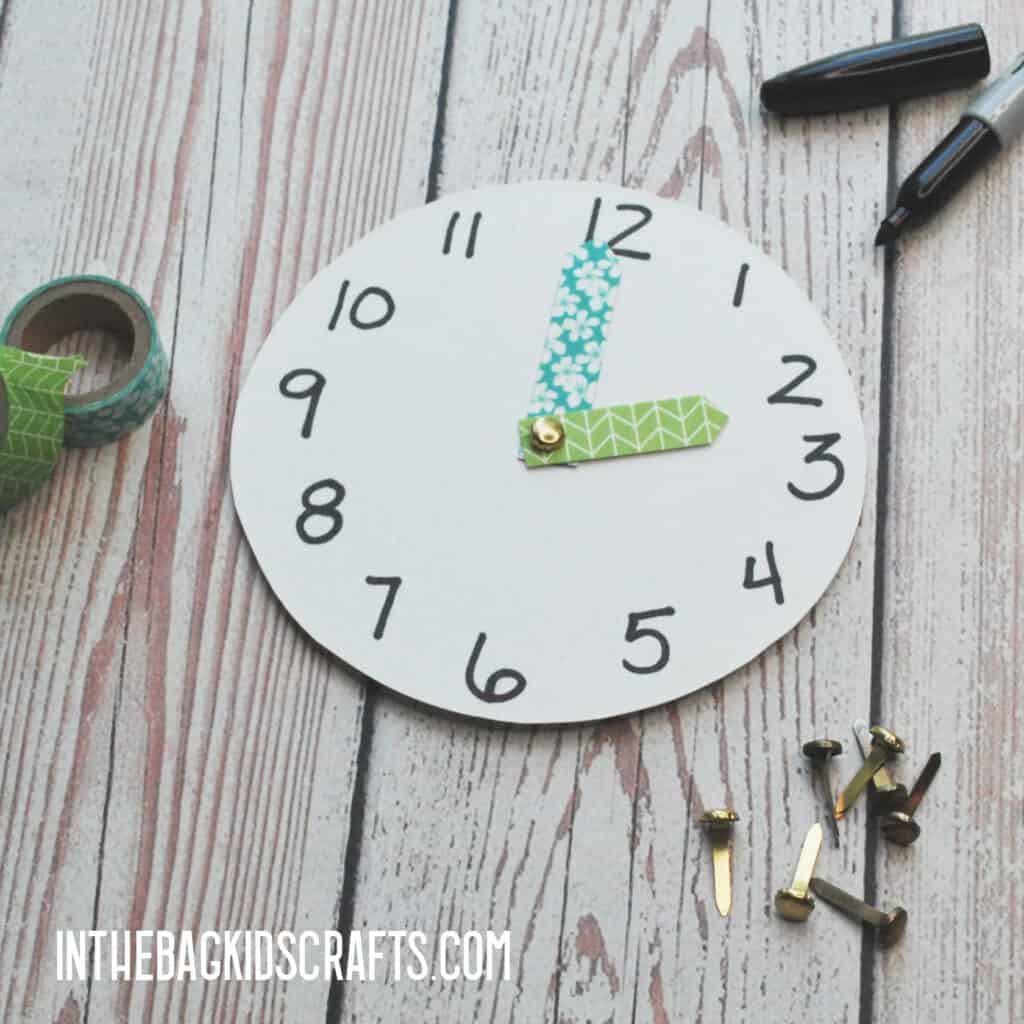
- Then cut 2 clock hands (part of free template), cover one side with washi tape and trim away the excess.
- Punch a hole in the bottom or each clock hand
- Write the numbers on the clock face with the black sharpie marker
- Use the brad to attach the hands of the clock to the face
Step 4: Put It Together
- To finish up your clock and start learning how to tell time, use the glue stick to attach the digital face to one side of your handle
- Flip it over and attach the analog face of the clock you have made
- Give the glue time to dry before playing with it
Save this easy telling time craft for later! Pin it to your Favorite Pinterest board…
