Bookmark Ideas for Students
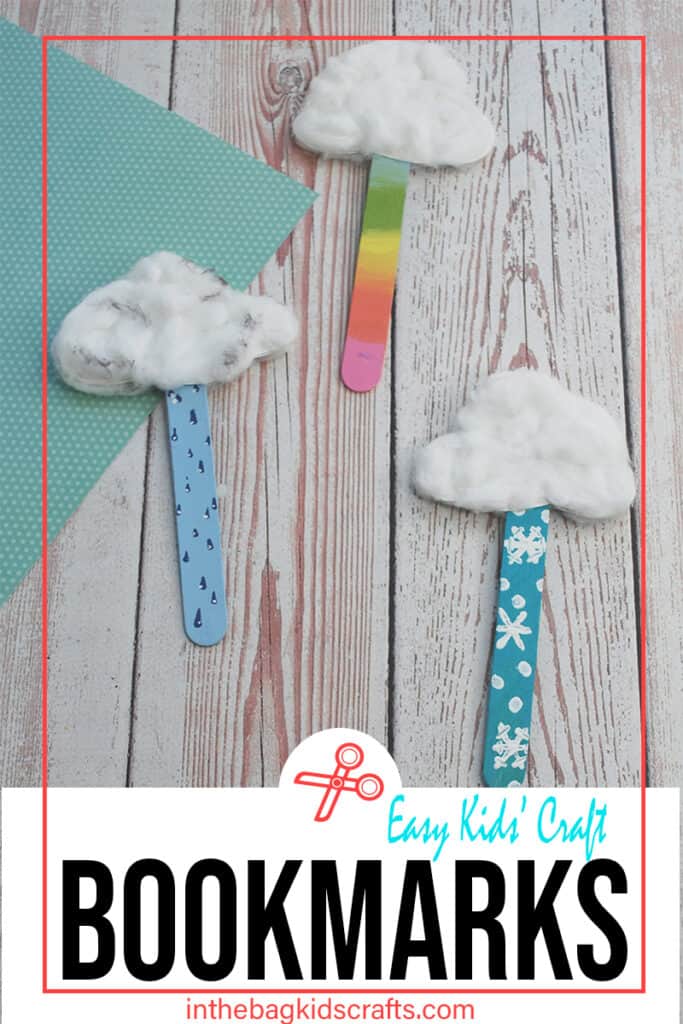
Today we are going to learn how to make a bookmark. And not just any bookmark, but actually three weather themed bookmarks with special painting techniques and a little bit of soft fuzzies too. These make great DIY gifts for family and friends. And they are easy to make bookmark ideas for students who benefit from access to a fidget during the day in order to improve focus and sensory regulation. Let us show you how to make unique bookmarks with just a few supplies.
And speaking of supplies, if you are new around here there is something that you should know. We are a little different than other kids’ craft websites as we stick to one master list of basic craft supplies to make every single project on the site. And why would we do this? For you, of course! It really does make the process of crafting with your kids simpler and more enjoyable. Less prep required, you will never find yourself missing a key “ingredient” and easy clean up since everything goes right back in the bag or wrapped up in a piece of newspaper and thrown away.
This post contains affiliate links, which means if you make a purchase through these links, I may receive a small commission at no extra cost to you. Click here to read my full disclosure policy.
“Today a reader, tomorrow a leader.”. – Margaret Fuller
I hope that these bookmark ideas will inspire even more reading with your family. One of the joys of my day when my boys were little was the nightly routine of reading together. We worked through Shel Silverstein’s poems and funny picture books by Sandra Boynton and then chapter books as they got older. Time spent reading is never wasted, and it’s even better when you do it together. Here are a few of our family favorites that I know you will love too…
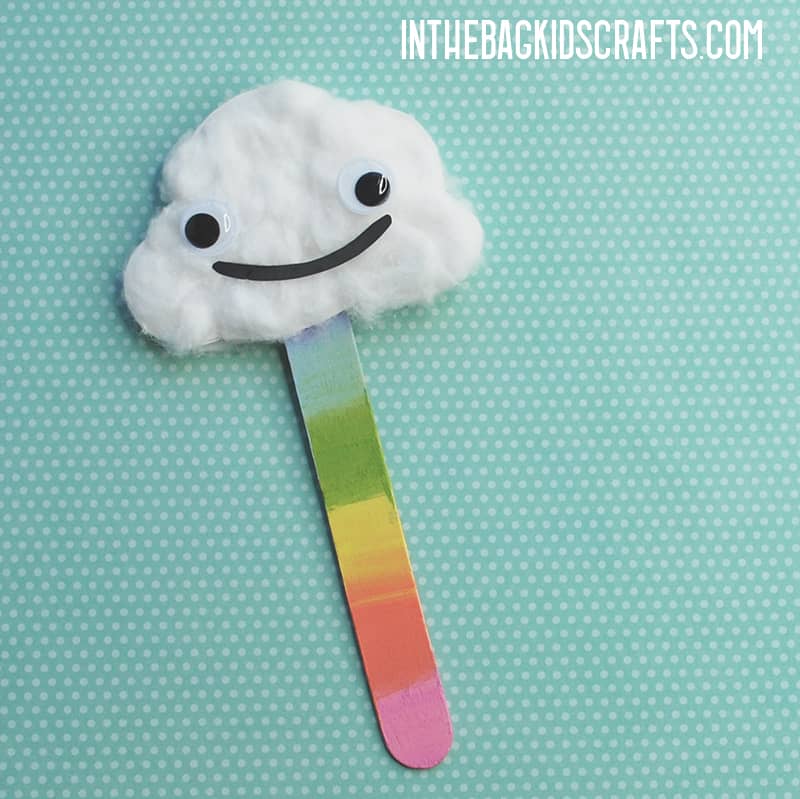
Bookmark Design #1: Ombre Rainbow
SUPPLIES FROM THE BAG
- Large popsicle stick
- Newspaper
- Paper plate (9-inch coated)
- Scissors
- Q-tips
- Glue stick
- Cotton balls
- Paints in rainbow colors (palette of your choice. We went with pastels.)
- 6 Small pompoms
- Pencil
- Elmer’s glue
- 2 Googly eyes
- Scrap of black construction paper
Step 1: Paint the Rainbow
Let’s do a little bookmark painting. Making an ombre rainbow is super simple. Here are the printed instructions, and there is also a quick video that sums it all up for your benefit too.
- Place your large popsicle stick on your newspaper and squeeze out a little bit of each rainbow colored paint.
- A pompom goes with each color. *You can also just use your fingertip for this
- Start at the bottom of your popsicle stick, and paint about one inch using the first color with your pompom.
- While it is still wet, do the same with the next color, overlapping slightly so that the colors blend together where they meet.
- Repeat this process until you have used all six of your colors and are at the end of the popsicle stick. It is alright to leave a little bit not painted at the end.
*Give your paint a little time to dry while you move on to the next step. Once one side is dry, come back and paint the other side also.
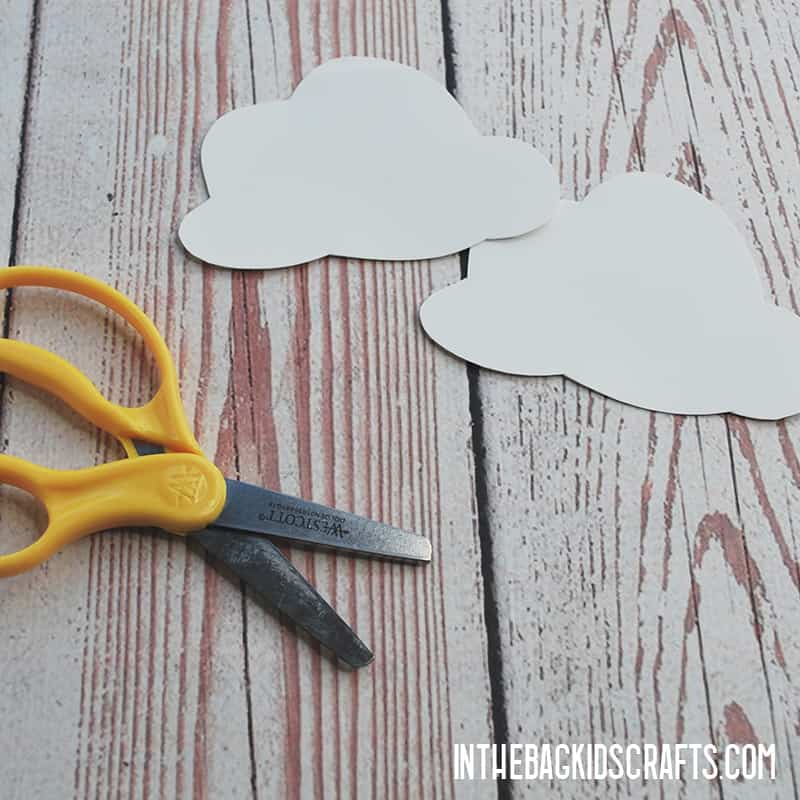
Step 2: Cut Out the Cloud
- Cut the paper plate in half.
- Draw a cloud shape on one of the halves (or use the printable template if you prefer). Then cut it out.
- Trace your cut out cloud on the other half of the plate and cut it out also.
- Now you have 2 identical clouds.
Step 3: Put It Together
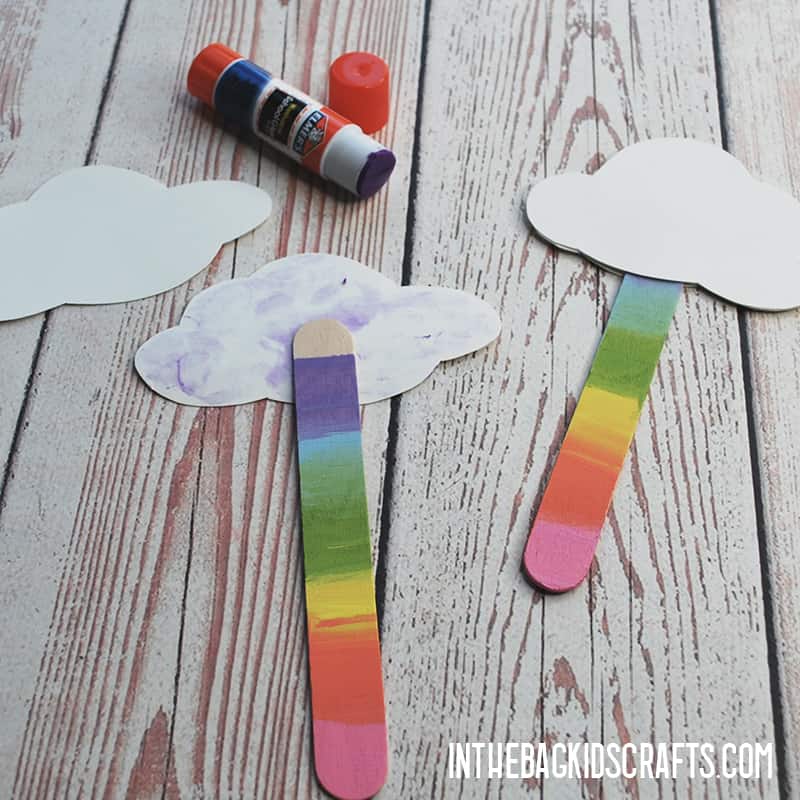
- Once the paint has dried, it is time to glue the clouds in place.
- Sandwich your matching cut out clouds onto the end of the popsicle stick and use the glue stick to put them together.
Step 4: Add Some Fluff
- Pull a cotton ball to fluff it up. Then adhere pieces of cotton onto the front of the cloud with your glue stick.
- Flip it over and add fluff to the other side also.
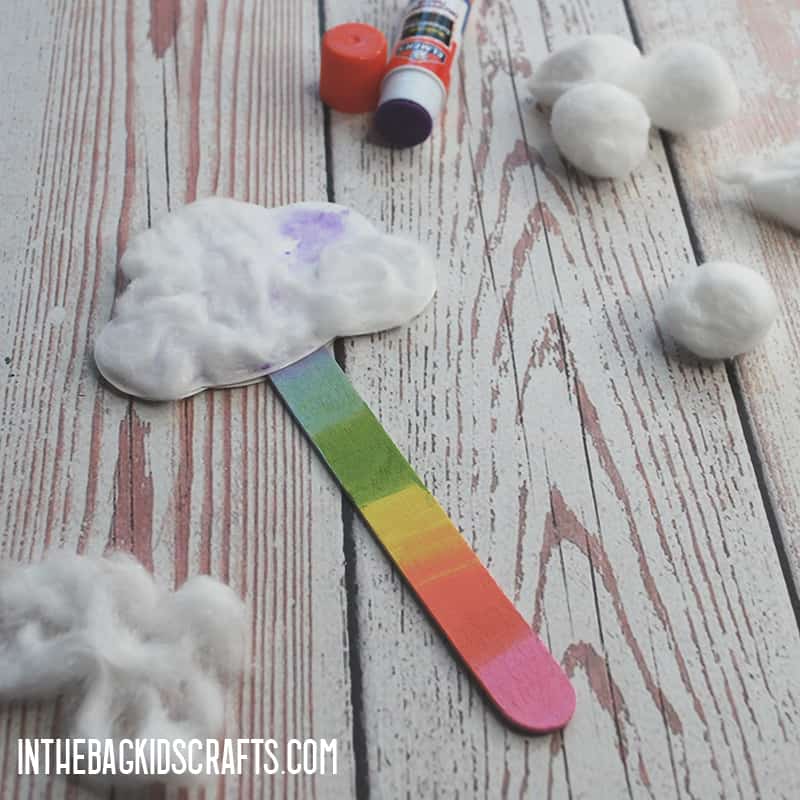
Step 5 (Optional): Add a Smile
- Cut a wide smile from a scrap of black construction paper.
- Glue the smile and eyes in place with Elmer’s glue.
- Set it aside and give it time to dry.
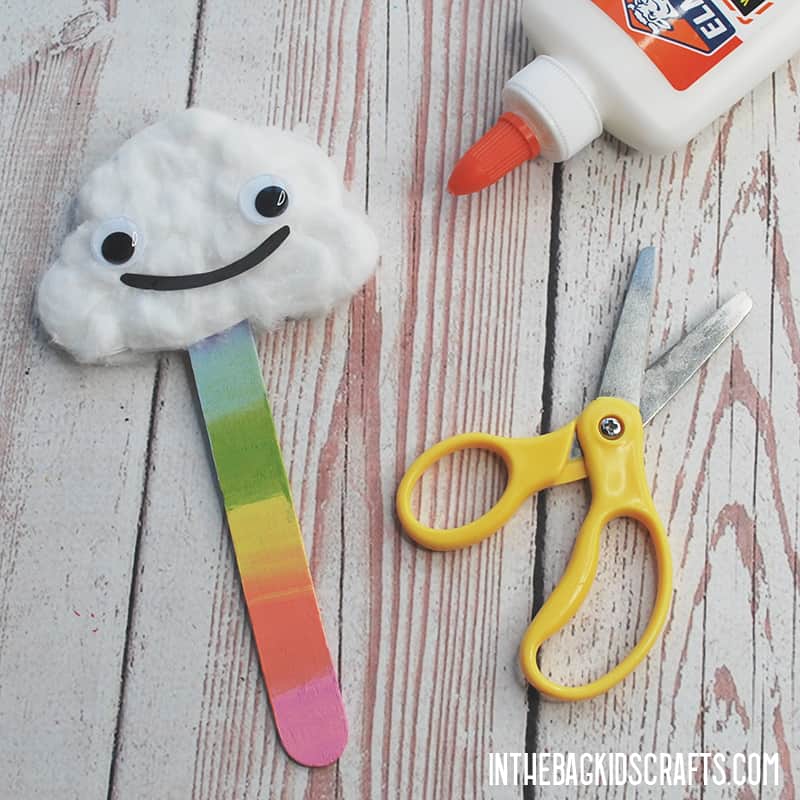
Now you have finished the first of our simple bookmark designs. You can call it a day or continue on to make more DIY bookmarks for kids.
Save this weather craft for kids for later. Pin it to your favorite Pinterest board…
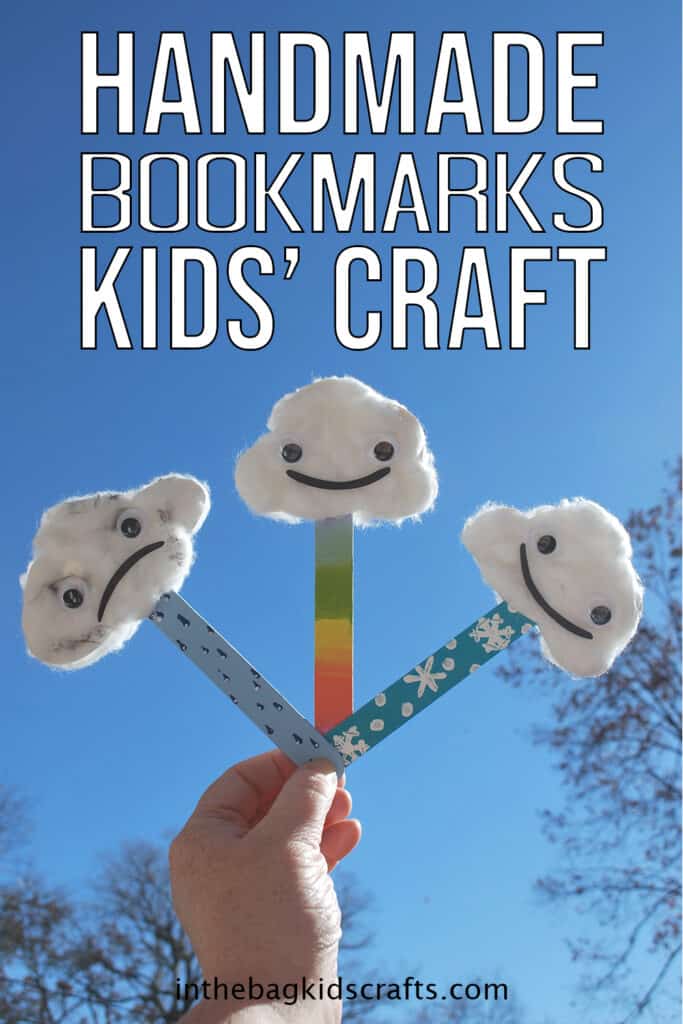
Bookmark Design #2: Raindrops
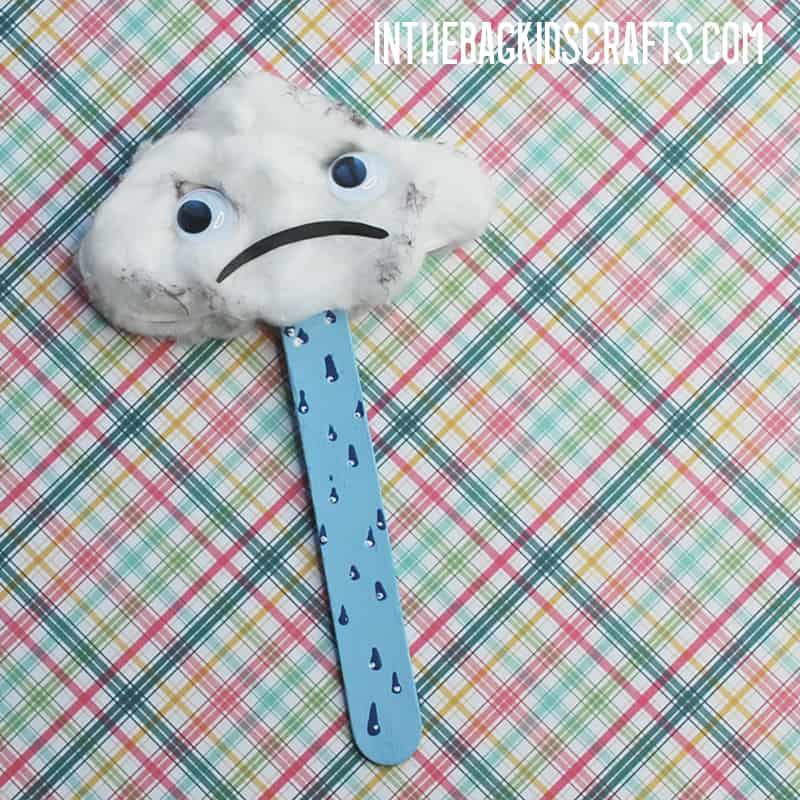
The second of our bookmark ideas for students is a RAINY DAY BOOKMARK. Feel free to change up the colors and really make it your own. We added a little gray to the cotton to make it feel more like a rain cloud too.
SUPPLIES FROM THE BAG
- Large popsicle stick
- Paints-light blue, dark blue and white
- Newspaper
- Pencil
- Clothespin
- Small or medium pompom
- Paper plate (9-inch coated)
- Scissors
- Glue stick
- Cotton balls
- Gray marker
- Q-tip (optional)
- Elmer’s glue
- Scrap of black construction paper
- 2 Googly eyes
Step 1: Let’s Paint
- Place your large popsicle stick on the newspaper and squeeze out a bit of light blue paint.
- Pinch the pompom with your clothespin to form a “paint brush”.
- Now use it to cover your popsicle stick in the light blue paint.
- Once it dries you will flip it over and paint the other side also.
Step 2: Cut Out the Clouds
- Cut the paper plate in half.
- Draw a cloud shape on one of the halves (or use the printable template if you prefer). Then cut it out.
- Trace your cut out cloud on the other half of the plate and cut it out also. Now you have two identical clouds.
- Set these aside to be used in step 4.
Step 3: Paint a Little More
- Now that the light blue paint on your large popsicle stick is dry, it is time to paint on some raindrops.
- You can use a q-tip or the tip of a pencil to make raindrops using the dark blue paint.
- Once the raindrops dry a bit, use the pencil tip to add some reflective dots to each raindrop.
- When the paint on one side dries, flip it over and decorate the other side also.
Step 4: Put It Together
- After the paint has dried, it is time to glue the clouds in place.
- Sandwich your matching cut out clouds onto the end of the popsicle stick and use the glue stick to put them together.
Step 5: Add Some Fluff
- Pull a cotton ball to fluff it up. Then adhere pieces of cotton onto the front of the cloud with your glue stick.
- Flip it over and add fluff to the other side also.
- If you would like the clouds to appear a little more stormy, use your gray marker to color the fluff in a couple of places.
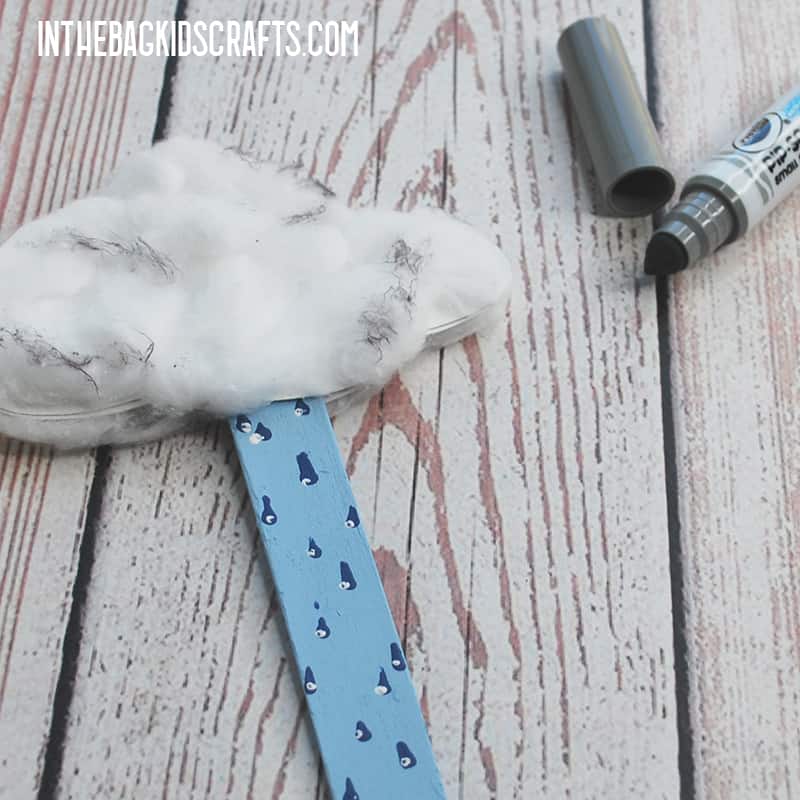
Step 6 (Optional): Add a Smile or Frown
- Cut a wide smile (or frown) from a scrap of black construction paper.
- Glue the smile and eyes in place with Elmer’s glue.
- Set it aside and give it time to dry.
Bookmark Design #3: Winter Sky
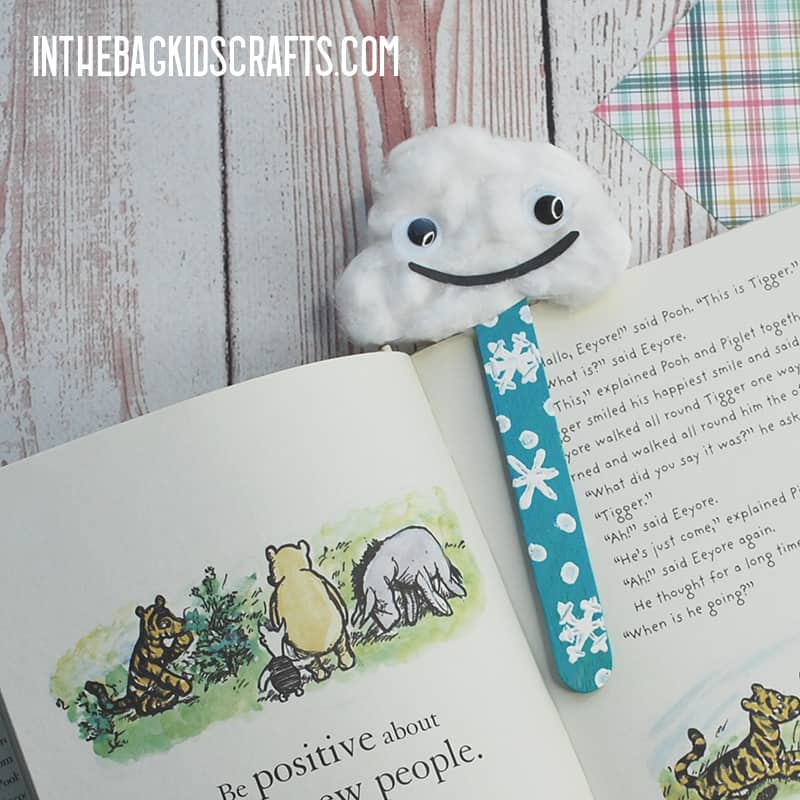
The last of our bookmark ideas for students is a snow storm bookmark. You can keep this absolutely minimal and just use a q-tip to make dot snowflakes. Perfect for any age, even a toddler can dot on the snowflakes and help glue the cotton in place.
SUPPLIES FROM THE BAG
- Large popsicle stick
- Aqua or blue paint
- White paint
- Pencil
- Newspaper
- Clothespin
- Small or medium pompom (any color)
- Q-tip
- Scissors
- Paper plate (9-inch coated)
- Cotton balls
- Glue sticks
- Gray marker
- Elmer’s glue
- Scrap of black construction paper
- 2 Googly eyes
Step 1: Start the Painting
- Place your large popsicle stick on the newspaper and squeeze out a bit of aqua or blue paint.
- Pinch the pompom with your clothespin to form a “paint brush”.
- Now use it to cover your popsicle stick in paint.
- Once it dries you will flip it over and paint the other side also.
Step 2: Cut Out the Clouds
- Cut the paper plate in half.
- Draw a cloud shape on one of the halves (or use the printable template if you prefer). Then cut it out.
- Trace your cut out cloud on the other half of the plate and cut it out also. Now you have two identical clouds.
- Set these aside to be used in step 4.
Step 3: Painting Snowflakes
- Squeeze out a little bit of white paint onto the newspaper
- You can use a q-tip or the tip of a pencil to paint on snowflakes.
- When the paint dries on the front, turn it over and add snowflakes to the back too.
Step 4: Add the Clouds
- After the paint has dried, it is time to glue the cut out clouds in place.
- Sandwich your matching cut out clouds onto the end of the popsicle stick and use the glue stick to put them together.
Step 5: Bring on the Fluff
- Pull a cotton ball to fluff it up. Then adhere pieces of cotton onto the front of the cloud with your glue stick.
- Flip it over and add fluff to the other side also.
- If you would like the clouds to look a little more stormy, use the gray marker to color some of the cotton fluff.
Step 6 (Optional): Add a Smile
- Cut a wide smile from a scrap of black construction paper.
- Glue the smile and eyes in place with Elmer’s glue.
- Set it aside and give it time to dry.
These bookmark designs for students make reading so much fun! Choose your favorite or make all three. Now that you know how to make a bookmark with fluffy clouds, use your imagination and make it your own. There is no end to the possibilities.
Happy Crafting!
XO Joy
Looking for other bookmark ideas for students? Check these out…
Save these Bookmark Ideas for Students for later. Pin them to your favorite Pinterest board…
