Easy Summer Kids’ Craft Flamingo Bookmark
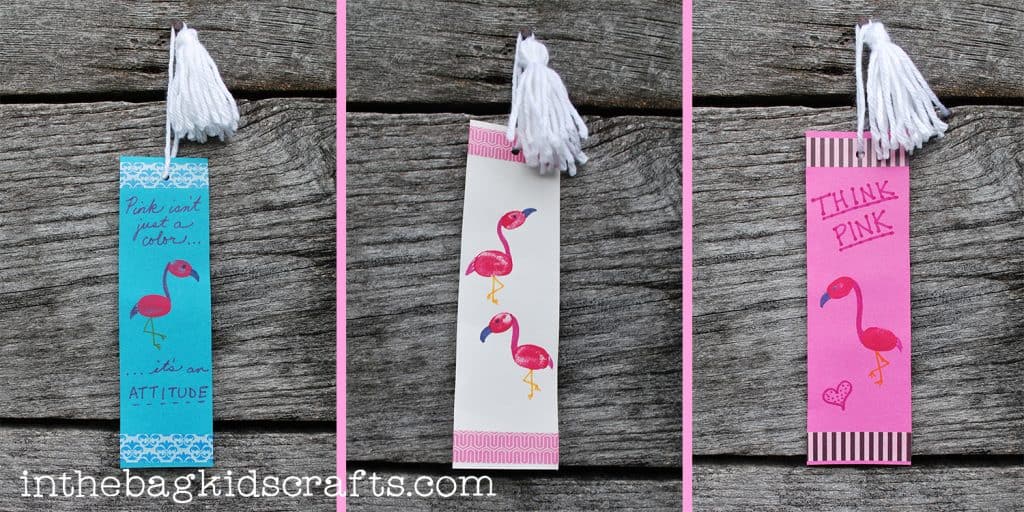
Summer time for me means trips to the beach and reading lots of good books. So, combining those two fun activities to form this craft seemed like a no brainer. Not only will your kids enjoy making this easy summer kids’ craft flamingo bookmark, but they will use it all year long when enjoying their favorite stories. And just maybe it will bring back some summertime memories in the long, cold days of winter.
If you are a fan of flamingos like I am, try making this life-sized flamingo craft from paper plates too.
Make Crafting With Your Kids Easy
Before I get to the craft instructions, I thought it might be fun to share some other flamingo crafts that are out there on the web. Each of these crafts still fits the criteria of being able to be created from the items that you have on hand in your bag. See the “fill your bag” page to learn what to put in your bag.
Once you have your crafting kit together, all you will need to do is tune in here for ideas that you can make at the drop of a hat. It is my goal to make creating easy, fun and, most of all, do-able. I have never met a mom who said, “Wow, I really wish that there were more things to fill my day. I have so much free time.” YOU ARE BUSY, but you still want to connect with children in meaningful ways. Crafting, whether you are a creative type or not, is perfect. When kids’ hands are busy, their minds are free to wander, and they begin to share. Not only that, but they are learning all kinds of beneficial life skills (fine motor coordination, sharing, working through problems to find solutions, social skills, developing imagination, and so much more!)
SUPPLIES FROM THE BAG
- Construction paper
- Scissors
- Hole punch
- White yarn
- 2 paper plates
- Washi tape
- Markers
- Pink paint
Step 1
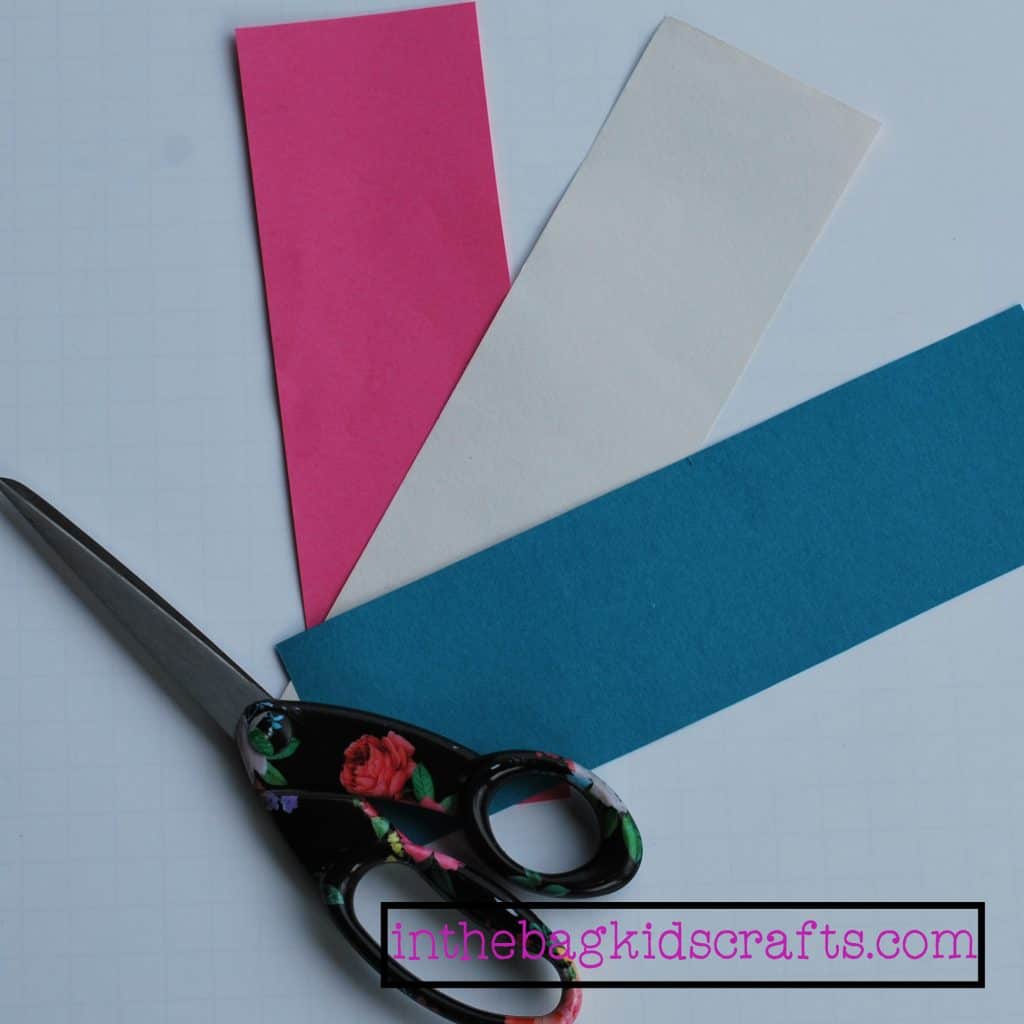
- Cut a strip of construction paper (color of your choice) approximately 2 inches wide.
Step 2
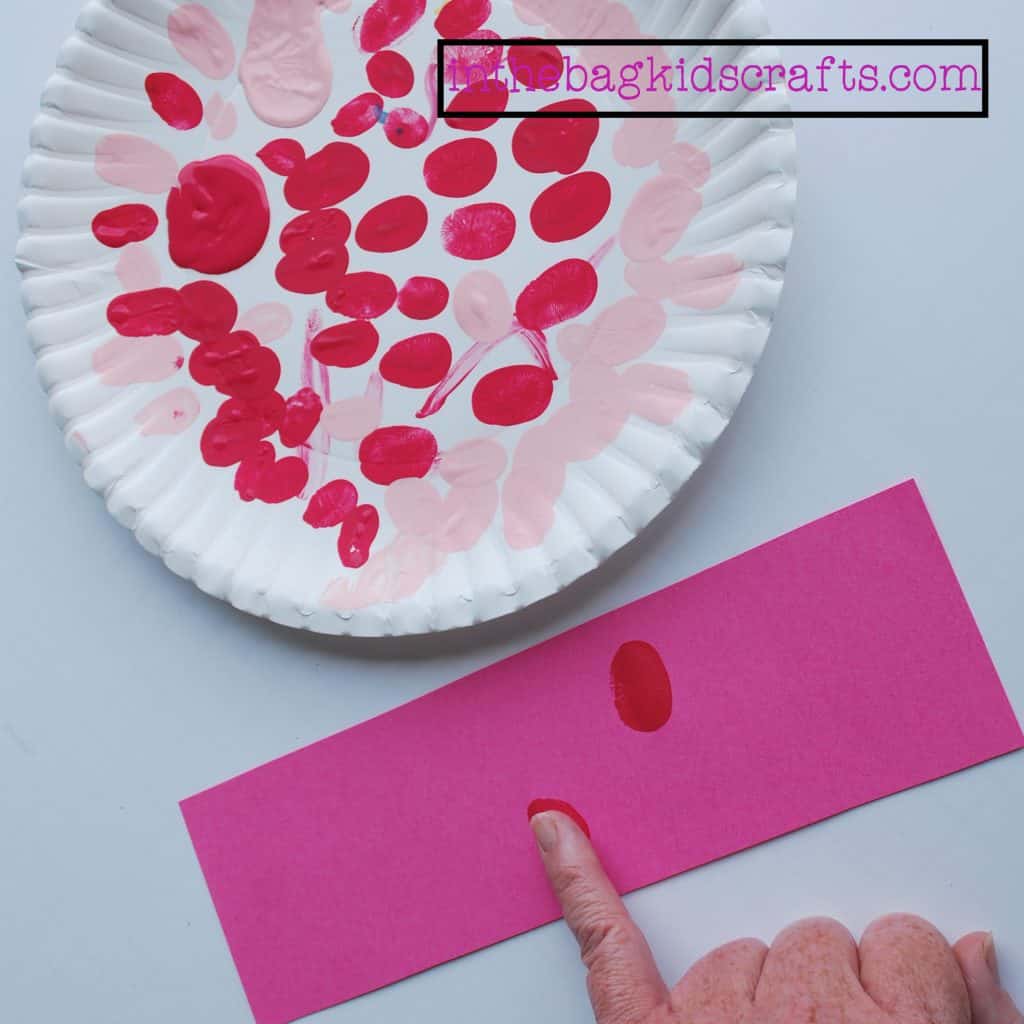
- Squeeze a small dot of pink paint onto a paper plate
- Dip the pad of your thumb into the paint.
- Press your thumb onto the plate 2-3 times and then onto the bookmark where you would like to make the body of the flamingo on the 3rd or 4th press of the thumb.
- Repeat this using your pinky finger and placing it where you would like the head of the flamingo
- Your flamingo can be looking up, down or straight ahead. Place your pinky print accordingly
- Allow the paint to dry
Step 3
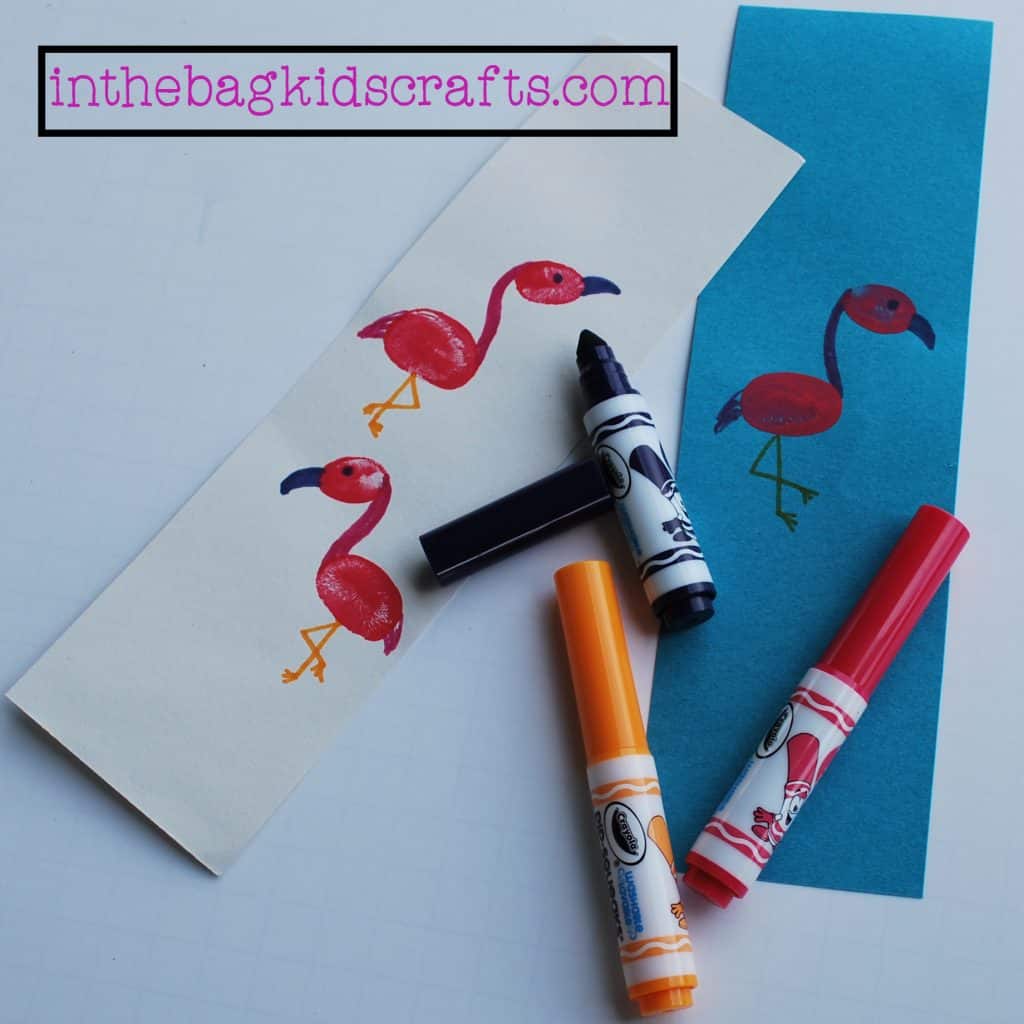
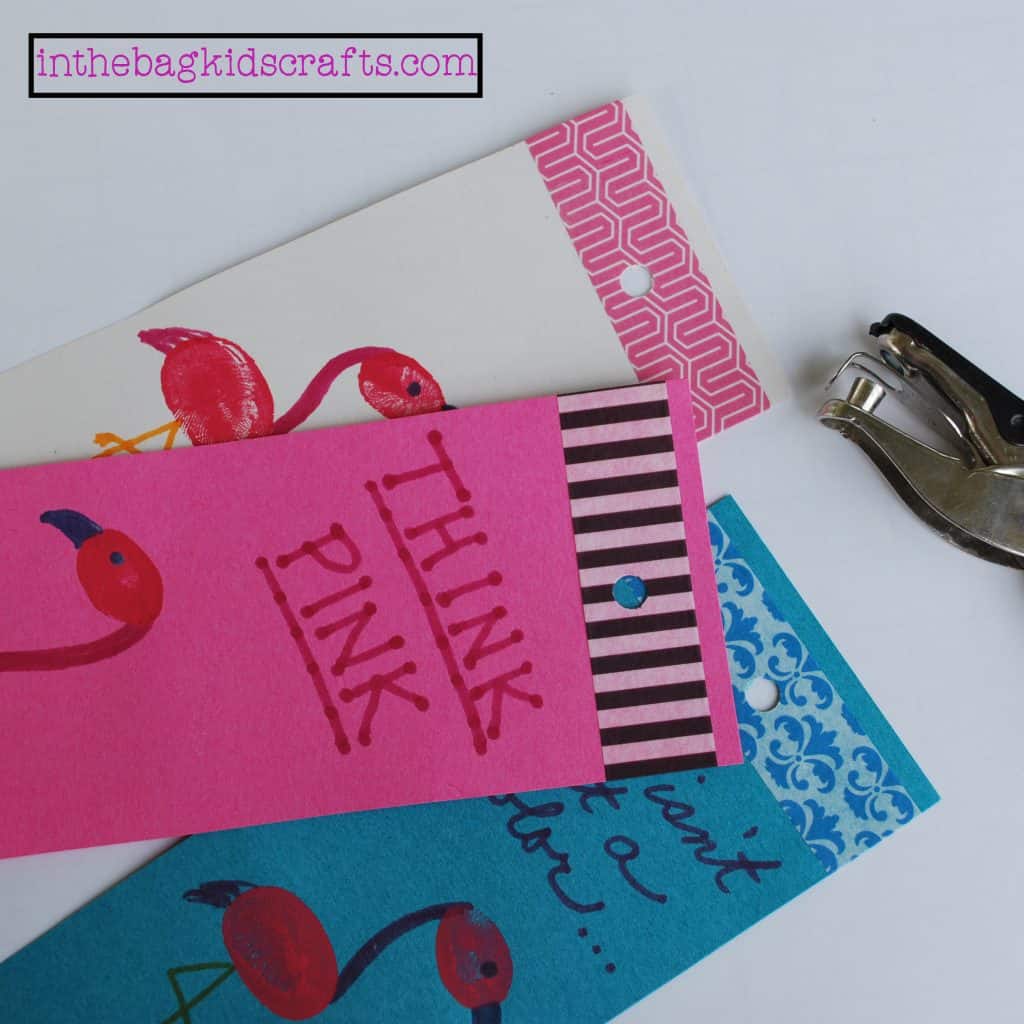
- Connect the body to the head by drawing a curved line with a pink marker
- Draw legs as pictured
- Add an eye and a beak to your flamingo
Step 4
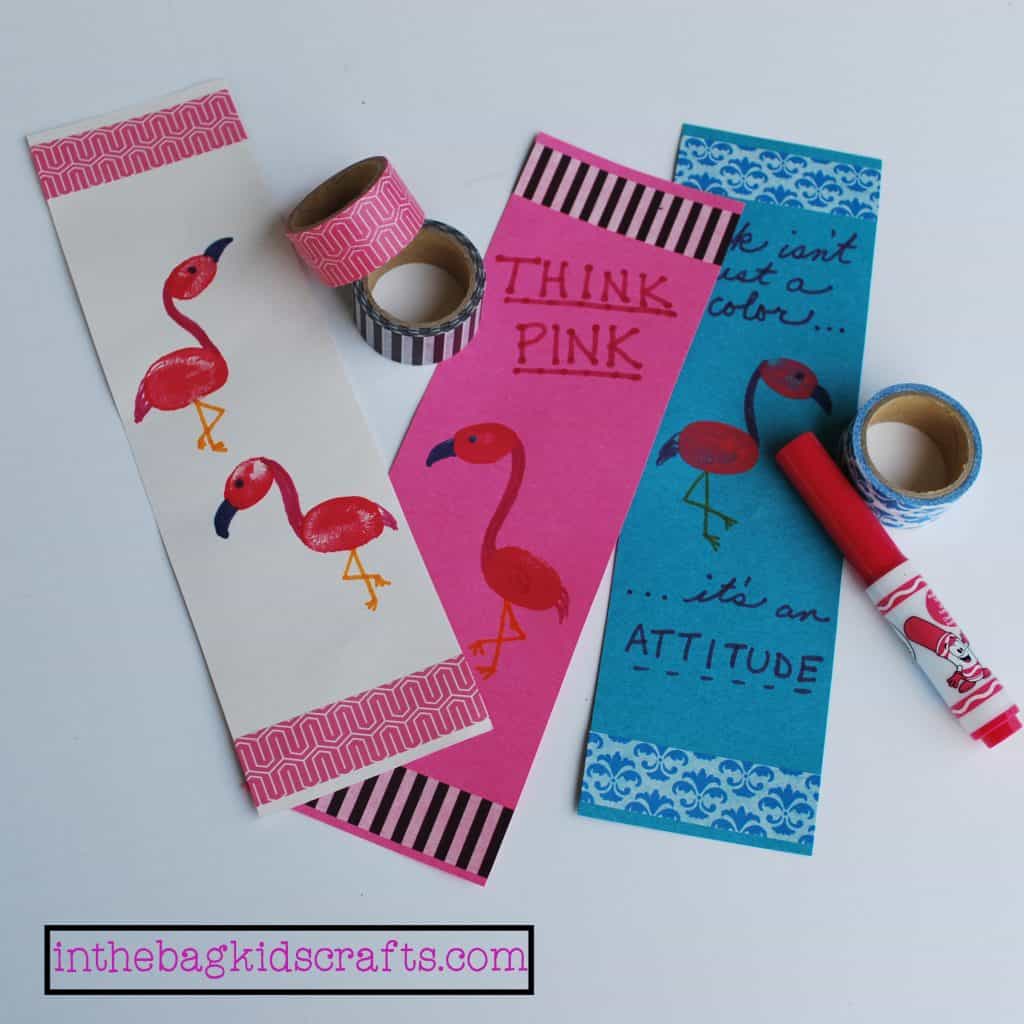
- Embellish the bookmark with washi tape and markers as desired
Step 5
- Use the hole punch to make a hole in the top center of the bookmark
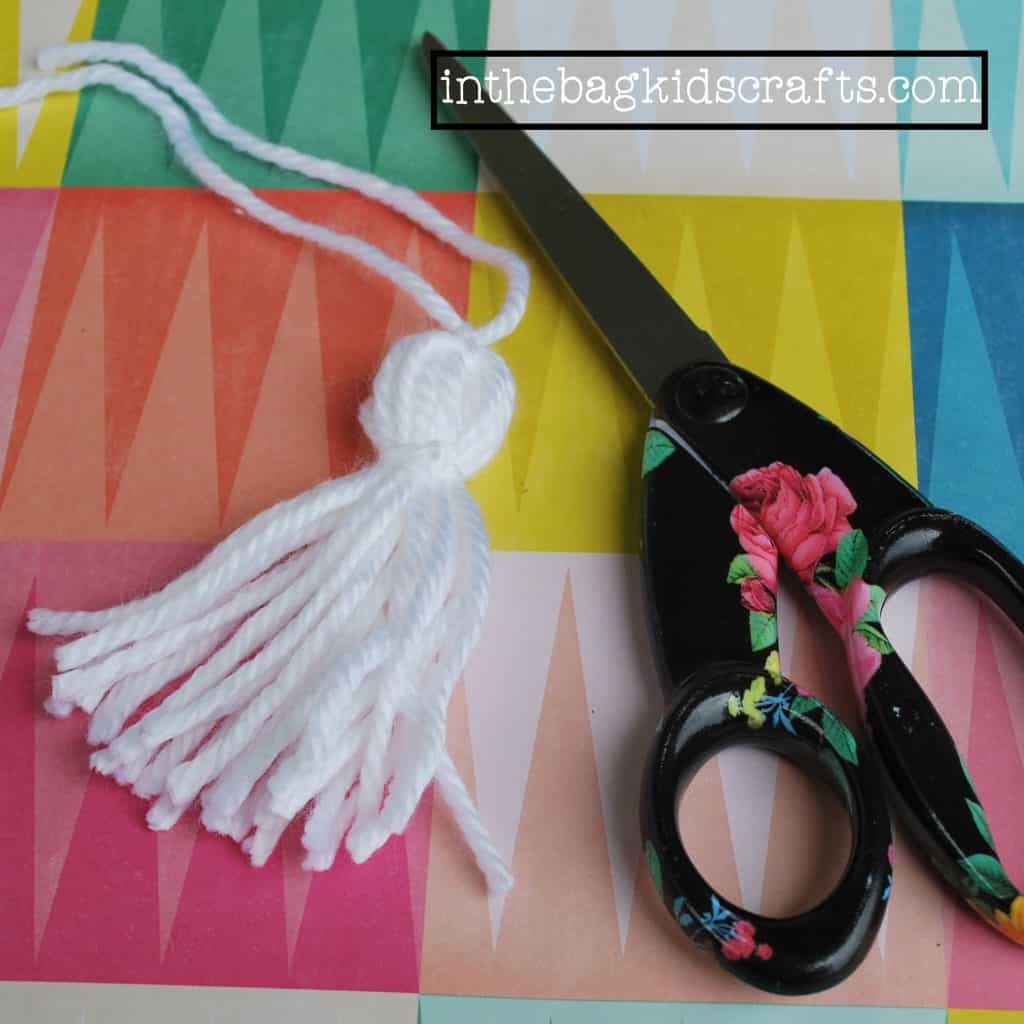
- Place the tassel (instructions to follow) in the hole and tie in the back

In order to master the skill of using scissors, a kiddo first needs to be able to coordinate their hands together. Wrapping yarn to make a tassel is a great way to practice this skill. Plus, there is a reward at the end, something fun an fuzzy that they made themselves. While they are wrapping, encourage them to have good posture, sitting up straight and tall, keeping the elbows down and holding the project in the center of the body. Keep the square off of the table and held in front instead. You may help to stabilize the helper hand, but only if absolutely needed. Allow your child to do as much as he/she can on his/her own. If your child tends to rush through a task, give them a rhythm to follow by saying a little mantra, like “take…your…time…let’s…all…try…” in a very staccato sing songy voice.
HOW TO MAKE A TASSEL
Step 1
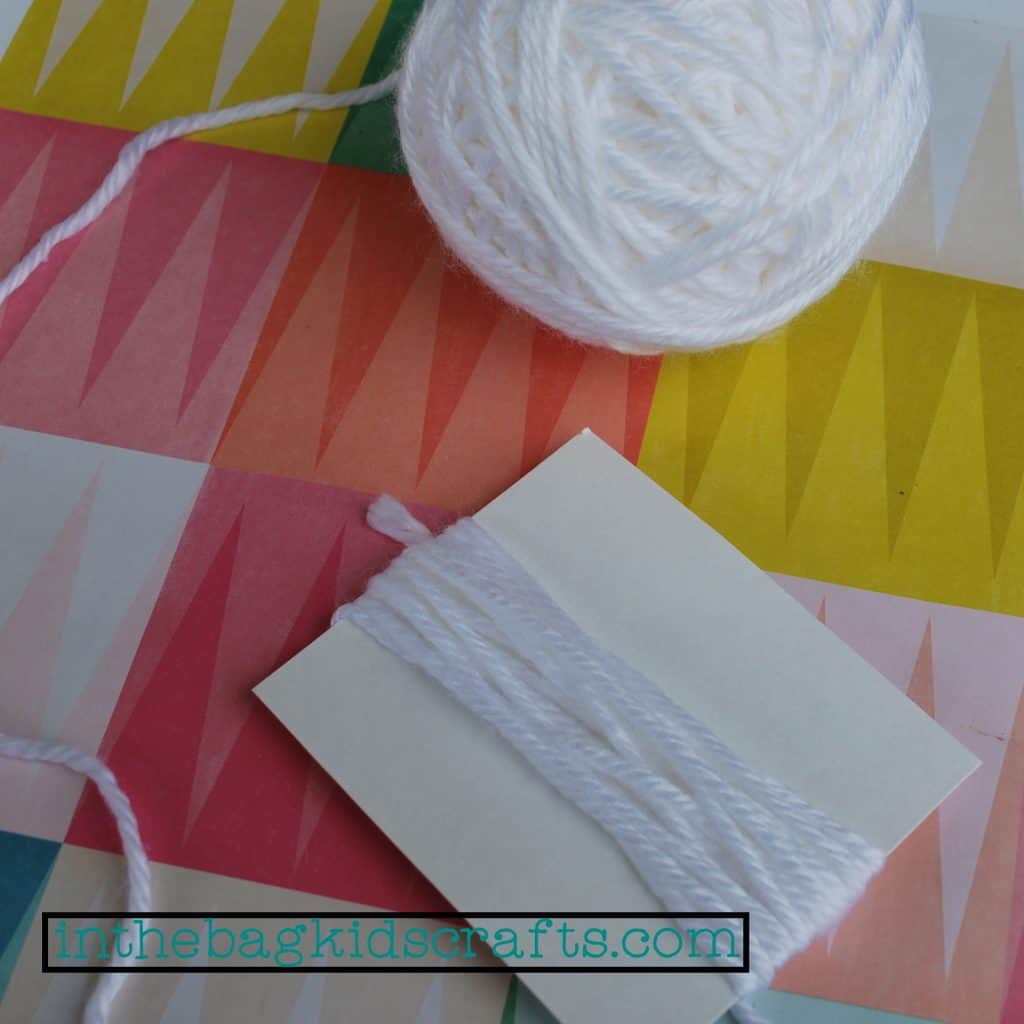
- Cut a 3×3 (or so) square out of the middle of a paper plate
- Wrap the white yarn around the square 10-12 times
Step 2
- Cut a piece of yarn approximately 6 inches long
- Slide the piece of yarn under the layers of wrapped yarn
- Tie the smaller piece of yarn into a knot around the bundle
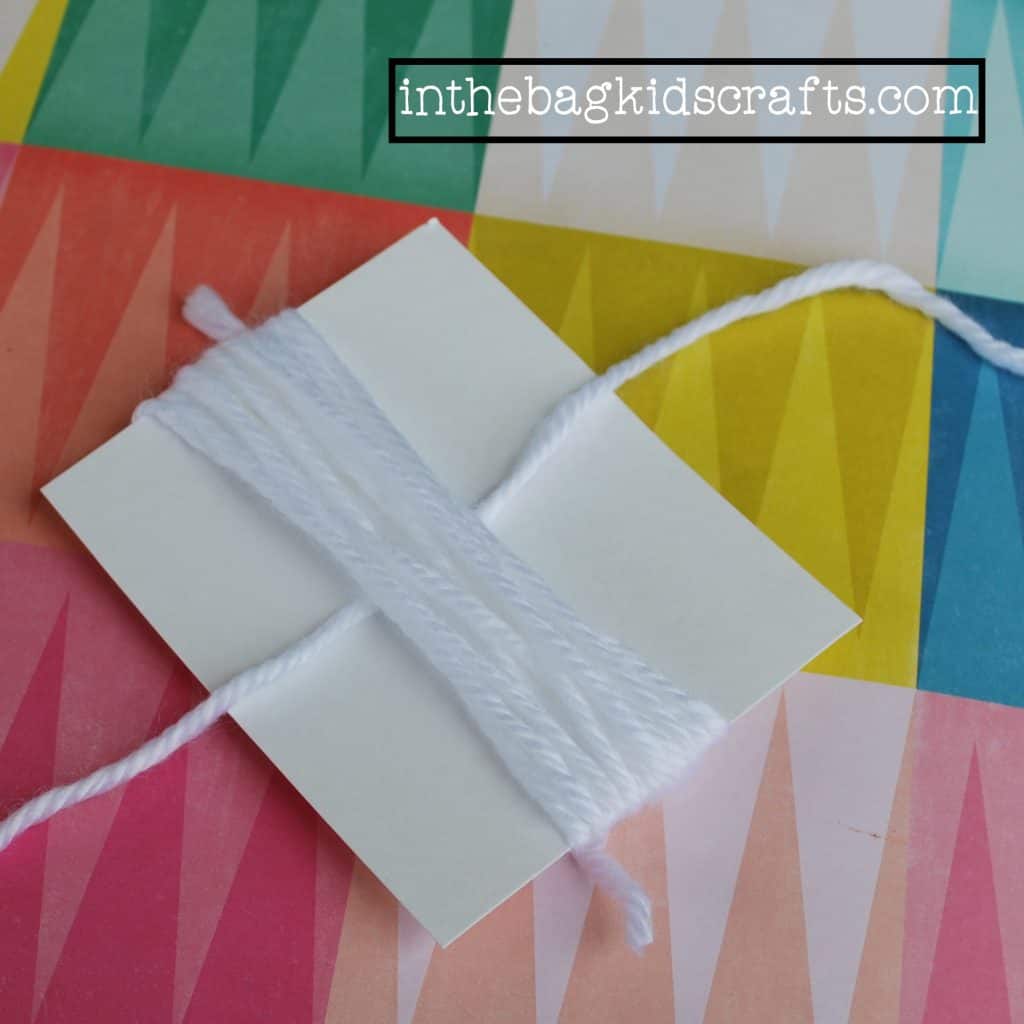
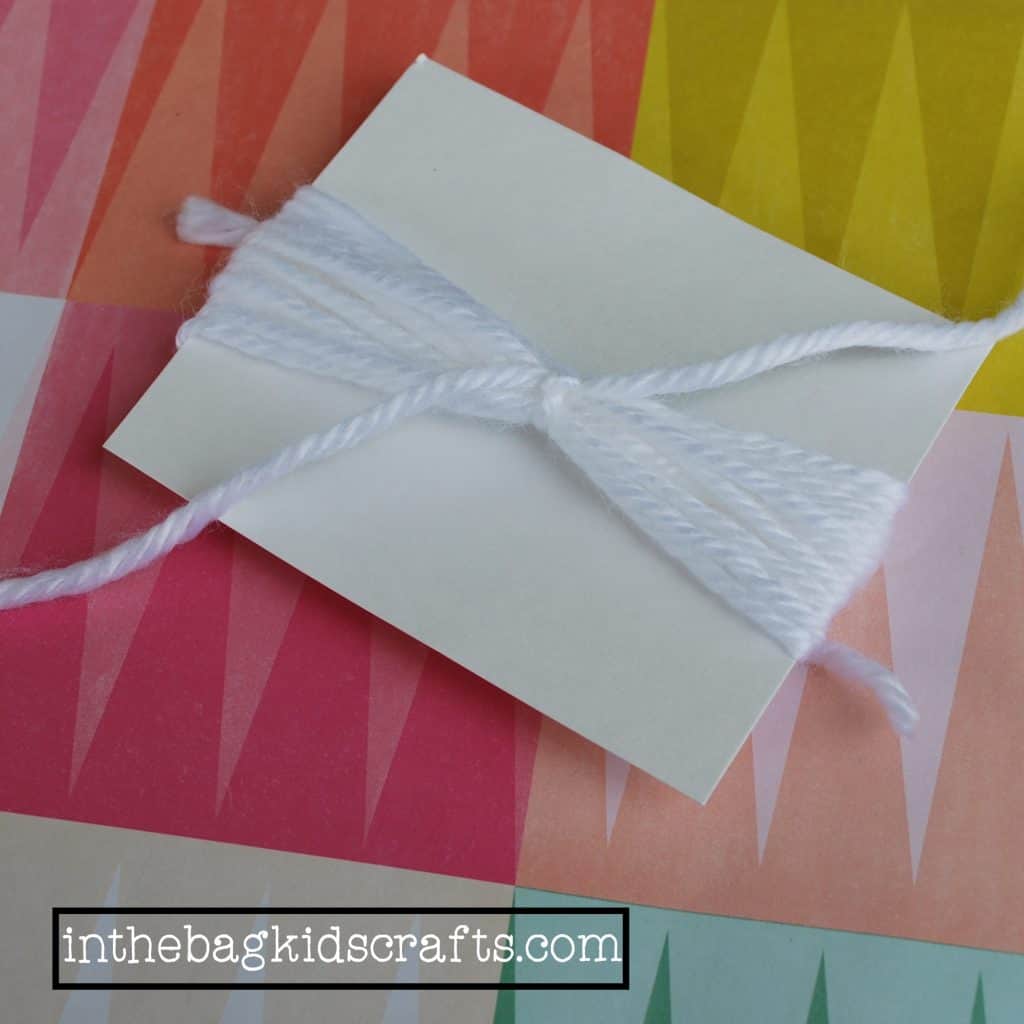
Step 3
- Slide the bundle of yarn off of the square
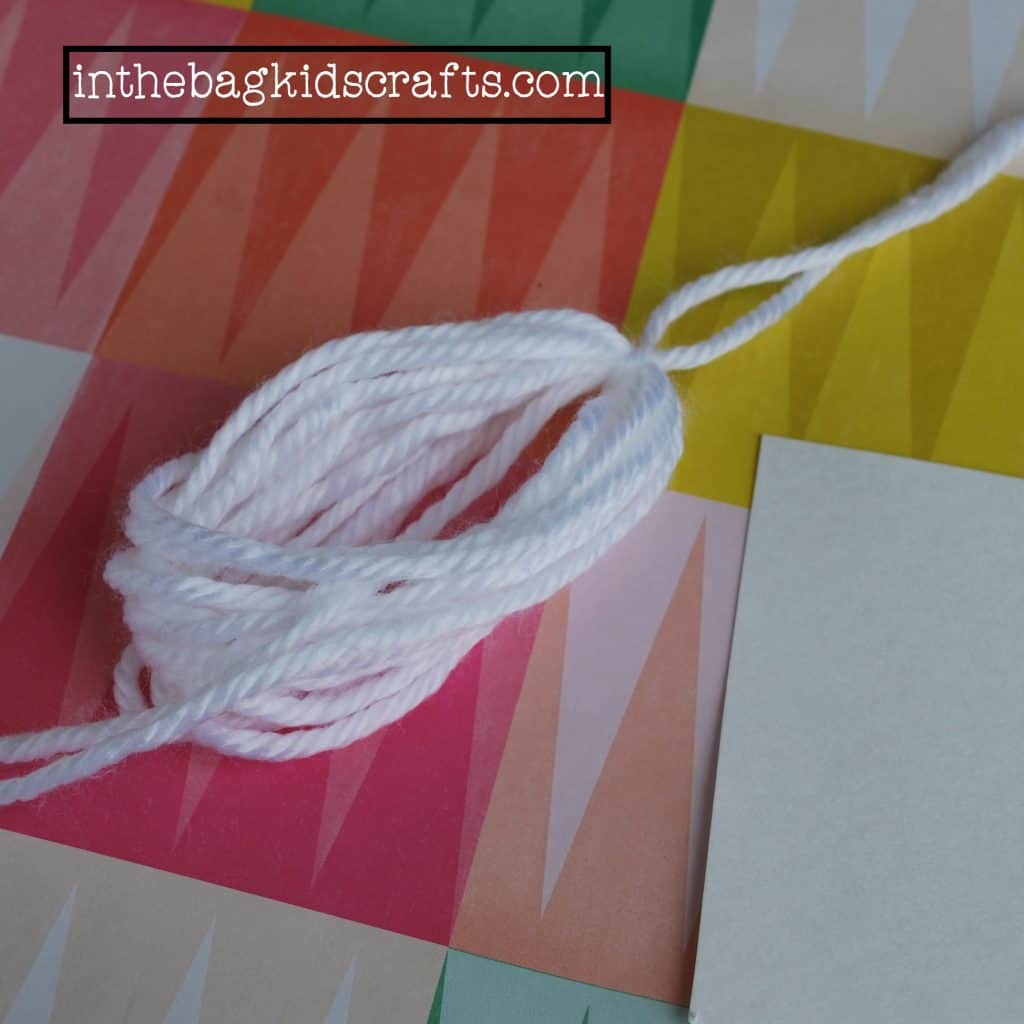
Step 4
- Cut a piece of yarn approximately 3 inches long
- Slide the yarn under the bundle about a 1/2 inch below the top
- Tie into a knot
- Trim the extra yarn
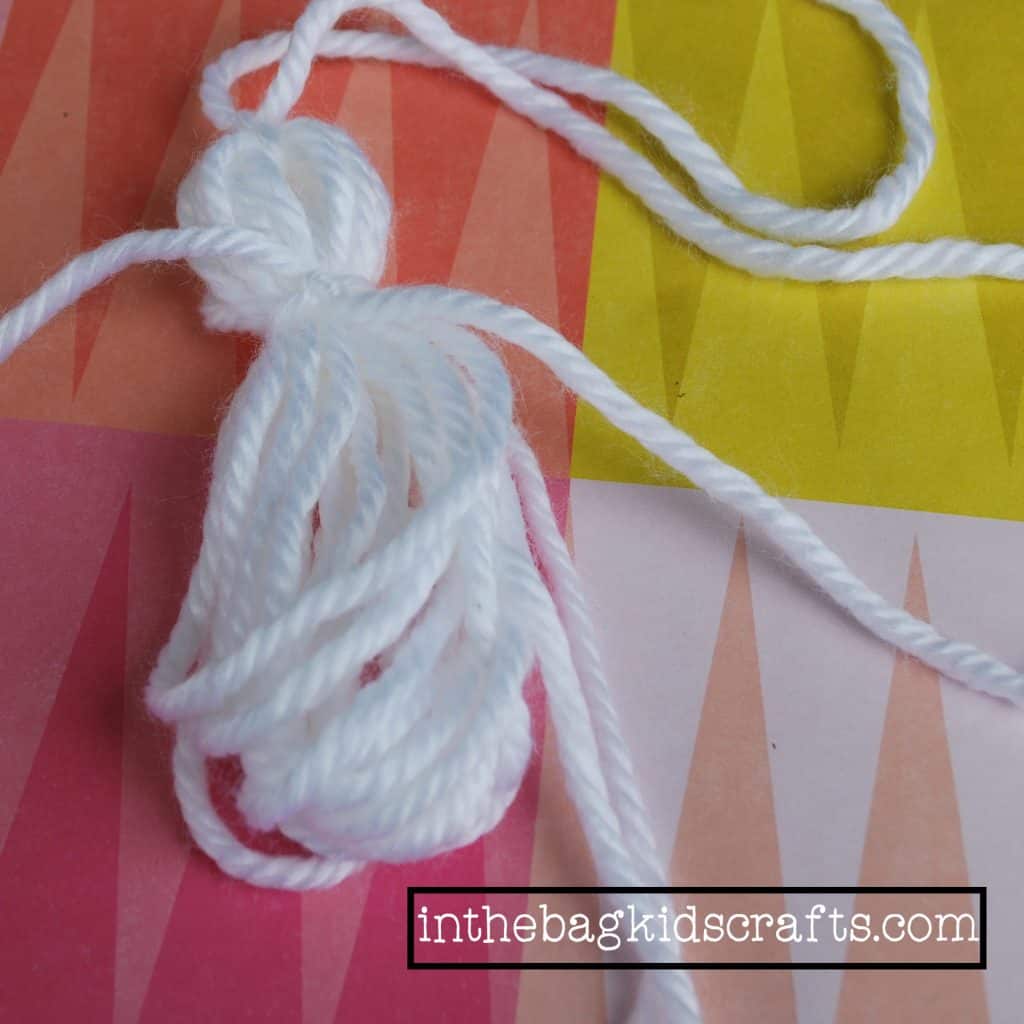
Step 5
- Cut the loops at the bottom of the tassel
- Trim the yarn so that the bottom of the tassel is even
And, as always, we would love to see your finished projects! It makes my heart flutter to see your creativity! You can upload a pic on the contact page, post it in the comments or send it via email to inthebagkidscrafts@gmail.com Happy crafting!!!