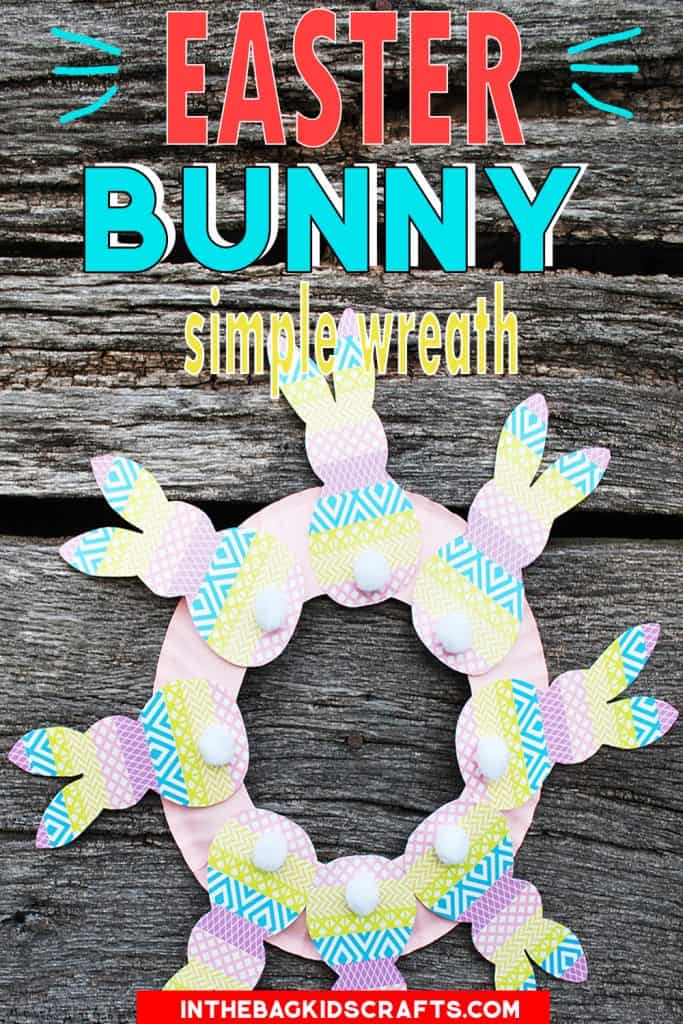
Paper Easter Wreath
Washi tape is one of my favorite craft supplies to use, and it really brings these Easter decorations to life! Plus, it is one of those things that kids just love, even the very little ones! Of course, they never seem to want to leave the tape where they put it. Be warned, your toddlers WILL try to take the tape right back off after they put it in place. And those little fingers can be so quick! But, there is no doubt, they will enjoy making this paper Easter wreath!
SUPPLIES FROM THE BAG
- Washi tape in pastel color patterns
- 9 Paper plates
- Scissors
- Hole punch
- Scotch tape
- Pink paint
- Newspaper
- Clothespin
- Medium pompom (any color)
- Pencil/marker
- 4 Pipe cleaners (any color)
- Small white pompoms
- Elmer’s glue
To make your life easier, EVERY craft on this website (yes…EVERY CRAFT!) is made from the same master list of supplies that fit into one bag. Most of the items on the list you already have in your home, really, even if you are not a crafter yourself. Once your bag is filled, you are ready to go! Just browse through the many, many project options here (your can search by age or season…) to find something that your kiddo will love and get to crafting! You will never regret the time that you spend creating with your family, and now with this approach it is actually do-able! Find out what to put in your bag…
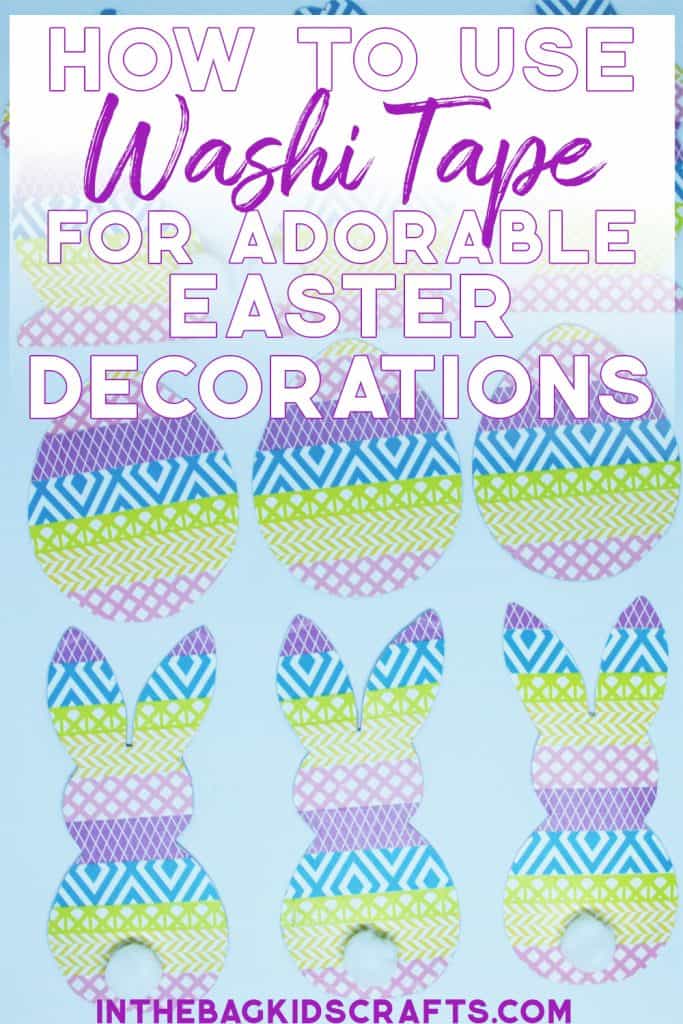
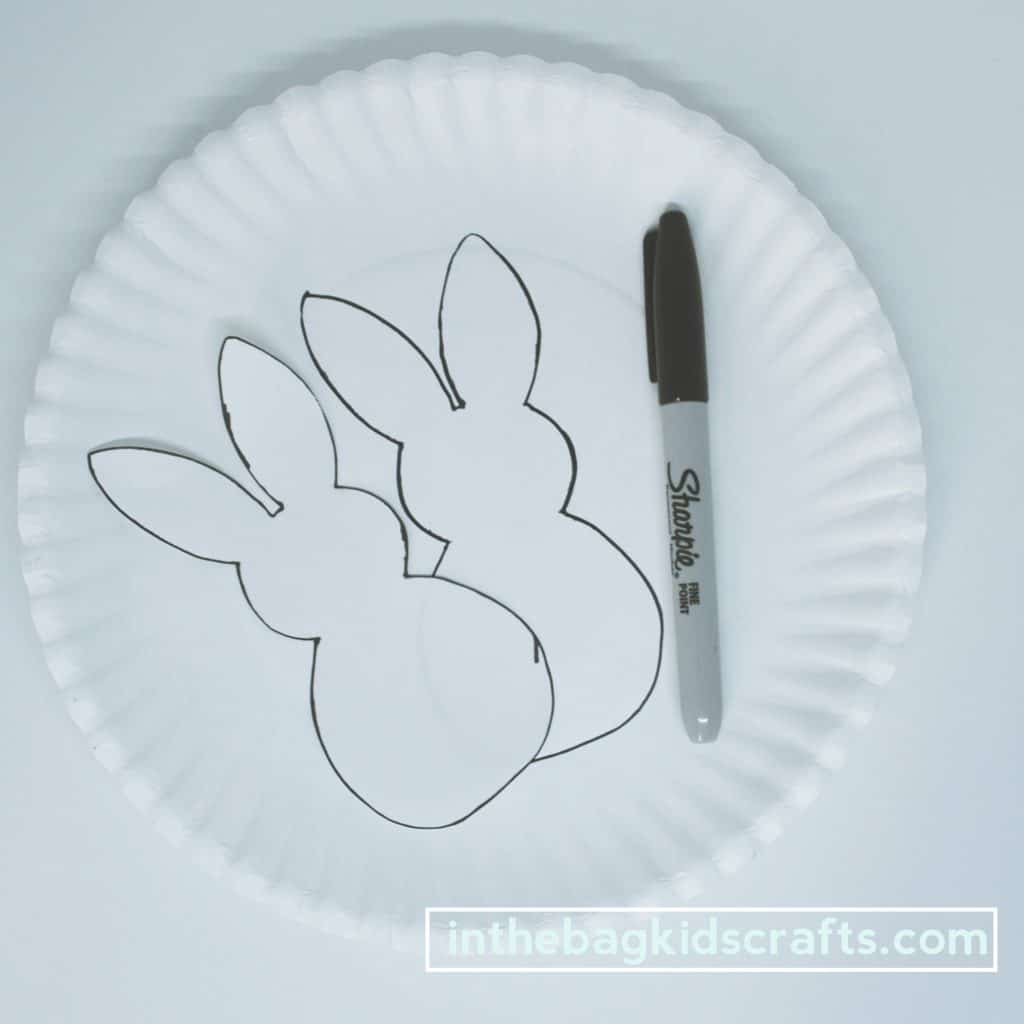
Step 1: Cut out
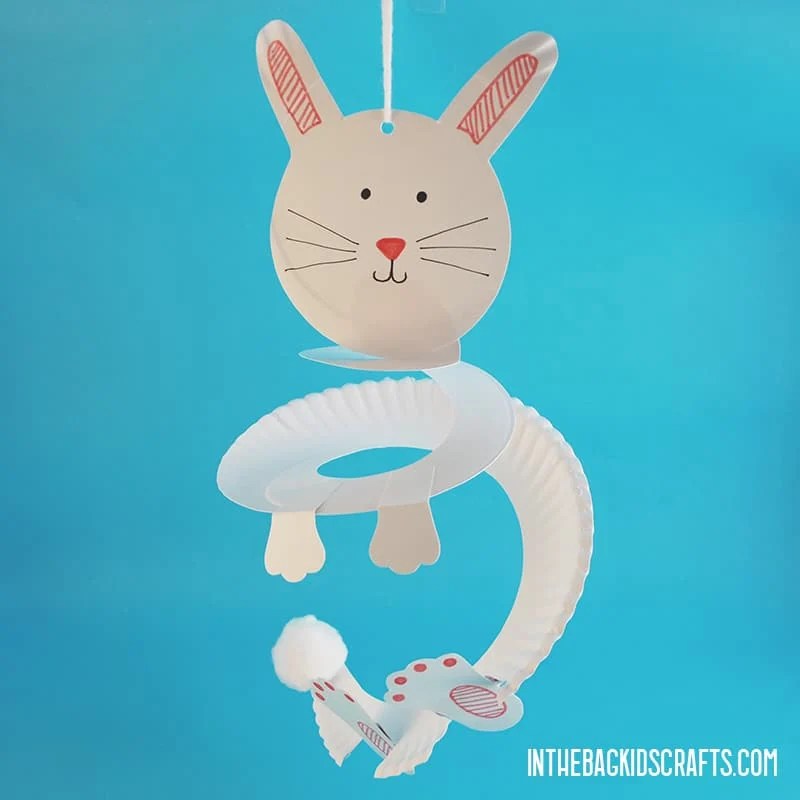
- Print out the Easter decorations and cut each one out.
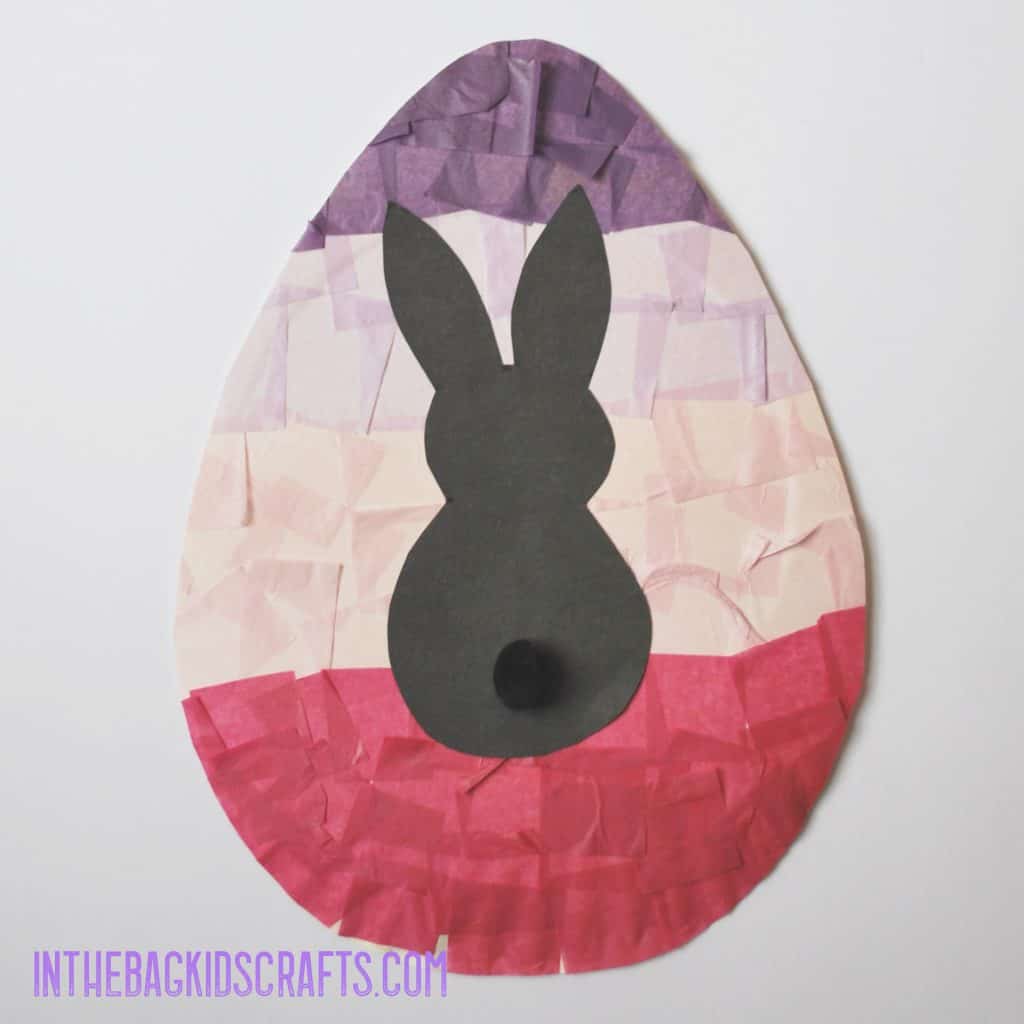
- Choose a bunny or egg and place it on a paper plate. Trace around it.
- Cut out the Easter decorations you have chosen. You will need to help little ones with this step if doing a bunny. The eggs, of course, are simpler to cut out. Let your early scissor users give it a try.
- Make as many decorations as you would like. If you want to make the wreath, make at least eight. You can choose all the same design or mix it up.
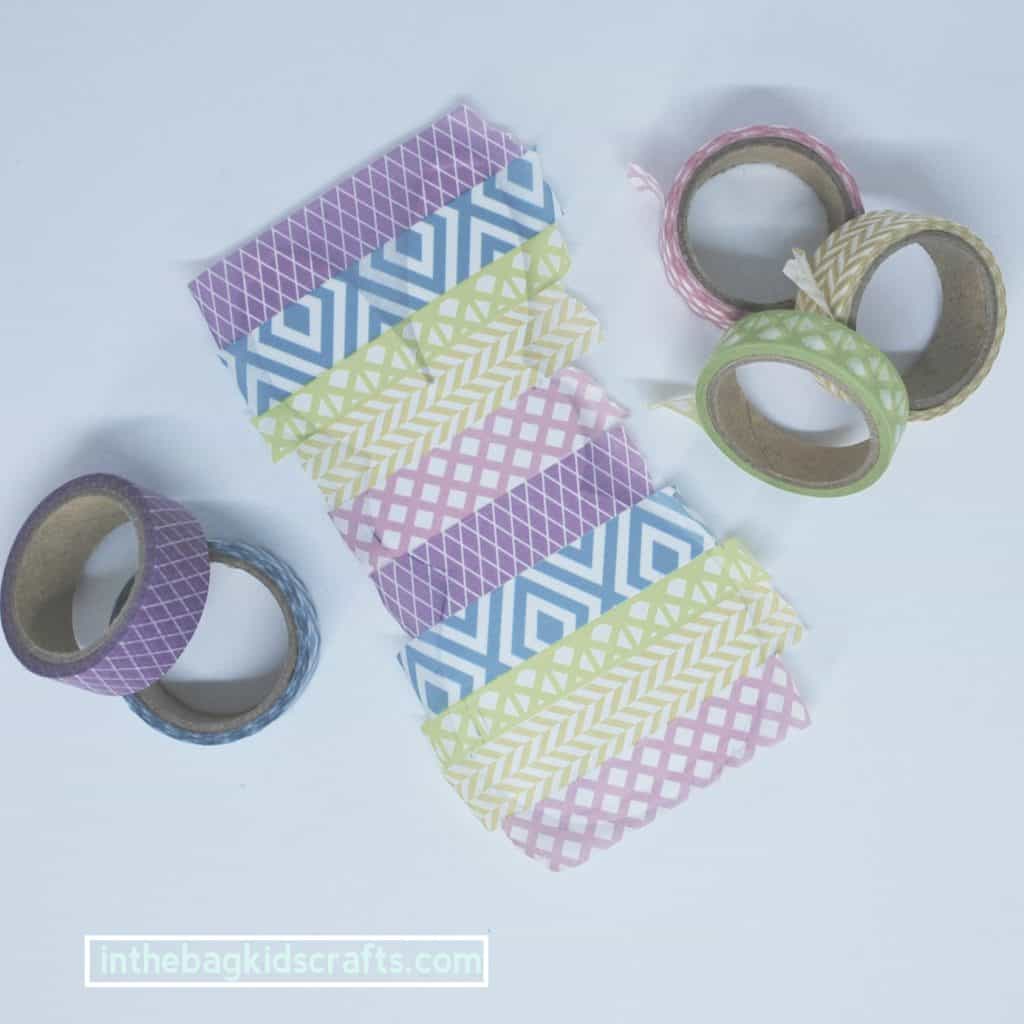
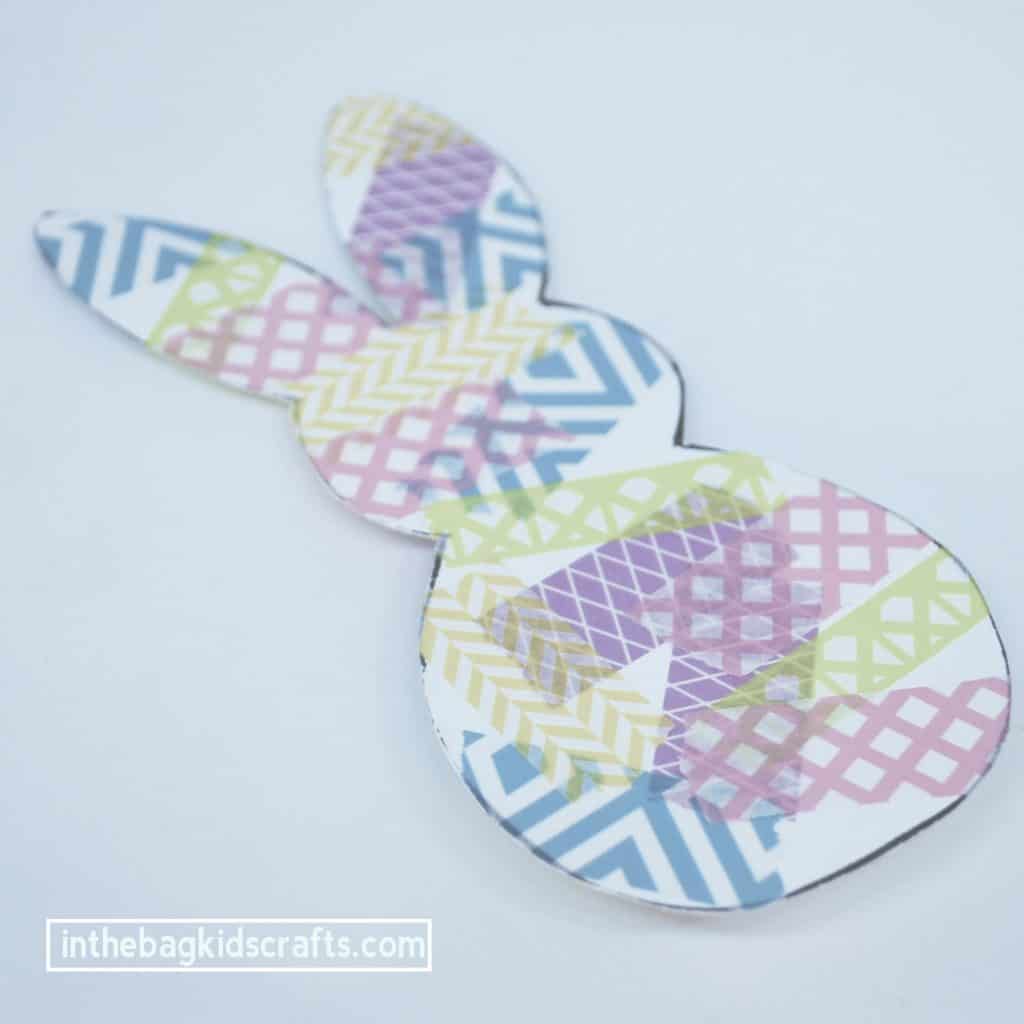
Step 2: Decorate
- Choose some washi tape of your choice to decorate your bunnies and eggs
- Place the washi tape on in whatever pattern you choose. I did alternating lines of tape. *For little ones, have them tear off pieces and place them randomly. This is a great fine motor coordination activity!
- Trim around each decoration to remove the excess tape hanging over the edge.
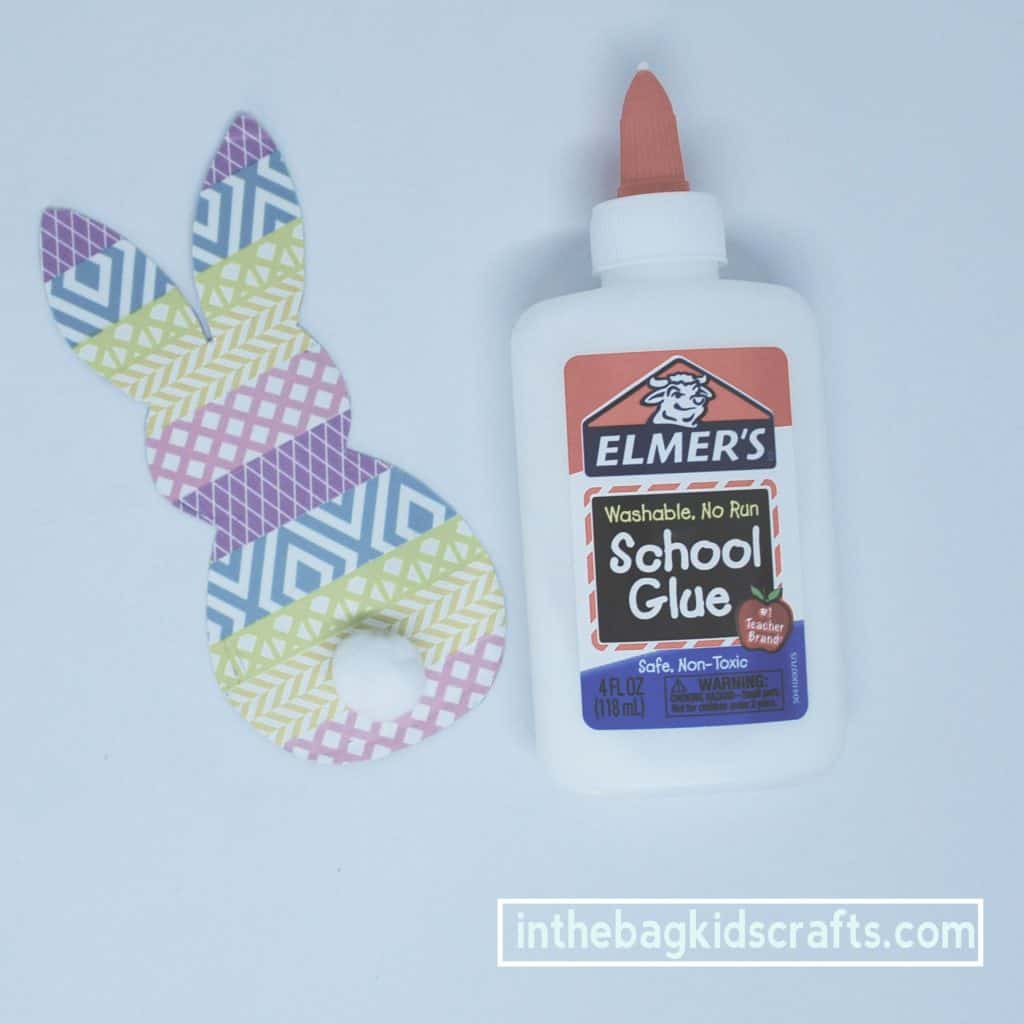
- For the bunnies, glue on a small white pompom for the tail.
Gain access to the free secret resource library, which includes printable flashcards for this project!
Step 3: Build the wreath (Optional)
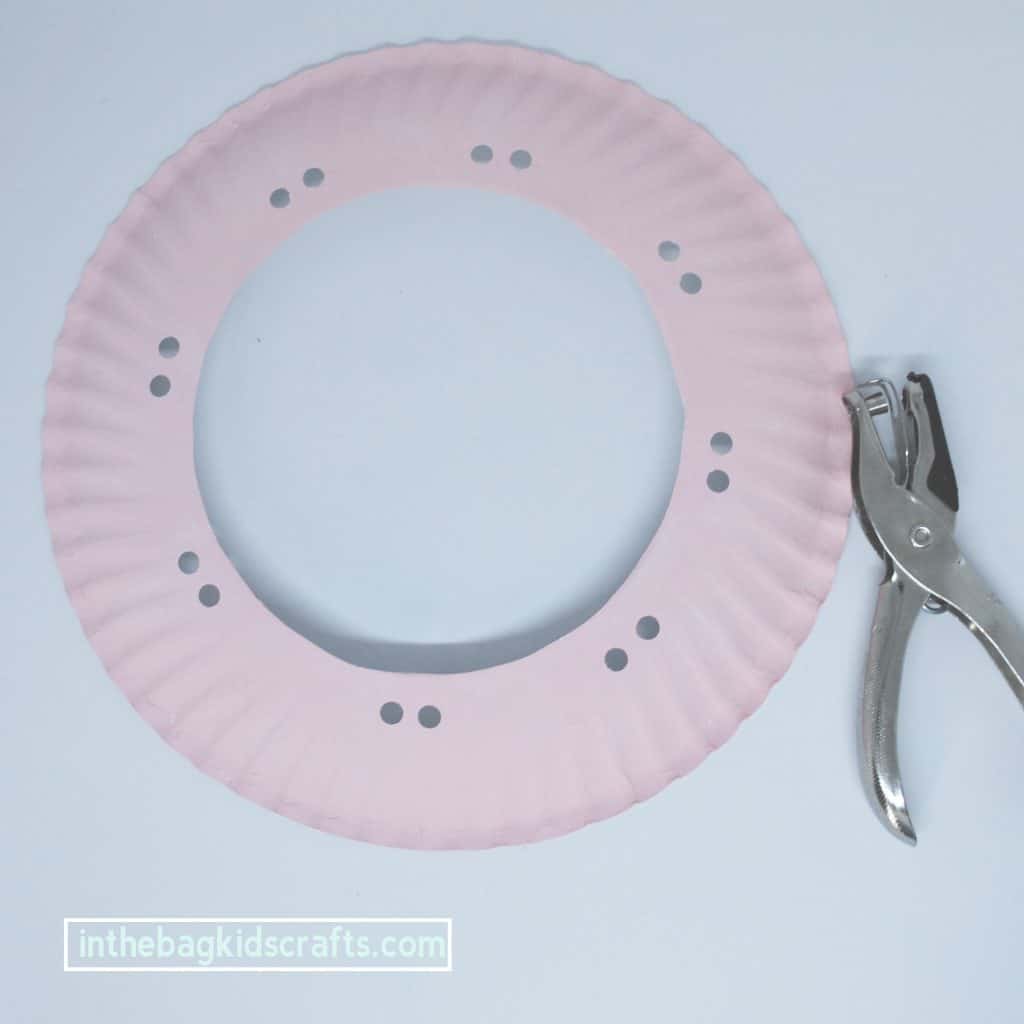
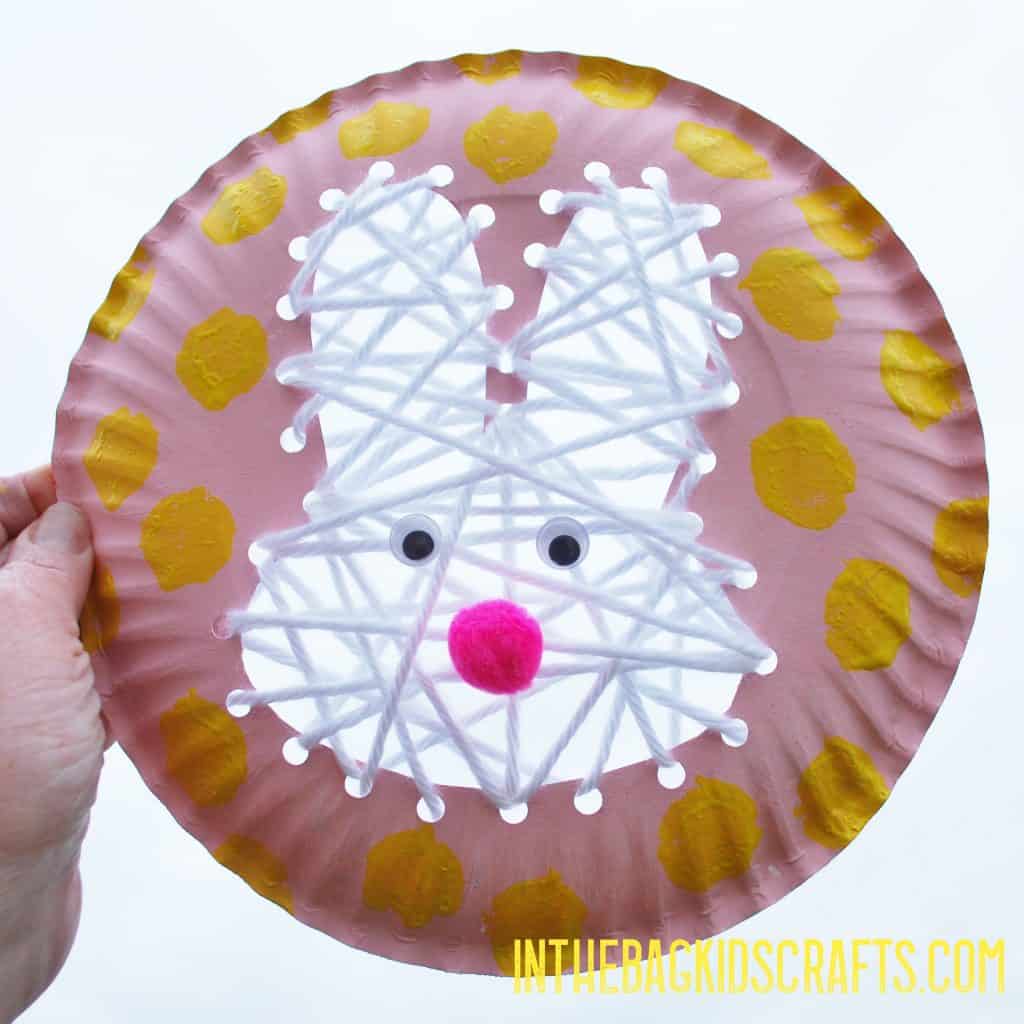
- First, cut the center out of a 9″ paper plate, leaving a 2 inch ring for your wreath.
- Use the hole punch to make 8 pairs of holes, evenly spaced around the wreath.
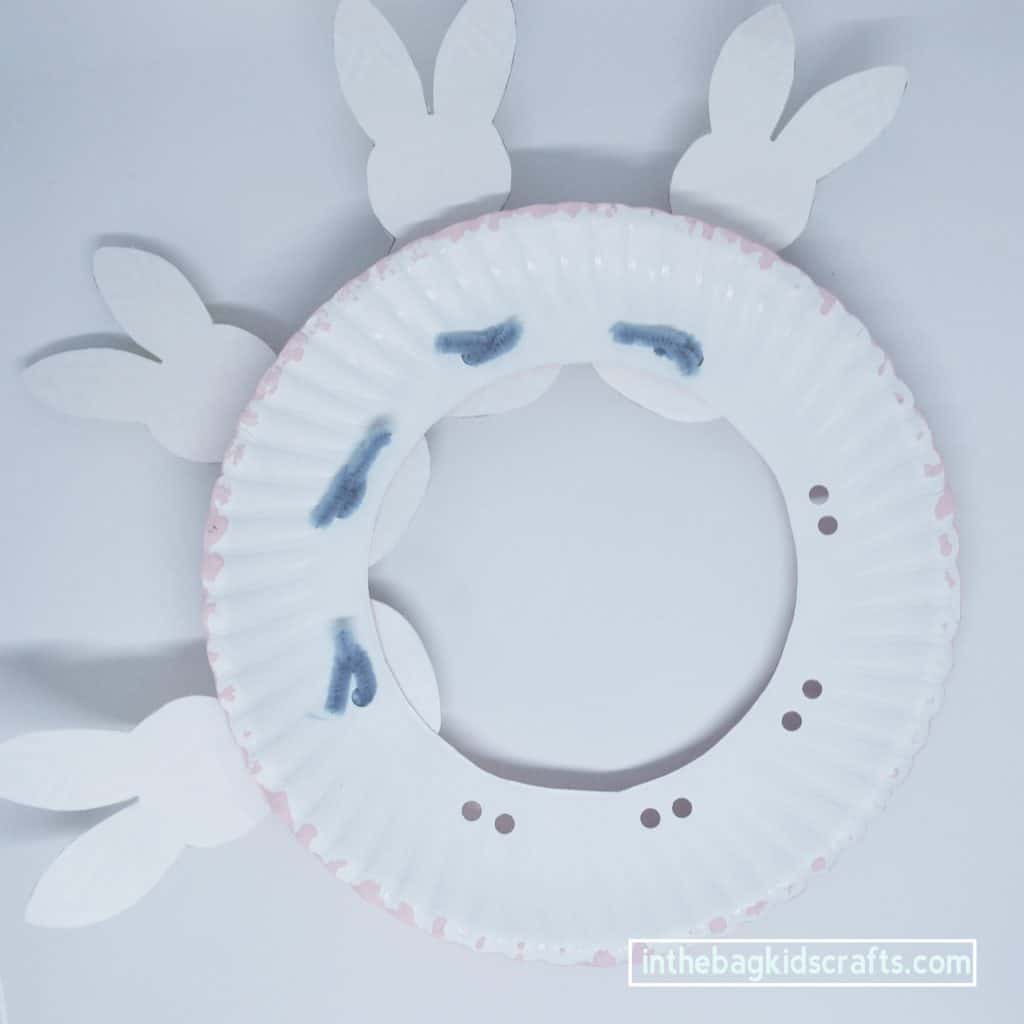
- Then place the wreath onto newspaper. Pinch the pompom with a clothespin to make a “paint brush” and squeeze a little paint of your choice out onto the newspaper.
- Paint the wreath and set it aside to dry.
- Finally, cut the 4 pipe cleaners in half and tape each one onto the back of a finished decoration. For each figure, lace the ends of the pipe cleaner through a pair of holes on the wreath and twist in the back to secure in place. Repeat this until you have all eight bunnies or eggs in place.
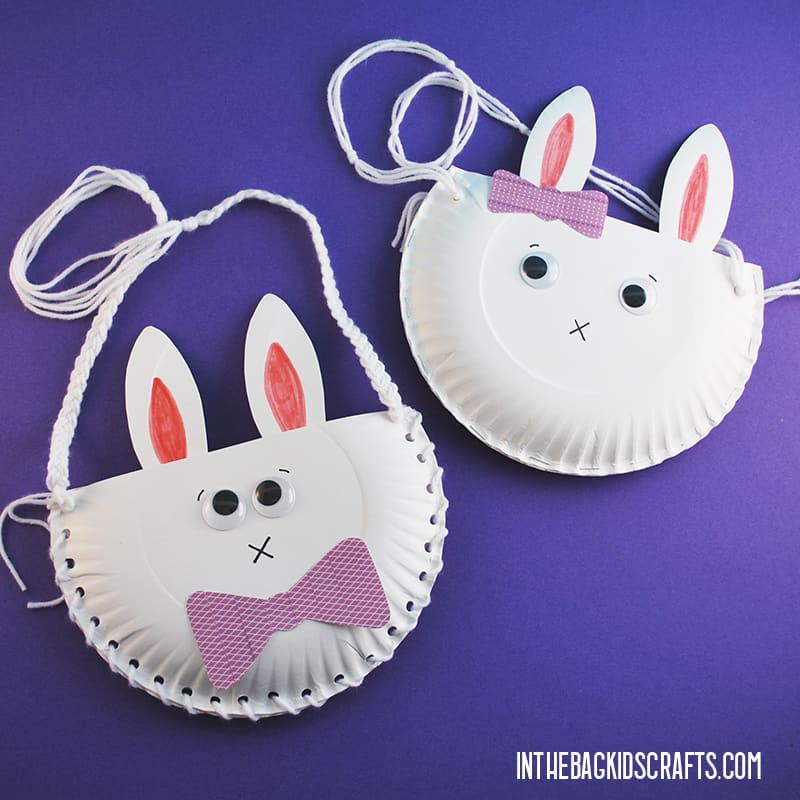
Here are some other ideas you can do with your finished Easter decorations…
- Tape a pipe cleaner onto the back of each decoration to make them into “napkin rings” for your Easter table. You can attach them to cups in this way too.
- Use clothespins to clip them to a string and make them into a banner for the mantle (or anywhere!)
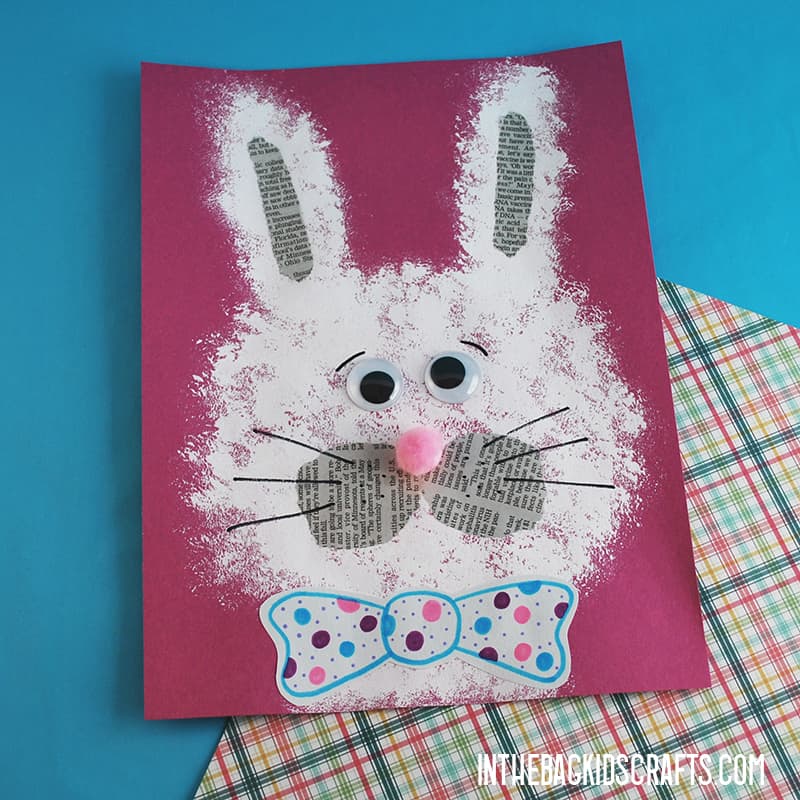
- Glue one of them onto the front of a paper lunch bag for a festive “basket” or gift bag.
- Attach a magnet to the back and put them on your fridge.
- Glue one onto the front of a folder piece of paper to make a card. Include a lovely personal message inside.
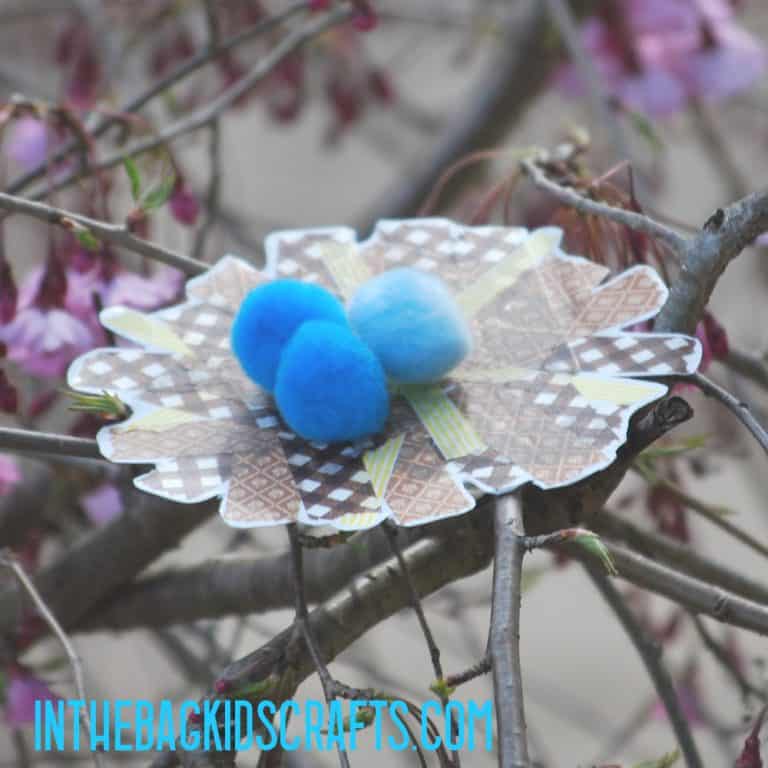
- Tape on a yarn or pipe cleaner loop at the top for a hanger and put them in the trees outside or on the knobs of your kitchen cabinets.
- Frame a collection to use year after year for your Easter decoraitons.
I cannot wait to see what you make and how your use these very special handmade Easter decorations. Send me a pic at hello@inthebagkidscrafts.com, and I will share it with the crafting community (with your permission)!
Try These Easter Crafts Too

- Popsicle Stick Easter Characters
- Easter Basket
- Squish Paint Eggs
- Easter Chick
- Popsicle Stick Ducky
- Popsicle Stick Easter Eggs
- Fluffy Bunny
- Popsicle Stick Bunnies
Save this for later! Pin it to your favorite Pinterest board…