Christmas Stocking Arts and Crafts for Kids
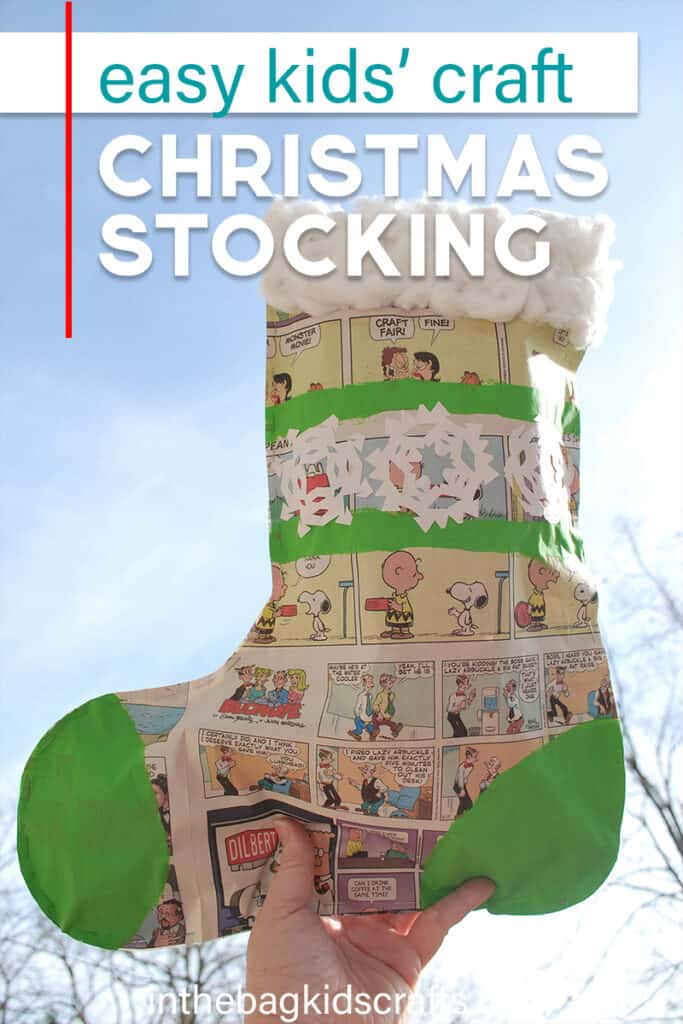
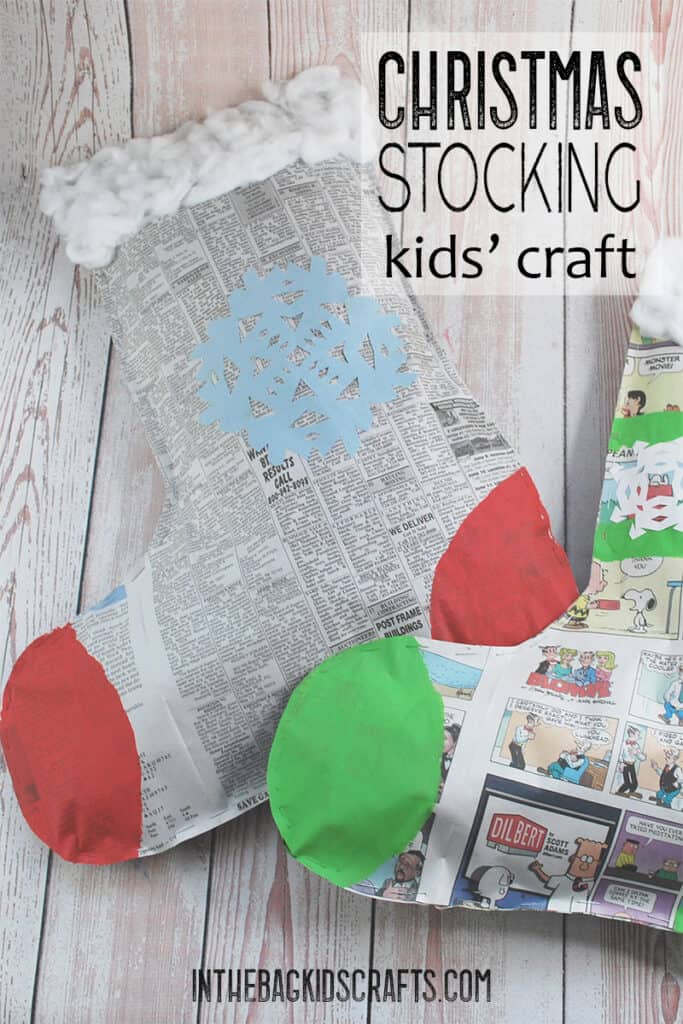
You are just going to absolutely love these simple Christmas crafts to make! I know you will because I thoroughly enjoyed making them. Who knew that basic Christmas stocking arts and crafts could look so fabulous made out of some old newspaper. Kids Christmas crafts come in all shapes, sizes, and forms. These stockings are oversized which gives them great impact as a homemade holiday decoration in any room.
Check out our eBook that brings together the very best Christmas card ideas for kids (12 Days of them!) into one place. Click here to learn more!
This post contains affiliate links, which means if you make a purchase through these links, I may receive a small commission at no extra cost to you. Click here to read my full disclosure policy.
SUPPLIES FROM THE BAG
- Newspaper
- Scissors
- Stapler with staples
- Elmer’s glue
- Paint (colors of your choice)
- Clothespin
- Medium pompom
- Cotton balls
- Scraps of construction paper for decorating your stocking
- Black sharpie marker
- Glue stick
There is something that you should know. We are a little different than most kids’ crafting websites you will come across. You might have noticed, that though completely adorable, our crafts are somewhat simple in nature. And that is by design so that they are accessible for real kids to make.
The biggest thing that is different about us is that we stick to a master list of basic craft supplies to make every single creative project on this site. We never stray from it! Just like a capsule wardrobe, you only need a few special pieces to look completely fabulous. The same is true for crafts. It doesn’t take piles and piles of expensive supplies to make amazing crafty projects with your family. You only need a few. Here is the list to fill your bag.
Save these Christmas stocking arts and crafts for later. Pin them to your favorite Pinterest board…
Step 1: Cut Out the Christmas Stocking
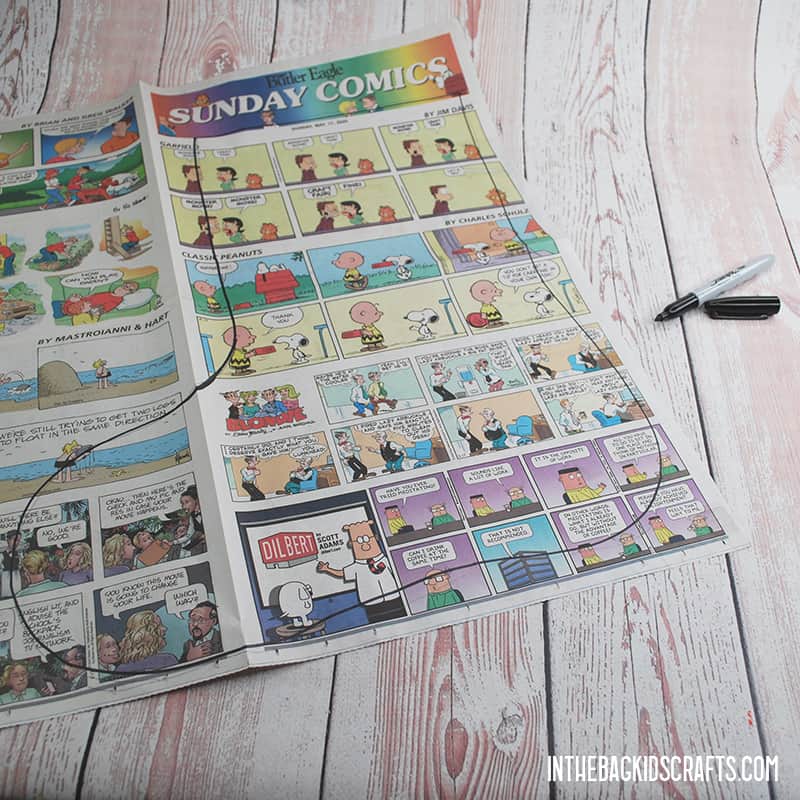
- Lay out 2 pieces of newspaper, opened and on top of each other, in front of you.
- Draw a large stocking on the newspaper with the black sharpie so that you can see it.
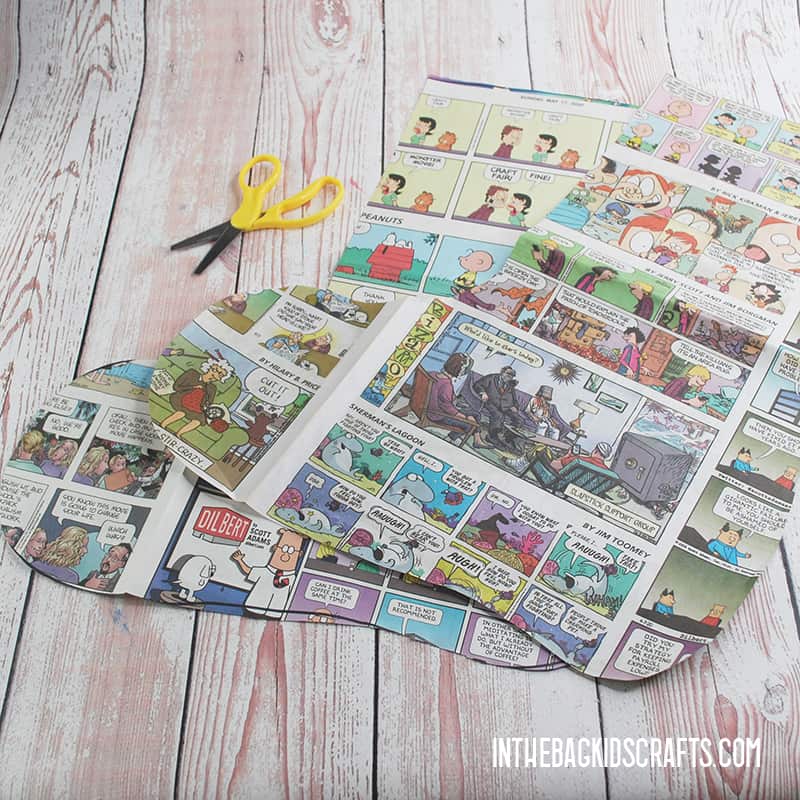
- Then cut out the Christmas stocking, cutting through both layers at the same time.
STEP 1A STEP 1B
*A couple of tips for choosing your newspaper…if you want some fun color, choose the comics. But pay attention to what comics will be showing on the front of your stocking. There may some images that are not appropriate. If you would prefer to just use print, choose a section that doesn’t have a lot of pictures. And, please, for the sake of the joy of the season, do not use the obituaries…seriously. 🙂
Step 2: Staple and Stuff the Toe
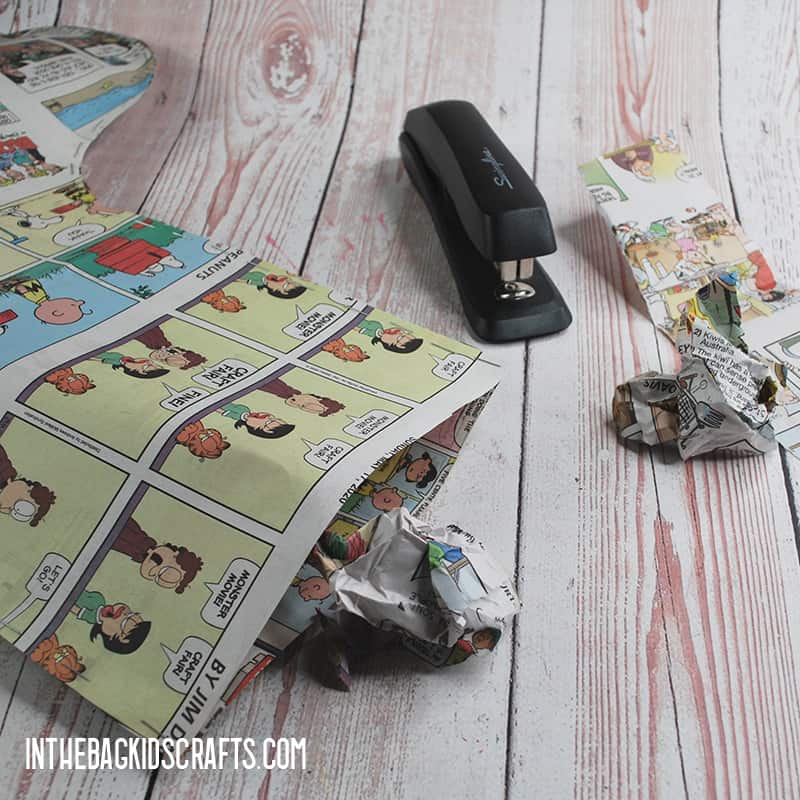
- With the two layers of your stocking stacked on top of each other, begin to staple around the outside, starting at the toe of the Christmas stocking.
- Only staple around the bottom portion, keeping the staples nice and close together. Do not yet staple the top section of your stocking. *This will make the stuffing a little easier if you divide it into two section.
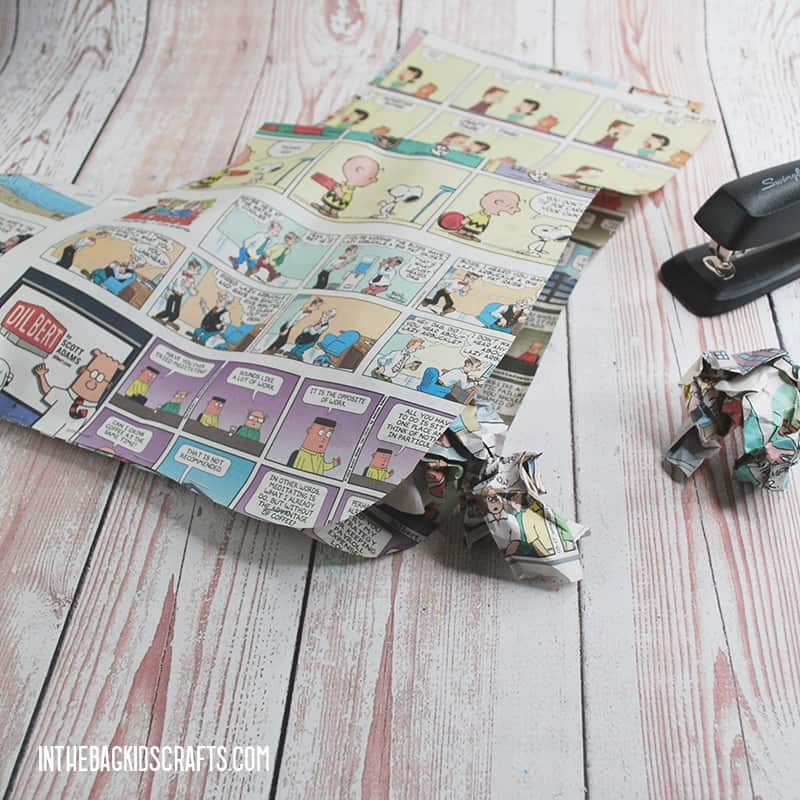
- Now tear strips of newspaper and crumple them into balls. Place them one at a time into the foot of your stocking. Do not overstuff.
Step 3: Stuff the Rest
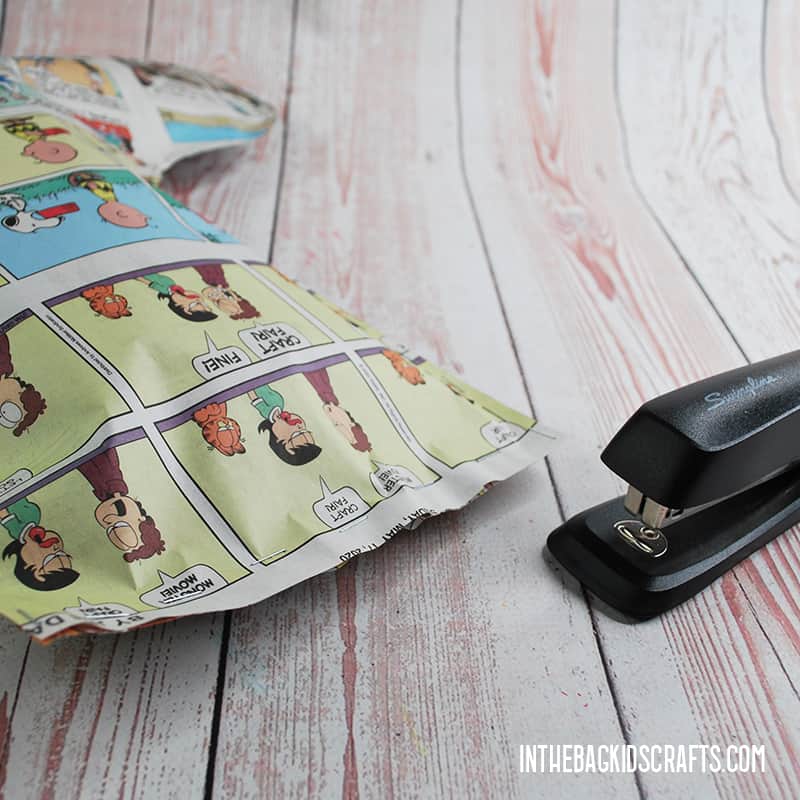
- Once the foot of the stocking has enough newspaper stuffing, staple up the rest of the Christmas stocking…but leave the top open for now.
- Again, tear strips of newspaper and crumple them into balls, placing them one at a time into the opening at the top of the Christmas stocking craft.
- Remember not to overstuff the stocking.
- Finally, staple the top closed.
STEP 3A STEP 3B
**During this step, you can also choose to stuff the top of the stocking with something like some light-weight candy or a small stuffed animal. Then this craft becomes a gift to be opened on Christmas! This clever idea came from an Instagram follower. Isn’t she clever? Join us over on the gram at https://www.instagram.com/inthebagkidscrafts/
Step 4: Decorate the Stocking
- Place the stuffed Christmas stocking craft on another piece of newspaper and squeeze out some paint of your choice.
- Pinch the pompom with the clothespin to make a “paint brush”
- Paint on whatever details you would like. This is your stocking, and there are no rules. Make it your own and use whatever colors you would like. Yours SHOULD NOT look exactly like the pictures. Seriously, use that imagination and decorate with abandon.
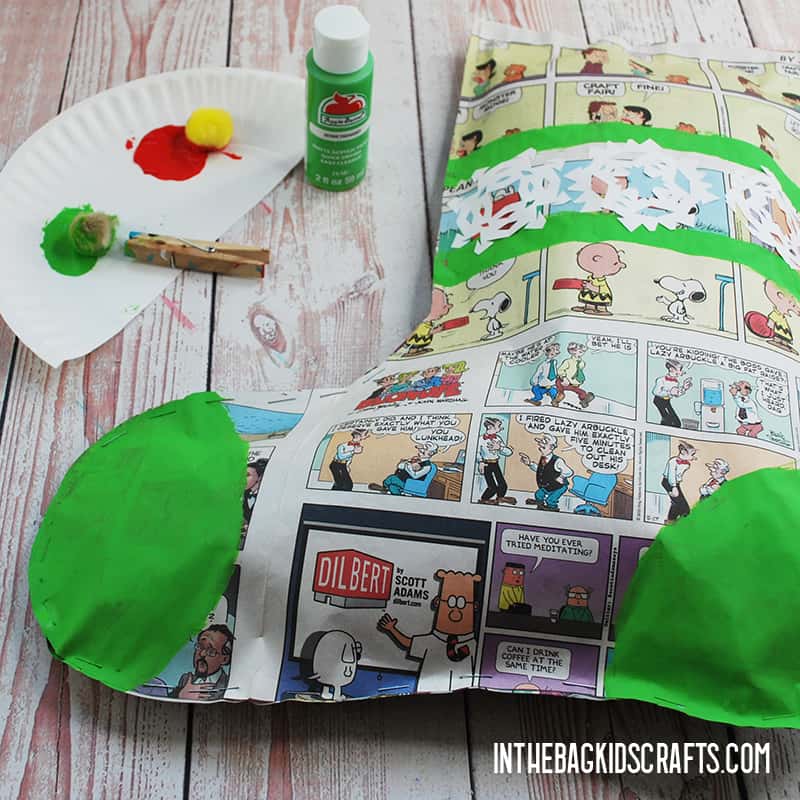
- Another nice detail is something cut out of paper, like a snowflake. Below is a simple video tutorial on how to cut a paper snowflake. If you cut anything from paper, just use the glue stick to attach those details.
Step 5: Add the Fluff
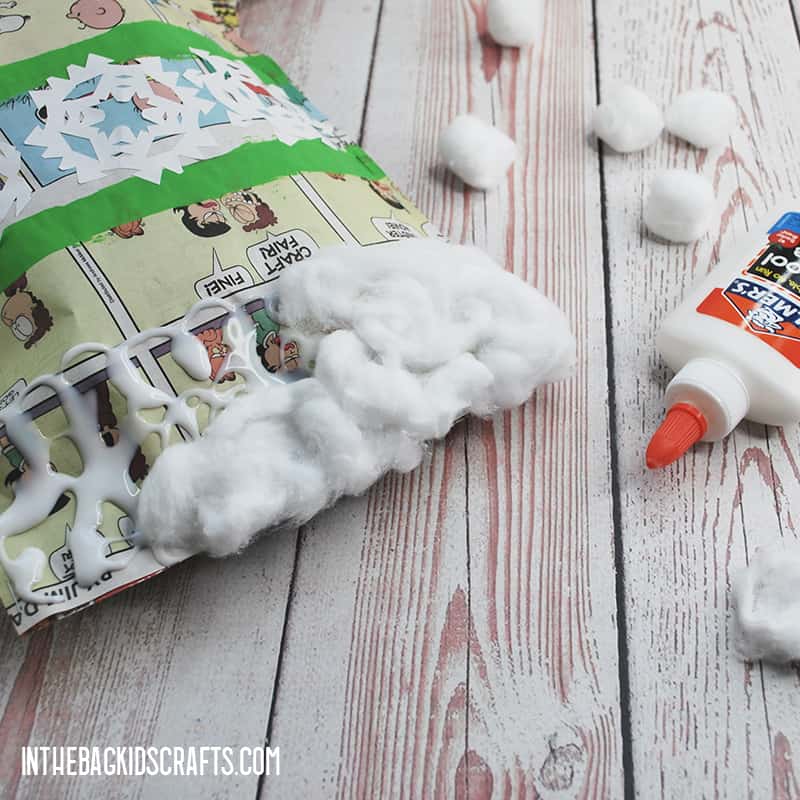
- The last step of your Christmas stocking arts and crafts is to add a little fluff to the top of your stockings.
- First apply some Elmer’s glue where you will want to place the cotton.
- Then pull cotton balls to fluff them up and put the fluffed up cotton on top of the glue.
Homemade Christmas crafts are a way to make the holiday season even more special. These Christmas stocking arts and crafts would make a great project to make with your family or even wonderful school holiday craft ideas. After all, newspaper is super easy and cheap to come by. When you make these kids Christmas crafts, share them with friends and family. You could even add every family name and hang these oversized stockings in the windows in place of Christmas wreaths.
Save this Christmas Craft for Kids for later. Pin it to your favorite Pinterest board…
If you enjoyed these Christmas stocking crafts, check out more easy Christmas crafts to make…


