Turkey Art Activity for Thanksgiving (Free Turkey Outline)
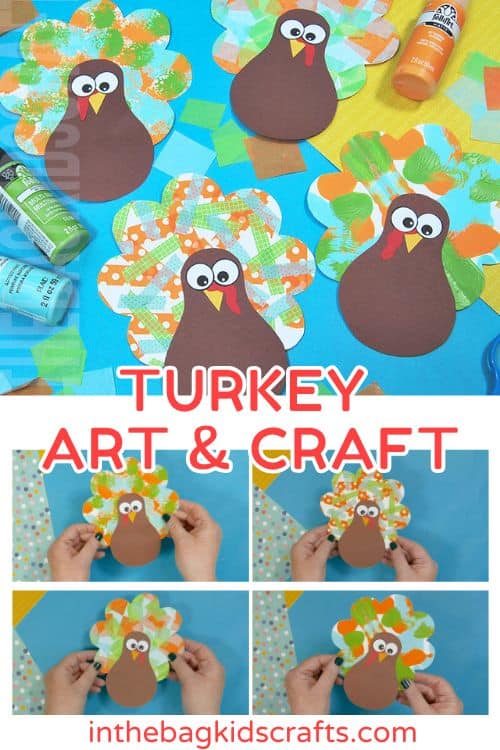
This fun turkey art is perfect for kids of any age. And it leaves loads of room for creativity! Today you’ll learn 4 ways to use the free turkey outline printable. Stick around to the end, and I’ll give you even more ideas to try. You can make this craft at Thanksgiving, when learning about farm animals or any time of the year really.
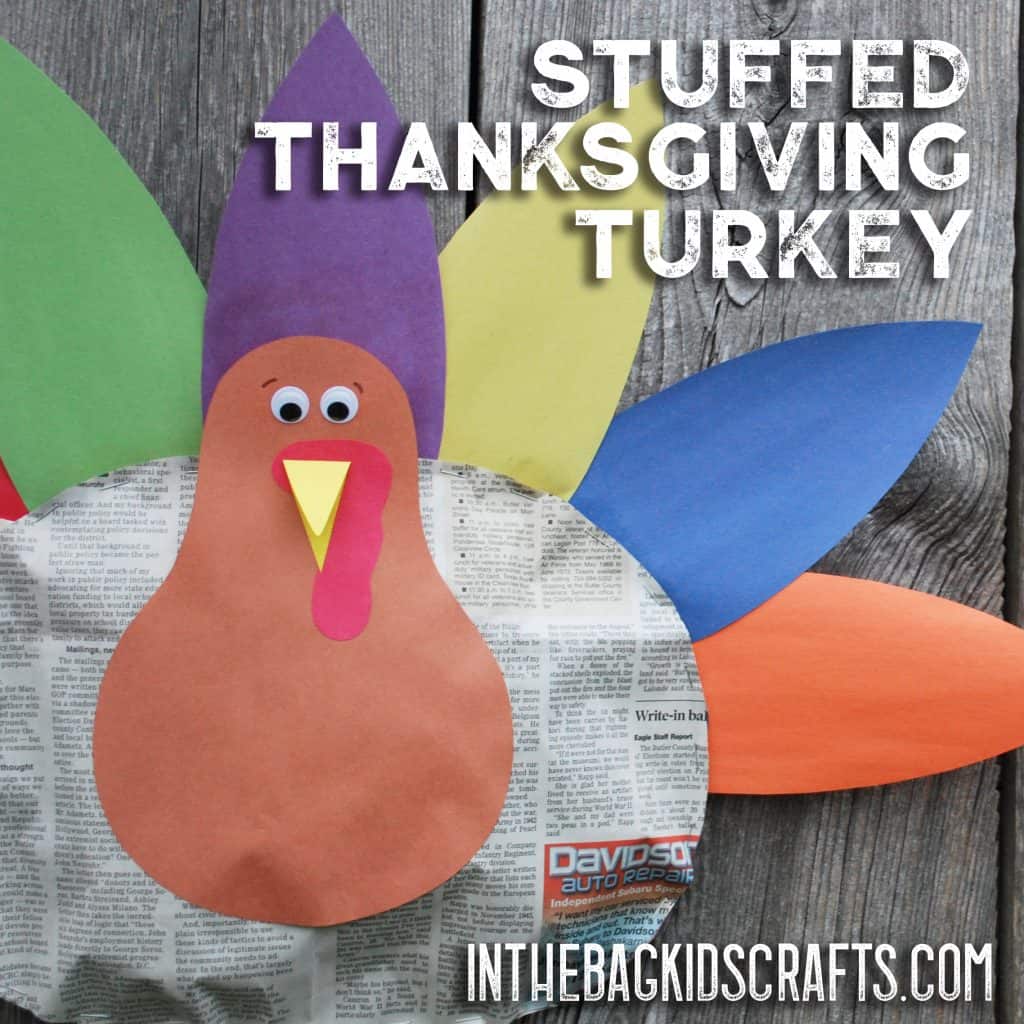
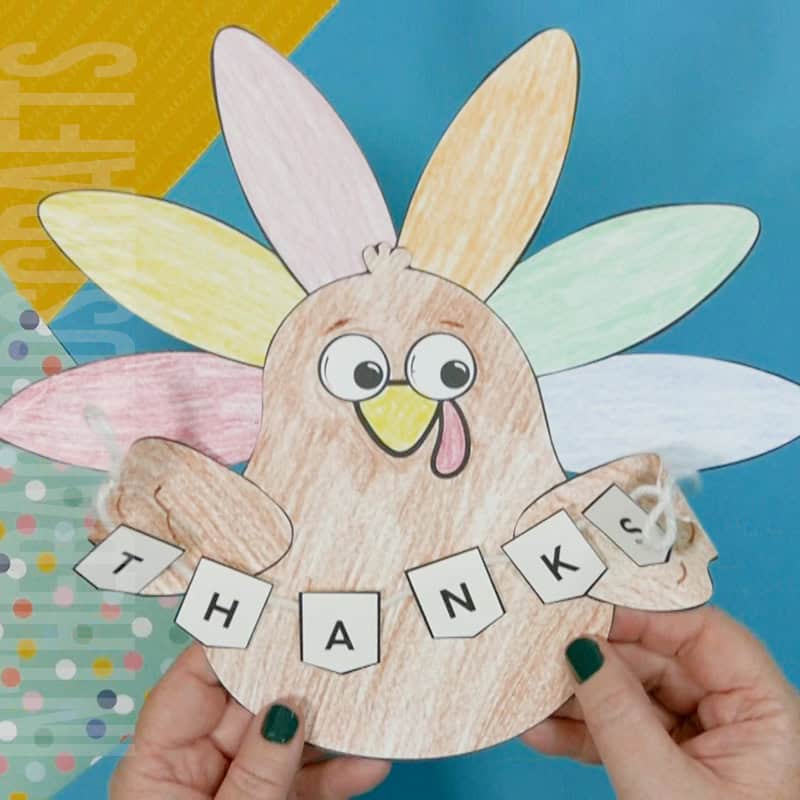
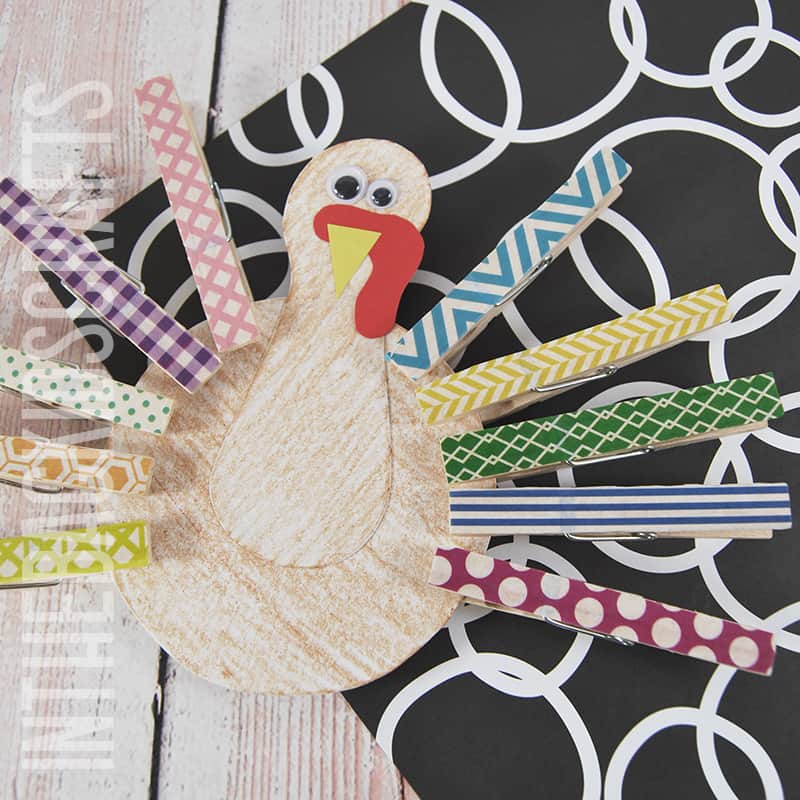
If you love this easy craft, you’re also going to love this adorable newspaper turkey craft, this printable Thanksgiving turkey hat and this fine motor turkey activity.
We were featured in a Redfin article! Check it out here: Fun and Easy Thanksgiving Crafts for Kids to Brighten Your Home
I bet you’ve never heard of craft flashcards…Of course you haven’t…because I totally made it up 🙂 As a pediatric Occupational Therapist, I’ve witnessed kids struggle to complete multi-step activities. So, I came up with this brilliant (if I do say myself) way to break down crafts into bite-sized pieces in the form of flashcards.
These are especially perfect for those kiddos who have limited attention spans.
Crafts are such a great developmental tool for kids (improves motor planning, attention span, executive functioning, fine motor skills, language development and more), and using flashcards makes planning crafts for your kids to enjoy even easier.
Just print out a few of your favorites onto cardstock, cut them into the cards with a hole in the corner and place them on a keyring that you can connect to your craft supply bag (which you can fill using our master list of supplies that we stick to for every single one of the projects in the flashcard collection). It’s so simple.
And the best part is that there’s not a screen in sight. Technology is such a great thing, but it’s also nice to take a break from it once in awhile and let the brain explore in other ways. Click the image to learn more about our collection of 100 Craft Flashcards for Kids.
Fun Facts about Turkeys
- Only male turkeys actually gobble. They do it to show off for the ladies.
- Wild turkeys can fly, but domesticated ones can’t.
- The head of a turkey can change color, from red to blue to white, depending on their mood.
- Wild turkeys often sleep in trees to protect themselves from predators.
- The turkey was almost our national bird but lost out to the bald eagle.
- To learn more about turkeys, check out this article by Best Life.
Save this Thanksgiving craft for later. Pin it to your favorite Pinterest board…
All activities require adult supervision. By using this site, you are agreeing to our terms of use. This post contains affiliate links, which means if you make a purchase through these links, I may receive a small commission at no extra cost to you. Click here to read my full disclosure policy.
Combine Reading with Crafting
The absolute best way that I can think of to elevate the crafting experience is to combine with reading a good book. Here are some of our favorite turkey themed books for kids.


How to make Your Very Own Turkey Art
We’re going to start you off with some ideas to try for this adorable turkey art, but then you take it from there. Try one or try them all. It’s up to you. Or come up with your own idea. Change up the colors or anything you like to really make it your own.
SUPPLIES FROM THE BAG
- Scissors
- Construction paper
- Glue stick
- Newspaper
- Items to decorate the turkey feathers (See step 3)
- Turkey outline
We want you to hit the ground running and craft lots of memories with your kids. In order to get right to the good stuff, we keep things super simple by sticking to a master list of craft supplies to make everything you see here. With this approach you can craft with your family with less prep, less stress, less mess, less expense and way more fun!
Turkey Art Instructions:
Step 1: Use the Turkey Outline
- Download and print the free turkey craft template
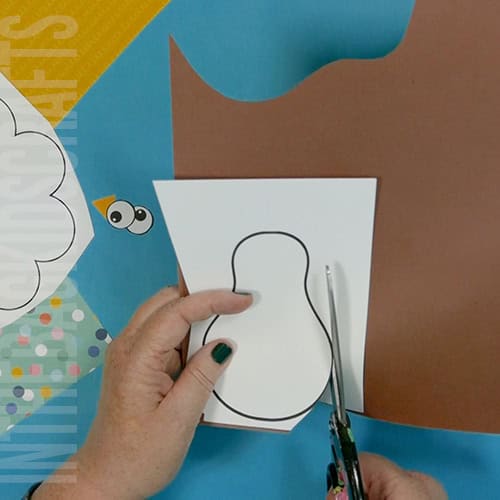
- Cut the template in half, saving the flower shape (aka feathers) for later steps.
- Use the craft printable to cut out the body of the turkey from brown construction paper.
- Then cut out the beak and wattle from scraps of yellow and red paper.
- Cut out the eyes for your turkey art and craft.
Step 2: Assemble the Turkey Body
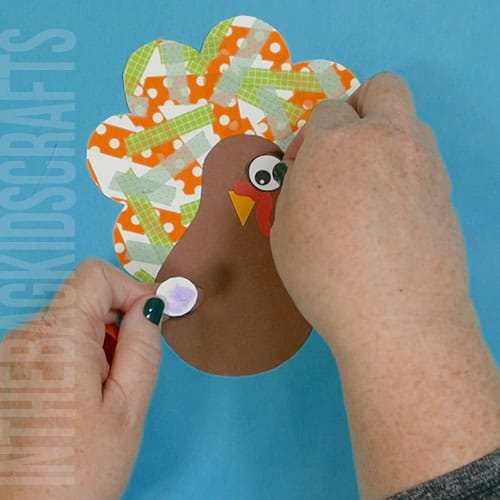
- Assemble the body of your turkey.
- First use your glue stick to add the beak and then the wattle on top.
- Last, put the eyes in place. You can use the eyes that are included in the free printable or use googly eyes instead.
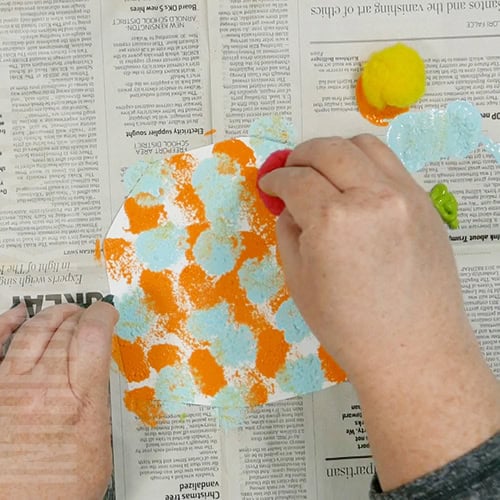
Step 3 (Option 1): Pompom Painted Feathers
SUPPLIES
- Newspaper
- Pompoms
- Paints (colors of your choice)
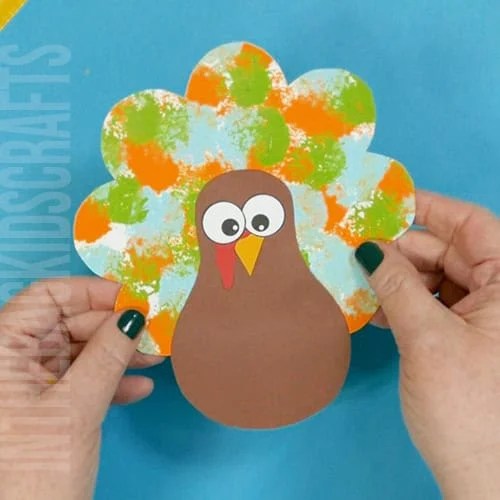
Spread out some newspaper on your crafting surface. Take the feather half of the turkey outline that you set aside. Flip it over and place it on top of the newspaper.
Squeeze out paint in the colors of your choice onto the newspaper. Use the pompoms to tap paint entire surface of the feathers. Set them aside and give them time to dry.
Step 3 (Option 2): Washi Tape Feathers
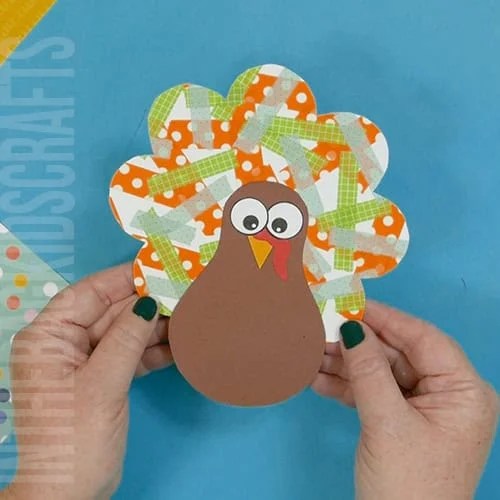
SUPPLIES
- Washi tape (colors and patterns of your choice)
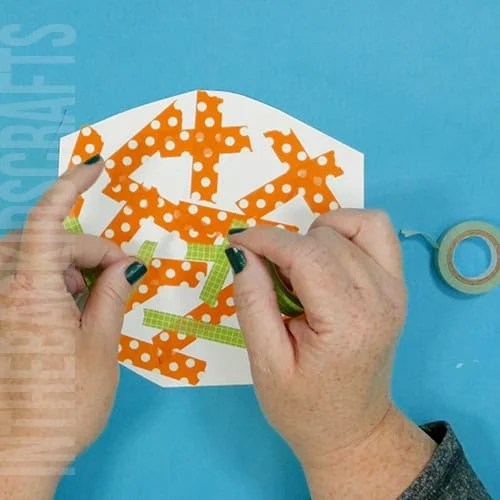
Take the feather half of the turkey outline that you set aside. Flip it over to the back. Place random pieces of washi tape onto the entire surface. It does not need to be fully covered. There is no wrong way to place the washi tape.
Step 3 (Option 3): Squish Paint Feathers
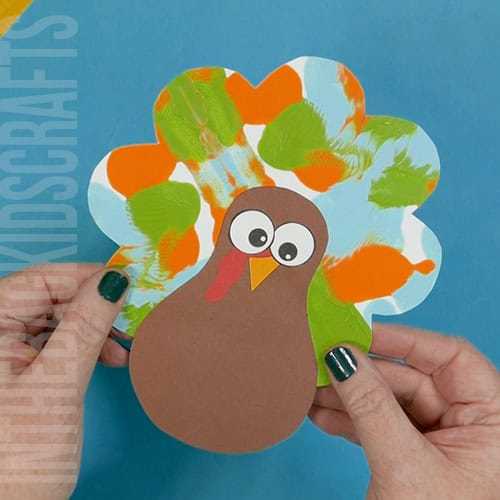
SUPPLIES
- Newspaper
- Paints (colors of your choice)
Spread out some newspaper on your crafting surface. Take the feather half of the turkey outline that you set aside. Flip it over and place it on top of the newspaper.
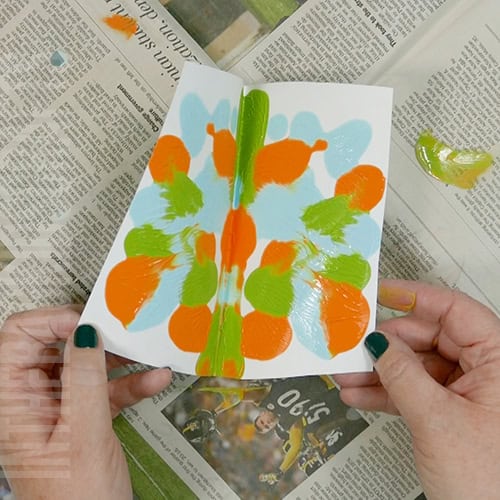
Fold the paper in half. On one half, squeeze out drops of paint in random patterns.
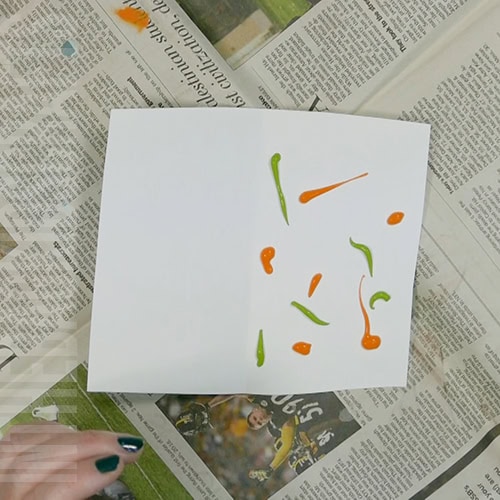
Fold the paper back in half and press down. Open it back up slowly to see what squish paint pattern you have made.
Step 3 (Option 4): Tissue Paper Mosaic Feathers
SUPPLIES
- Glue stick
- Pieces of tissue paper (approximately 1″ squares in colors of your choice)
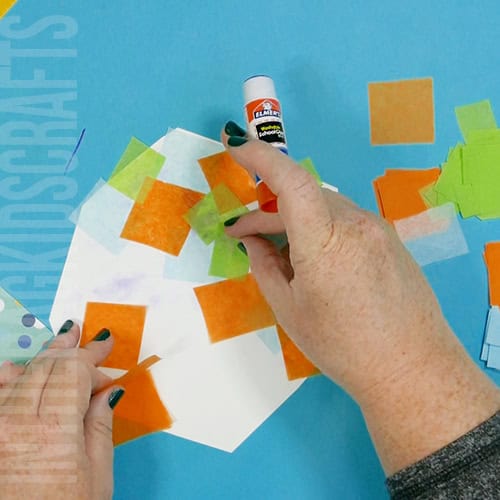
Take the feather half of the turkey outline that you set aside. Flip it over to the back.
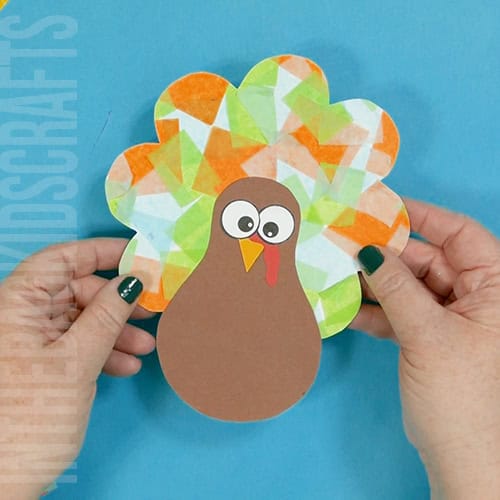
Cover the entire surface randomly, gluing down pieces of tissue paper. It’s alright to leave sections of the tissue paper pieces unattached.
Step 4: Cut Out the Turkey Feathers
- Once the paint and/or glue has dried, turn the feathers back over so that you can see the outline.
- Cut out the turkey feathers on the line.
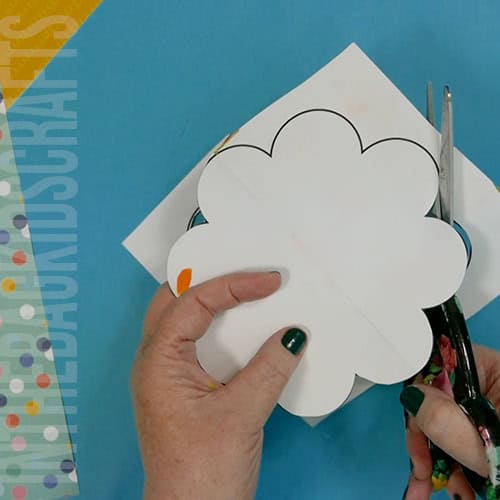
Step 5: Finish Assembly of Your Turkey Craft
- Complete the assembly of your Thanksgiving turkey art by glue the turkey body into the bottom center of the feathers.
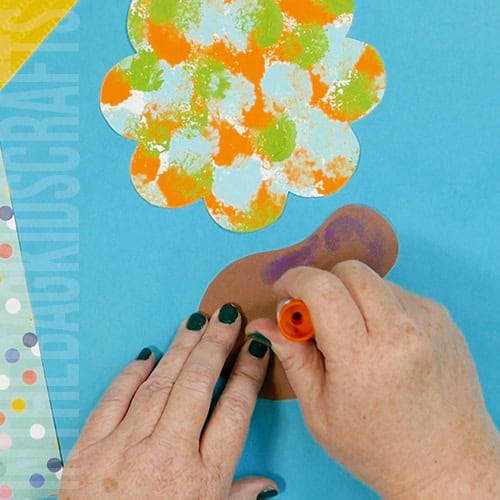
Other Ideas for the Turkey Feathers
There are so many ways to add texture and design to your turkey’s feathers. Here are few more ideas for you to try:
- Resist paint (paint over tape and then remove once dry)
- Lace or wrap in yarn
- Marble paint
- Color with crayons or markers
- Water color
- Color tin foil with markers, spritz with water and lay paper on top
- Salt art
- Squeegy paint
- Scratch art (paint and then cover in crayon fully. Scratch off crayon.)
- Dot paint with q-tips
- Fingerprint paint
- Add handprints
- Add white crayon and then paint
- Create details with “goth” glue (Elmer’s with some dark paint added)
- Cover with stickers
