Day of the Dead Craft Skeleton (with FREE Template)
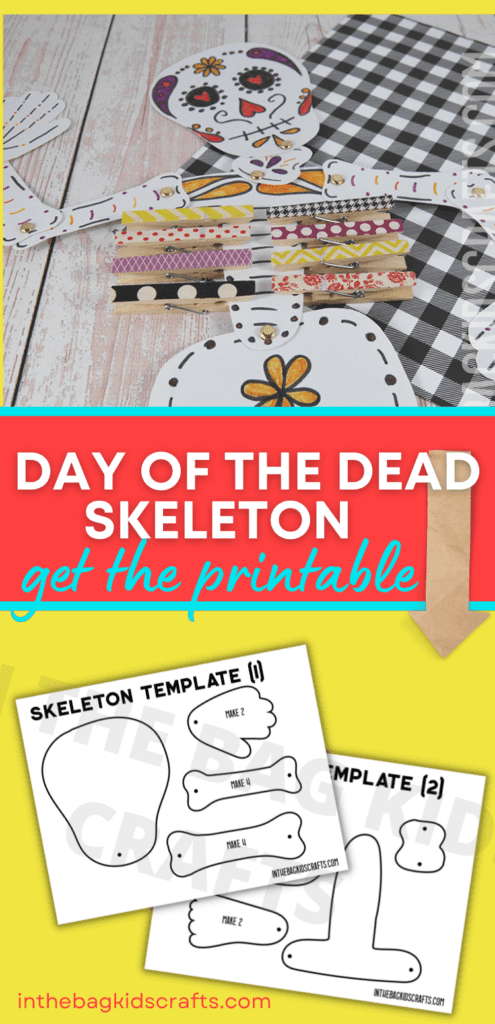
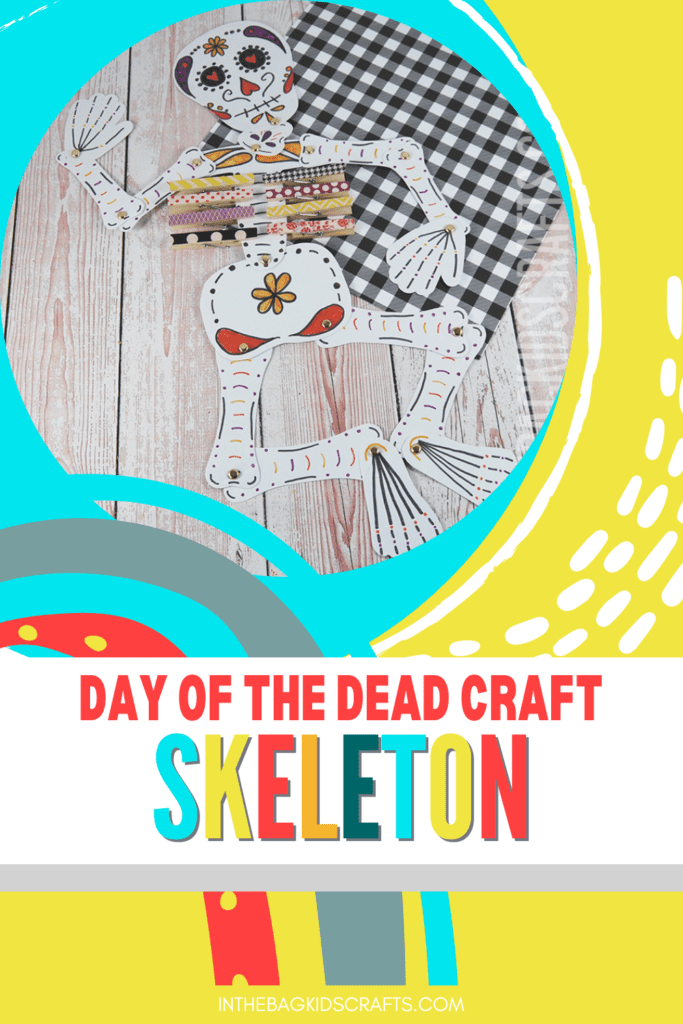
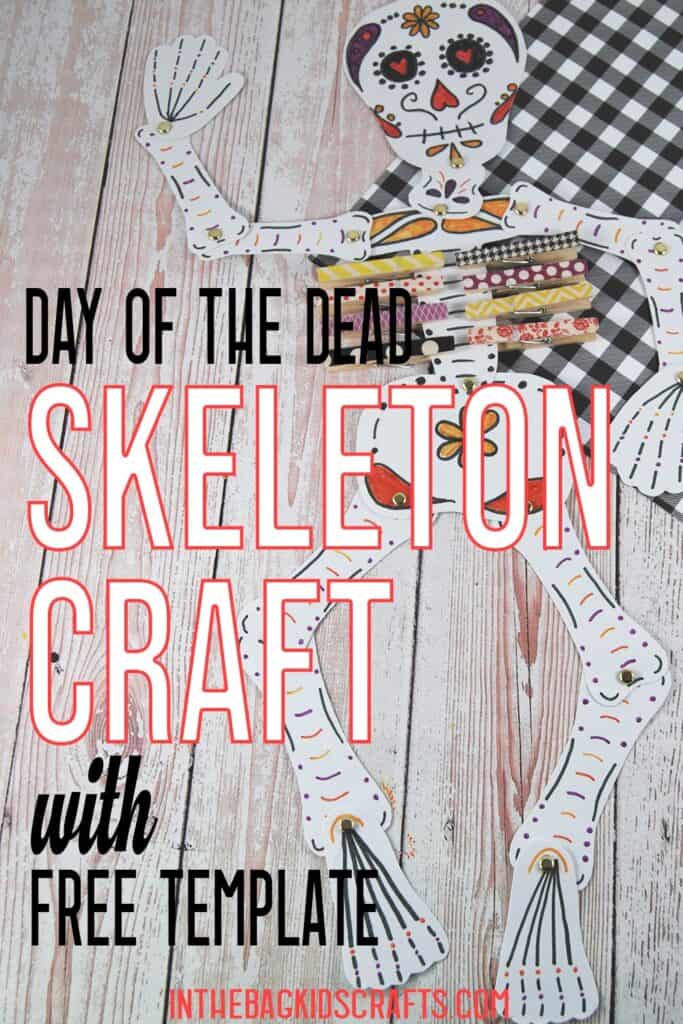
Let’s make a Day of the Dead craft! The Day of the Dead is a beautiful Mexican celebration to honor those who have passed. Skeletons are often hand-crafted for the occasion. And rather than being scary, they’re made to be friendly and funny. They’re often dressed up to represent departed loved ones. This Day of the Dead craft skeleton is a paper plate version of those lovely icons.
If you like this skeleton craft, you may also like this ghost craft, this bat craft or this set of Halloween popsicle stick crafts.
Save this Skeleton Craft for later. Pin it to your favorite Pinterest board…
What is the Day of the Dead?
The holiday of the Day of the Dead is celebrated mostly in Mexico on November 1 and 2. It helps families celebrate their ancestors. It’s a joyful time for families. Candlelit altars are set up to honor the dead, often including their favorite foods and favorite items. Then families head to the graveyard for a huge feast. Decorated skeletons like this one, usually made from paper mache, can be found everywhere.
If you’d like to further explain the Day of the Dead to your kids, check out this article in Parents magazine.
All activities require adult supervision. By using this site, you are agreeing to our terms of use. This post contains affiliate links, which means if you make a purchase through these links, I may receive a small commission at no extra cost to you. Click here to read my full disclosure policy.
SUPPLIES FROM THE BAG
- Paper plates (9-inch coated)
- Scissors
- Single hole punch
- Metal brads
- 8 Clothespins
- Washi tape (variety of colors and patterns)
- Markers
- Skeleton craft template
Isn’t it amazing what you can do with just a few paper plates? They are just one of the craft supplies on our master list of items that we use for every single creative project you see here. We stick to this list for everything we make so that once you fill your bag, you’re ready to craft along! Don’t miss out on crafting memories with your kids this week.
Kids Books about the Day of the Dead
One of the best ways to enhance a crafting experience is to combine it with a good book. Here are some of our favorite books for kids about the Day of the Dead…


How to Make a Day of the Dead Craft
Step 1: Use the Skeleton Craft Template
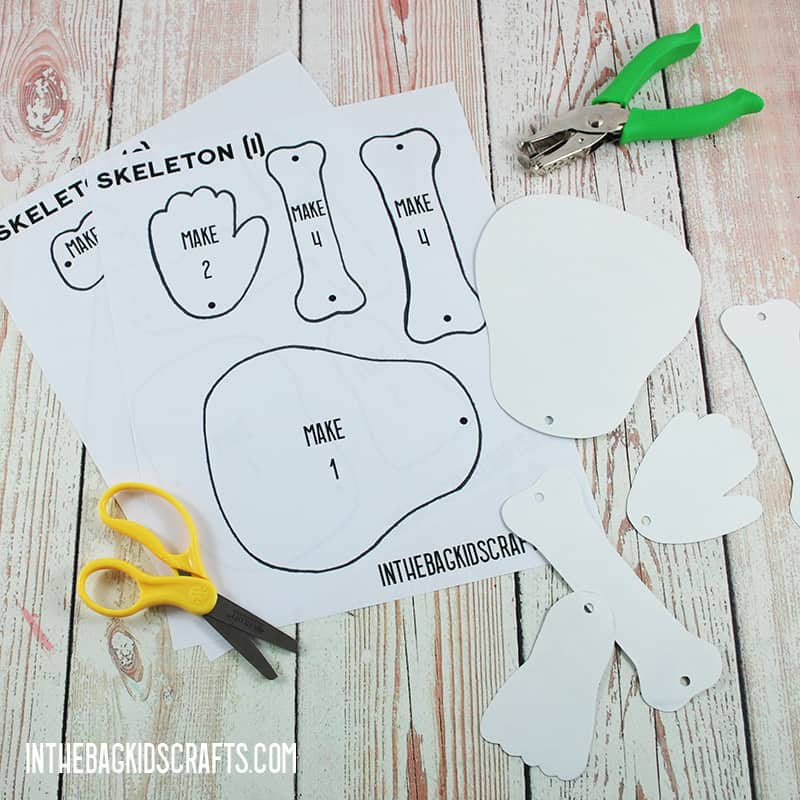
- Download and print the free skeleton craft template.
- Use it to cut out all of the parts for your day of the dead skeleton from paper plates. We’re using these instead of paper so that it’s more sturdy.
Step 2: Decorate the Skeleton
- With the matte side of the cut out parts facing up, decorate the pieces using markers.
- For the more elaborate sections, like the skull, we first used a pencil to draw on the pattern and then colored it with our markers.
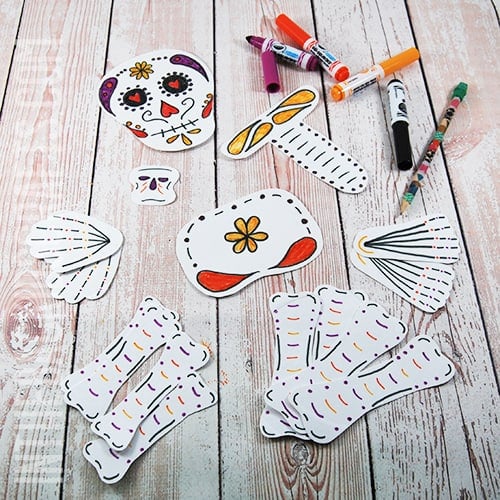
There is much symbolism that is part of the Day of the Dead traditions. And colors have specific meanings. Here are some of the meanings for colors during this holiday:
- Yellow-represents the concept of light
- Red-signifies the blood of life
- Black-represents death but is also used to highlight brighter colors
- Orange-symbolizes the sun
- White-represents the sky, hope, purity and innocence
- Pink-represents the joyous qualities of the Day of the Dead
- Purple-represents purity, grief, and suffering
Step 3: Punh the Holes
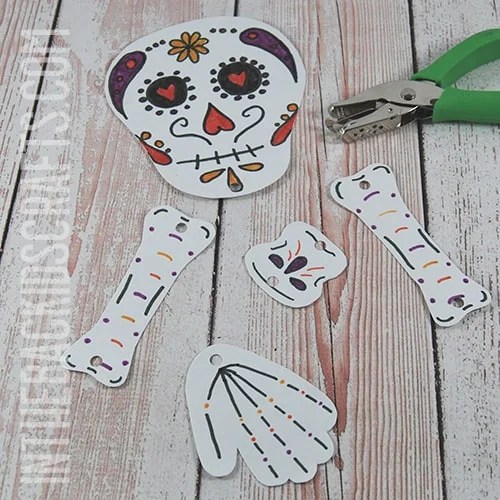
- Use your hole punch to put holes in the parts of your skeleton to get it ready for assembly.
- Check the template to see where all of the holes are to be punched.
Step 4: Put It Together
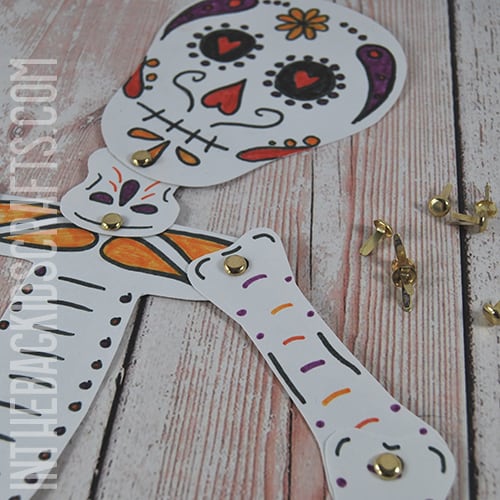
- Connect the parts of your Day of the Dead skeleton using metal brads.
- It’s easiest to start at the skull and work your way down the body until the entire body is assembled.
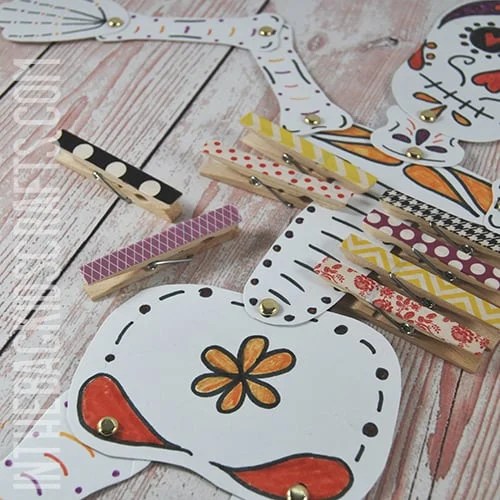
Step 5: Decorate the Ribs
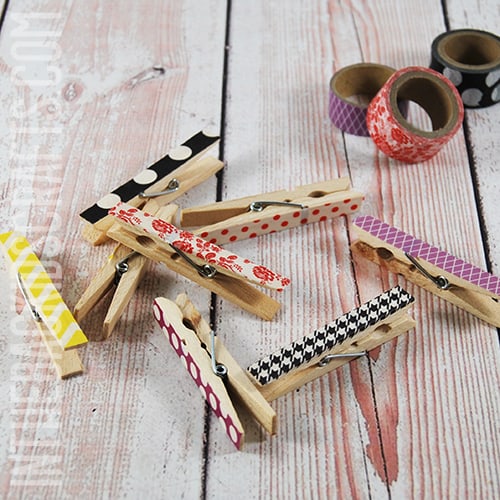
- Gather 8 clothespins.
- Choose 8 rolls of washi tape with differnt colorful patterns.
- Cover one side of each of the clothespins with a different washi tape. Press down so that it sticks well.
- Trim around the ends and sides to remove any excess washi tape.
Step 6: Add the Ribs to the Day of the Dead Skeleton
- Now that you have the clothespins covered in washi tape, clip them to the T-bone in the center of the body.
- These clothepins are the rib bones.
Now that you know how to make this Day of the Dead craft, expand on the celebration. Even if you’re not Mexican, it’s wonderful to learn about the traditions and celebrations of other countries.
Save this Fall Craft for Kids for later. Pin it to your favorite Pinterest board…
