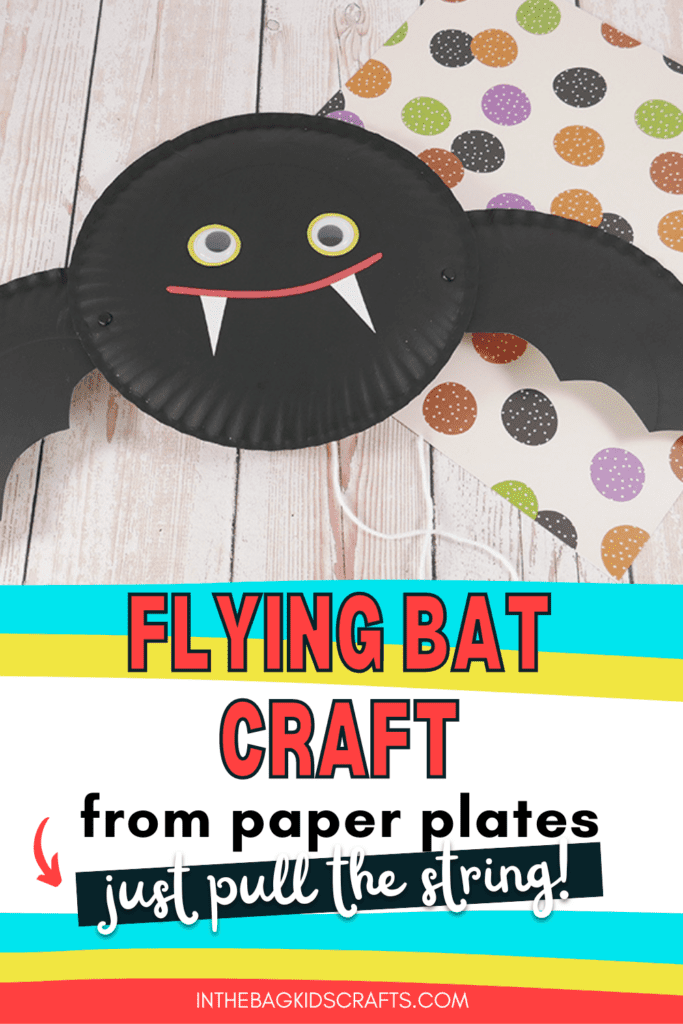
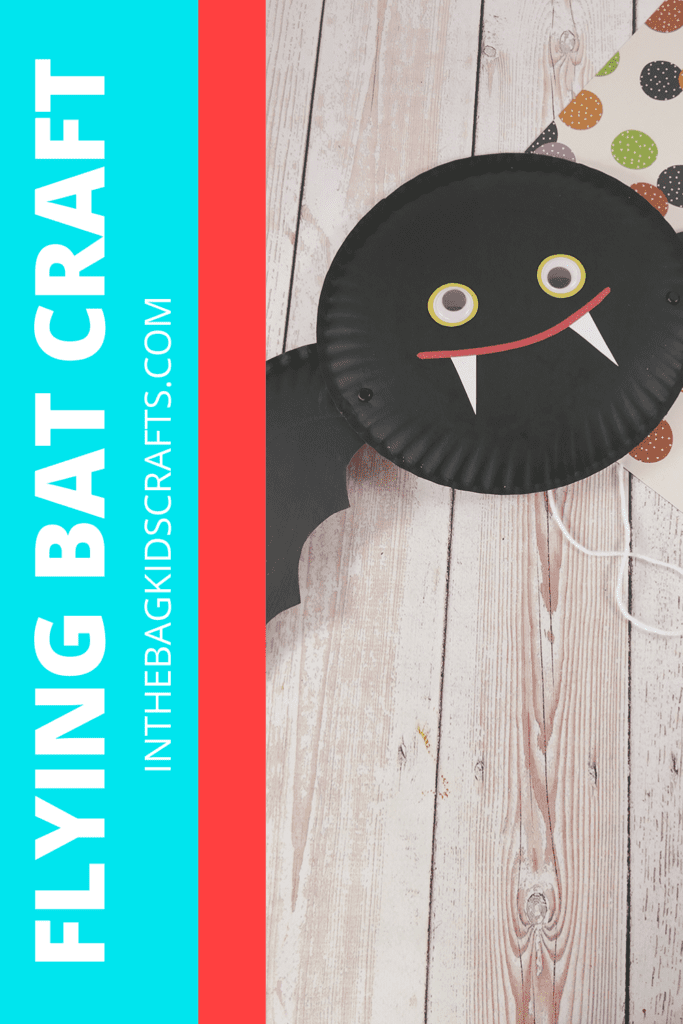
Paper Plate Bat Craft (It Flies!!!)
This paper plate bat craft is extra special because when you pull the string it actually flies! Well, the wings go up and down. The rest of it is up to you. It goes together simply and is the perfect Halloween craft for kids of any age. Little ones may need some help with the cutting and tying, but they will love making the plates turn black with paint or crayons and then gluing on the face.
If you enjoy this easy bat craft, you are going to love making our Halloween paddle ball game, fingerprint Halloween scenes, stuffed pumpkin and dancing skeleton.
Save this Bat Craft for Kids for later. Pin it to your favorite Pinterest board…
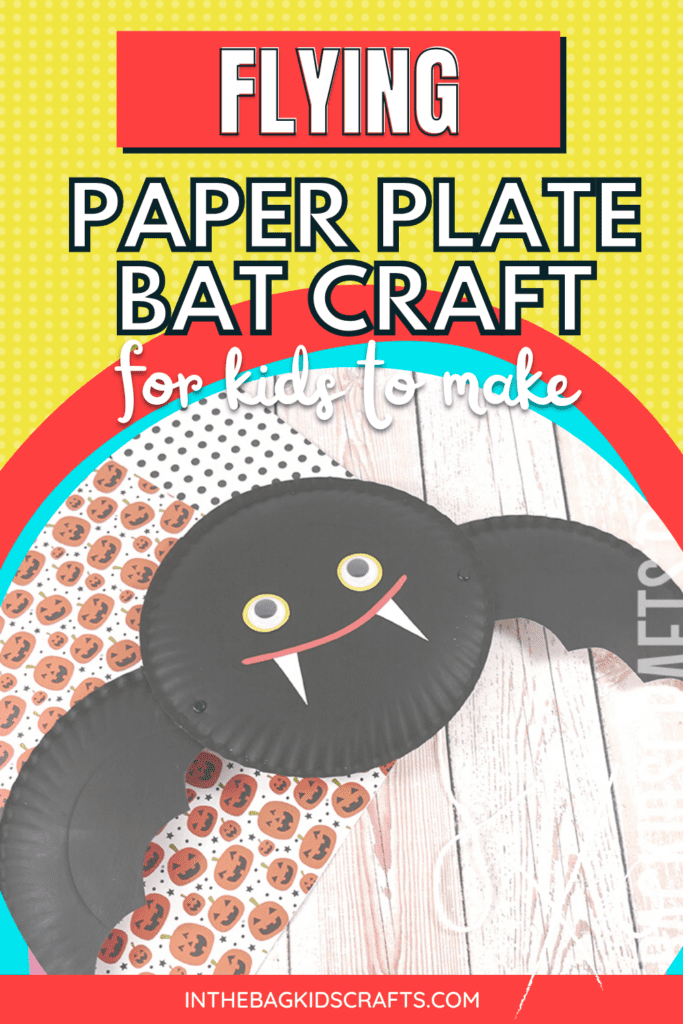
Fun Facts About Bats
Bats are truly fascinating animals. Here are a few of our favorite fun facts about bats for you to enjoy.
- Bats use something called echolocation, which are high-pitched sounds, to find their food even when it’s totally dark.
- The Mexican free-tailed bat may be the fastest animal on earth, with speeds recorded of up to 100 mph.
- Baby bats are called pups.
- The world’s largest bat is called the flying fox and has a wing-span of 6 feet.
- Bats are great pollinators and help spread seeds for nuts, figs and cacao, which chocolate is made from.
*For more interest facts about bats, check out this article from National Georgraphic Kids.
All activities require adult supervision. By using this site, you are agreeing to our terms of use. This post contains affiliate links, which means if you make a purchase through these links, I may receive a small commission at no extra cost to you. Click here to read my full disclosure policy.
SUPPLIES FROM THE BAG
- 2 Paper plates (9-inch coated)
- Newspaper
- Pompom
- Clothespin
- Black paint
- Pencil
- Scissors
- Single hole punch
- Brads (aka metal fasteners)
- Construction paper
- White yarn
- Glue stick
- Googly eyes (or printable paper eyes)
Did you know that you can be ready to make crafts with your kids in seconds? All you need to do is get your craft bag ready, and that’s it. Download our master list of craft supplies that we use for ALL of the crafts that you see on this site (hundreds and counting!), and that’s all the prep you will need to do. Seriously, it could not be simpler. And you will be so happy that you prepared to craft memories with your kids all year long with this one little step. So, fill your bag and craft along!
How to Make a Paper Plate Bat Craft
Step 1: Paint the Plates
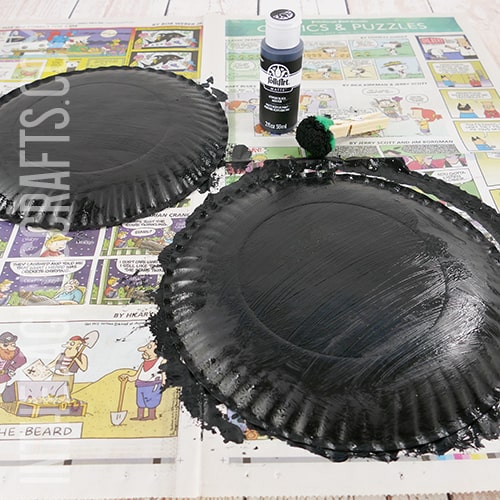
- Lay out some newspaper on your crafting surface.
- Pinch a pompom with a clothespin to form a “paint brush”.
- Place 2 paper plates on the newspaper, bottom up and paint them black.
*If you really do not want to get the paint out, then you can use crayons or markers for this step instead.
Step 2: Cut the Wings for Your Easy Bat Craft
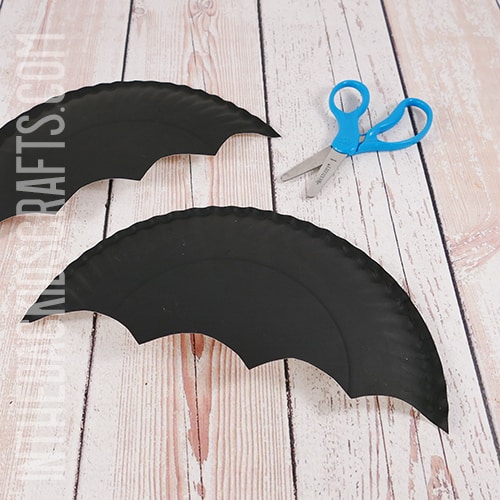
- Once the paint has dried, cut one of the plates in half.
- On the flat edge, cut in some scallop shapes which will be the bottom of your bat’s wings. If it helps, you can draw the pattern on the back of the wings and cut on the lines.
Step 3: Make a Face
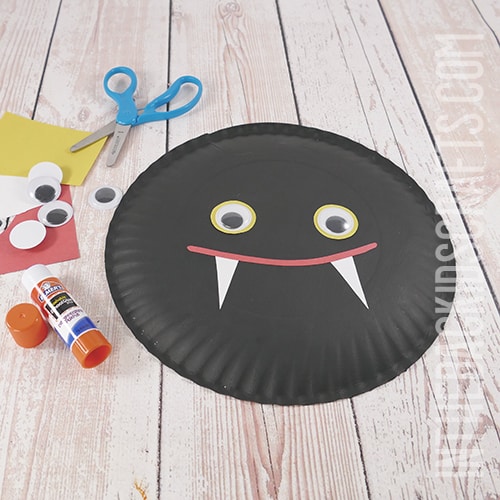
- Now it’s time to make a face for your bat.
- This is completely up to you. Cut pieces out of construction paper and glue them in place. You can draw them first with a pencil.
- We added color around the googly eyes with yellow construction paper before putting them in place too.
Step 4: Prepare the Connection
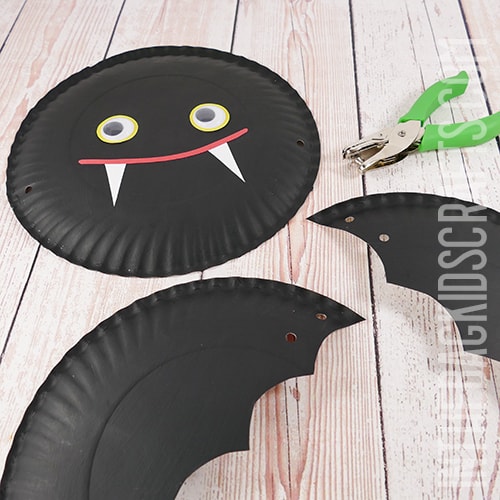
- Get out your hole punch and place a hole on each side of your bat’s body where you made his face. Try to keep these right across from each other in about the center of the plate. It’s okay if it’s not exact.
- Now punch 2 holes, about an inch apart, on the end of each wing where they will connect to the body.
*Use the picture as a guide for where to place the holes.
Step 5: Add the Wings and Make the Bat Fly!
- Put a brad through one of the holes in the body of the bat, and then add a wing by putting the same brad through the second hole inward.
- Secure the brad in the back by separating the tongs and pressing them down. Don’t press too tightly so that the wing can move freely.
- Repeat this on the other side.
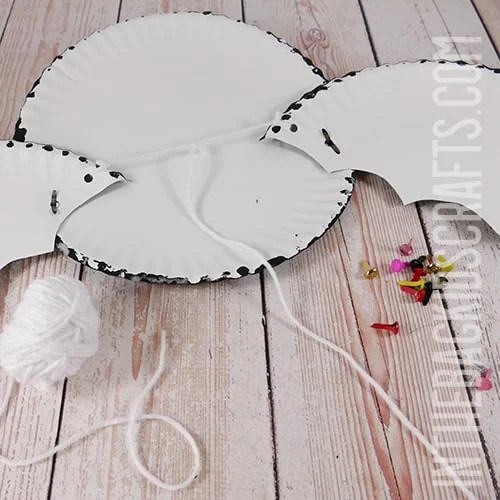
- Now place a piece of yarn through the inside hole on one wing and tie it to the other wing using the empty hole on that wing. The string should be straight across when the wings are in a slightly downward position.
- Tie the knots securely and snip away any excess.
- Last, cut a length of yarn about a foot long and tie one end to the very center of the other string. This is the pull string to make the bat’s wings go up and down.
See the Bat Craft in Action…Watch it Fly!!!
Save this Halloween Craft for later. Pin it to your favorite Pinterest board…
