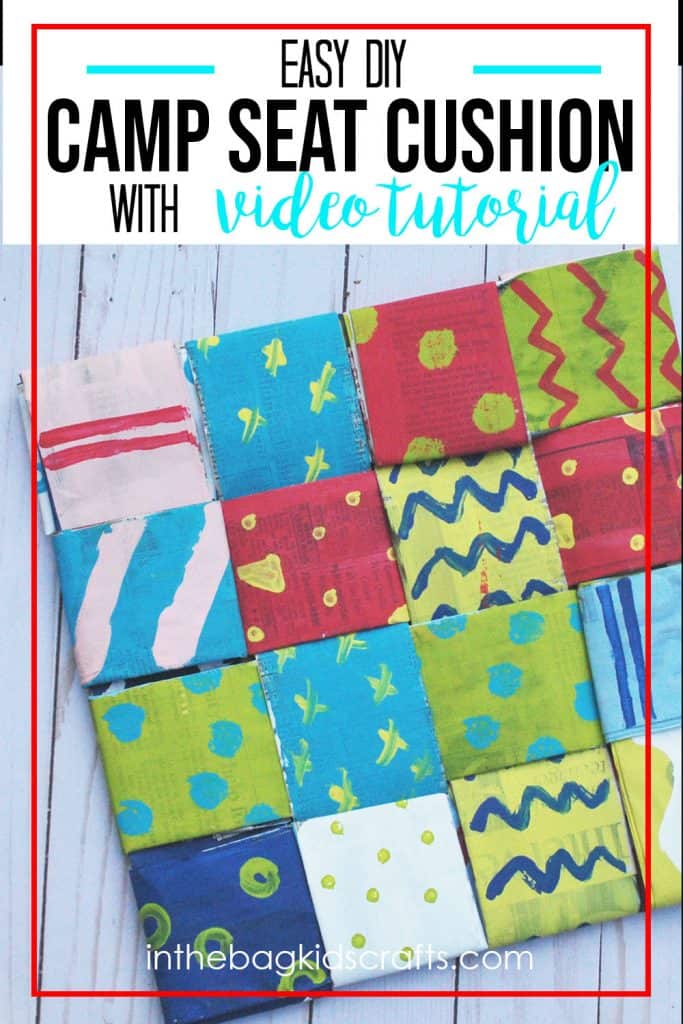
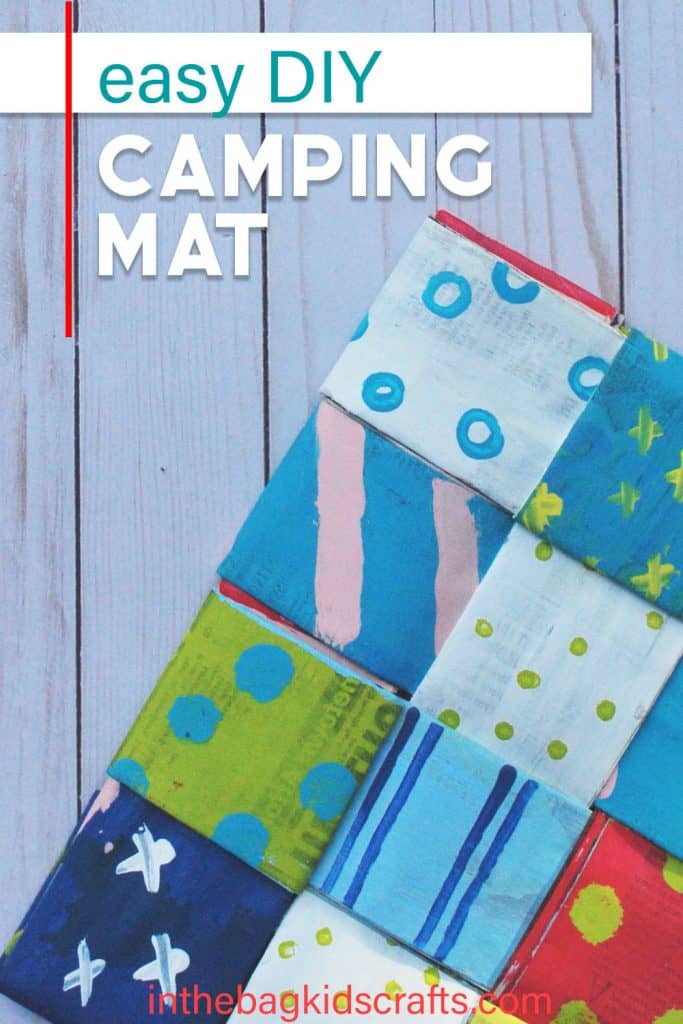
DIY Camp Seat Cushion
How many of you were once a Girl Scout (or Boy Scout)? I loved those days, especially the summer camp outs. Earning badges in fire making and etiquette, tying knots and survival skills…oh, the joys of childhood! And this craft comes directly from my memories of scouting, and nights spent around the campfire. One year I made this great DIY camp seat cushion that we would keep with us so that we could sit on the ground around the fire more comfortably. Of course, I have taken that initial woven newspaper mat and amped it up a bit with some color. And I can’t wait to see your camping mats. (email me at hello@inthebagkidscrafts.com). Happy crafting and happy camping!
Save this DIY Camp Seat Cushion Step-by-Step for later! Pin it to your favorite Pinterest board…
SUPPLIES FROM THE BAG
- Newspaper (as least 2 complete newspapers)
- Paint (assorted colors)
- Q-tips
- Medium pompoms
- Clothespins
It is our mission here to make it easier for you to be able to craft with your kids. Because we know that you would love to (or you wouldn’t be here), but who has the time? Well, you do! If you follow our tips. And the first one is to prepare in advance so that you are ready when the time presents itself. You can use our master list of supplies that we use for every craft here at inthebagkidscrafts.com. We never stray from it (promise), which means you have access to hundreds of crafts and will never find yourself without that “key ingredient” to finish what you have started. Learn more and get the free printable master list here: FILL YOUR BAG
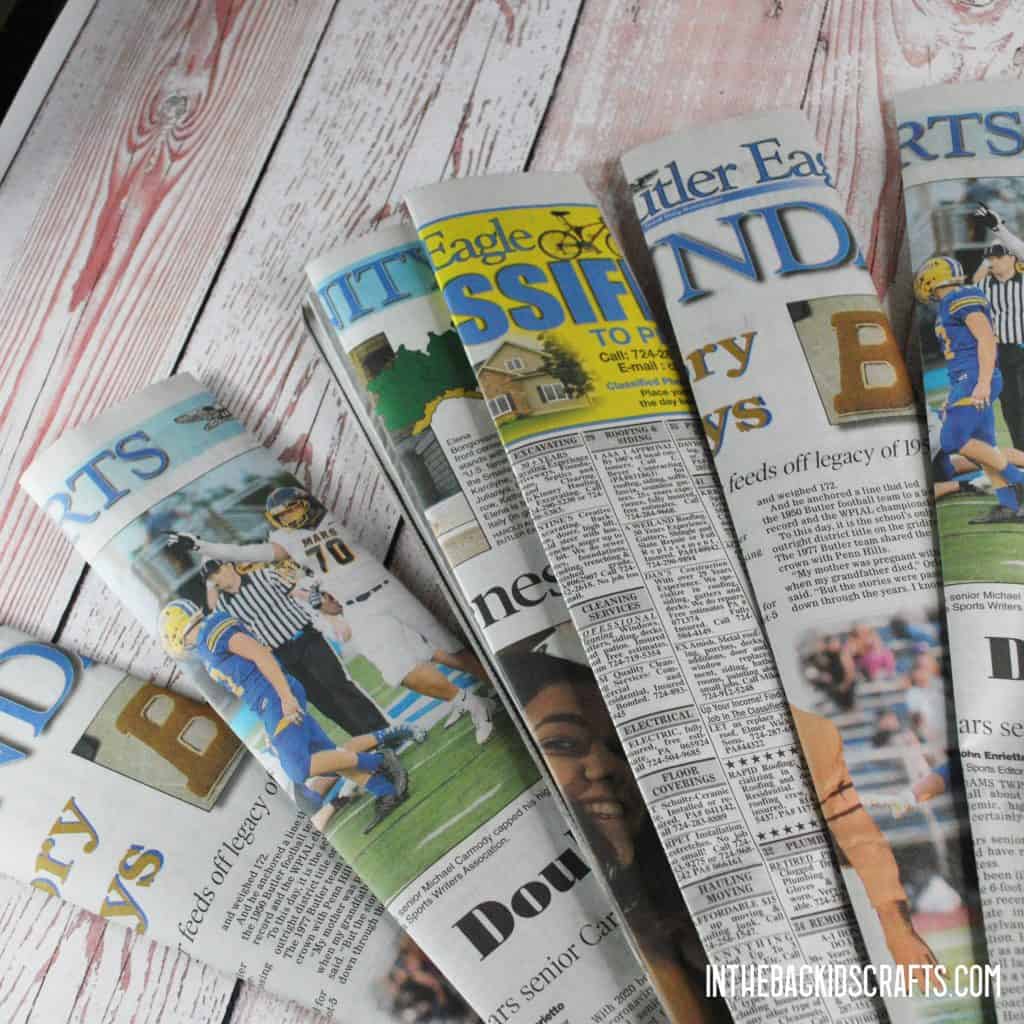
Step 1: Fold the Newspaper
- Take 2 full pages of a newspaper, keeping the page closed, and fold it long-wise 2 times.
- This will leave you with a long strip of paper that is approximately 3-4 inches across.
- Make 8 folded strips of newspaper total.
Step 2: Paint
- Lay out some more newspaper on your table to protect it from paint
- Squeeze some paint onto the corner of your layed out newspaper (color of your choice)
- Pinch a pompom with the clothespin to form a “paint brush” and paint one of the folder strips of newspaper that you made in step 1. Set it aside and give it time to dry.
- Repeat this until all of your strips are painted on one side, alternating colors as you work.
- Now turn the newspaper strips over and paint the other side, one at a time in whatever color you want. Again, give them time to dry.
- Using whatever paint colors you want, add details. You can use the q-tips or various sized pompoms for this step. You can even finger paint if you want. This is your chance to really get creative! So, take advantage of it.
- When you are done decorating, let the paint dry before moving on to the weaving step.

Step 3: Weave
- Lay 4 of the painted folded strips of newspaper side by side.
- Now, take one of the remaining strips and weave it in and out of the four strips in front of you, starting about 6 inches in from the end of the newspaper strips
- Repeat this process, alternating starting over or under with each additional strip you add to the camping mat.

Step 4: Tuck in the Ends
*This step is better understood if you see it. So, be sure to check out the video. This step happens around minute 8.
- Fold over the end of the first strip of paper.
- Go to the strip that is the second one around the corner from the one you folded over. It will overlap the strip the you first folded over.
- Now take the end of the second strip you folded over and tuck it under. This will secure the ends of both strips you have folded over.
- Repeat this process until all of the ends have been secured in place.
Step 5 (Optional): Finish It Off
**This step involves items that are not in your craft bag if you have filled it using our master list. That is why this step is completely optional. However, I recommend this final step because it will keep your camping mat looking good and usable for a longer period of time, especially when sitting on it in the outdoor elements.
You will need clear packing tape OR clear thick plastic and packing/duct tape OR a large enough clear ziploc back that your mat will fit inside (like a 2 gallon bag). To make your camping mat more resistant to water and dirt, use one of these sets of supplies to seal it all the way around. For example, cover it entirely with packing tape, including the edges. OR cut 2 thick plastic sheets the size of your mat and secure it all around the edges with strong tape that is also water proof. OR just slide your completed mat into a very large clear ziploc bag and seal shut. You may even want to secure the seal with a piece of duct tape.
Save this Easy DIY Camp Seat Cushion project for later! Pin it to your favorite Pinterest board…