Simple Deer Craft for Kids (Free Printable Template)
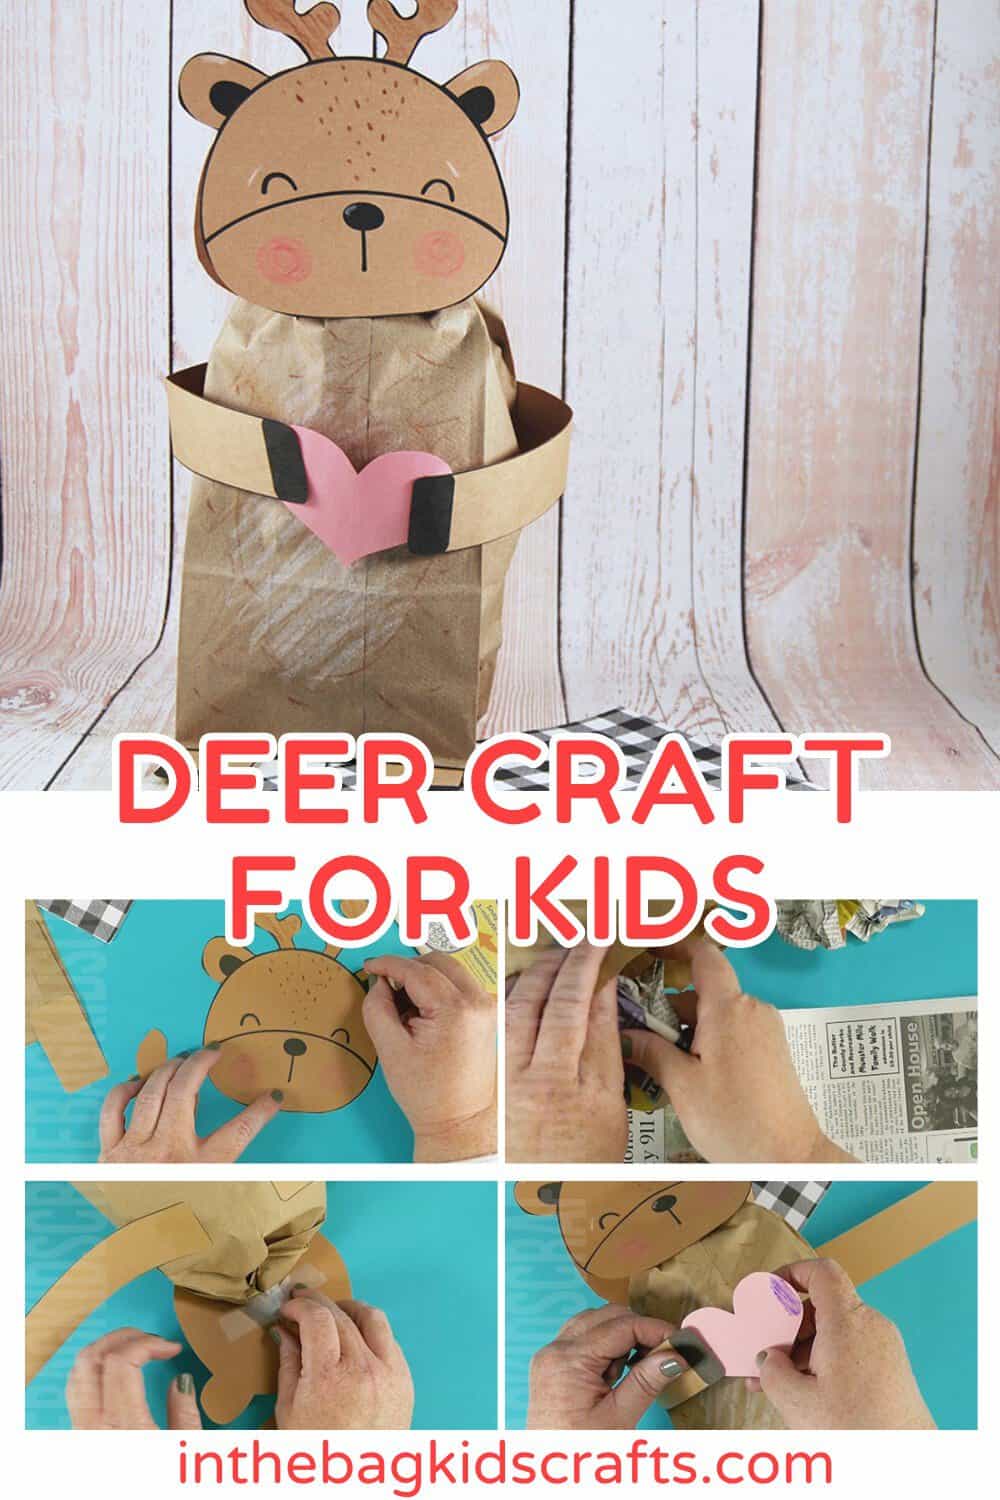
It doesn’t take much to put together this adorable deer craft. Just start with a simple paper lunch bag and use the free deer template for the rest. One of my favorite parts about this craft is not just how completely cute it turns out but also how great it is for practicing lots of vital skills, like fine motor skills, that you’re child needs to succeed in every day tasks. Plus you can use it to learn about the letter d.
I bet you’ve never heard of craft flashcards…Of course you haven’t…because I totally made it up 🙂 As a pediatric Occupational Therapist, I’ve witnessed kids struggle to complete multi-step activities. So, I came up with this brilliant (if I do say myself) way to break down crafts into bite-sized pieces in the form of flashcards.

These are especially perfect for those kiddos who have limited attention spans.
Crafts are such a great developmental tool for kids (improves motor planning, attention span, executive functioning, fine motor skills, language development and more), and using flashcards makes planning crafts for your kids to enjoy even easier.
Just print out a few of your favorites onto cardstock, cut them into the cards with a hole in the corner and place them on a keyring that you can connect to your craft supply bag (which you can fill using our master list of supplies that we stick to for every single one of the projects in the flashcard collection). It’s so simple.
And the best part is that there’s not a screen in sight. Technology is such a great thing, but it’s also nice to take a break from it once in awhile and let the brain explore in other ways. Click the image to learn more about our collection of 100 Craft Flashcards for Kids.
Fun Facts About Deer
- Deer are the state animal of Arkansas and ten more states, including Illinois, Michigan, Mississippi, Nebraska, New Hampshire, Ohio, Oklahoma, Pennsylvania, South Carolina, and Wisconsin.
- White-tailed deer have better night vision than day vision.
- Deer are the only group of animals in the world that have antlers. They fall off each year and grow back.
- A male deer is called a buck or stag, and the female is called a doe or hind.
For more interesting facts about deer, check out this article from One Kind Planet.
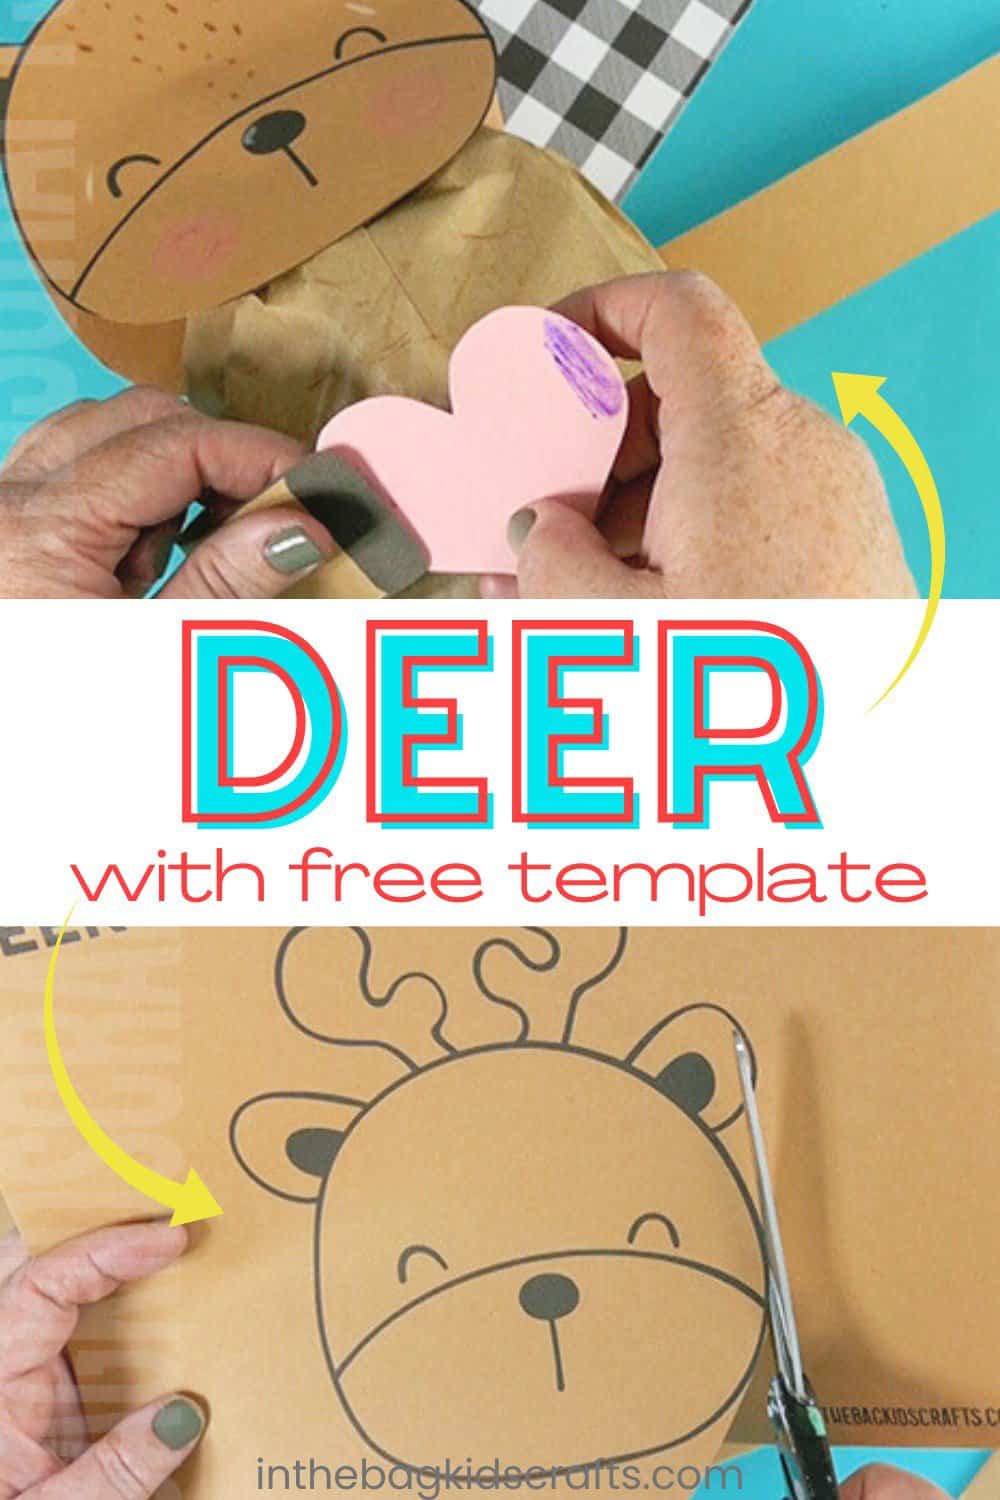
Save this teddy bear craft for later. Pin it to your favorite Pinterest board…
All activities require adult supervision. By using this site, you are agreeing to our terms of use.
How to make a Paper Bag Bear Craft
This fun activity goes together quickly. Grab the template and paper lunch bag to get started.
Check Out the Deer Craft Video Tutorial:
SUPPLIES FROM THE BAG
- Brown paper lunch bag
- Brown and pink construction paper
- Crayons
- Scissors
- Newspaper
- Glue stick
- Tape
- Free Deer template
Crafting with your kids doesn’t have to be complicated. We keep things simple here so that you can get right to the good stuff of making crafts together. To do this we stick to a master list of basic supplies to make ALL of the amazing projects you see on this site. Just fill your bag and craft along!
Deer Craft Instructions:
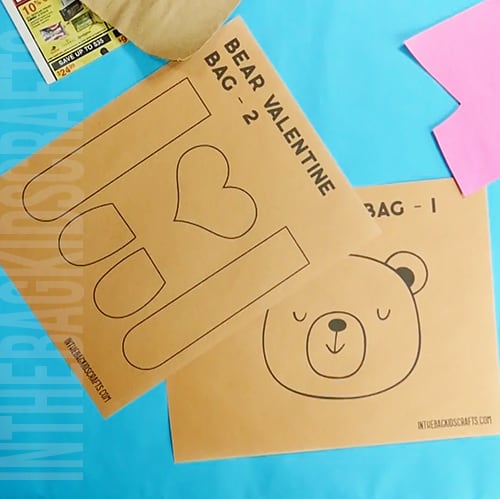
Step 1: Download the FREE Deer Template
- Download and print the free deer craft template.
- You can choose to print it directly onto brown paper or onto regular printer paper to use as a template.
- If you print onto white paper and use it as a template, you will need to draw on your deer’s cute face and other details.
Step 2: Cut Out the Parts
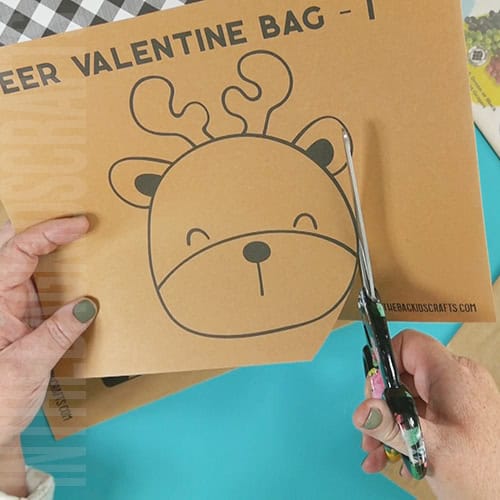
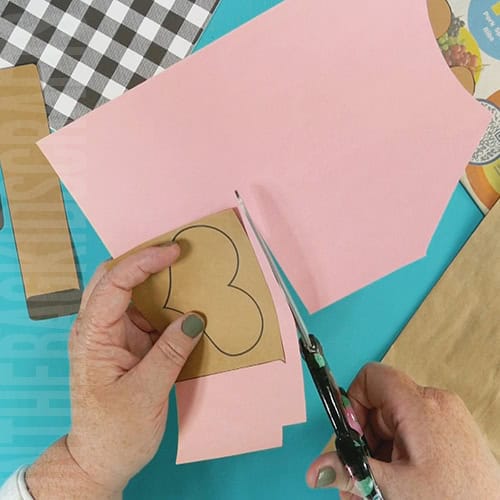
- Now cut out all of the parts for your deer craft from brown paper, except the heart.
- Grab a scrap of pink or red paper to cut out the heart that the deer will be holding.
*You may want to complete this step in advance for young kids as their scissor skills are likely not yet developed enough for cutting these more complex shapes. Older kids will be able to complete this step on their own.
Step 3: Begin Deer Craft Assembly
- Now it’s time to begin assembly for this easy craft.
- Place the paper lunch bag in front of you with the opening at the top and the flap up.
- Use your glue stick to add the feet to the bottom of the bag.
- Then glue the arms (aka front legs) in place, coming straight out from the sides of bag about half way down.
You won’t have any need for brown paint since the bag is already brown.
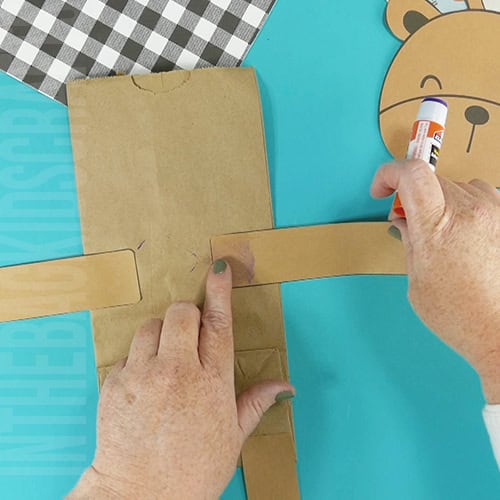
Step 4: Add Details to the Deer’s Body
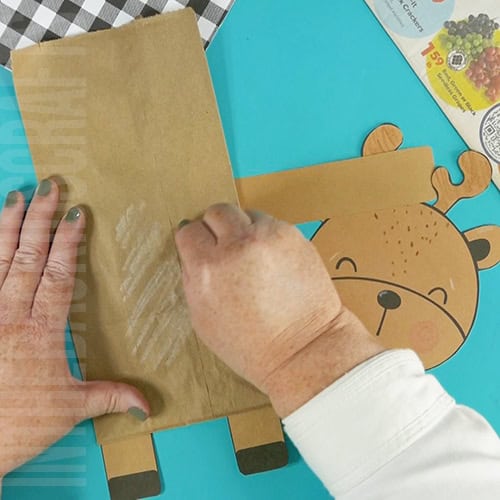
- While the paper bag is still flat, use crayons or markers to add any markings you would like to the body of your deer craft. This is easy to do and is a great addition.
Step 5: Stuff It
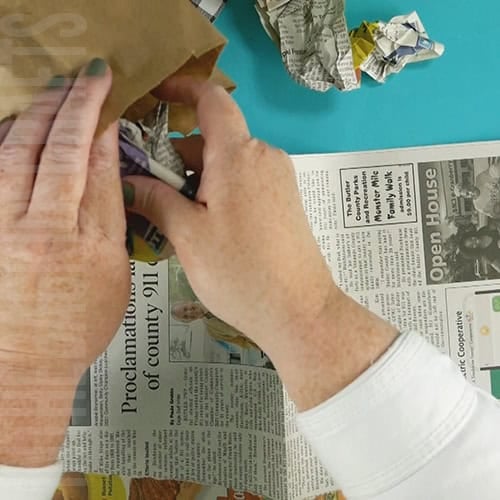
- Tear strips of newspaper and crumple them up. This is a great way for little hands to practice bilateral coordination.
- Open up the bag and place the crumpled up newspaper inside one by one until it is filled up, leaving about 2 inches empty at the top.
Step 6: Close It Up
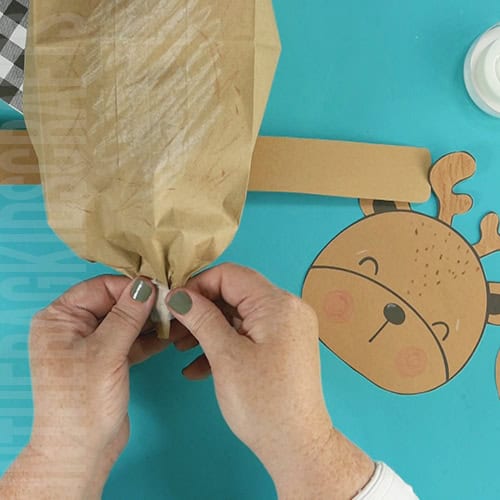
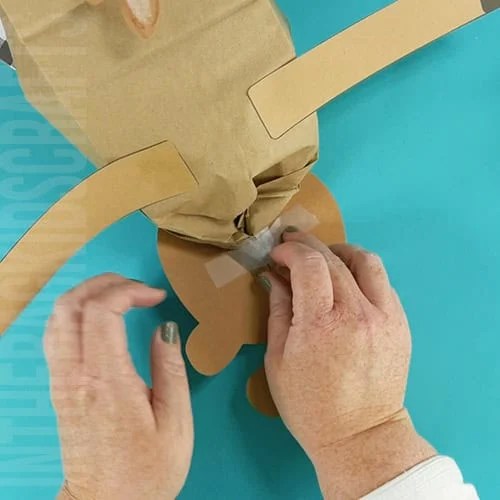
- Gather up the top of the paper lunch bag and cinch it shut.
- Wrap a piece of tape around the top to keep it closed.
Step 6: Draw on More Details
- Add details to the deer’s face using crayons. You can also add details to any other parts of your deer at this time. This is a wonderful way to add your own unique personality into the craft. You could also use white paint and q-tip for this step.
- If you prefer, put googly eyes over the existing printed eyes.
*Break the crayons for better hands-on fine-motor practice.
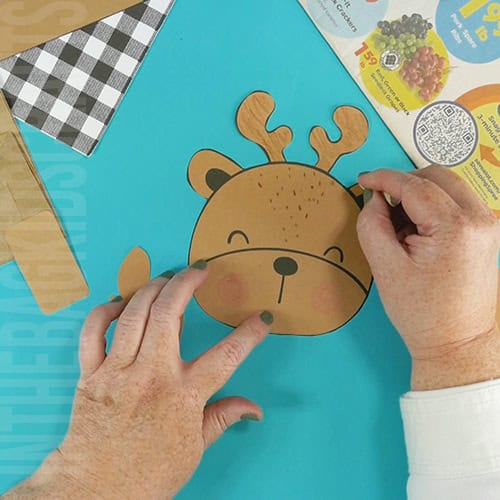
Step 7: Add the Deer’s Head
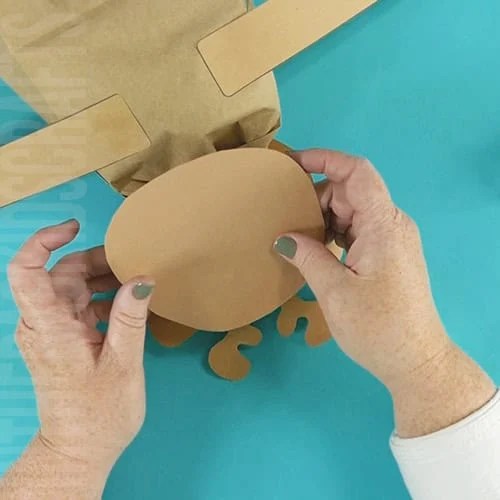
- Attach the deer’s head using some scotch tape.
Optional: If you’d like to finish off the back of your deer craft by adding a circle shape to the back of the head or another cut out of the deer’s head, without the deer’s ears, from the template. Use your glue stick to attach it.
Step 8: Put Something in your Deer’s Hooves
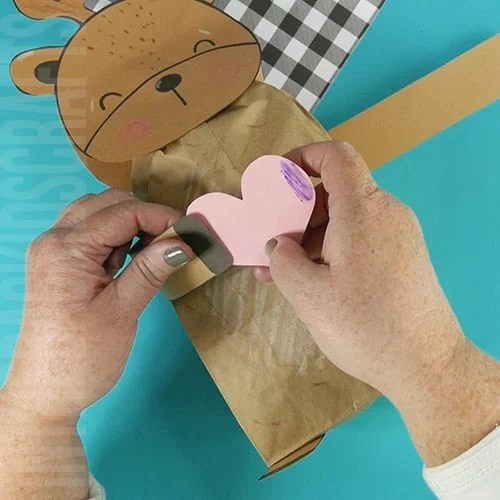
- Pull the front legs to the front of the deer and use a glue stick to attach the heart to the deer hooves, like he’s holding it.
Can I Make This Craft for the Holiday Season?
Absolutely! This would make such a cute reindeer craft. I’d add a few holiday touches. For example, maybe add a red nose to make him Rudolph. Or add some holly or bows to your simple reindeer craft. Instead of a heart, have him holding a candy cane (paper or real). If you really want to make a fun reindeer craft, create all of Santa’s reindeer and add a sleigh.
How to turn this into a Valentine’s Day card holder
If you’d like to use this for a Valentine’s Day card holder, leave out the newspaper stuffing. The cut a generous slit in the back where the cards can go. To retrieve your cards you can cut a hole in the bottom or in the back of your deer.
Can I use different paper?
We are using construction paper because it’s what we always keep in our craft bag, but you can use whatever heavy brown paper you have on hand. You can use cardstock paper or even lightly patterned scrapbook paper instead.
Ways to add even more creativity…
One fun way to make this deer craft your own is to change up what he’s holding. We’ve included a heart in the template, but you can draw and cut out anything that you want for your deer to hold. You can also change up the colors and details any way that you would like.
This is your craft, and it shouldn’t look exactly like the picture. Make it your own. The only limit is your imagination.
Modify the deer template for a puppet…
You can use this same template to create a deer paper bag puppet. Just glue the deer’s head onto the flap of the bag. Then add the legs to the bottom section of the bag. You can keep the front legs as is so that they wrap around or cut them shorter.
Here are even more deer crafts to make
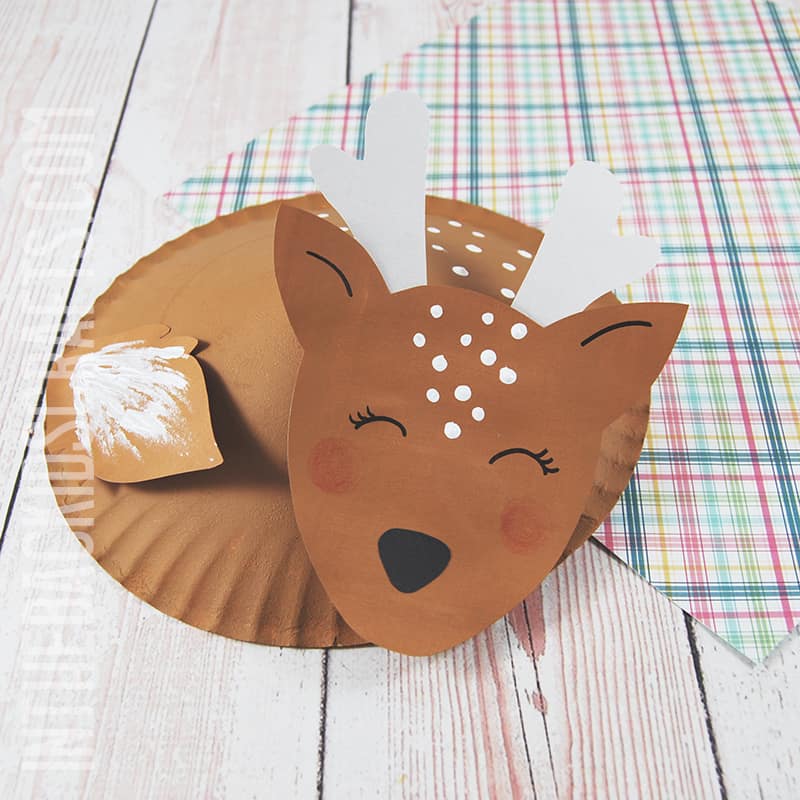
Paper Plate Sleeping Deer
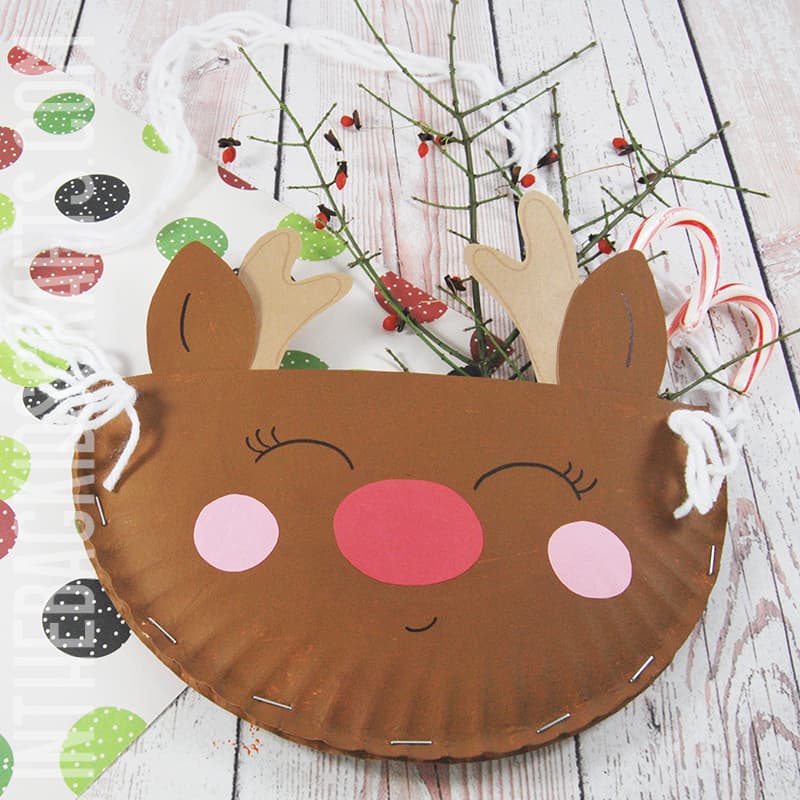
Christmas Reindeer Pouch
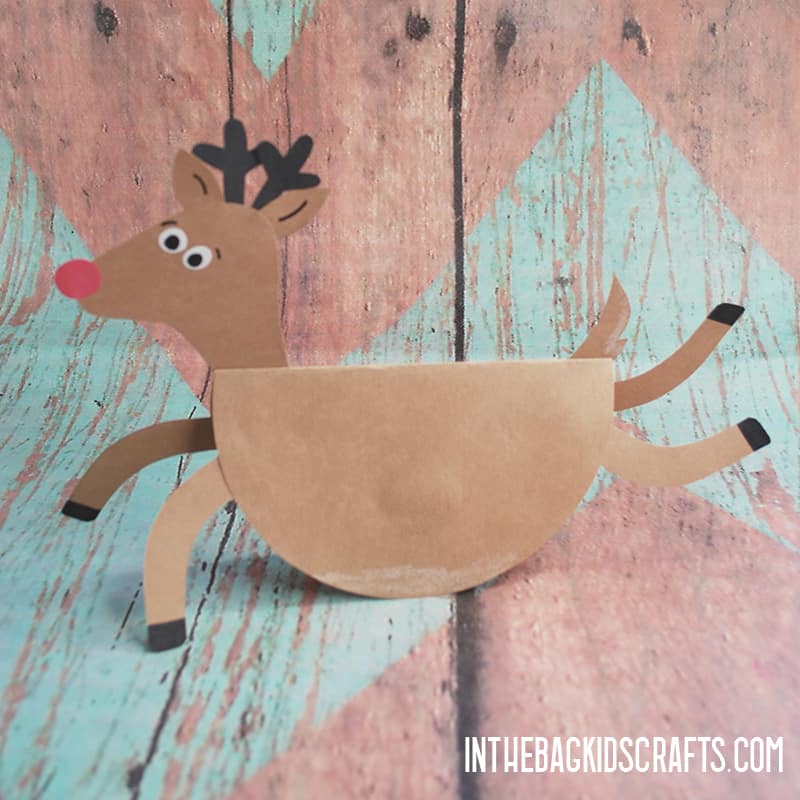
Paper Rudolph Craft
Save this fun Deer Craft for later. Pin it to your favorite Pinterest board…
