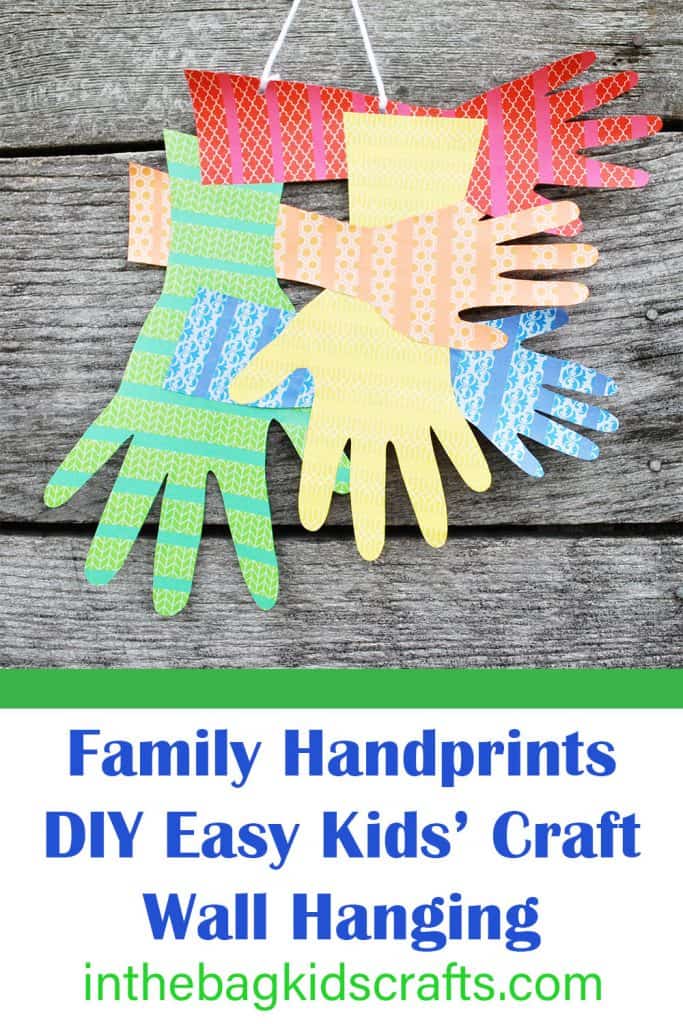
Kids’ Craft Wall Hanging
It has always been my belief that creating together is one of the best ways to spend family time. And in the case of this craft, you cannot make it without your family. It is a fun and simple way to bring everyone together. This version uses the handprints of grandparents and their grandchildren, but you can use any combination of family members…just siblings, a gaggle of cousins, parents and children, etc. And an added bonus is that when you are finished with this easy kids’ craft, you are left with a finished product that is nice enough to frame and use as artwork in your home. This kids craft wall hanging made with family handprints will be something to be cherished, especially as those little hands are little no more.
SUPPLIES FROM THE BAG
- Construction paper in varied colors
- Washi tape to coordinate with the chosen construction paper colors
- Scissors
- Glue stick
- White yarn (optional)
- Hole punch (optional)
If you are new around here, let me bring you up to speed…when you fill your bag with the list of recommended supplies (HERE), you will be able to make EVERY…SINGLE…CRAFT on this blog without making another trip to the store. I promise that you will never be in the middle of a craft and realize that you don’t have a key “ingredient”. So, you do the work ONCE, of building your kit (you can even use the free printable shopping list or just click the Amazon links and shop from home), and then let me do all of the heavy lifting so that you can spend hours of creative hands-on time with your kiddos, learning, growing and having fun!!!
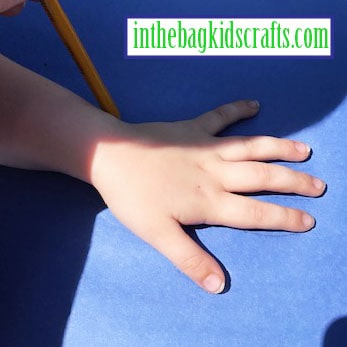
Step 1
- Trace the hands of everyone in your family group, using a different color of construction paper for each person.
Step 2
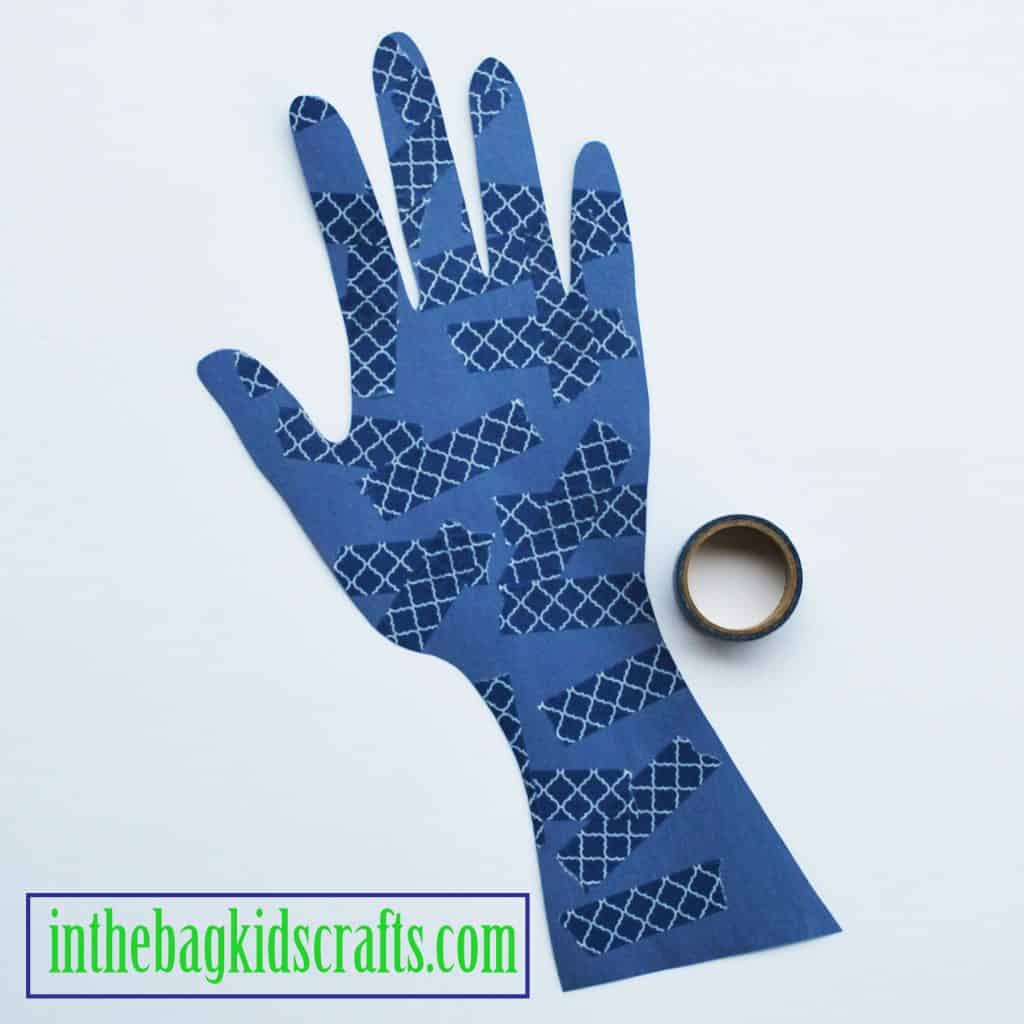
- Trim the excess from around the handprint
- Decorate the handprints with a coordinating washi tape, placing the tape on the opposite side of the paper of the traced lines
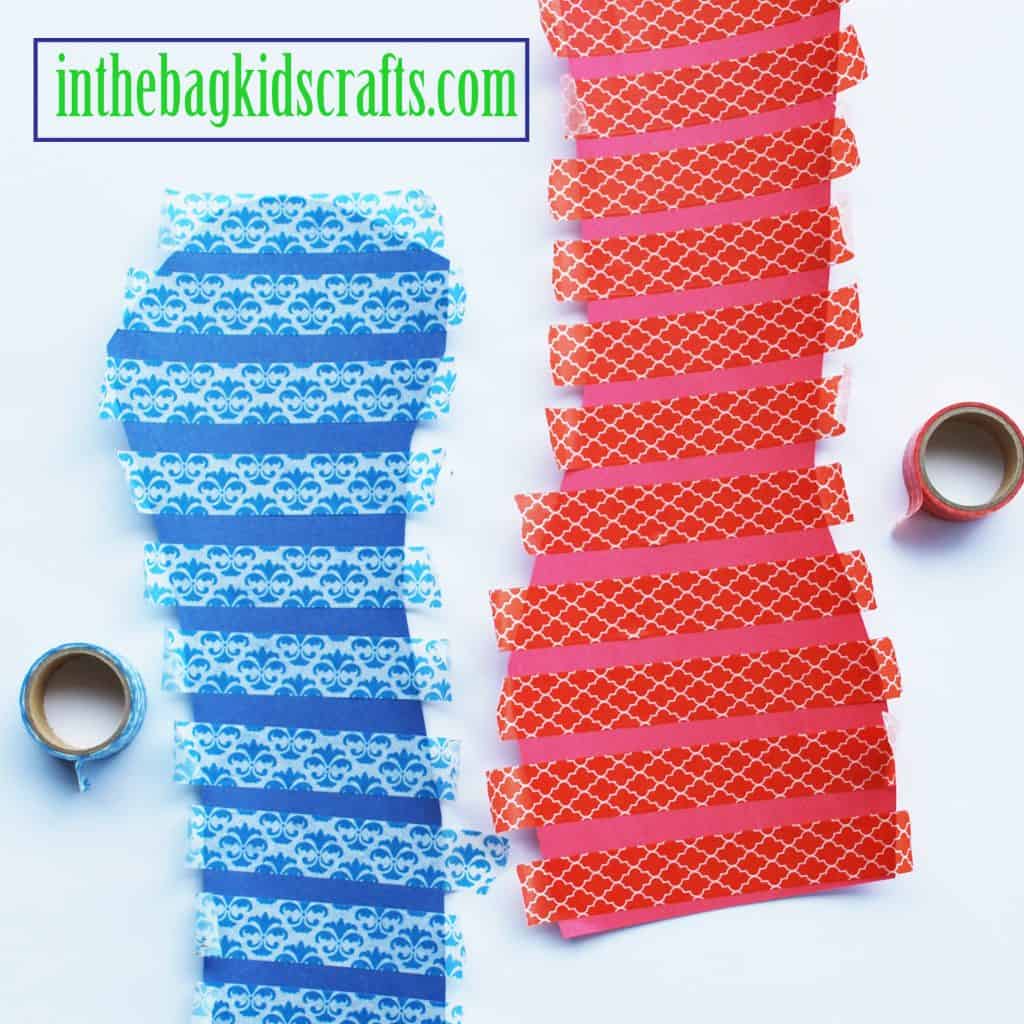

For little ones, placing the washi tape with precision is difficult. So, let them use smaller pieces and place them more randomly. You can even pre-tear the tape to make it easier. Placing the pieces of tape is a great fine motor activity. Also, you can add the practice of crossing midline (learn more about crossing midline HERE) by placing the pieces of tape opposite the child’s hand that he/she is using so that he/she reaches across the center of the body, into the space of the opposite side. Crossing midline is a foundational skill and is often overlooked. So, help your little ones practice by using this simple set up.
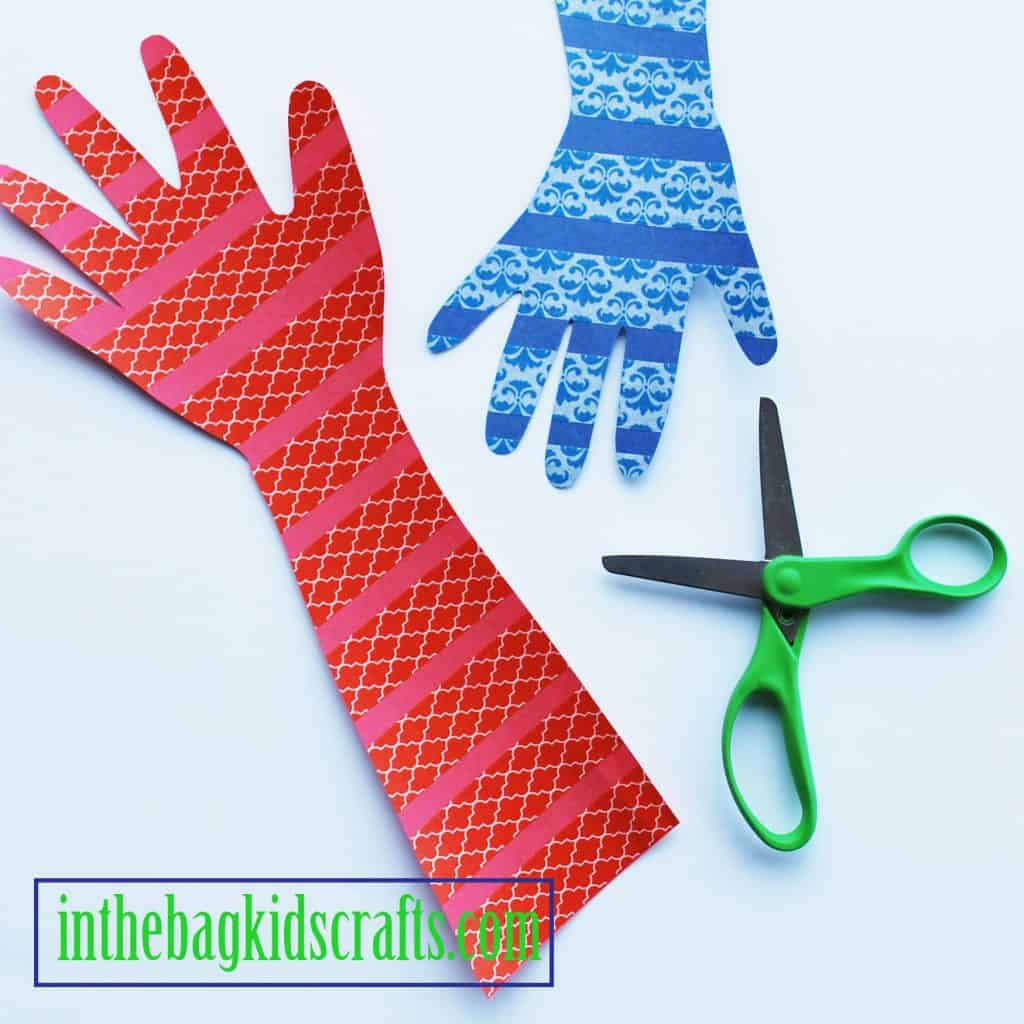
Step 3
- Cut out the handprints
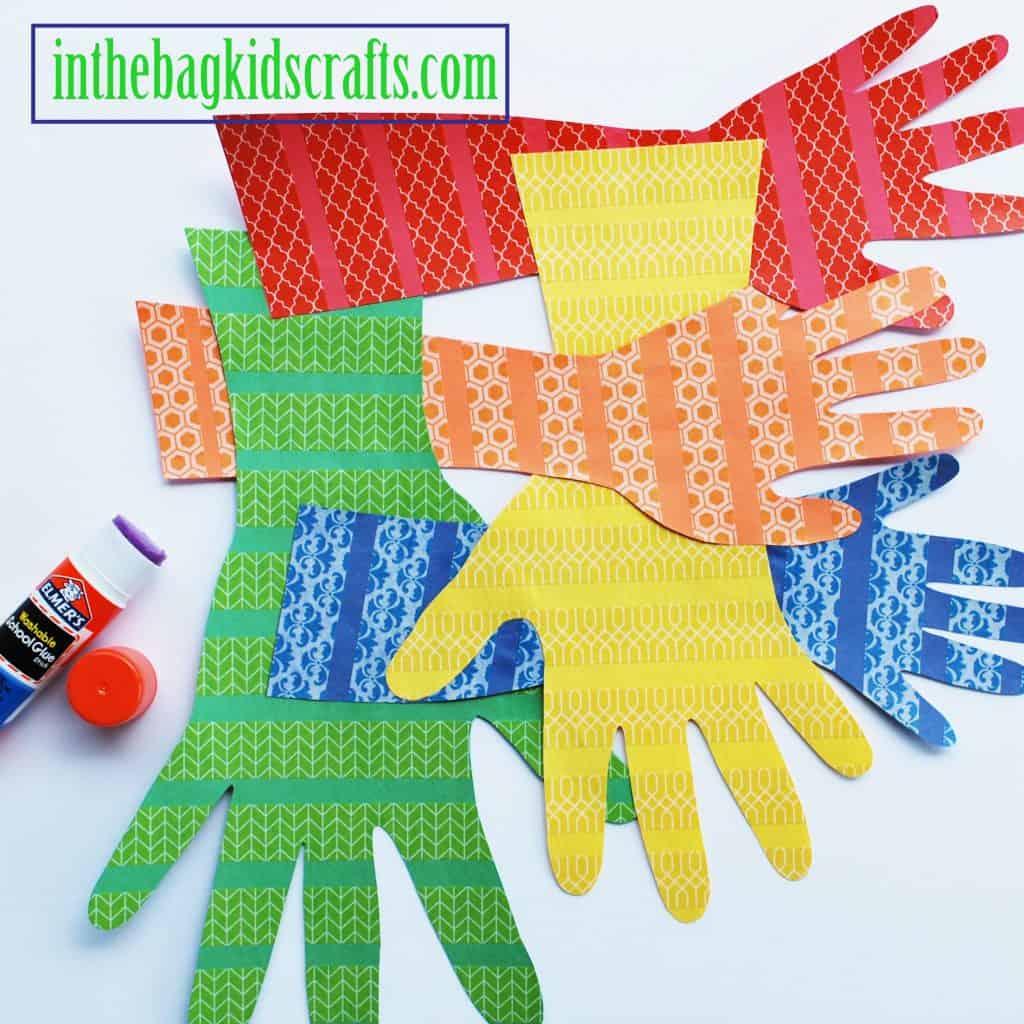
Step 4
- Weave the handprints together in a random pattern
- Use the glue stick to secure the handprints at the connecting points
Step 5 (Alternative)
- Punch 2 holes in the top of the finished handprint collection
- Cut a piece of yarn approximately 6 inches long
- Tie the yarn into the holes to make a hanger
If you prefer, instead of completing step 5, frame the handprints for an elevated final product
If you enjoyed this craft, please share it… Just pin this image!
I would love to see your finished product, and even the members of the family who were involved! Take a picture and send it my way (hello@inthebagkidscrafts.com). I will post it in the gallery (with credit given, of course) for everyone to enjoy.