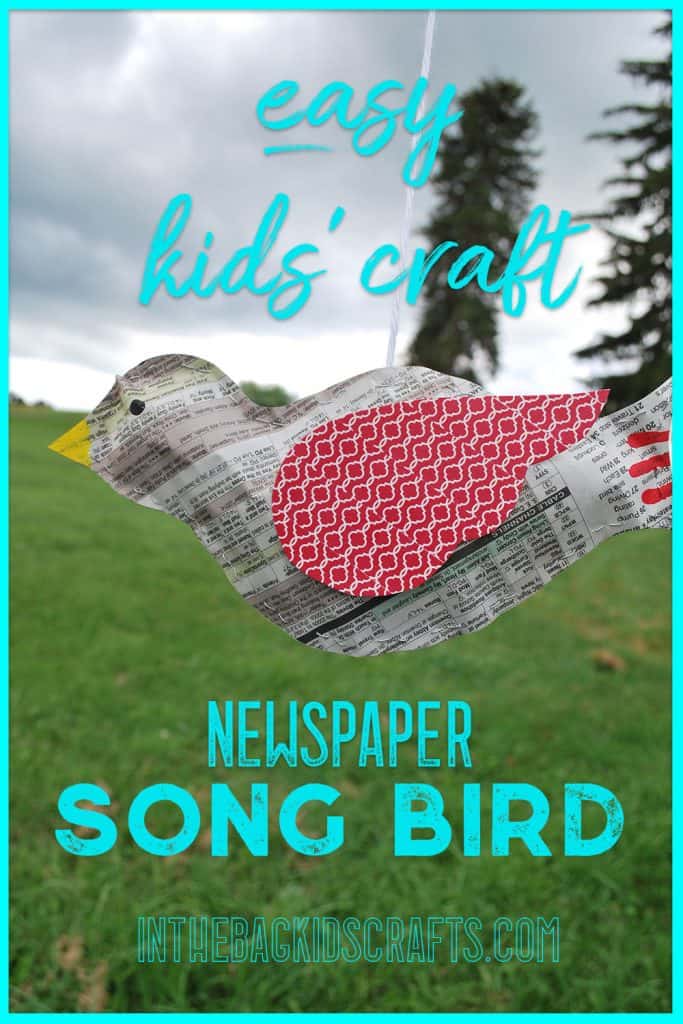
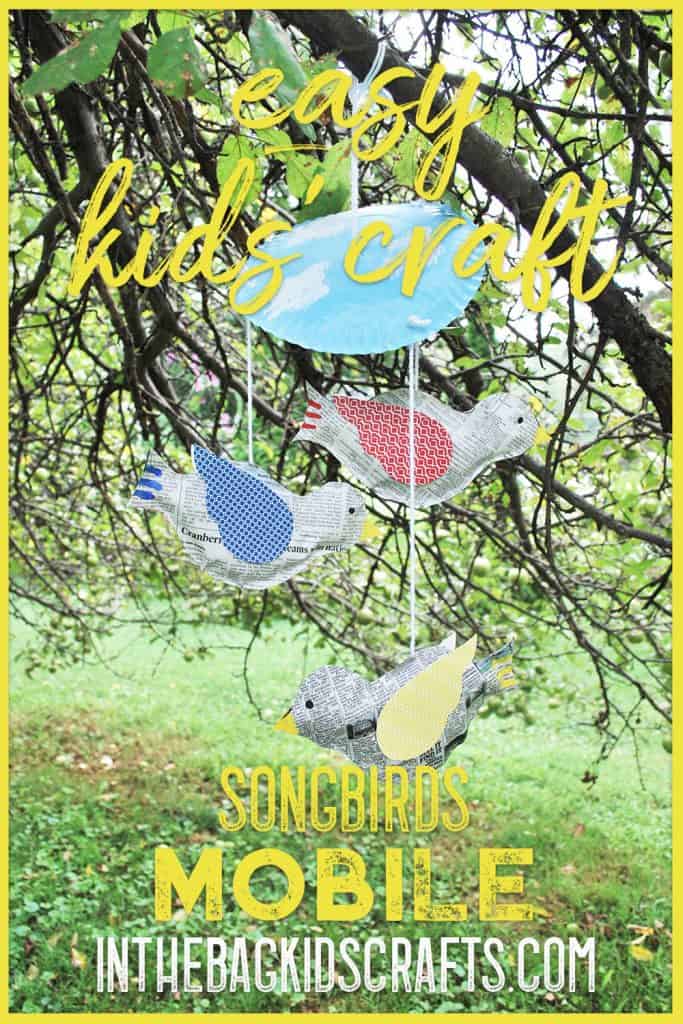
Songbird Easy Kids’ Craft (plus Bonus Mobile)
To be honest, I have a love/hate relationship with songbirds. On the one hand they are beautiful and often make me smile with their twittered songs. Then again, during this time of year there is a “song” bird perched outside of my window most mornings who definitely got the raw end of the deal when the gift of singing was handed out and begins his loud squawking song around 4am…I mean, come on, the sun isn’t even up yet, bird! This easy kids’ craft is meant to embody the sunnier side of songbirds. We will first start by making a single bird and then (BONUS!), I will show you how to make several into a fun mobile! Let’s get started…
Get the step-by-step flashcards for this craft…
SUPPLIES FROM THE BAG
- Newspaper
- Scissors
- Pencil
- Sharpie
- Washi tape-you pick the color for the bird wings
- Stapler with staples
- White yarn
- 2 paper plates
- Yellow and black paint
- Paint to match washi tape
- Q-tip
*When I say “from the bag”, what I mean by that is the bag you have filled according to my free printable list found HERE. If you gather all of the supplies found on this list, you will have a kit ready to make EVERY…SINGLE…ONE… of the crafts on this blog. You will never be in the middle of a project and find yourself missing an “ingredient”. Plus, you can craft at a moments notice without any preparation whatsoever! Because…you have already done your part of the work. Leave the rest to me 🙂
And you should definitely check out the FREE course with easy ideas for helping your child hold a pencil better! Click below to find out more…
HELP YOUR CHILD HOLD A PENCIL BETTER TODAY!
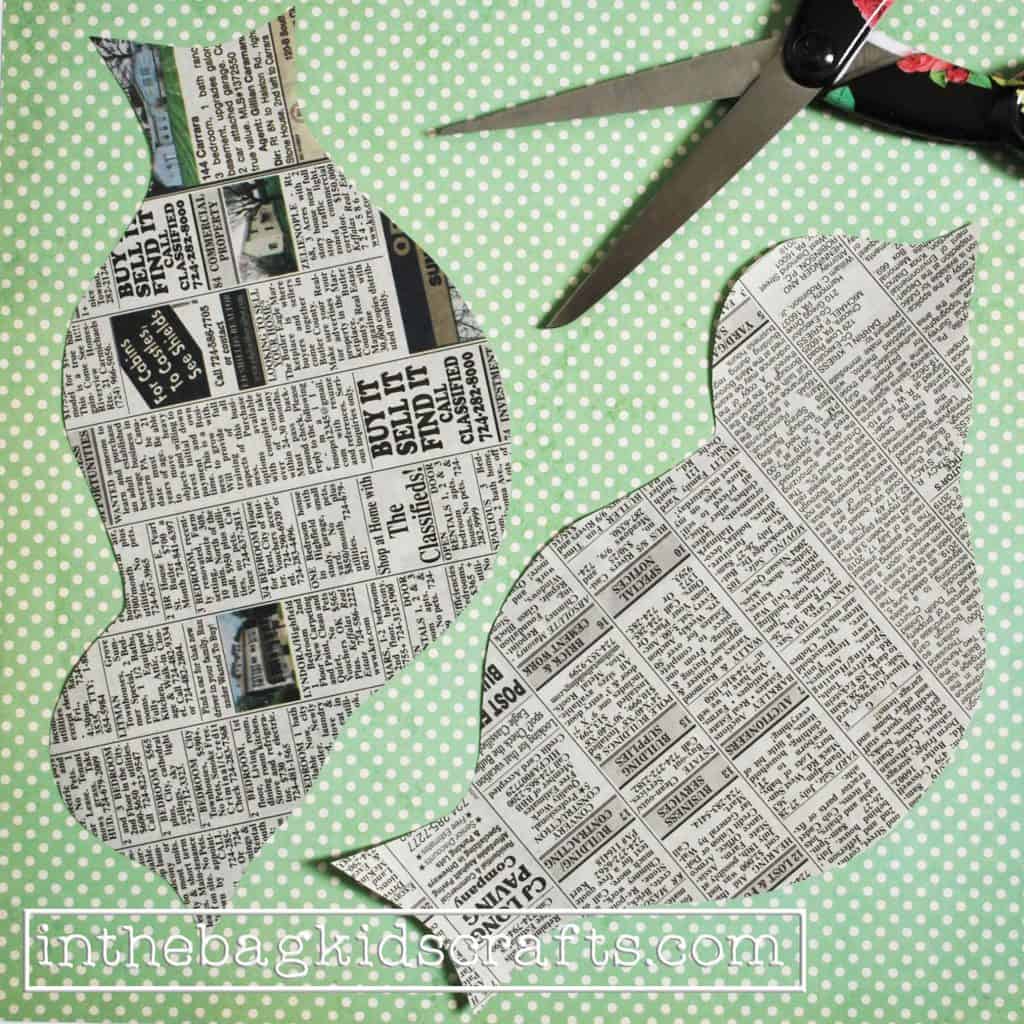
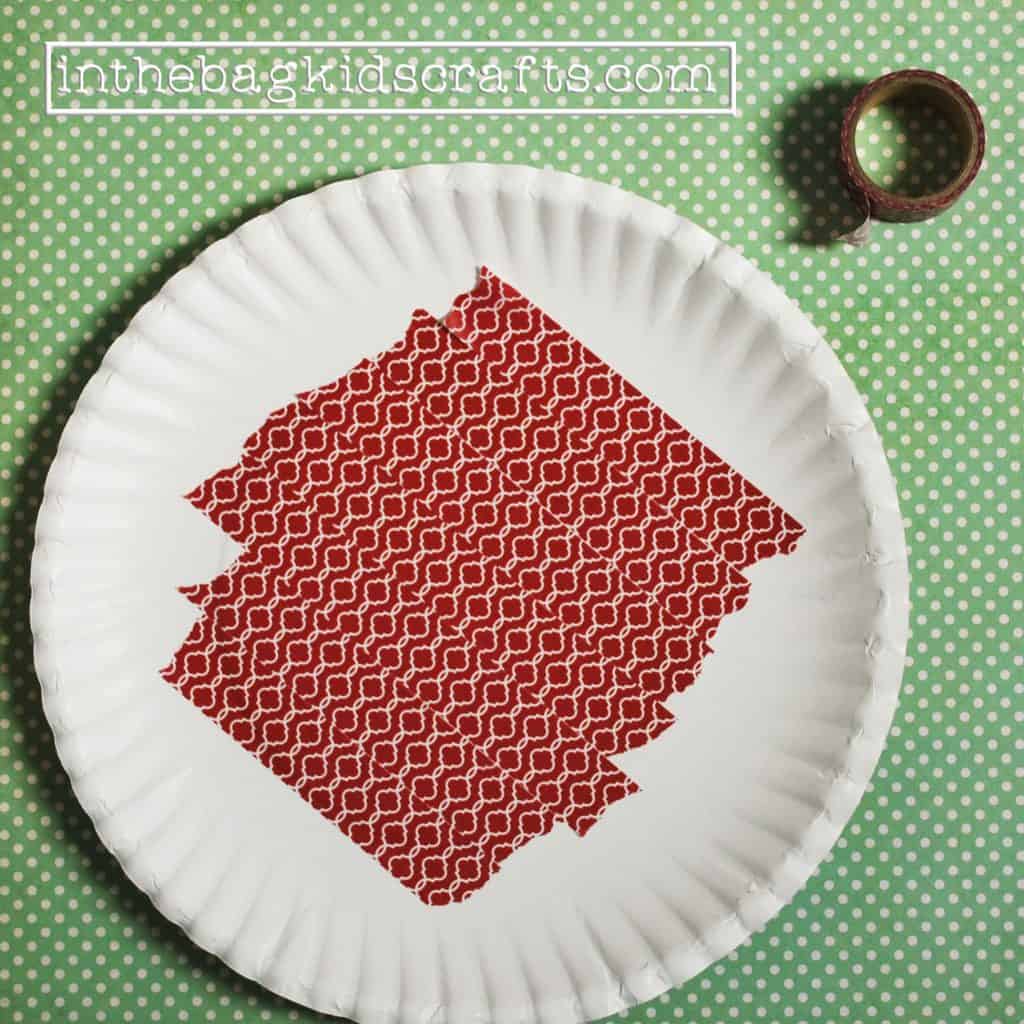
Step 1
- Draw or trace (download the pattern below) your song bird onto a doubled piece of newspaper
- Pick a spot in the newspaper that has mostly just basic print, no wild photos or bold titles if possible
- It is easiest to see if you use a sharpie marker for this step
- Cut out the bird, being careful to keep the two layers of paper together while you cut. You will need a front and a back that are the same for this project to work.
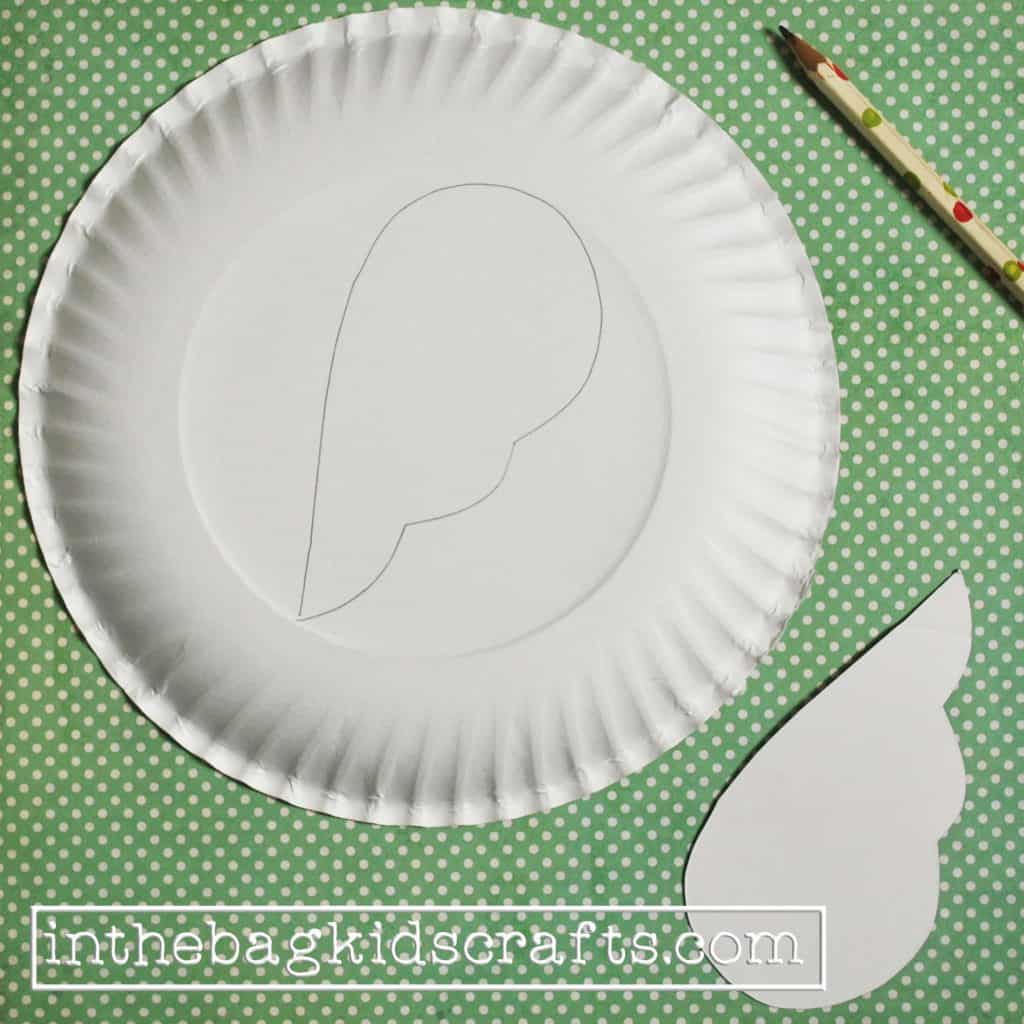
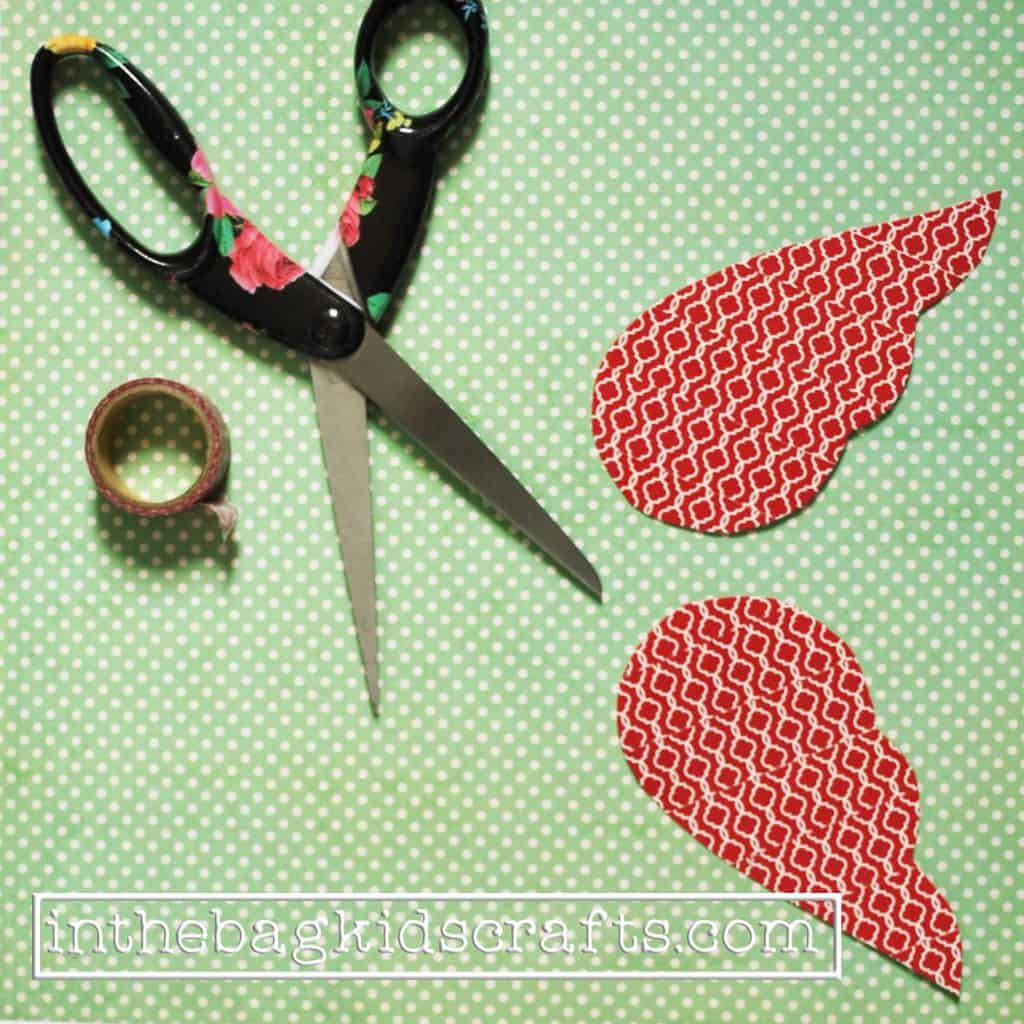
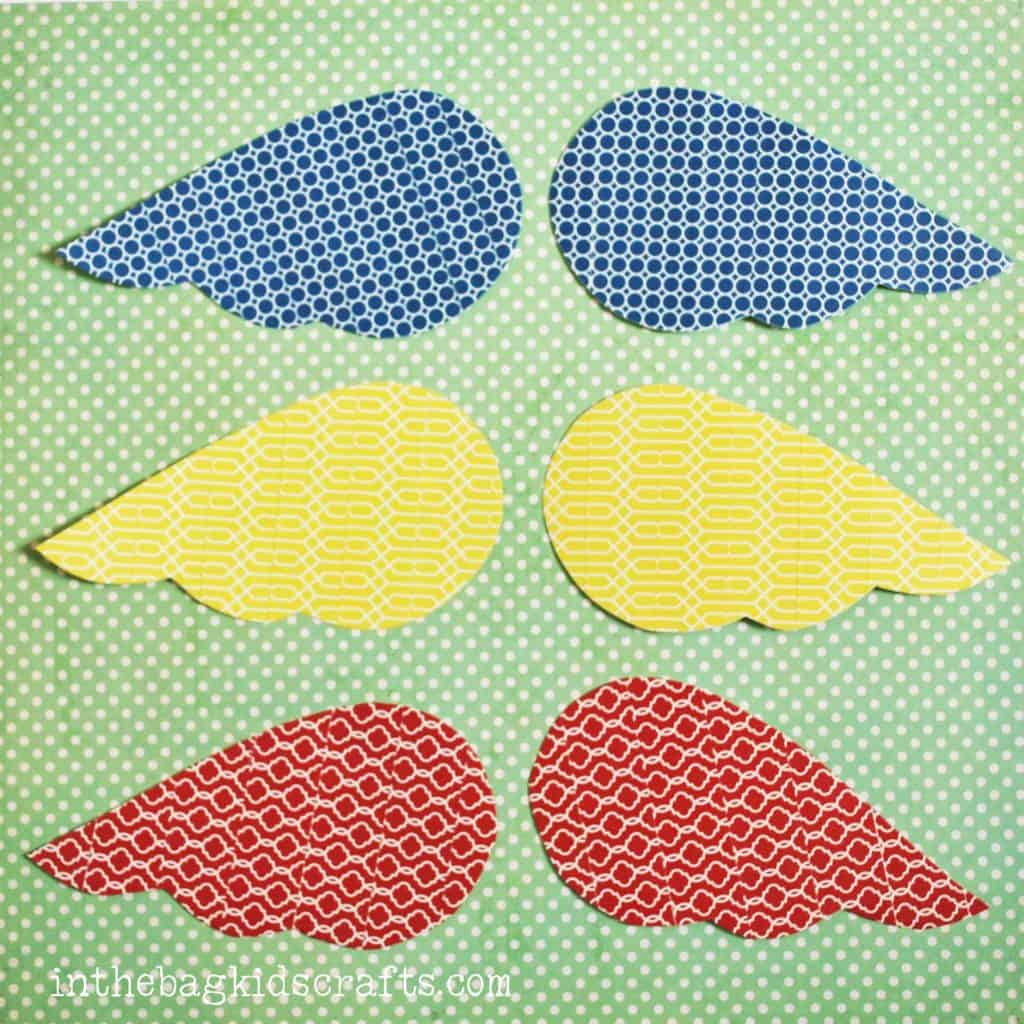
Step 2
- Now trace 2 wings, one in the center of each paper plate.
- Be sure to flip the wing over before making the second one so that you have a mirror image of the first. One for each side of the bird body
- DO NOT CUT THE WINGS OUT YET!
Steps 3 and 4
- On the side of the plate where the wing is not traced, cover it in the washi tape that you have chosen. Do this for each wing.
- NOW…cut out the wings.
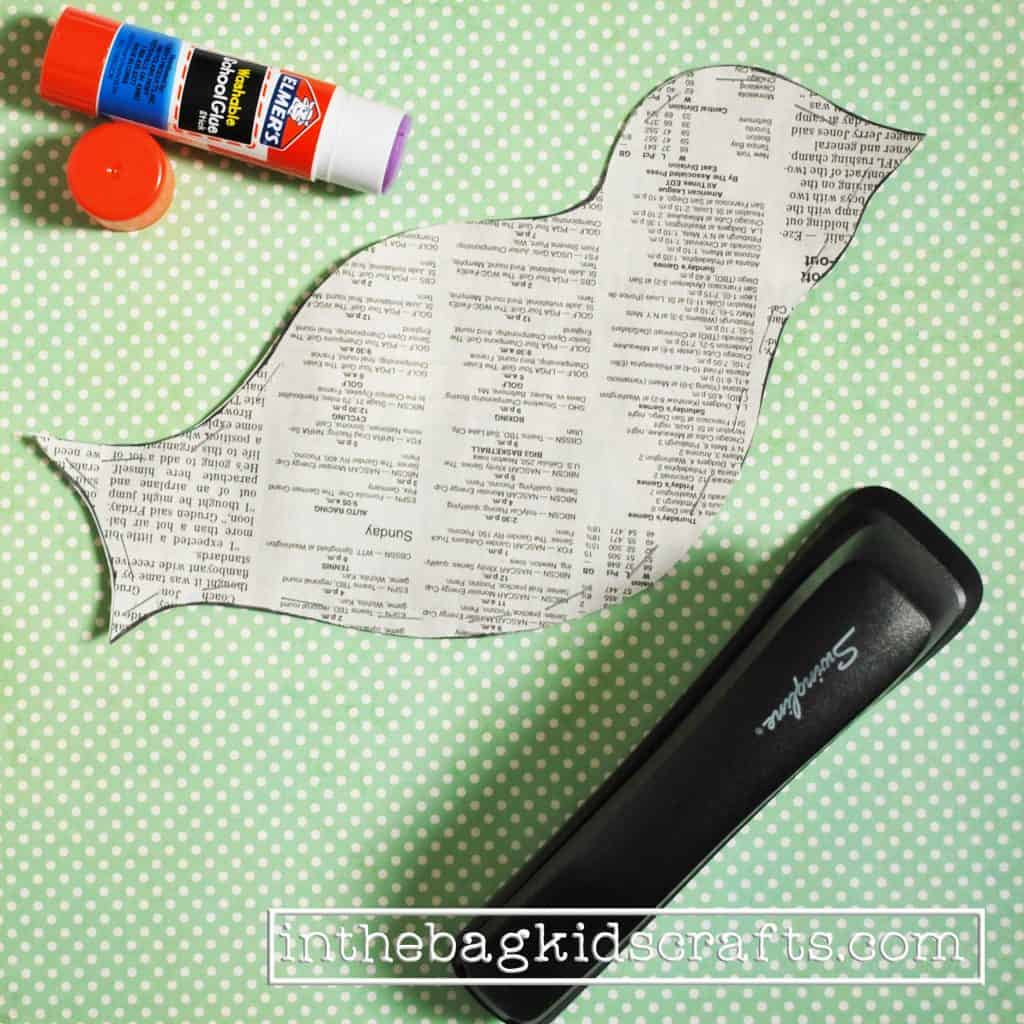
Step 5
- Staple around the edges of the 2 layers of newspaper, leaving a section at the top open by about 3 inches or so.
- Each staple should be approximately 1/4 inch from the last so that there are no gaps once the bird is filled with stuffing
- Do not staple the beak. Instead, use a little glue to stick the two layers together.
Step 6
- Tear some of the remaining newspaper into strips and form into little balls.
- Gently stuff the balls of newspaper into the opening, first into the head and tail, and then into the rest of the body. DO NOT over stuff. Leave plenty of room to close up the opening.
- Staple the gap shut…But before you do…Take a length of white yarn and put a knot at the end. Place the knot inside the bird in the center of his/her back and catch it with a staple as you are closing the gap. This will give you a way to hang the bird or to make it into a mobile if you want to go to take it to the next level. The length of the yarn will depend on what you want to do with the bird when you are done.

The process of tearing and crumpling paper is a great activity for little ones who are having trouble learning to use scissors. It is a fun way to begin working the hands together and coordinating the movement to achieve an outcome. So, for youngsters who are not yet ready for scissors, precut the pieces and have them help you with parts of this craft such as pressing down on the stapler (great for hand strengthening and knowing how much force to use) and filling the bird up with torn newspaper balls. If they can’t place the washi tape on the wings nice and neat like shown, let them tear pieces and place them more randomly. This is great for developing fine motor coordination too!
Step 7
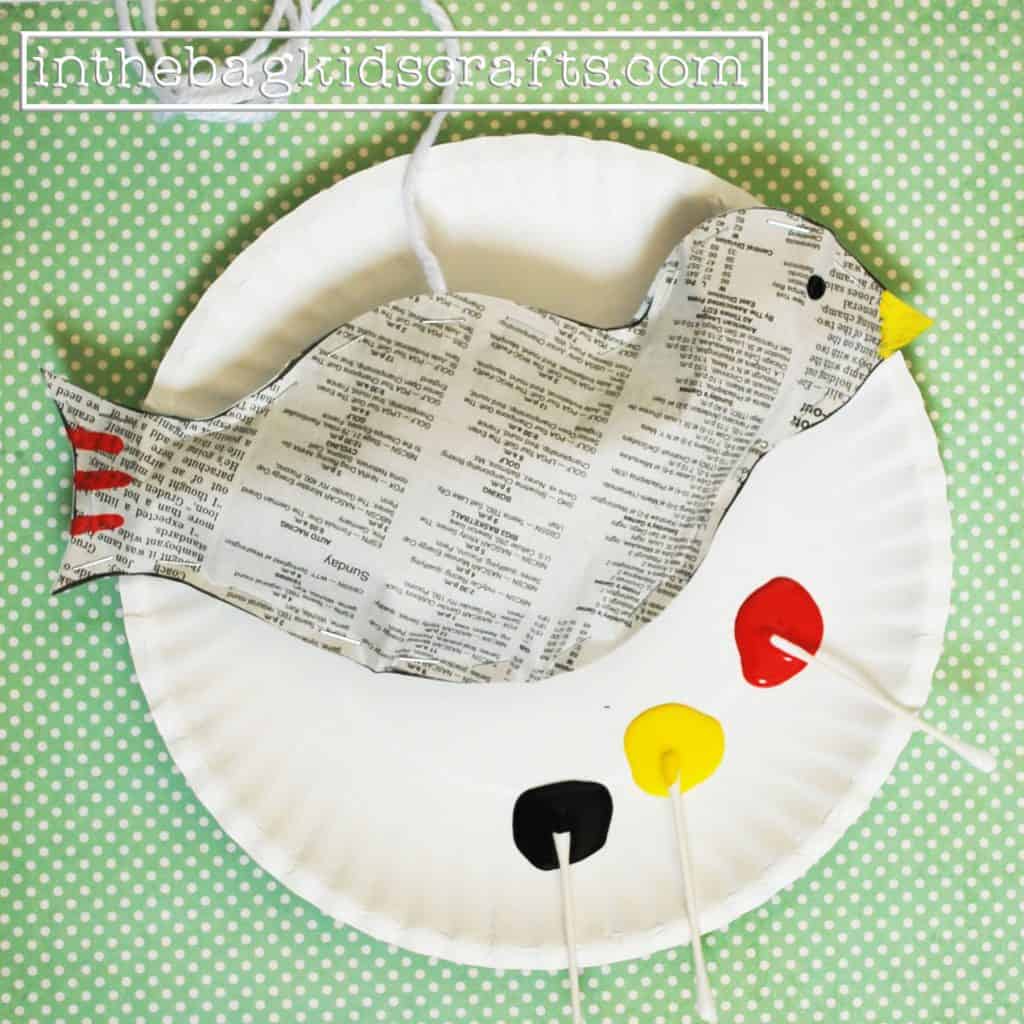
- Squeeze a small dollup of black paint, yellow paint and the color that you have chosen to coordinate with the wing color.
- Using q-tips for painting, paint the beak yellow, front and back.
- Give your bird a black dot for an eye, one on each side
- Lastly, give your bird a little color on the tail
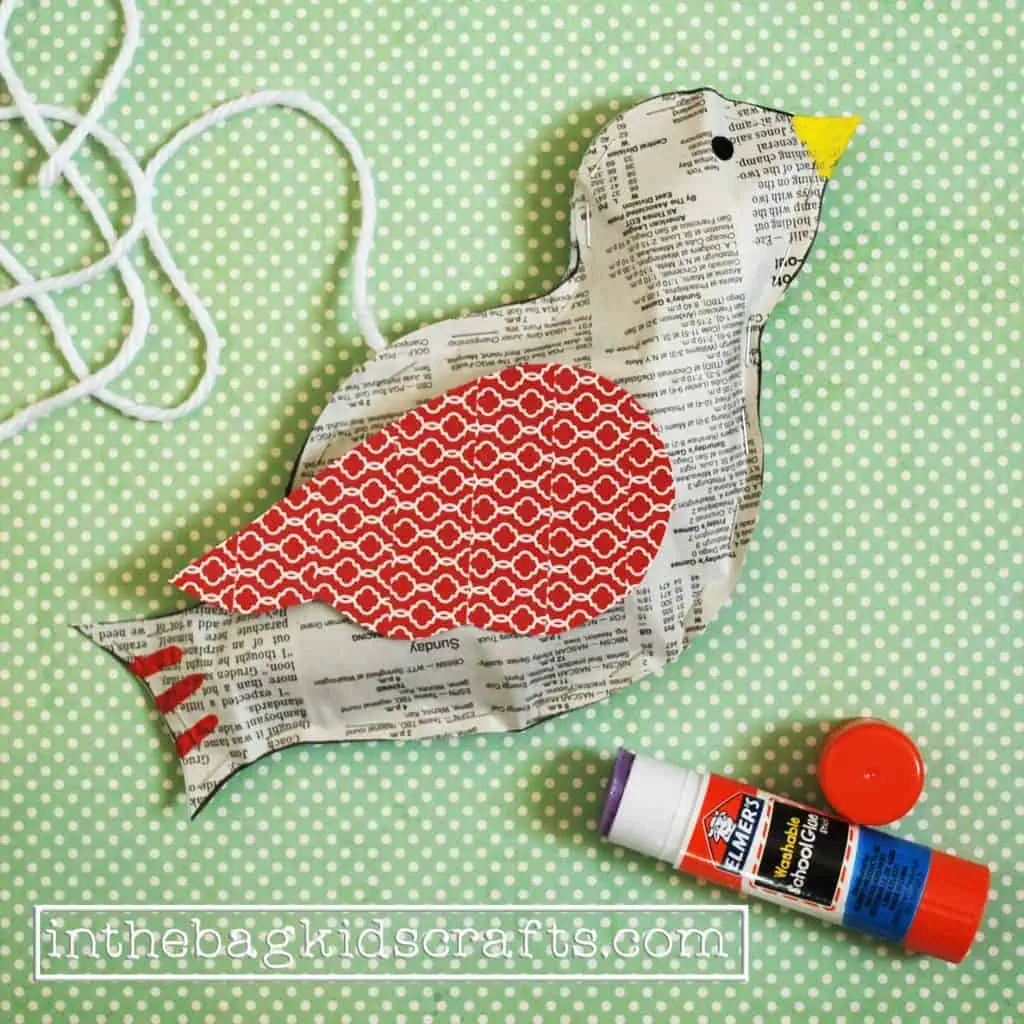
Step 8
- Once your paint has dried, glue on the wings of the bird, one on each side.
If you enjoyed making this craft, please share it to Pinterest!
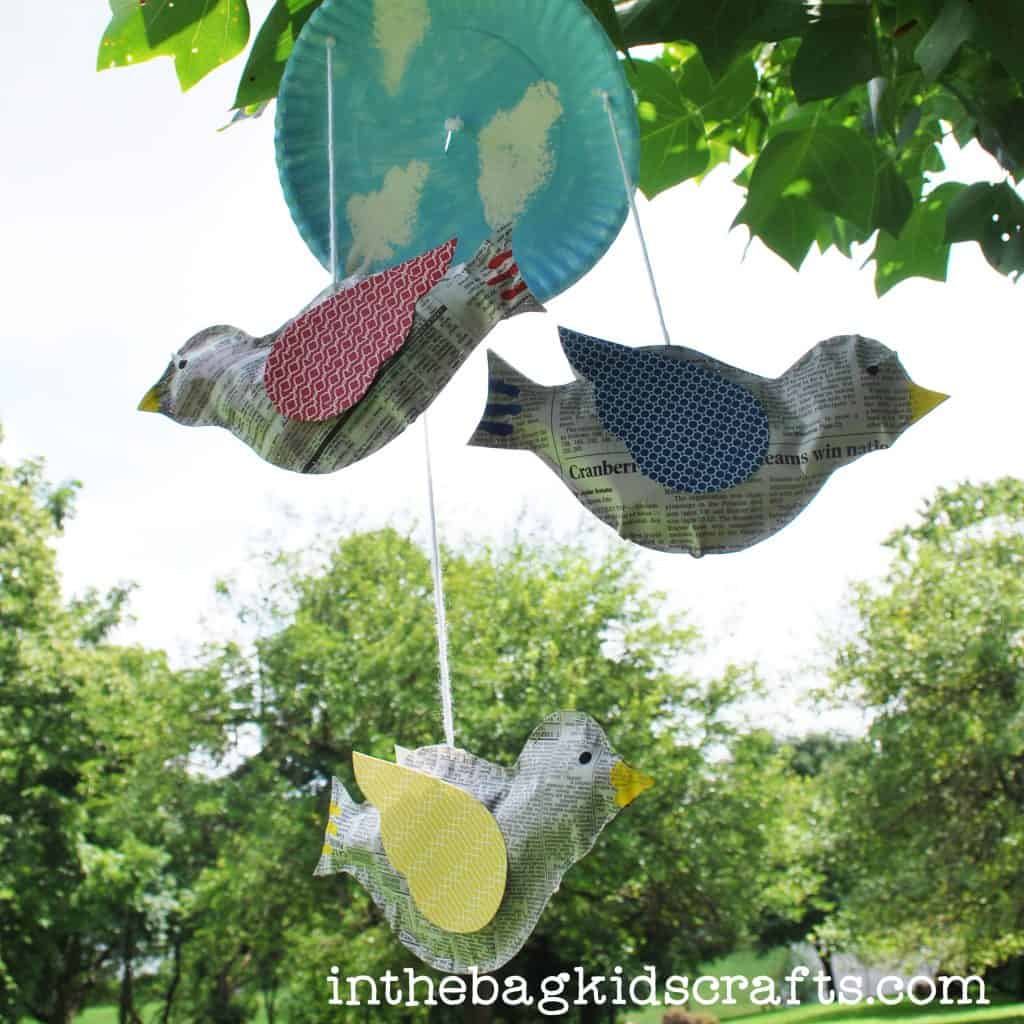
Now let’s take it a step farther and make a mobile…
ADDITIONAL SUPPLIES FROM THE BAG
- Paper plate (coated 9 inch)
- Light blue paint
- White paint
- Newspaper (for a work surface)
- White yarn
- Scissors
- 4-5 pony beads
- Clothespin
- 2 Medium pompoms
- Hole punch
Step 1
- Make 2-3 more birds following the steps above.
- Each should have a nice long string to work with. You can also cut it shorter if needed.
- Choose a different color for each bird for a better result.
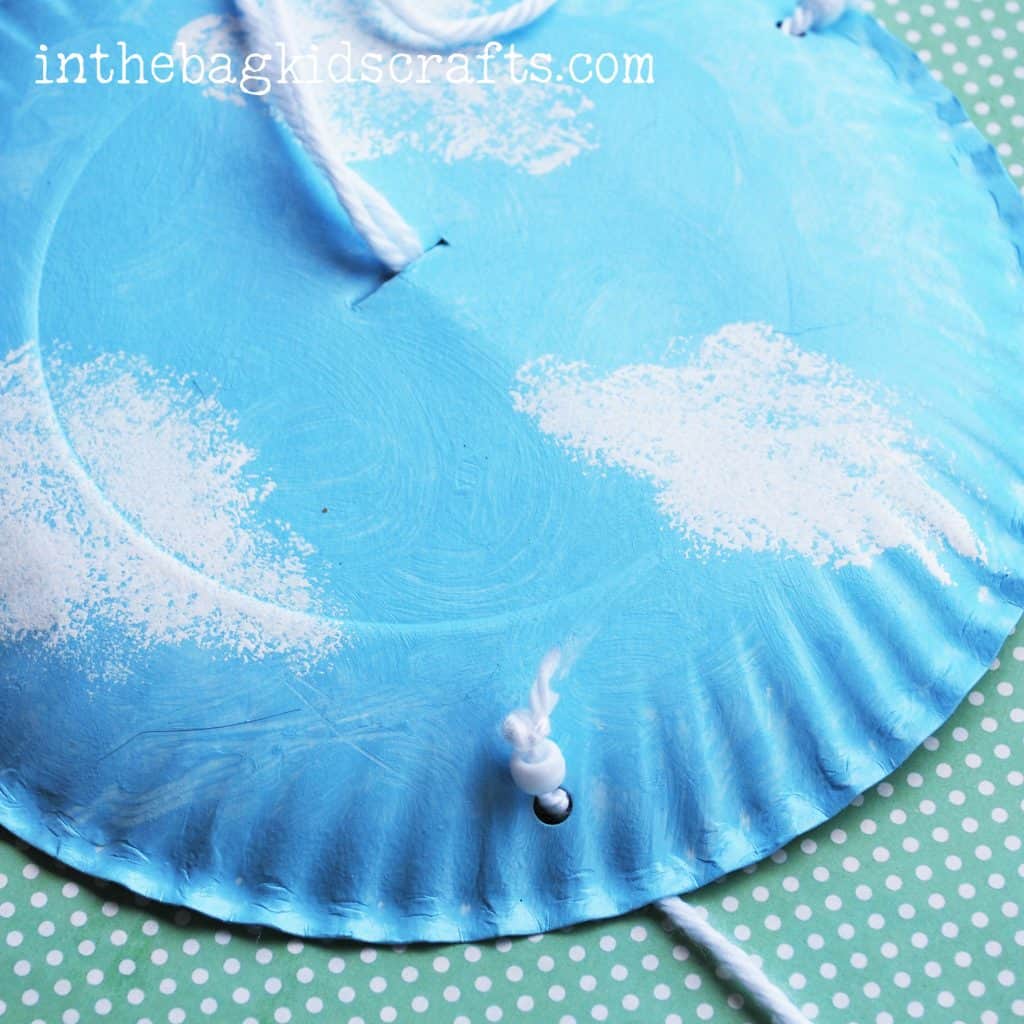
Step 2
- Pinch a pompom with a clothespin to make a “paint brush”: do this 2x.
- Lay out some newspaper for a work surface.
- Paint the paper plate light blue, first on one side and then the other, letting each side dry before turning is over.
- Once the blue paint is dry, dip your other “paint brush” in the white paint. However, before applying it to the plate to make clouds, touch it to the newspaper a few times so that there is not much paint left on the pompom.
- Dab the pompom with just a little bit of white paint onto the plate in several places to form clouds. Allow the paint to dry.
Step 3
- For as many birds as you have (3-4 recommended), use the hole punch to make a hole on the edge of the plate. Evenly space these holes as much as possible.
- Cut a small slit in the very center of the plate
- Loop a piece of white yarn, approximately 1 foot long and push each end through the slit in the middle of the plate.
- Put the ends of the yarn through a pony bead and knot several times. Then trim the excess yarn.
- You now have a hanger for your mobile.
- Feed the end of the yarn that is attached to one of the birds through one of the outside holes on the plate. Then lace it through a pony bead and tie several knots so that the yarn is secure. Trim off the excess yarn. Repeat this process with each bird until there is a bird attached to each hole in the outside edge of the plate.
- Lastly, hang the mobile and make adjustments to the length of each string so that the birds are at varied heights. Make new knots and trim off the excess until it looks like you want it to. (Don’t trim the excess until you are sure it looks just like you want.)
Want to remember this? Post this Songbird Mobile to your favorite Pinterest board!
Happy Crafting!!!