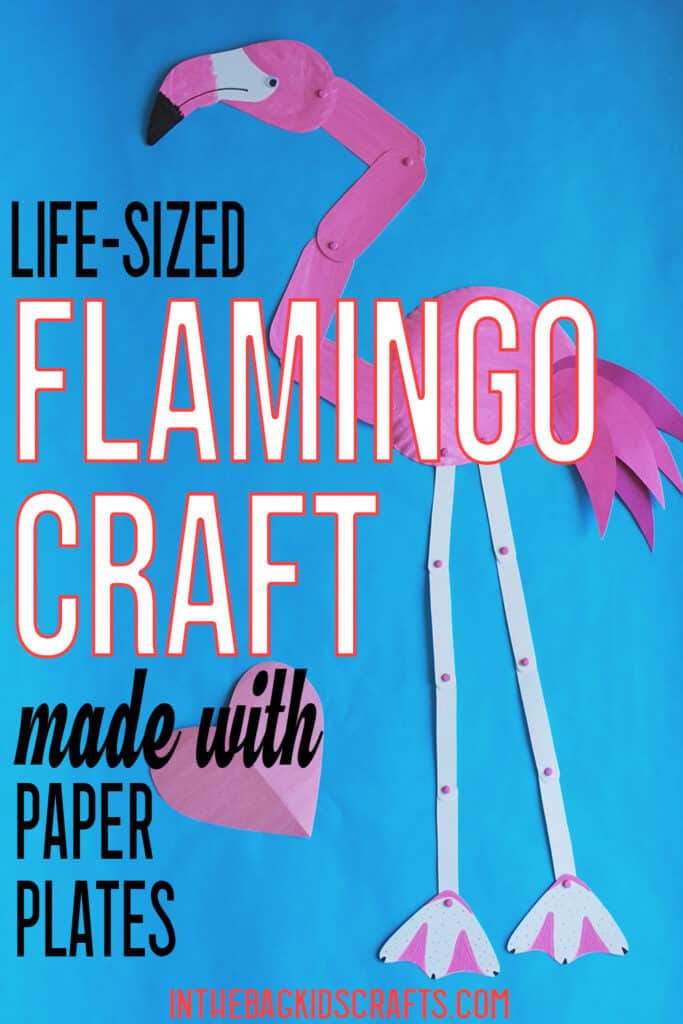
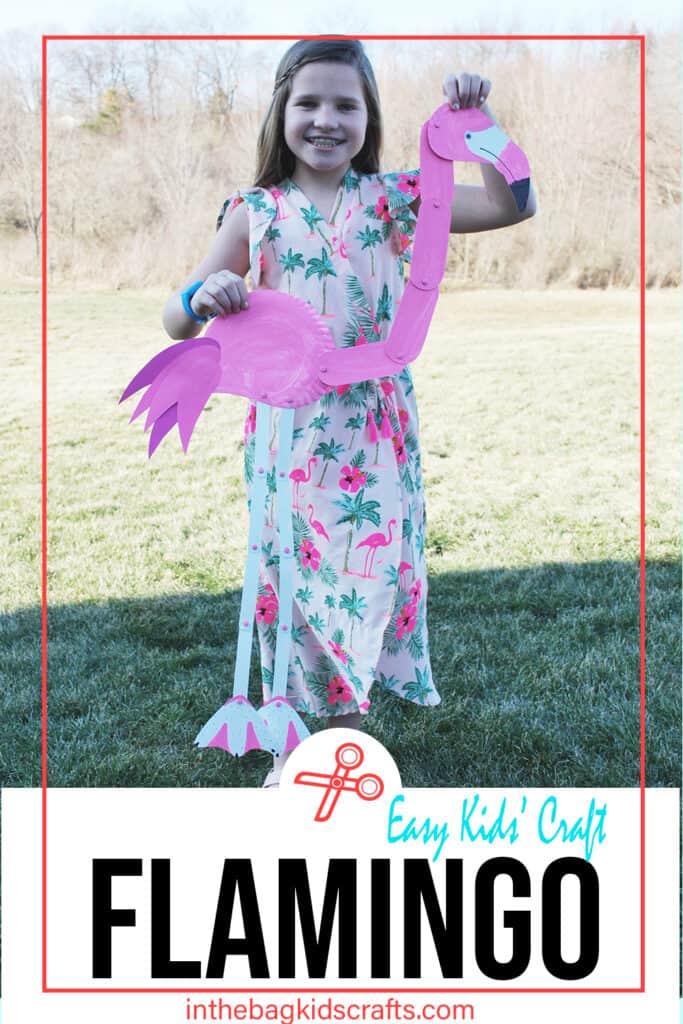
Easy Flamingo Paper Plate Craft for Kids (Free Template)
Looking for a fun and colorful flamingo craft for kids? This easy flamingo paper plate craft is a creative summer activity that kids will love making and playing with afterward. Using simple craft supplies and a free printable template, children can create their very own bright pink flamingo while practicing creativity and fine motor skills.
This paper plate flamingo craft is perfect for elementary-aged kids, though younger children can join in with a little extra help for cutting and assembly. Whether you’re planning a summer craft, zoo animal theme, tropical unit study, or just looking for an easy boredom buster, this flamingo craft is a fun hands-on activity for home or the classroom.
One of the best things about this flamingo craft is that kids can personalize it however they want. Add extra feathers, decorate with glitter, or create an entire flock of flamingos in different shades of pink. Since the finished craft moves and bends, it’s also great for imaginative play once the creating is done.
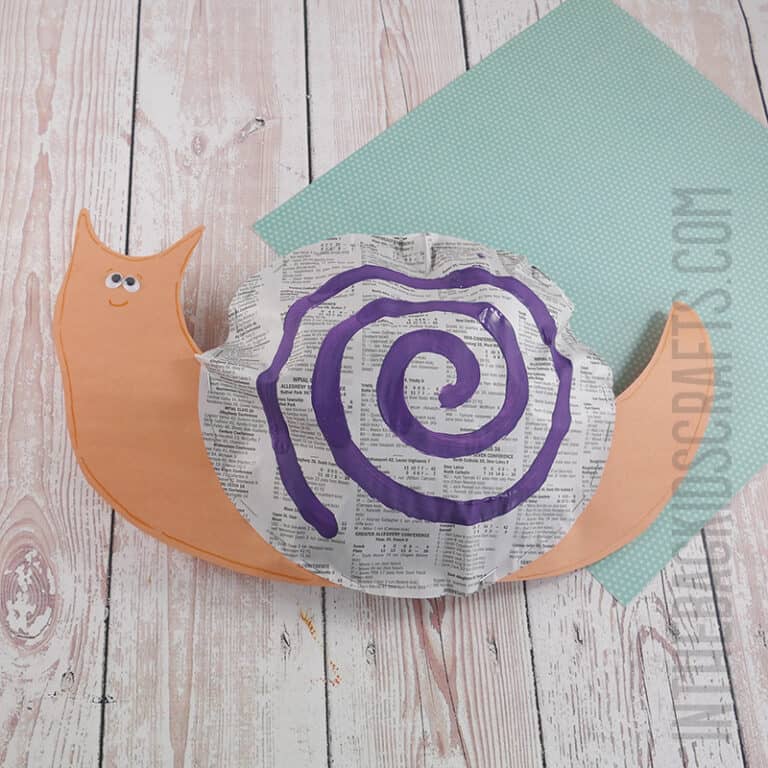
If you like this Flamingo Craft you will also love these: Flamingo Bookmark Craft, Zoo crafts, bird crafts, summer crafts, paper plate crafts and sea animal crafts
Save this Flamingo Paper Plate Craft for later. Pin it to your favorite Pinterest board…
Skills This Craft Builds
This flamingo paper plate craft helps children strengthen important developmental skills while creating something fun.
Kids practice:
- Fine motor skills
- Scissor skills
- Hand-eye coordination
- Following directions
- Creative thinking
- Color recognition
- Patience and sequencing
Since this craft has multiple moving parts, it also helps children practice planning and problem-solving while assembling their flamingo.
Best Ages for This Craft
Preschoolers
Preschoolers can enjoy painting and decorating the flamingo with help from an adult for cutting and attaching pieces.
Kindergarteners
Kindergarten-aged kids will enjoy tracing, painting, and assembling their flamingo while practicing fine motor control.
Elementary Kids
This craft is especially great for elementary-aged children because the extra cutting and moving parts add an engaging challenge.
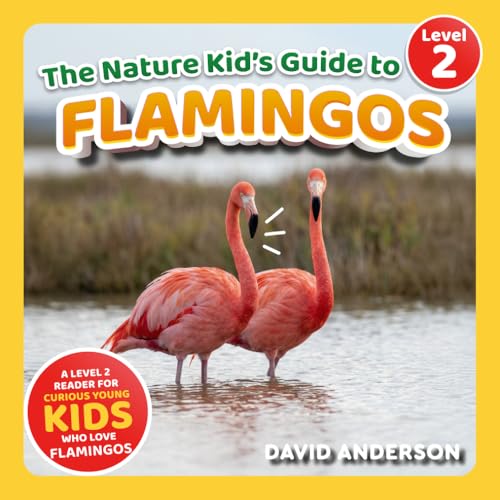
Summer Books to Pair With This Craft
Pairing crafts with books is a great way to extend learning and encourage a love of reading while kids create.


This post contains affiliate links, which means if you make a purchase through these links, I may receive a small commission at no extra cost to you. Click here to read my full disclosure policy.
SUPPLIES FROM THE BAG
- 7 Paper plates (9-inch coated)
- Newspaper
- Pencil
- Pink paint
- Metal brads
- Glue stick
- Black Sharpie marker
- Clothespin
- Medium pompom
- Scissors
- Q-tip
- Small googly eye
- Pink construction paper
- Markers
- Single hole punch
- Flamingo craft template
We’re so glad to have you here at In the Bag Kids’ Crafts! Our mission is to help you make crafting with your kiddo a habit using fun, easy ideas with supplies you already have on hand.
Be sure to visit the “Fill Your Bag” page for our go-to supply list—we use it for every project to keep crafting simple, affordable, and mess-free. No extra store runs, no missing pieces—just grab your bag and start creating!
Want to make it even easier? Check out our quick shopping list on Amazon and Walmart to stock up on everything we love.
And if you use our printables, don’t miss our Favorite Printing Essentials list. We’ve found a reliable, no-hassle printer that won’t leave you dealing with constant issues or dried-out ink—plus all the extras you need so you can print and craft without the frustration.
Some Flamingo books to go with your Flamingo craft…


Step 1: Cut Out the Flamingo Template
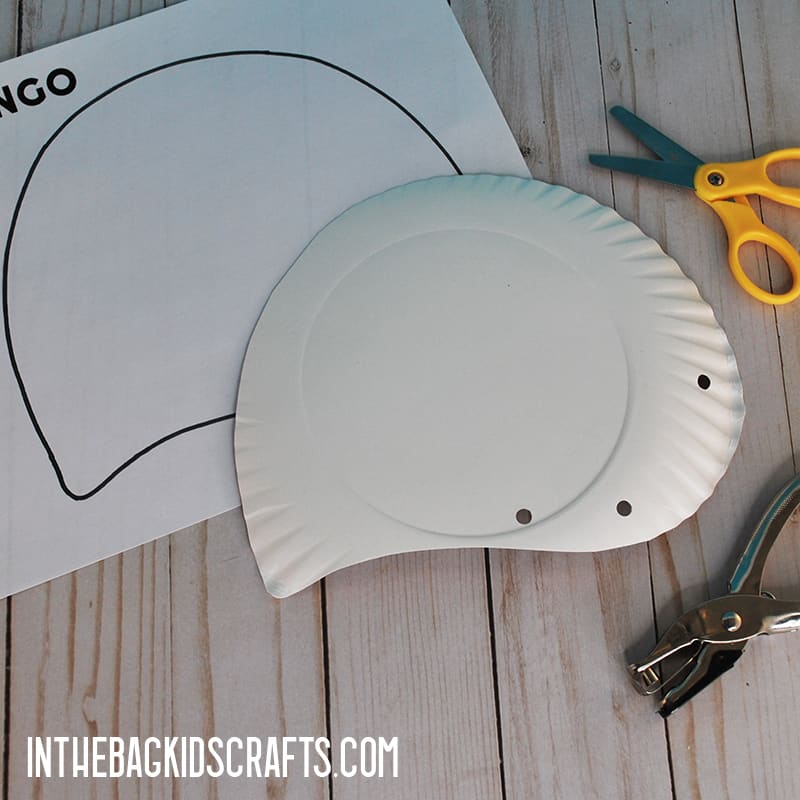
- Print the template for this flamingo paper craft and cut it out.
- Trace the flamingo body on the bottom of one of the paper plates with a pencil
- Cut it out and then punch the holes where you have marked.
Step 2: More Cutting Out
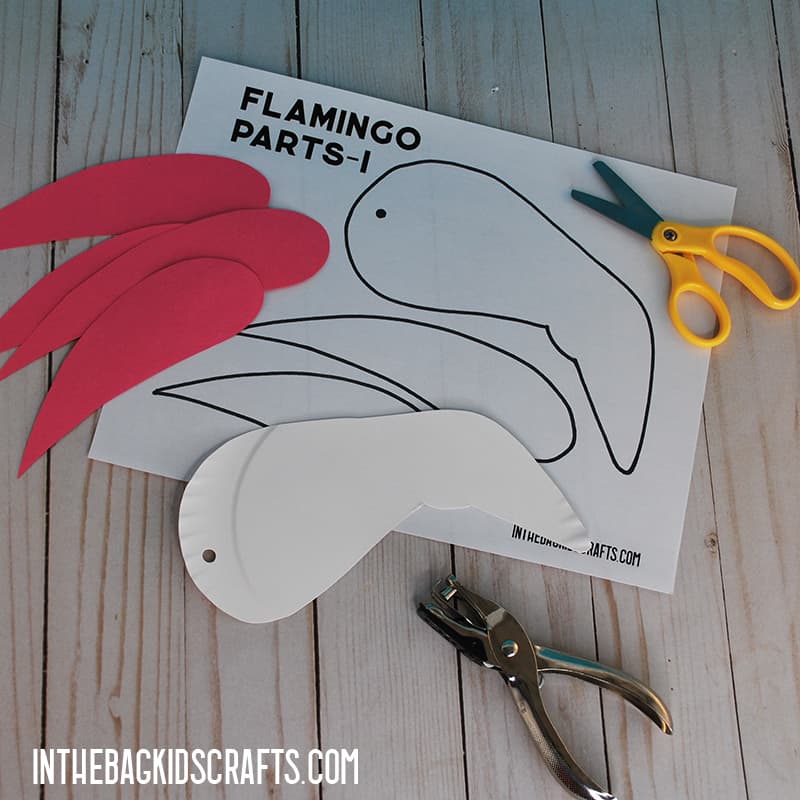
- Time to cut some more pieces of the template out. This time we are going to use the page that says “Flamingo Parts-1”. Print it and cut out the pieces for your flamingo papercraft.
- Place the head of the flamingo on the back of another paper plate and trace it with your pencil. *You will want to make sure that his beak is pointing out to the right. We are using the bottom of the plate so that it is easier to paint later, since that side is matte instead of glossy.
- Use your hole punch to place a hole where it is marked on the template.
- You can also take the time now to cut out some feathers from the pink construction paper. I ended up using 5 feathers in various sizes.
Step 3:
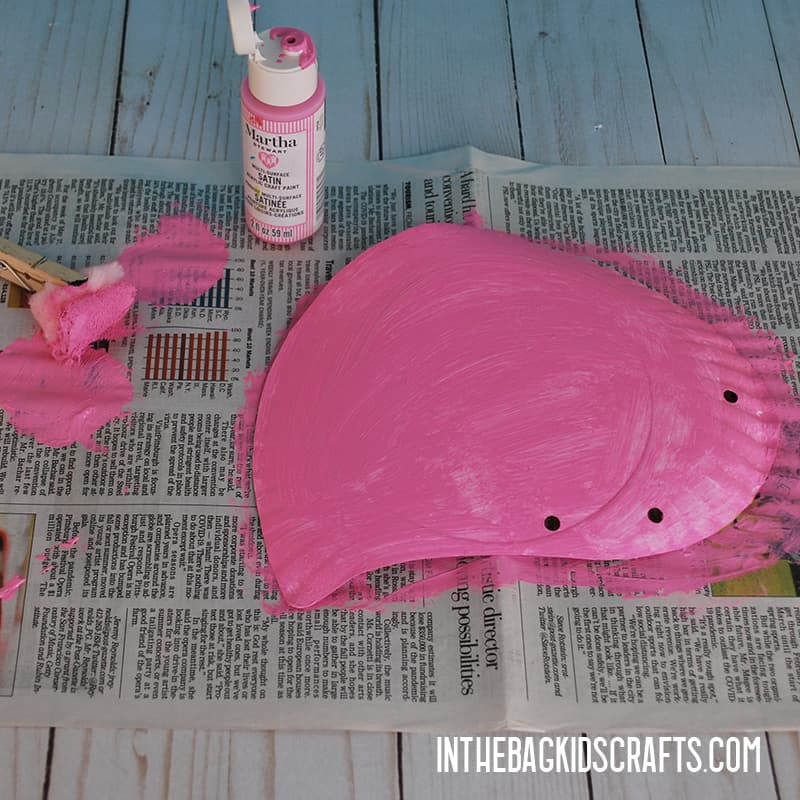
- Spread out some newspaper and place the flamingo body on top.
- Pinch the pompom with a clothespin to form a “paint brush”.
- Then squeeze out some pink paint in the corner of your newspaper.
- Paint the body of your flamingo. Set it aside to it time to dry.
Step 4:
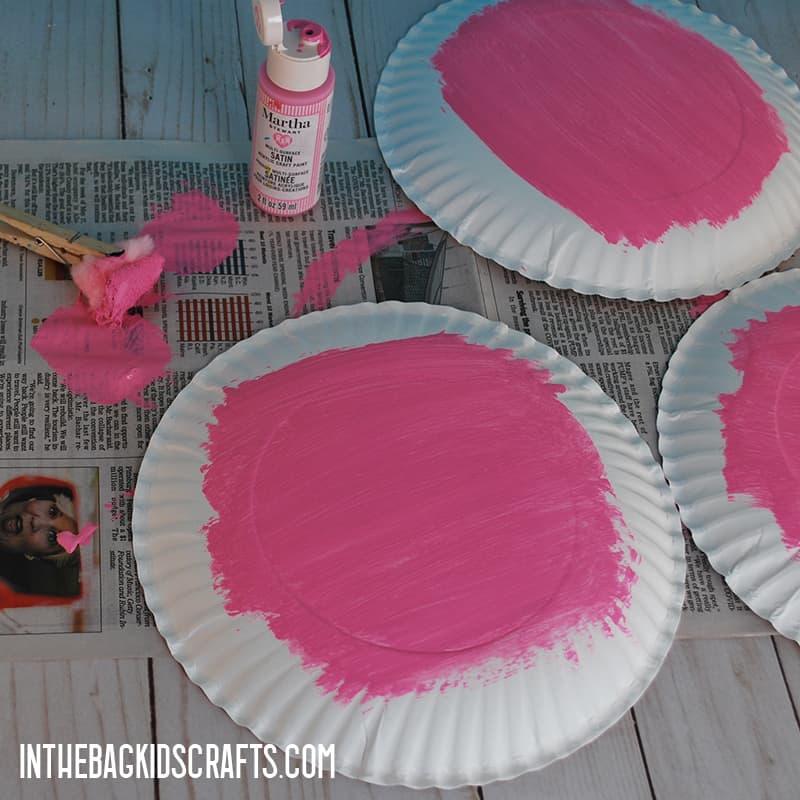
- Lay out 2 of the paper plates on the newspaper with the bottom facing up.
- Again, squeeze out some pink paint and use your pompom paint brush to paint the centers of each plate, going a little bit outside of the border.
- Set these aside to let the paint dry. These are going to be for the neck of your flamingo craft.
Step 5:
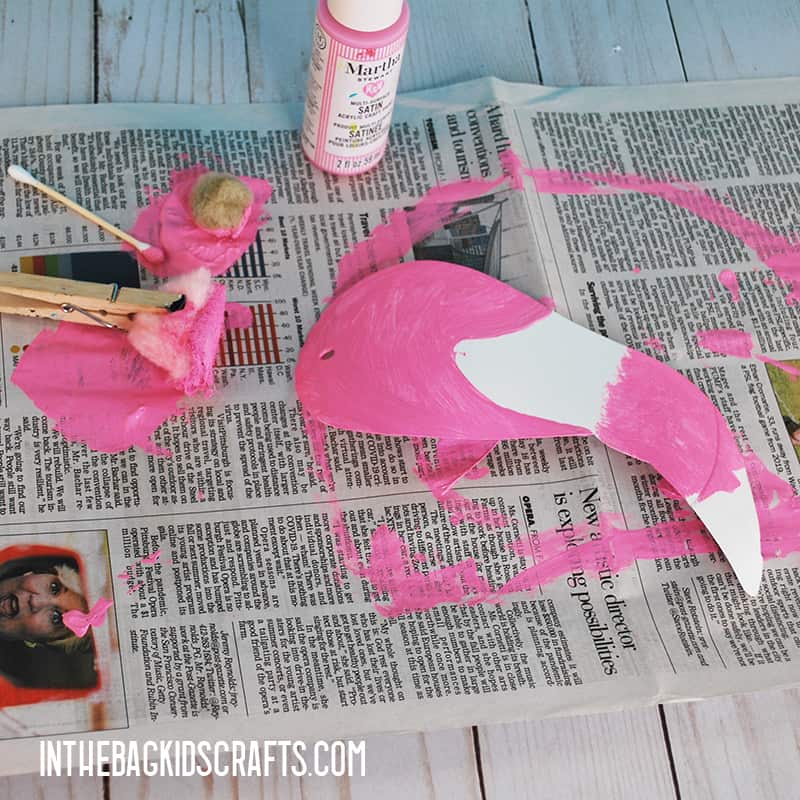
- Now we are going to place the cut out head of the flamingo paper plate craft on the newspaper.
- Squeeze out some more pink paint.
- To start, use the q-tip to paint the border of where you want to place your pink paint.
- Then fill in the areas you want painted pink using the pompom “paint brush”.
- Set it aside so that it can dry.
Step 6:
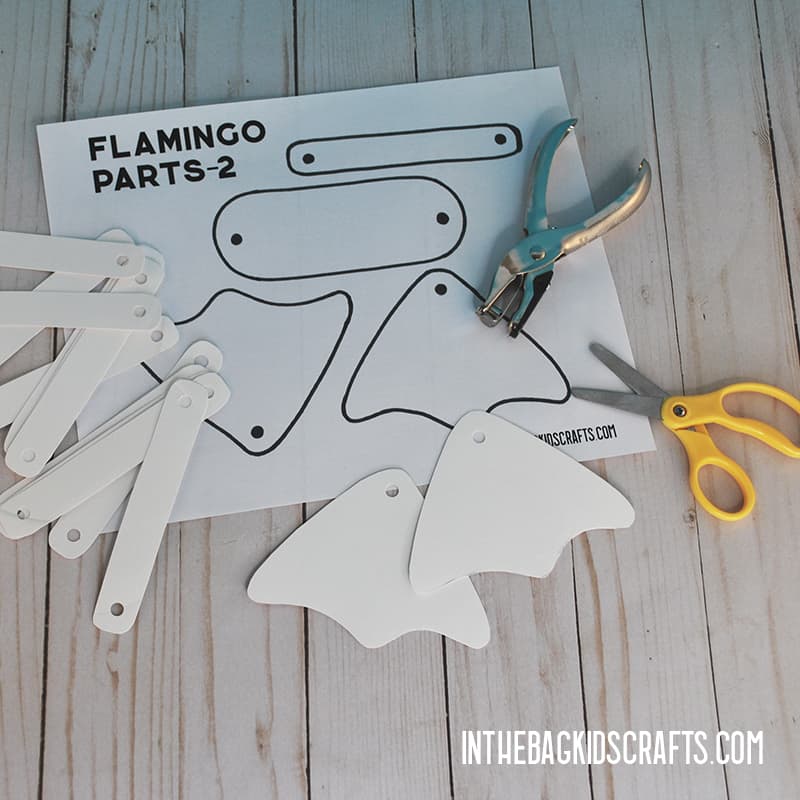
- For this step, we are going to use the last page of the flamingo template.
- Cut out the parts on the template.
- On one of the remaining paper plates, trace and cut out the feet of your flamingo craft. Also punch the hole in place.
- With the remaining paper plates, trace and cut out 8 leg pieces. The template part that you will be tracking is the long skinny rectangular shape.
- Punch the holes in place according to the flamingo template.
Step 7:
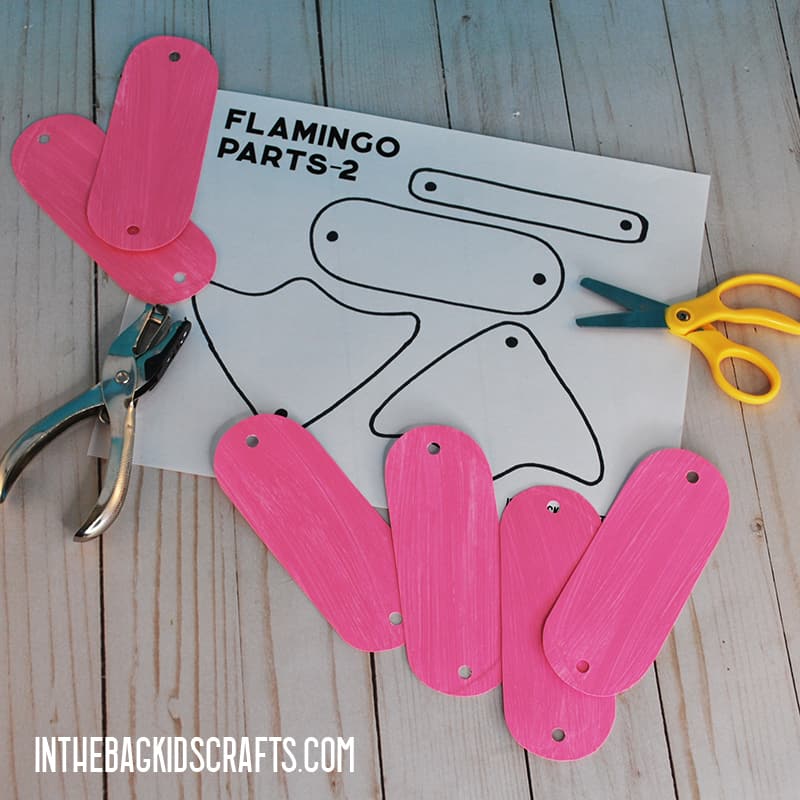
- Now that your painted plates have dried, use the template marked “Flamingo Parts-2” to trace and cut out your flamingo craft neck. The neck pieces are the ovals. *You should be able to get 2 pieces out of each paper plate.
- Cut out 4 flamingo neck pieces all together.
- Finally, punch the holes in each end using the flamingo craft template for reference.
Step 8:
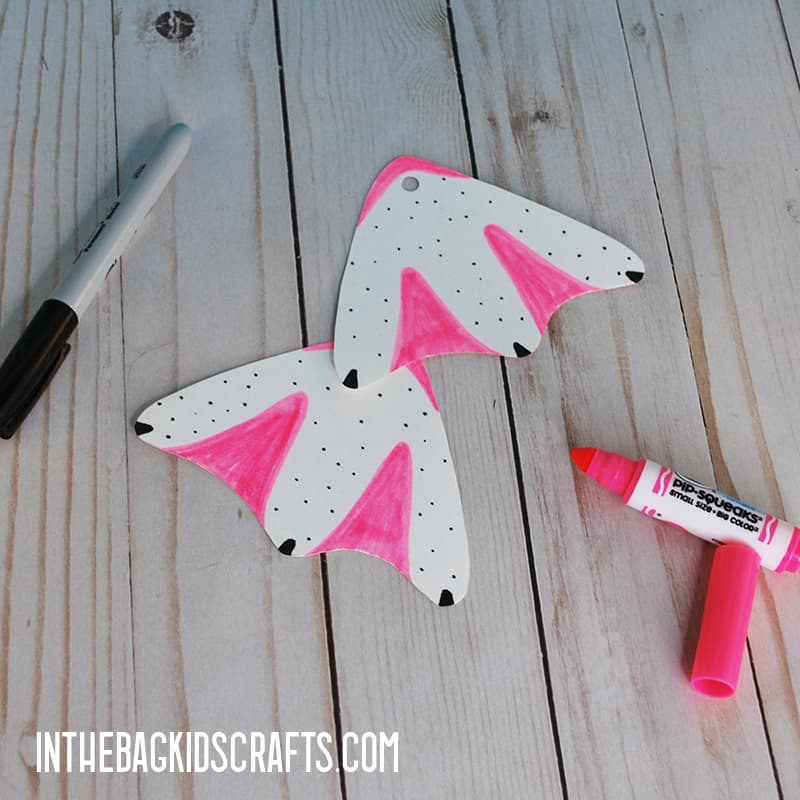
- Let’s add some detail to the feet of your flamingo paper plate craft.
- Use the markers to draw on details. *You will want to do this on the matte side of the feet so that the marker does not smear. Or you can use paint to add these details if you want.
Step 9:
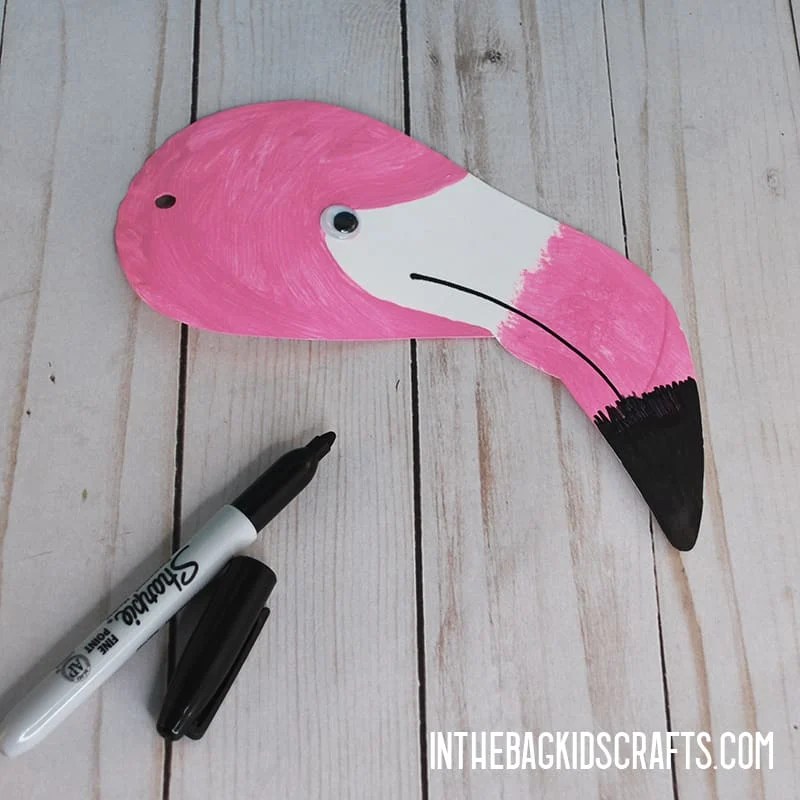
- Since the paint on the head of your flamingo paper plate craft is now dry, you can use your black sharpie marker to add more details. The tips of his nose will be black.
- Then give him a smile, long and straight.
- Last, add the eye to your flamingo papercraft. If it is not self-adhesive, use your glue stick.
Step 10: Put the Flamingo Together
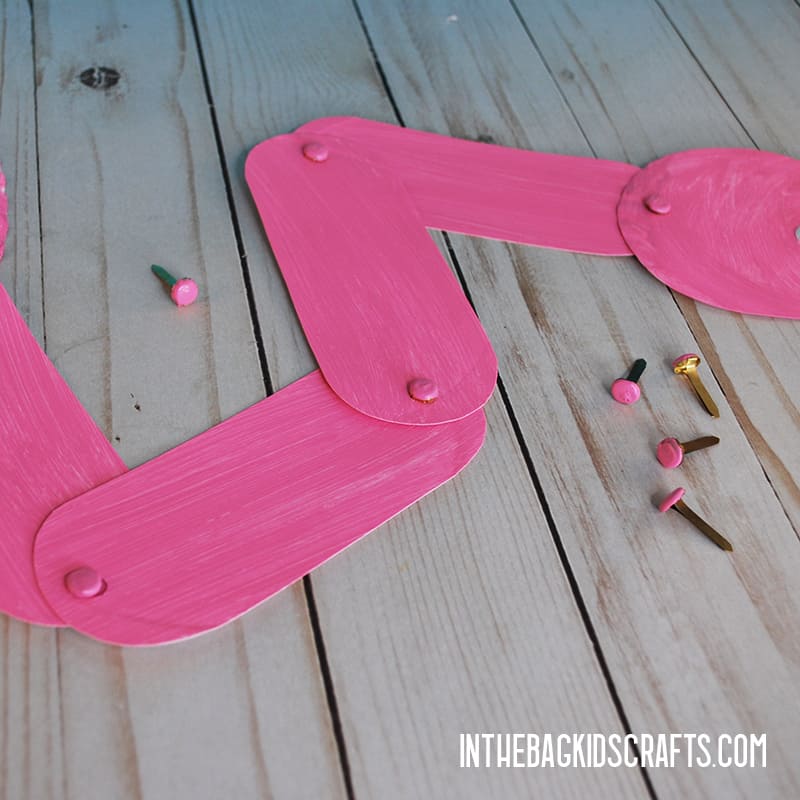
- Attaching the parts of your flamingo paper plate craft is so simple. Start by laying out the pieces the way that you are going to put them together.
- If your metal brads are not already colored (pink in this case), you can choose to leave them as is or paint the tops. If you paint them, give them some time to dry before using them.
- Attach the pieces by putting metal brads through the holes and bending the backs open.
- Keep doing this until all of the pieces of your flamingo craft are connected.
Step 11: Add the Tail Feathers
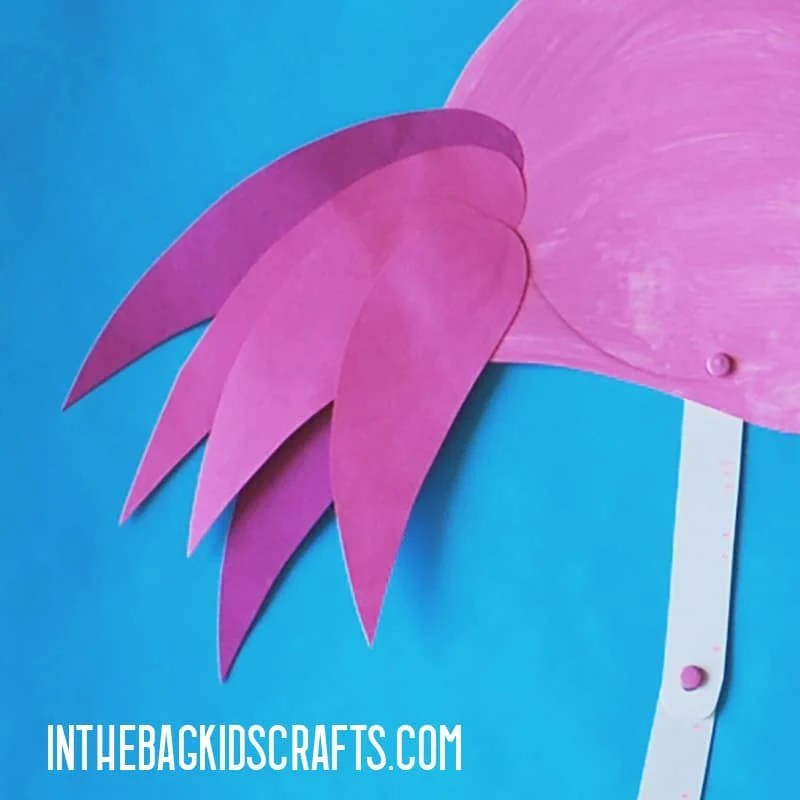
- You cut out the tail feathers of your flamingo paper plate craft back in step 2, and now we are going to attach them.
- Use the glue stick to put the tail feathers in place, however you like. Yours do not need to look like mine, and you can even add feathers to the body if you would like.
- Last, I used the marker to add little pink details to the flamingo’s legs also.
Now that you know how to make a flamingo out of paper, it’s time to play! Plan some flamingo activities like creating a dance or telling a story with your flamingo paper plate craft. I really enjoyed making a stop action video with my finished flamingo craft. Watch him dance in the video below. If you want to know how I did this, drop me a note at hello@inthebagkidscrafts.com. I would love to share my secrets.
Try these flamingo activities with your flamingo papercraft…
Flamingo Craft Variations
There are lots of ways to customize this flamingo paper plate craft to fit different themes and age groups. Try changing colors, adding textures, or even turning your flamingo into another tropical bird.
- Rainbow Flamingo Craft
Who says flamingos have to be pink? Let kids get creative with bright rainbow feathers and colorful patterns. - Tropical Flamingo Craft
Add paper palm leaves, flowers, or a beach background to turn your flamingo into a tropical summer art project. - Preschool Flamingo Craft
Simplify the project by pre-cutting the template pieces and focusing on painting and decorating instead of detailed assembly. - Paper Bag Flamingo Puppet
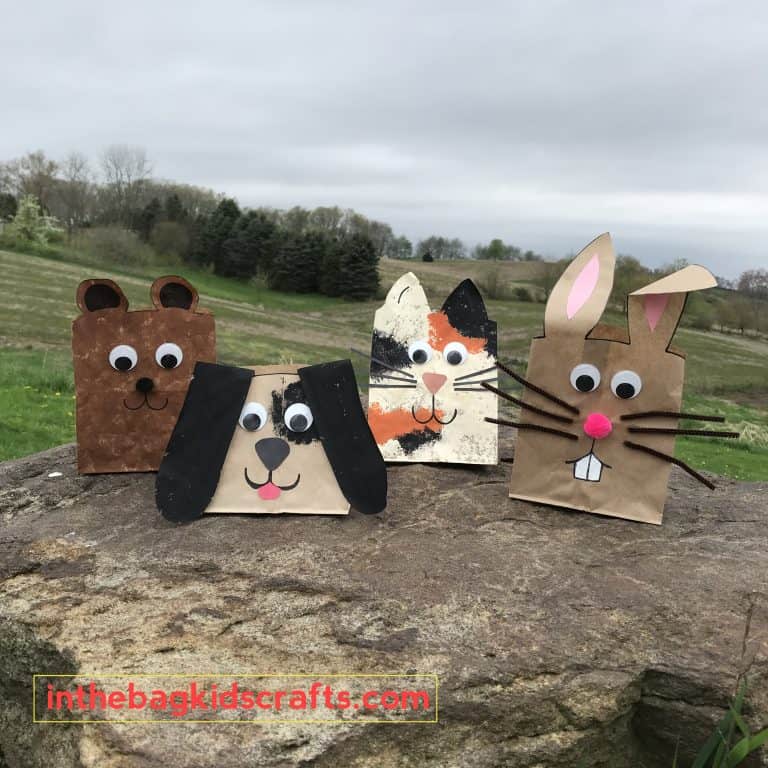
Turn the flamingo into a puppet craft by attaching the head and decorations to a paper lunch bag for imaginative storytelling fun.
Save these flamingo craft ideas for later. Pin to your favorite Pinterest board…
More Easy and Fun Summer Crafts…
Printable Summer Coloring Pages


Flamingo Craft FAQ
Toddlers can participate with help from an adult. Pre-cutting the template pieces makes the activity easier and less frustrating for little hands.
Sturdy coated paper plates work best because they hold their shape while painting and assembling the flamingo.
Yes! Cardstock works well for some of the template pieces, especially decorative feathers or extra details.
Yes! Swap paint for crayons, markers, tissue paper, or construction paper to create a less messy version.
Because of the cutting and assembly, this craft is best for kindergarten through elementary-aged kids, though younger children can participate with help.