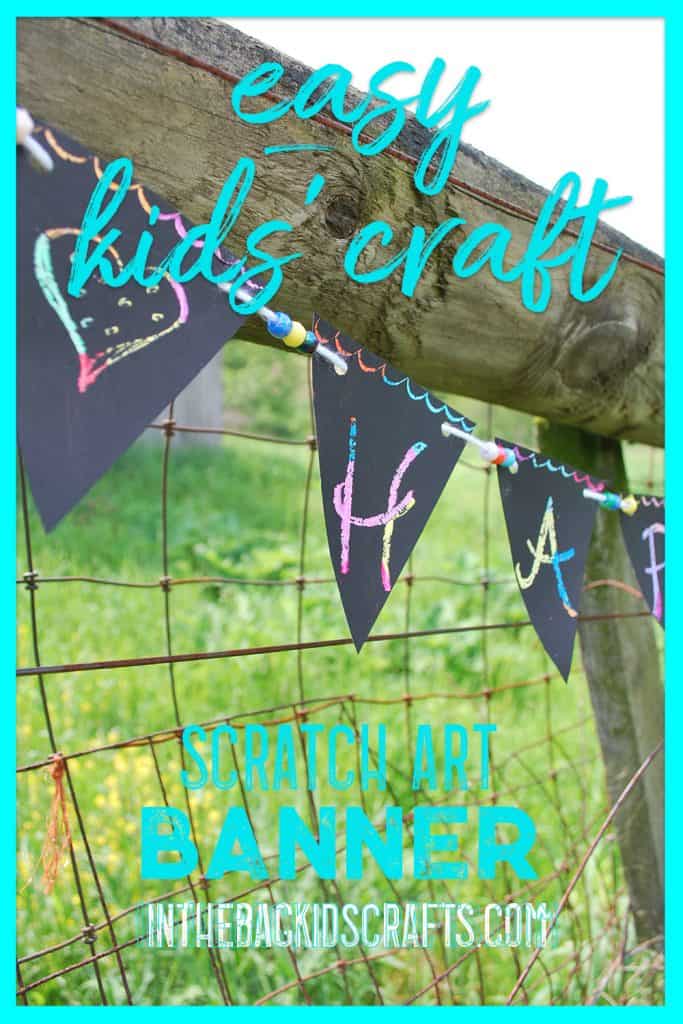
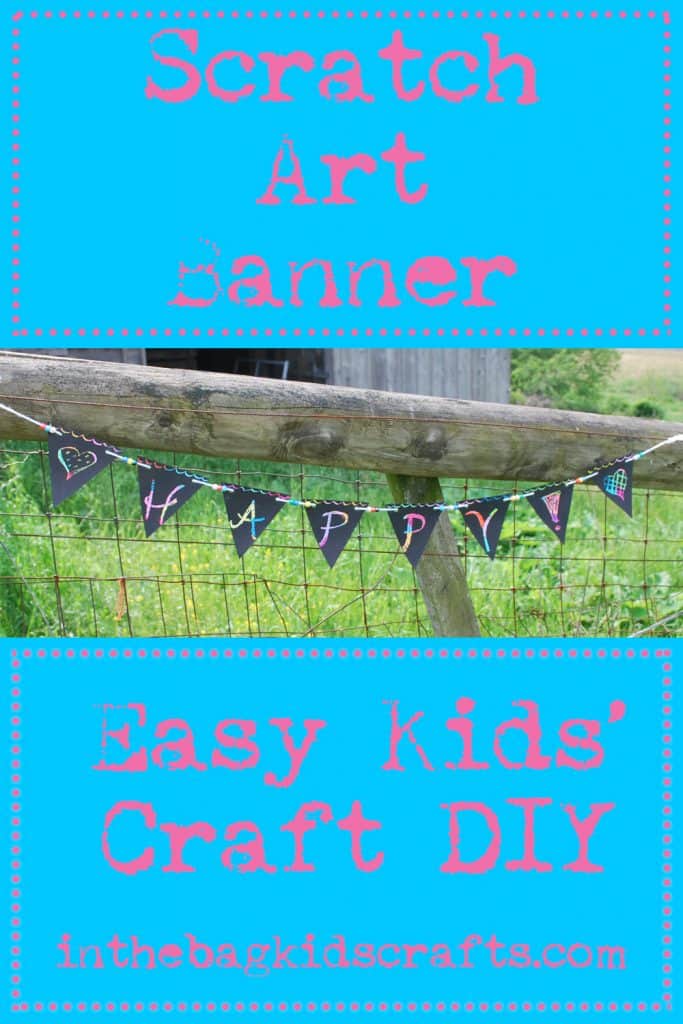
Homemade Scratch Art Banner
If you have ever bought a scratch off lotto ticket, you know the feeling that this craft gives. It can be so exhilarating to scratch off the surface to reveal something else underneath (especially if it is $1000 prize…that will not be happening here…sorry). Today we will make a scratch art banner, but you can use this same concept to make other things too (and WE WILL…just you wait and see!).
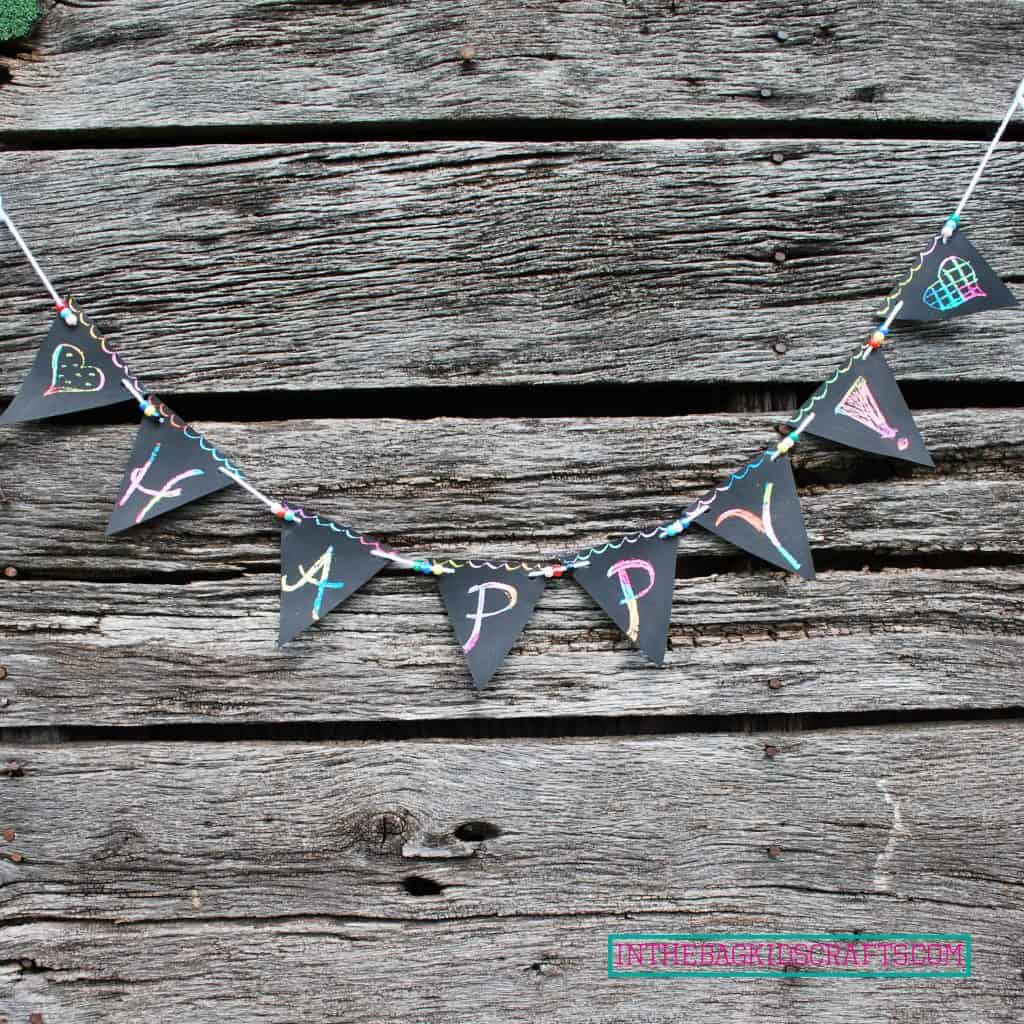
When I made mine, I was feeling quite “HAPPY”, and that is what I wrote on the banner. But yours can say anything you want it to. Really, it doesn’t have to say anything at all. You can make whatever pictures, shapes, designs or letters you want on each of the little triangle works of art that make up this special decoration. There are no limits except your imagination. And then hang it in your home (or in your tree house, classroom, anywhere!) to give a little joy to all who see it.
SUPPLIES FROM THE BAG
- 8 (or more) coated paper plates
- Crayons (lots of colors)
- Black paint
- White yarn
- Pony beads (choose a variety)
- Clothespin
- Medium pompom (any color)
- Newspaper (for making a mess)
- Kid scissors
- Pencil or sharpie
- Scotch tape
*If you don’t know what I mean by “In the Bag”, you NEED to check out the “fill your bag” page. It will explain everything. This will make your life so much easier, I promise!
Step 1
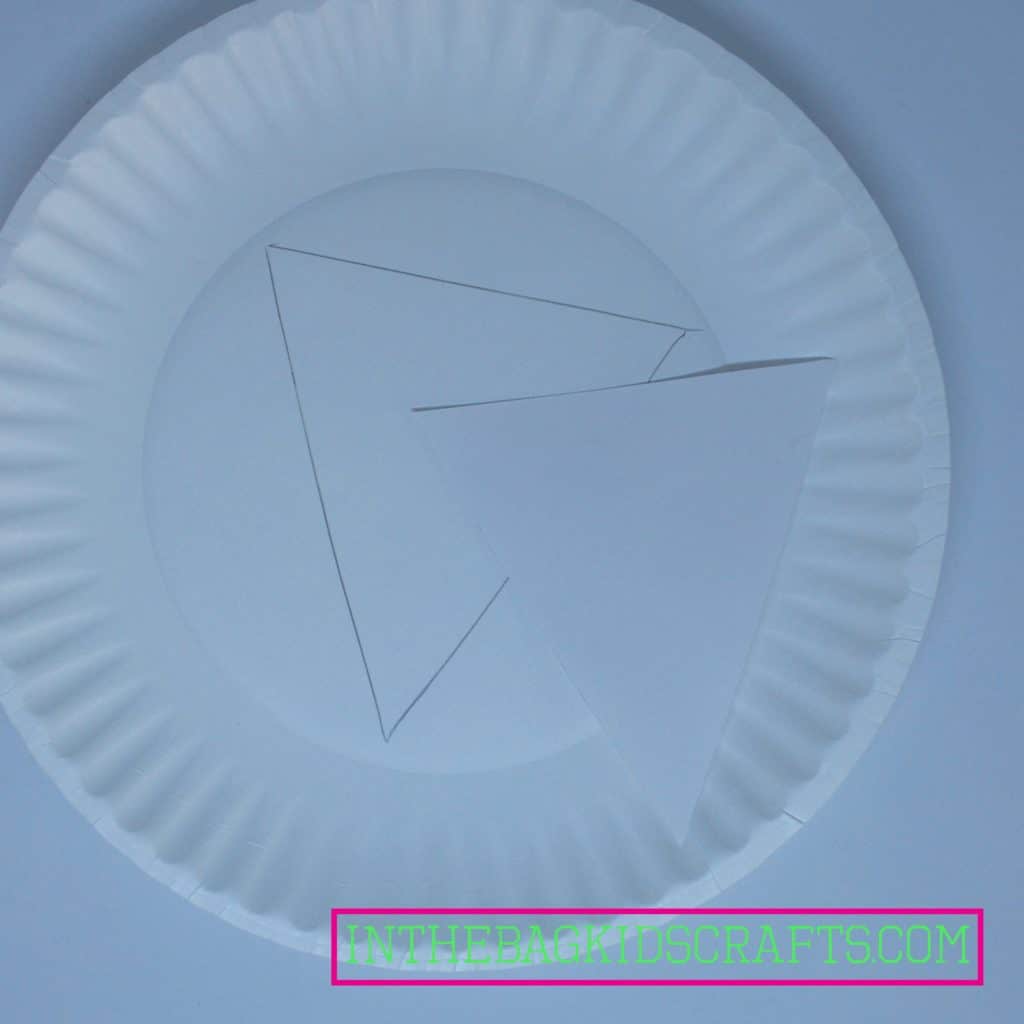
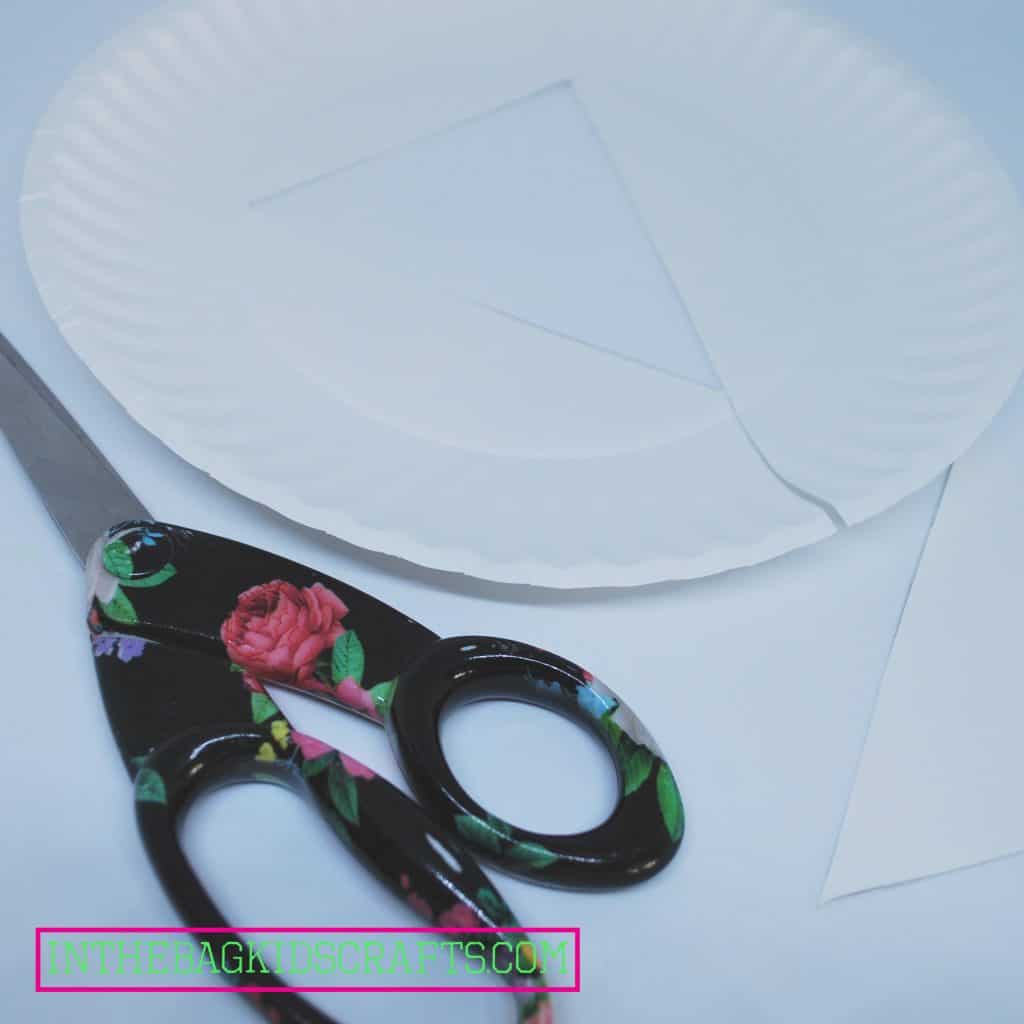
- Draw a triangle in the center of a paper plate using a pencil. Make it as big as you can without getting into the wavy edge of the plate. This does not have to be a perfect triangle. Just do your best.
- Cut out the triangle
- Use your triangle as a pattern and trace a triangle in the center of each plate
- Cut out each triangle
- *I made 8 triangles for my banner, but you can choose to make as many or as few as you would like
For kiddos who are just learning to draw shapes, give only as much assistance as needed. Let them use a pencil and erase as needed until they get the shape that they desire. You might want to give them dots to connect, corner to corner or along the entire path of each line (depending on the level of help that is needed). Or you could draw a triangle with a highlighter (or yellow marker) and have the kiddo trace the shape. Have them repeat the name of the shape.
For little ones who do not yet cut, precut the triangle pieces. For those who are just learning to cut, go over the pencil with a sharpie to make the lines bolder and easier to follow when cutting. You may even have them cut just one side and then assist with the other sides. If they are able to snip but have difficulty opening and closing the scissors, use self-opening scissors. Whatever you do, be sure you are not doing it all for them. Let them do as much as they can on their own (even if that is just making one snip), even if it is not perfect. Their sense of accomplishment will encourage them to keep trying and working at it, getting better each time. If we do it for them, we are only teaching them that we can do it better. So, why should they even try?
Step 2
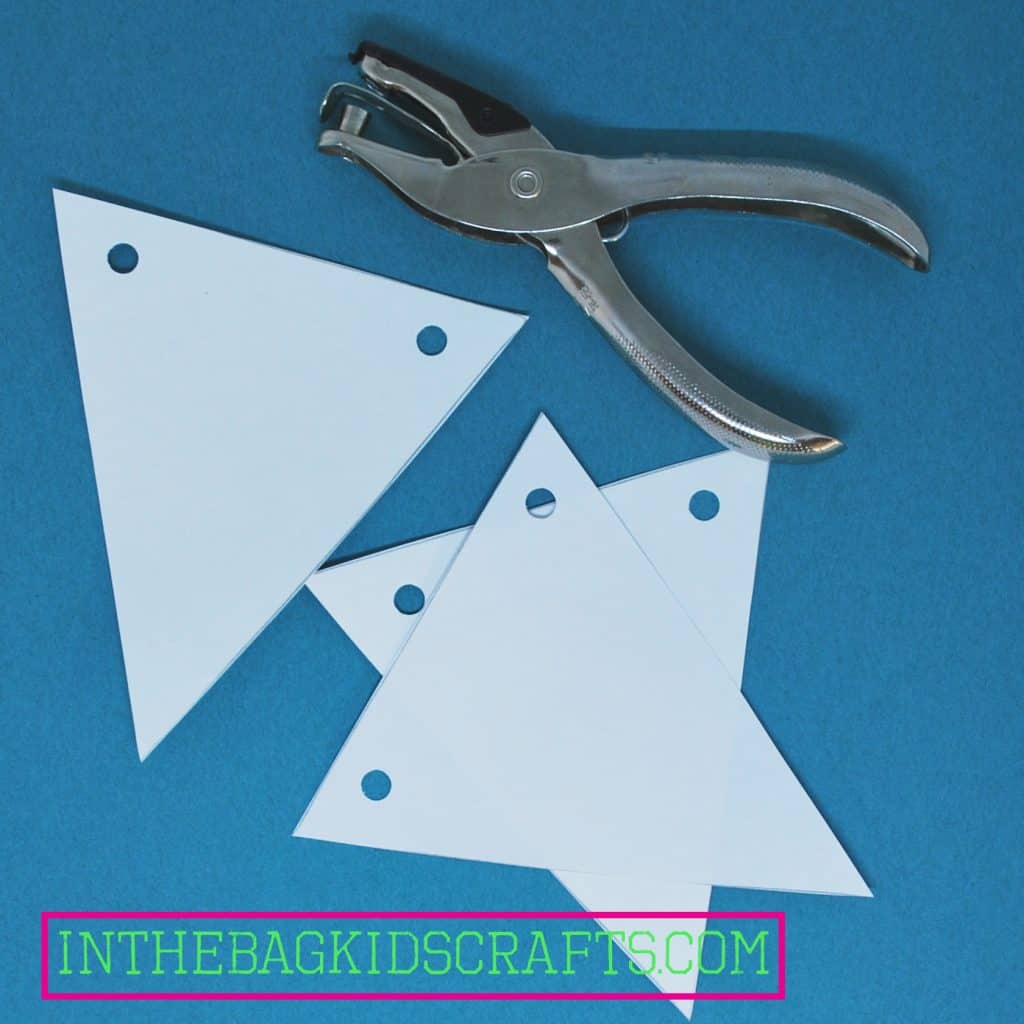
- Use the hole punch to put holes in the upper 2 corners of each triangle
Step 3
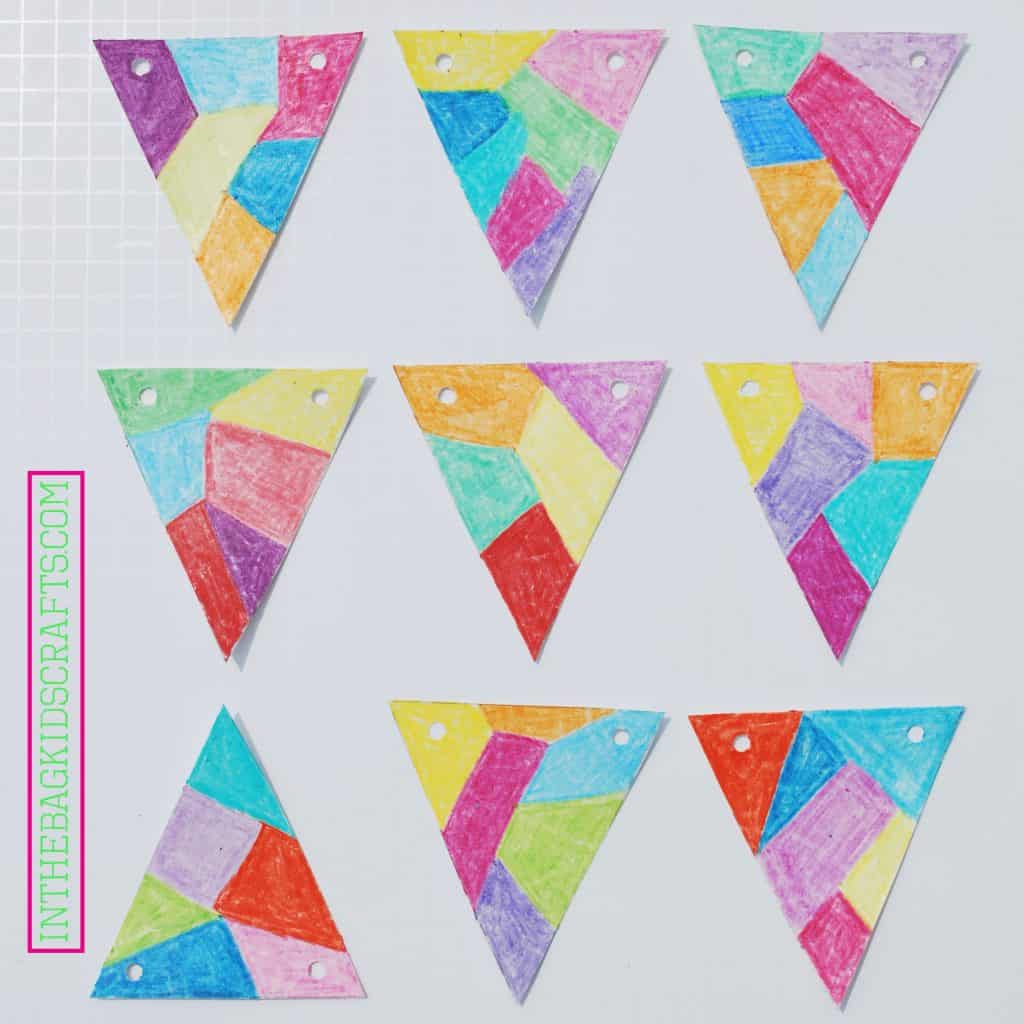
- Color each triangle using random colors and patterns. You may choose to make yours striped, scribbled or in a mosaic pattern. There is no wrong way to do this.
- Make sure that you are using good pressure and putting lots of crayon wax on each triangle banner piece. This is essential for the project to work.
Step 4
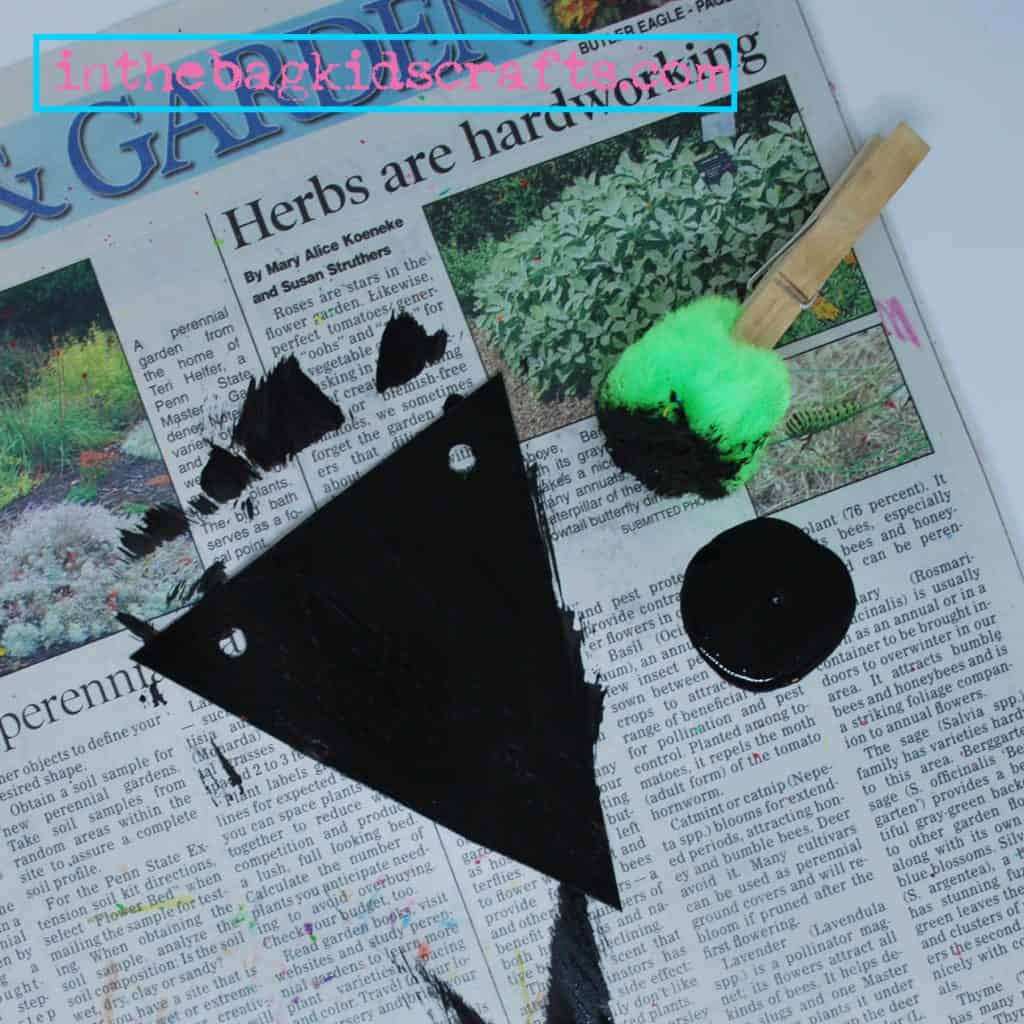
- Pinch the pompom with the clothespin to form a “paint brush”
- Place the triangles on a piece of newspaper
- Paint a layer of black paint onto each triangle. Cover completely. Yes, this will be messy. You will be getting black paint on your hands, but they will wash. I promise.
- Allow the paint to dry
- If there are spots on the triangle that have crayon color showing through, add a second coat of black paint in those areas
Step 5
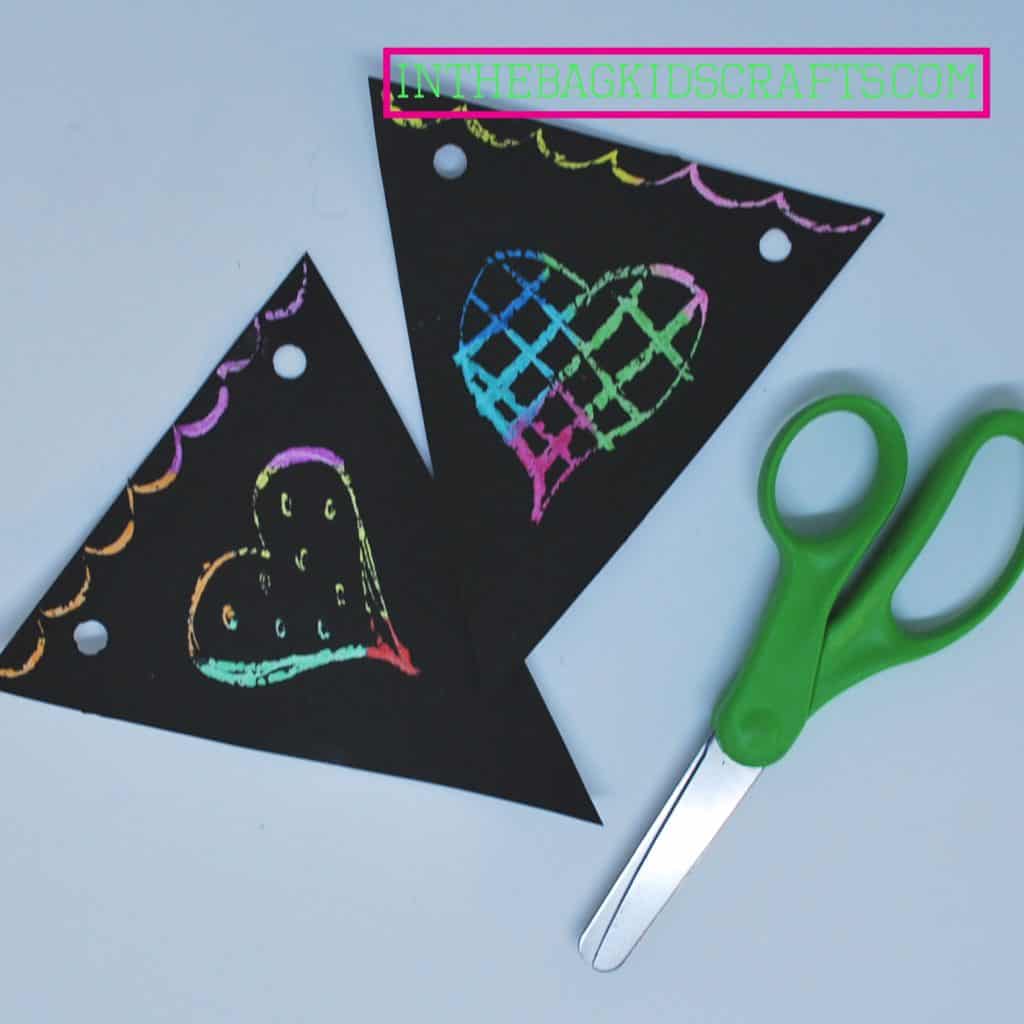
- Once the paint has completely dried, use kids’ safety scissors, keeping them closed, to scratch whatever letters, shapes, designs, etc. you would like onto each of the banner pieces. You can also try other things in the bag to use as the scratcher, such as an unsharpened pencil, marker cap, popsicle stick, or clothespin. Remember, there is no wrong way to do this.
Step 6
- Cut a piece of white yarn approximately 1 1/2 yards long
- Wrap a small piece of scotch tape around the end of the yarn to make it easier to string beads, etc.
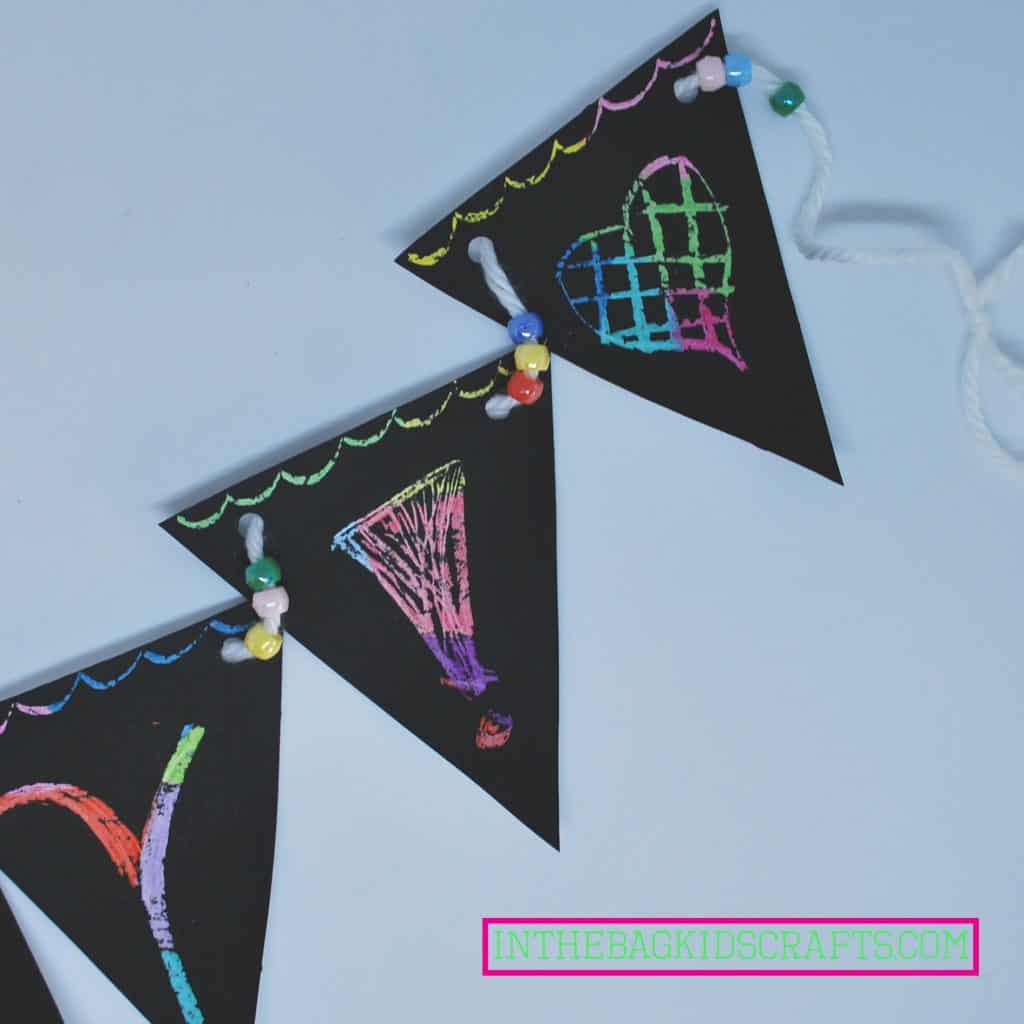
- Alternate stringing on the banner pieces and a few colorful pony beads
- Cut excess string
- Tie a loop at each end of the string so that you can hang your banner
- Place banner in a spot of honor
Save this craft for later! Pin it to your favorite Pinterest board…
