Homemade Dominoes Kids’ Craft and Game DIY
Growing up, my much beloved grandma and aged aunts would gather together regularly to play dominoes. We were always a big board game family. Like after Thanksgiving dinner, we would all break off into groups to play games, from the youngest to the oldest. (And, no, money was not on the line…though that might have been fun too.) The usual domino game was Mexican train. No one had ever taught me the rules, probably thinking that I was too young or wouldn’t be interested. But they were wrong. So, I was relegated to the kids’ table for games like Uno (boring!). Finally, one day, I hit the big time and was invited to join the game at the dominoes table. It was like being part of an exclusive club. It was so much fun just to play and listen to our family stories. I still have a fondness for dominoes to this day, and your fun can start too when you make these homemade dominoes!
As you may know, if you have been around this blog for very long, the kids’ crafts that I like the most are those that lead to therapeutic play once completed. Dominoes are a game that has so many variations, it can be played by children and adults of all ages and skill levels. Even preschoolers can learn to match numbers or colors…and what a fun way to learn those skills. What makes this craft so special is that when it is completed it brings the whole family together. And what could really be more important than that?
There have been lots of great blog posts by others about the actual game. So, I am not going to rehash. All of the rules and variations can be found HERE. The focus of this post will be on the creation of your very own custom dominoes, made with items from the bag (of course).
First, let’s talk a little about what sets of dominoes include…A starter set will usually have numbers 1-6 and a blank, in all of the combinations possible. A set like this includes 28 tiles all together. Then there are sets which go to 9, with 55 tiles. Other sets are for the really serious players and can go up to as many dots as will fit on a little tile. We used to play with a set that went to 12 on each side. For the purposes of this project, we will limit ours to a set that goes to 6. You may even want to limit yourself to a set with blank to 3 for real little ones. It should be noted that the smaller the set, the fewer people can play. So, if you have a big family, make a larger set.
Project 1: Beaded Dominoes
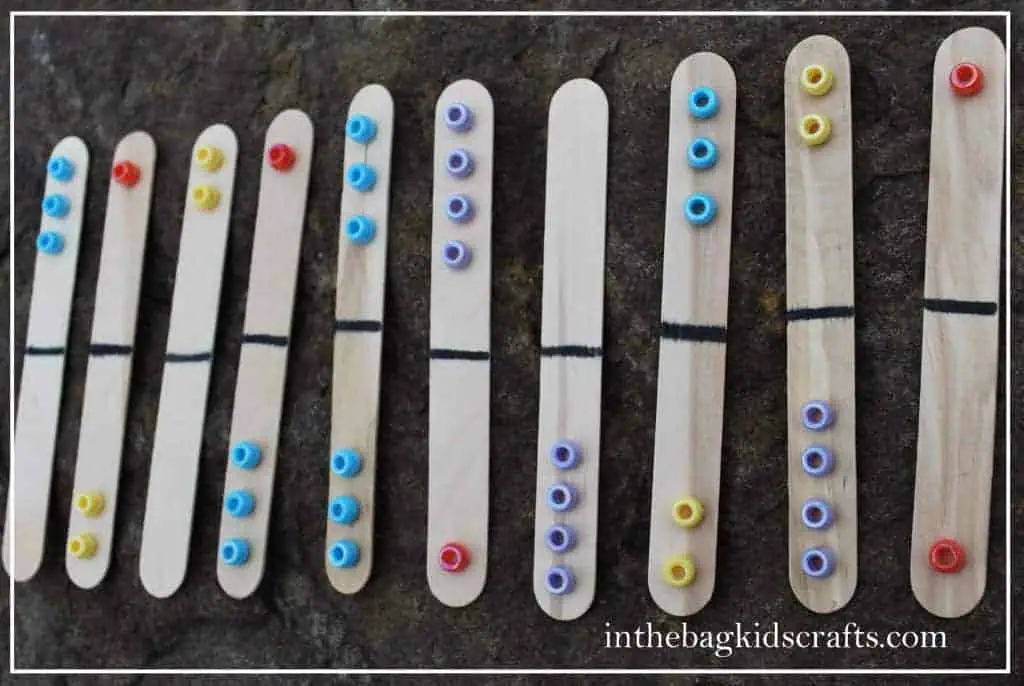
SUPPLIES FROM THE BAG
- 28 Popsicle sticks
- Elmer’s Glue
- Pony Beads (6 Colors)
- Black Sharpie Marker
INSTRUCTIONS
- Line up the popsicle sticks side by side and draw a line down the middle (does not have to be exact) using the black sharpie marker.
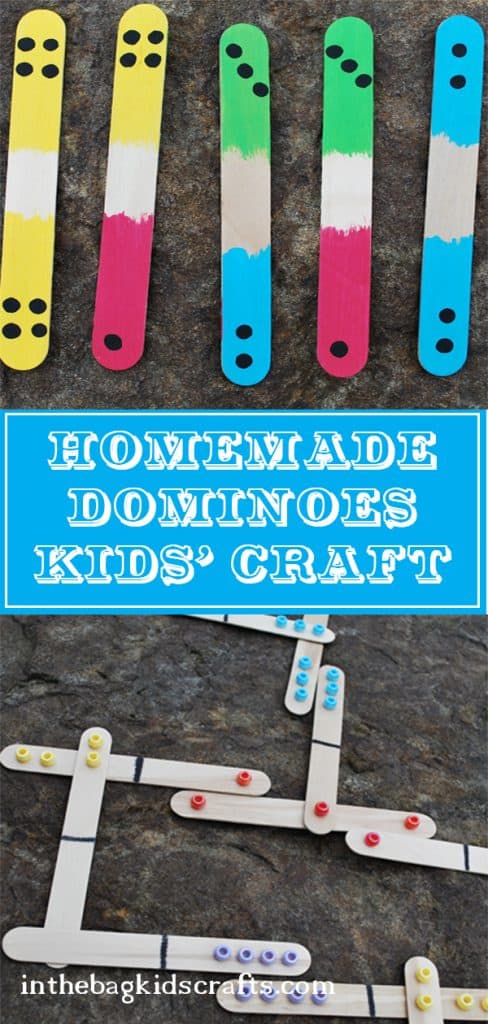
- Use the Elmer’s glue to adhere beads, separated by color, to the popsicle sticks. Since you are separating them by color, little ones who are still learning to count but are able to sort by color, can still play with confidence. This is a great opportunity to work on counting skills.
- You will need the following combinations for a full set.
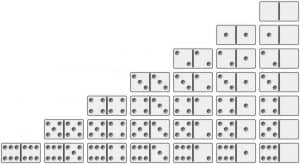
- Get the family together and PLAY!!!
Project 2: Pompom Dominoes Craft
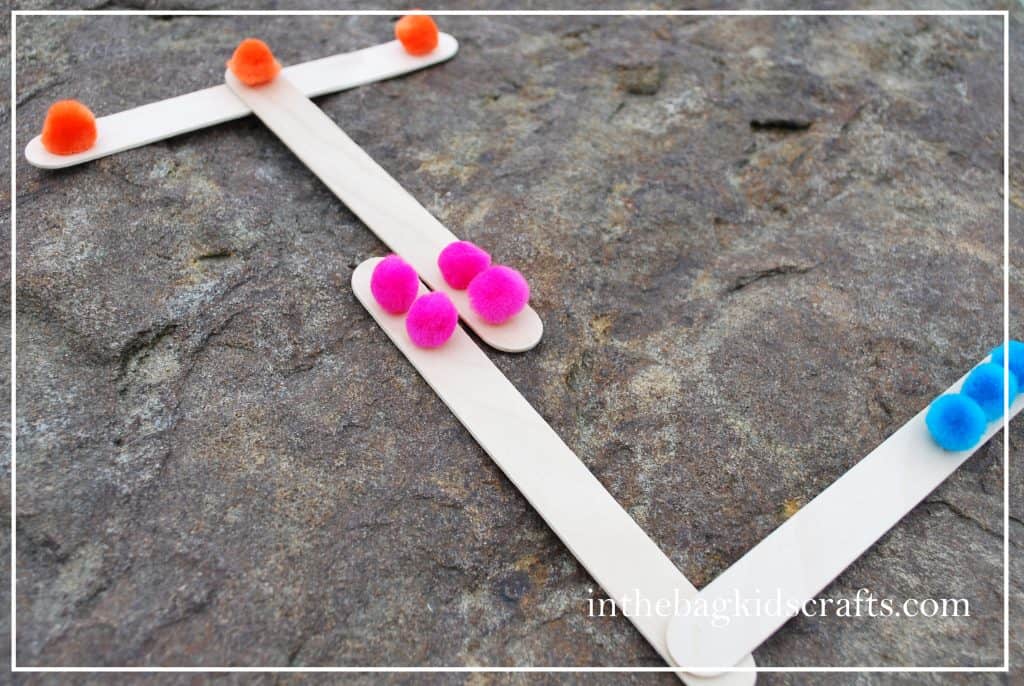
SUPPLIES FROM THE BAG
- 28 Popsicle sticks
- Mini pom poms in 6 colors
- Elmer’s glue
- Black sharpie marker (optional)
INSTRUCTIONS
- Repeat the instructions for Project 1, but using mini pom poms instead of beads.
- PLAY!
Project 3: Painted Dominoes Craft
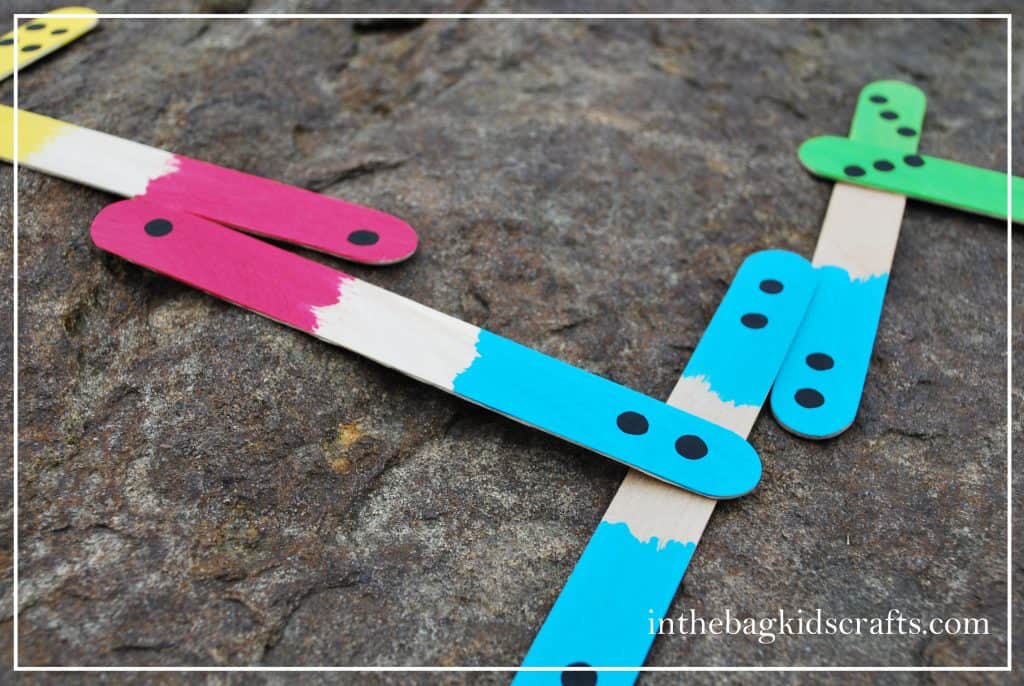
SUPPLIES FROM THE BAG
- 28 Popsicle sticks
- 6 colors of paint plus black
- Clothespin
- 6 small pom poms
- q-tip
INSTRUCTIONS
- Choose a color to go with each number.
- Make a “paint brush” by clipping a pom pom with the clothespin.
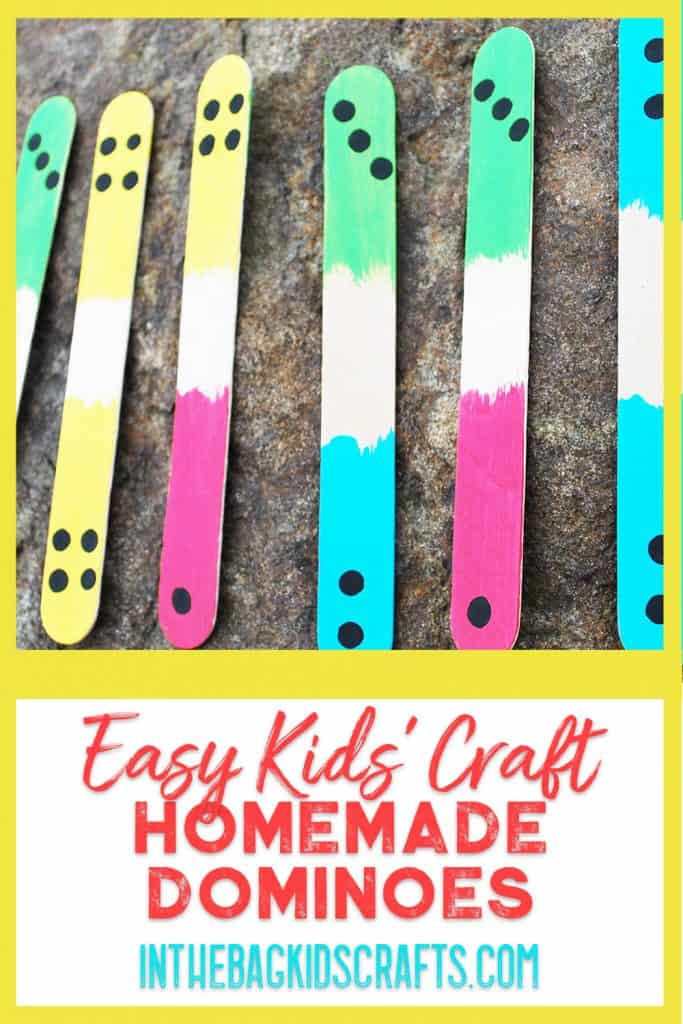
- Paint colors on the sticks according to the picture above (eg-If you are using pink for your ‘1’ dominoes, you will need to paint pink everywhere that a ‘1’ appears on the dominoes in the picture.)
- Let the paint dry.
- Use the q-tip to make dots on the dominoes as picture in the diagram above.
- PLAY!
If you liked this project, pin it to your favorite Pinterest board for later!
BONUS PROJECT
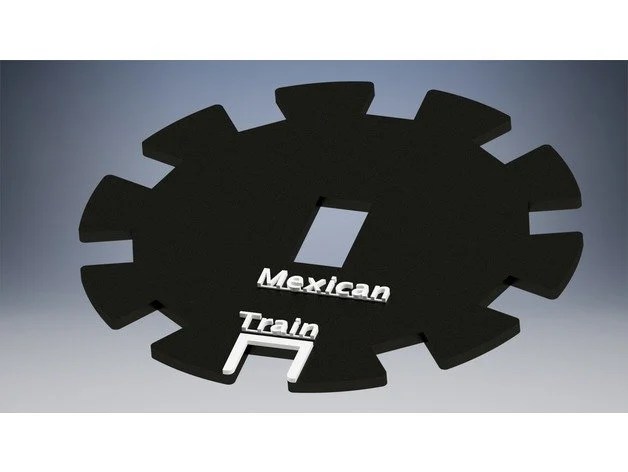
- If you are planning to play Mexican Train (better for older kiddos), you will need the foundational centerpiece of the game. Check out the picture below. Then take a paper plate out of your bag and cut the appropriate slots around the edge. Decorate it any way that you like (glue on tissue paper squares, color with marker or crayons, paint, use washi tape…). Use various colors pompoms as markers. **Note that if you are playing this game, you will need to make a double 12 set of dominoes.
- Find the rules to the game HERE and a free printable score sheet HERE.
SKILLS PROMOTED
- Taking Turns
- Attending Skills
- Counting
- Color identification
- Matching
- Visual Perceptual Skills
- Fine Motor Coordination
- Social Participation

Variations on Domino Design
- Instead of painting dots on the dominoes, paint matching patterns. For example, instead of making dominoes with 1 dot, make a plaid pattern. And instead of making dominoes with 2 dots, make a pattern with polka dots. ETC.
- Use the markers (or q-tips and paint) to draw pictures on the dominoes. For example, instead of a 1, make a picture of a dog. You could even make each member of the family a symbol for a certain number.
- Use the markers (or q-tips) and draw shapes on the dominoes, instead of numbers. For example, instead of a 1 form a square. Circle stands in for the 2’s.
- Do not add numbers in any way to the dominoes, and just use colors. This is a great version for preschoolers who are learning their colors.
- Use the washi tape from in the bag, to make matching dominoes. For 1, use one pattern. Choose another pattern for ‘2’. Just wrap that tape around the end of the popsicle stick.