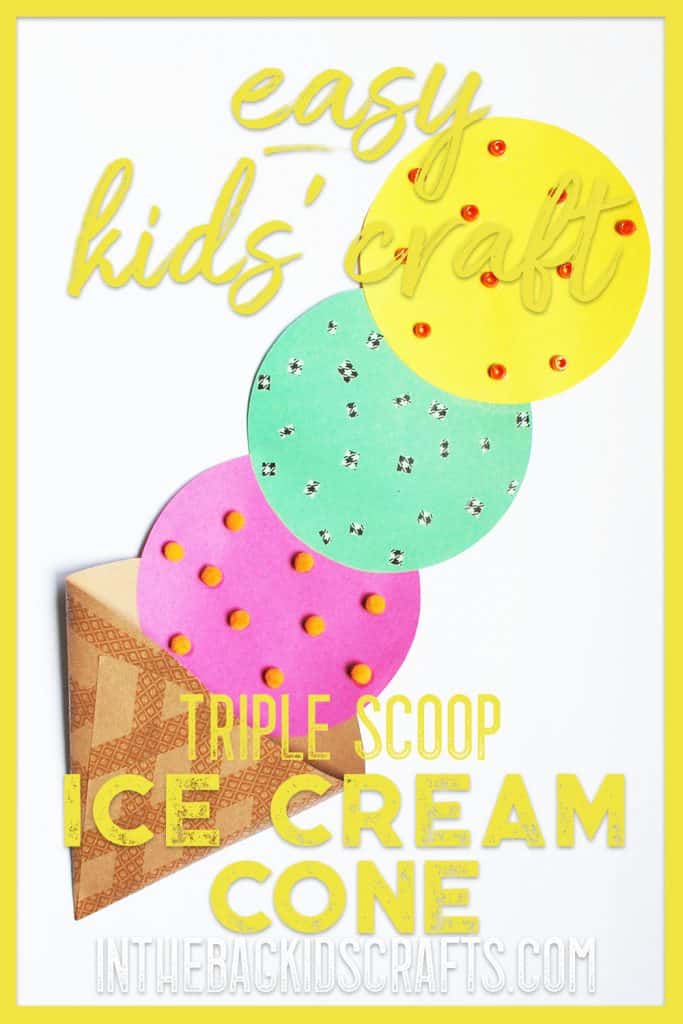
Easy Ice Cream Cone Craft for Kids (Free Template)
What says summer better than an ice cream cone craft? This easy ice cream craft for kids is the perfect summer activity for preschoolers and elementary-aged kids. Using simple supplies and a free printable template, children can create their own colorful ice cream cones while building creativity and fine motor skills. Whether you’re crafting at home, in the classroom, or at summer camp, this fun paper ice cream cone craft is an easy way to keep kids creating all season long.
One of the best things about this printable ice cream cone craft is that there’s no wrong way to make it. Kids can mix and match colors, add as many scoops as they want, and decorate their cones with fun details like sprinkles, cherries, or glitter. It’s a great open-ended summer craft that encourages imagination while still being simple enough for younger children to enjoy.
This easy paper craft is also perfect for busy parents, teachers, and caregivers because it uses basic craft supplies you probably already have at home. Use it as a preschool summer activity, a classroom art project, or a fun boredom buster on a hot afternoon. Pair it with your favorite ice cream storybook or summer theme for even more creative fun.
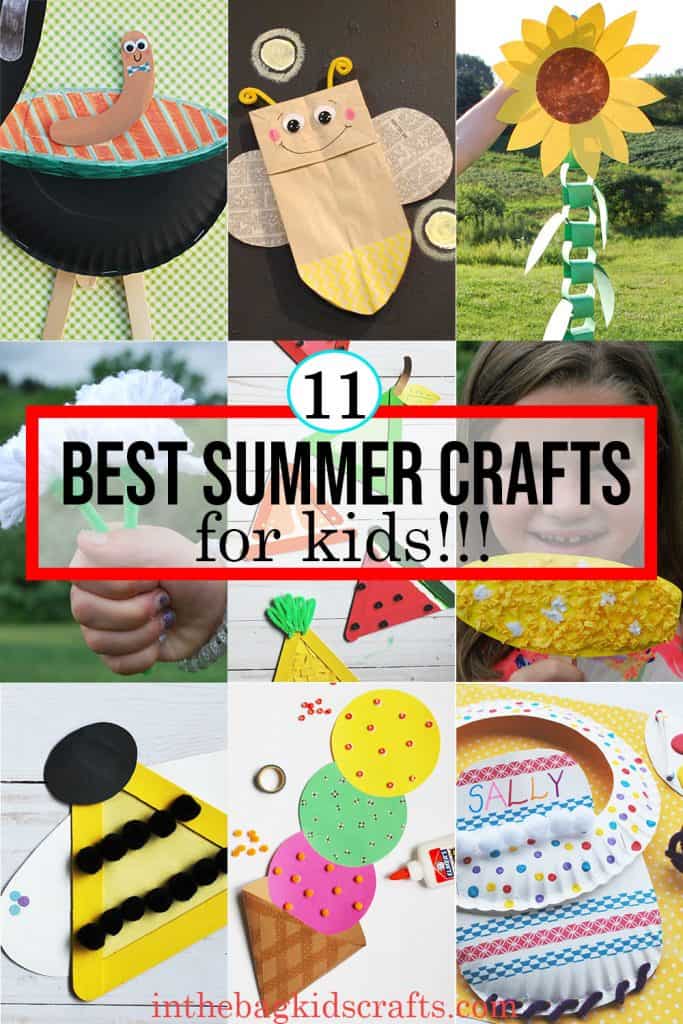
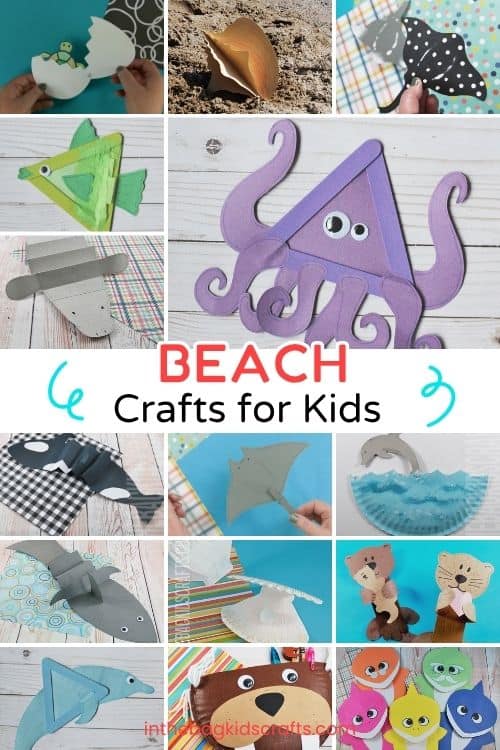
If you like this Ice Cream Cone Crafts you are going to love these other summer crafts! Like this 3D Conch Shell Craft, Summer Coloring Pages, Easy Watermelon Slice and Diving Dolphin Craft.
Skills This Ice Cream Cone Craft Builds
This easy summer craft is more than just fun—it also helps kids practice important developmental skills. Cutting out the template pieces helps strengthen scissor skills and hand muscles, while gluing and assembling the scoops builds fine motor coordination. Decorating the ice cream cones also encourages creativity, color recognition, and imaginative thinking.
Skills Kids Practice:
- Fine motor skills
- Scissor skills
- Hand-eye coordination
- Color recognition
- Creative thinking
- Following directions
Best Ages for This Ice Cream Cone Craft…
This printable ice cream cone craft is flexible enough for a wide range of ages and skill levels.
Preschoolers
Preschool-aged children will enjoy choosing colors, decorating scoops, and practicing basic cutting and gluing skills. Adults may want to help with cutting for younger crafters.
Kindergarteners
Kindergarten kids can complete most of the craft independently while practicing creativity and fine motor control.
Elementary-Aged Kids
Older children can add extra details and create more elaborate ice cream cone designs with multiple scoops and decorations.
Summer Books to Pair With This Craft
Pairing this craft with a fun summer read can make the activity even more memorable. Here are a few favorite ice cream and summer-themed books for kids:

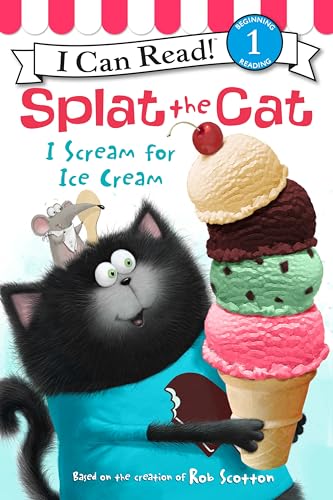
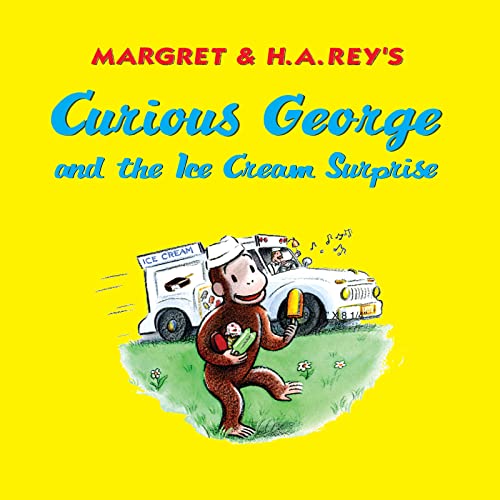
These books work great for preschool story time, classroom summer themes, or cozy afternoon crafting at home.
SUPPLIES FROM THE BAG
- Brown construction paper
- Pencil
- Brown washi tape
- Scissors
- 3 colors of construction paper
- Glue stick
- Whatever items you want from the bag for decorating
All activities require adult supervision. By using this site, you are agreeing to our terms of use. This post may contain affiliate links. If you choose to purchase through these links, I may earn a small commission at no additional cost to you. These commissions help support our site and allow us to continue creating free craft ideas and resources. I only share products I personally use or genuinely recommend. Click here to read my full disclosure policy.
We’re so glad to have you here at In the Bag Kids’ Crafts! Our mission is to help you make crafting with your kiddo a habit using fun, easy ideas with supplies you already have on hand.
Be sure to visit the “Fill Your Bag” page for our go-to supply list—we use it for every project to keep crafting simple, affordable, and mess-free. No extra store runs, no missing pieces—just grab your bag and start creating!
Want to make it even easier? Check out our quick shopping list on Amazon and Walmart to stock up on everything we love.
And if you use our printables, don’t miss our Favorite Printing Essentials list. We’ve found a reliable, no-hassle printer that won’t leave you dealing with constant issues or dried-out ink—plus all the extras you need so you can print and craft without the frustration.
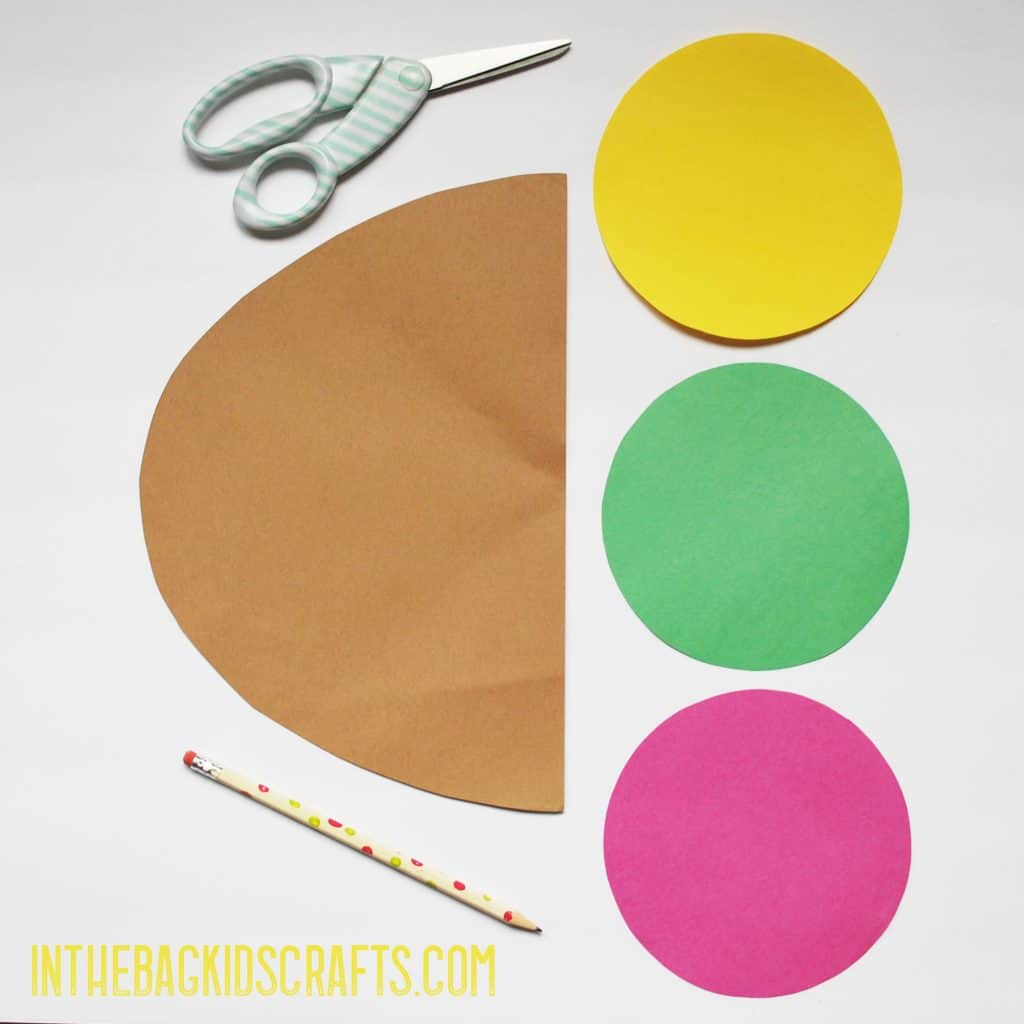
Step 1
- Draw a large semi-circle on the brown construction paper, filling up the entire paper
- Find a household item to trace circles, such as a bowl or saucer, and trace a circle on each of the 3 colored pieces of construction paper that you have chosen
- Cut out each piece
Cutting circles can be very challenging for little ones, and your kiddo may not be ready. So, if your child is not quite ready for cutting shapes, allow them to do other parts of the activity and help them with this part. If they tolerate it, help them by working hand over hand to cut one or more of the circles.
On the other hand, if your kiddo cuts lines with fairly good accuracy, let them try cutting a large circle. Here are a couple of tricks for helping without doing it for them…First help them know where to place their hands. You can even put dots about 2 inches apart. These dots are a cue for where to place the thumb as it moves around the circle. Encourage your child to keep moving their helper hand from one dot to the next as they work the scissors around the circle. I also say a mantra of sorts, like “take…your…time…cut…on…the…line” said in a sing songy manner. This helps with pacing while cutting, as kids have a tendency to rush when using scissors.
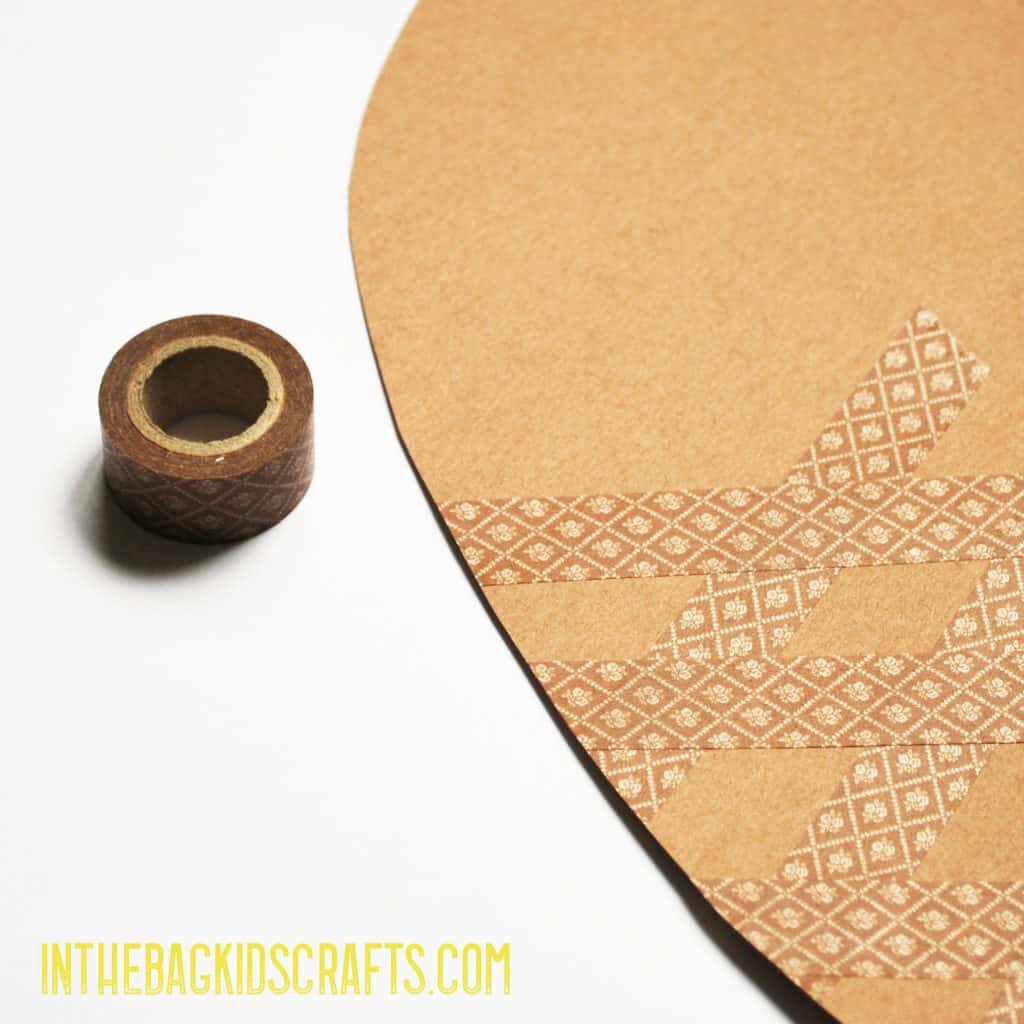
Step 2-Optional
- Make a criss cross pattern on the brown semi-circle using the brown washi tape to form a waffle pattern
- If you prefer, you can skip this step all together or use a brown marker to make the waffle markings
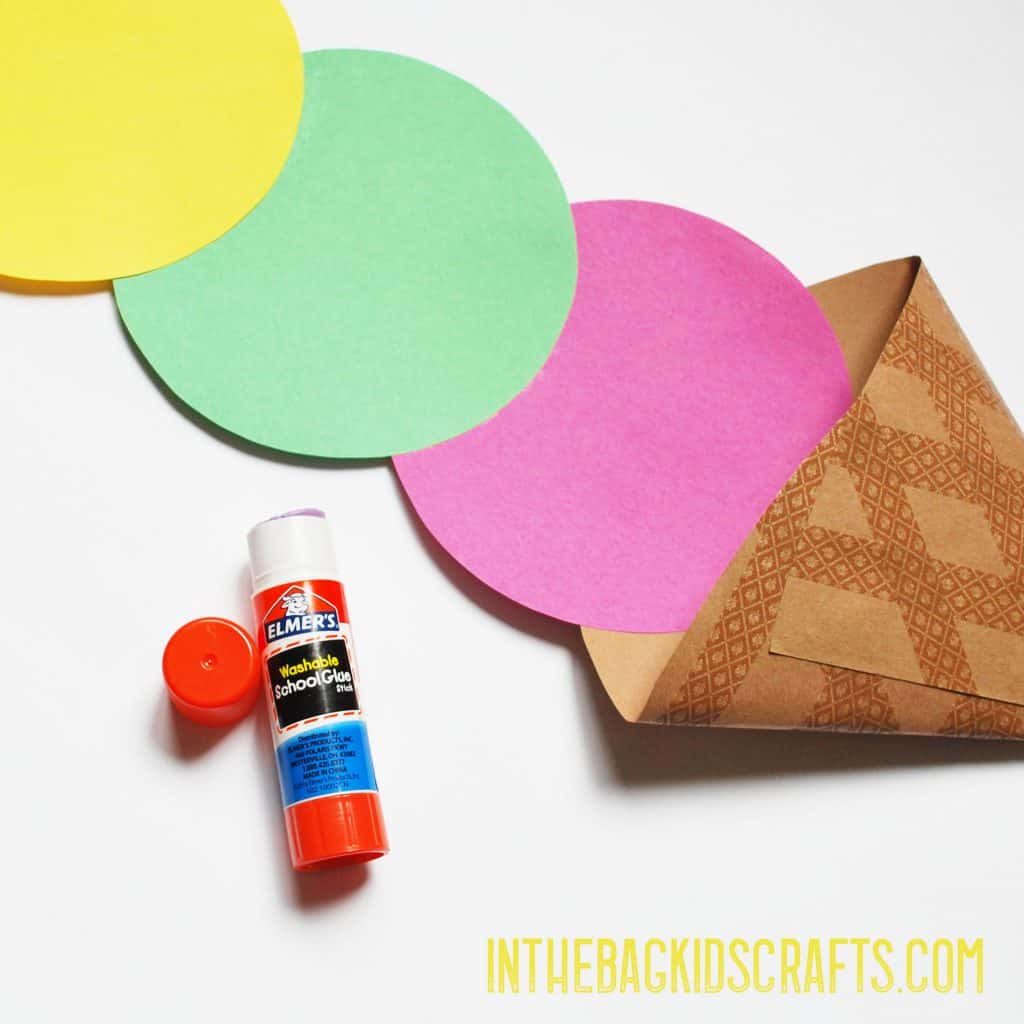
Step 3
- Form the brow semi-circle into a cone shape and secure with glue
- Flatten the cone slightly, but not all the way
- Glue the circles into the cone, one on top of another
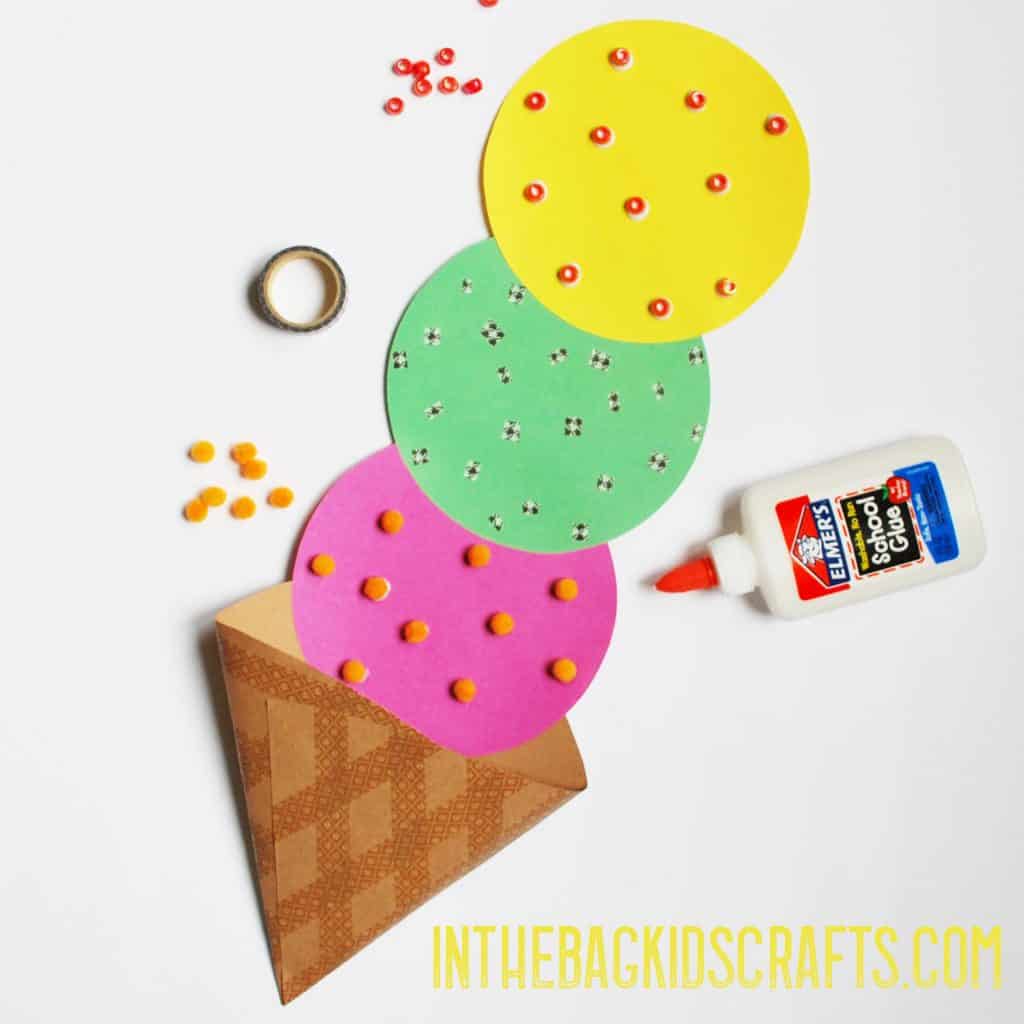
Step 4
- Decorate each of the scoops of ice cream using whatever items you want from “in the bag”
- Yours should not look like mine, make it your own! Use your imagination and whatever items you have in your craft bag…crayons, markers, pices of pipe cleaner, tissue squares, pony beads, pompoms, washi tape, paint…
I cannot wait to see what kind of ice cream you create! Please share your pics at hello@inthebagkidscrafts.com, and we will include them in the gallery, with credit given of course!
Like this easy kids craft? Pin it to your favorite board!
More summer crafts you’ll love!!!
FAQ about this Ice Cream Cone Craft???
Yes! This craft is simple enough for preschoolers with a little assistance for cutting and gluing.
Most of the supplies are basic craft materials like paper, scissors, glue, and crayons or markers.
Absolutely. This printable craft works great for summer classroom activities, art centers, and camp crafts.
Try adding letters, numbers, shapes, or colors to each scoop to turn the craft into a fun learning activity.
Absolutely. Kids can color and decorate their own ice cream scoops using crayons, markers, or paint for extra creativity.
Most families already have the supplies on hand, including paper, scissors, glue, crayons, and markers. Optional decorations like glitter or stickers can make the craft even more fun.