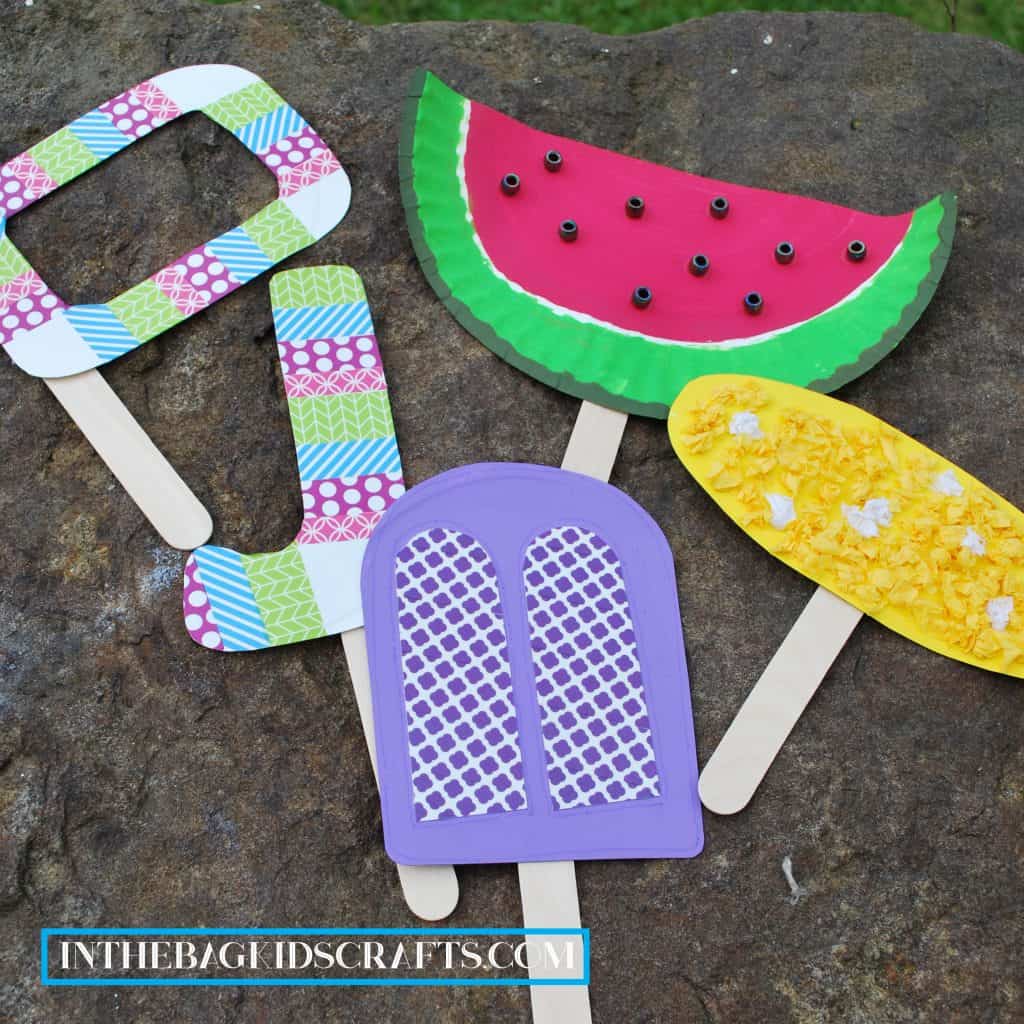
Summer Photo Props Simple Kids’ Crafts
I think that one of the best additions to any special event is a photo booth with lots of props. Why didn’t we think of this sooner? And if we adults enjoy this activity, just think how much more the kiddos will love it Plus, this will be a fabulous chance for the littles to use their imaginations, first in the creation of their summer photo props and then finding all the great ways to pose with them. To get you started, here you will find the beginnings of your collection, but feel free to make as many summer photo props as you can think of I can’t wait to see what you come up with!!!
This post contains affiliate links, which means if you make a purchase through these links, I may receive a small commission at no extra cost to you. Click here to read my full disclosure policy.
Project 1: Watermelon Slice Photo Prop
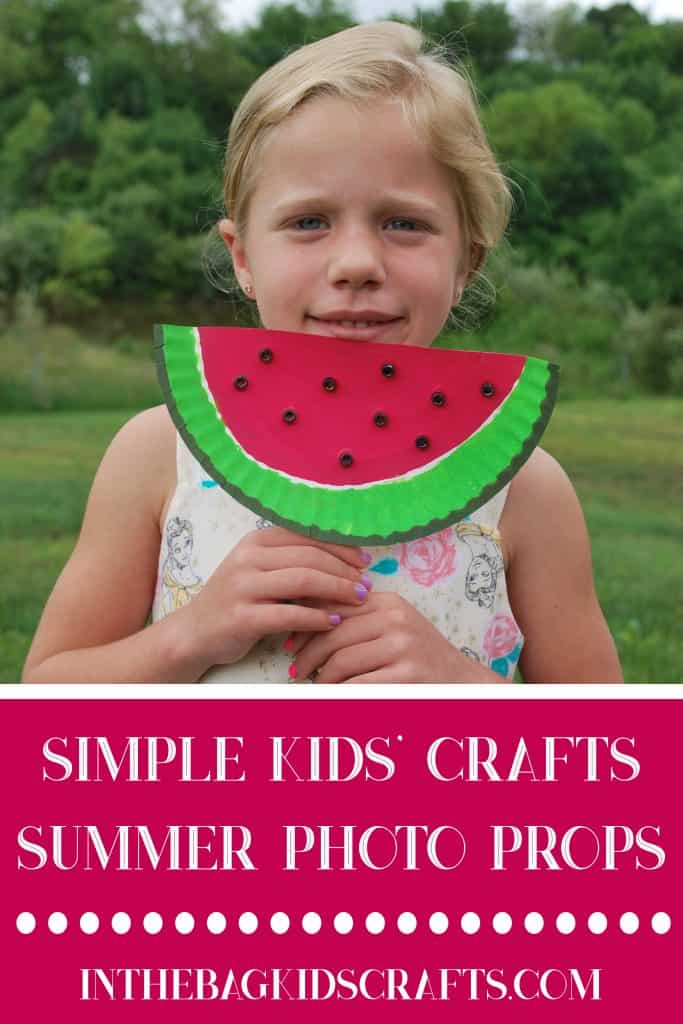
SUPPLIES FROM THE BAG
- Paper plate
- 3 medium pompoms
- 3 clothespins
- Newspaper (for keeping the mess under control)
- Pink (or red paint)
- Light green paint
- Dark green paint
- Black pony beads
- Scissors
- Paper plate (9 inch coated)
- Scotch tape
- Large popsicle stick
Step 1
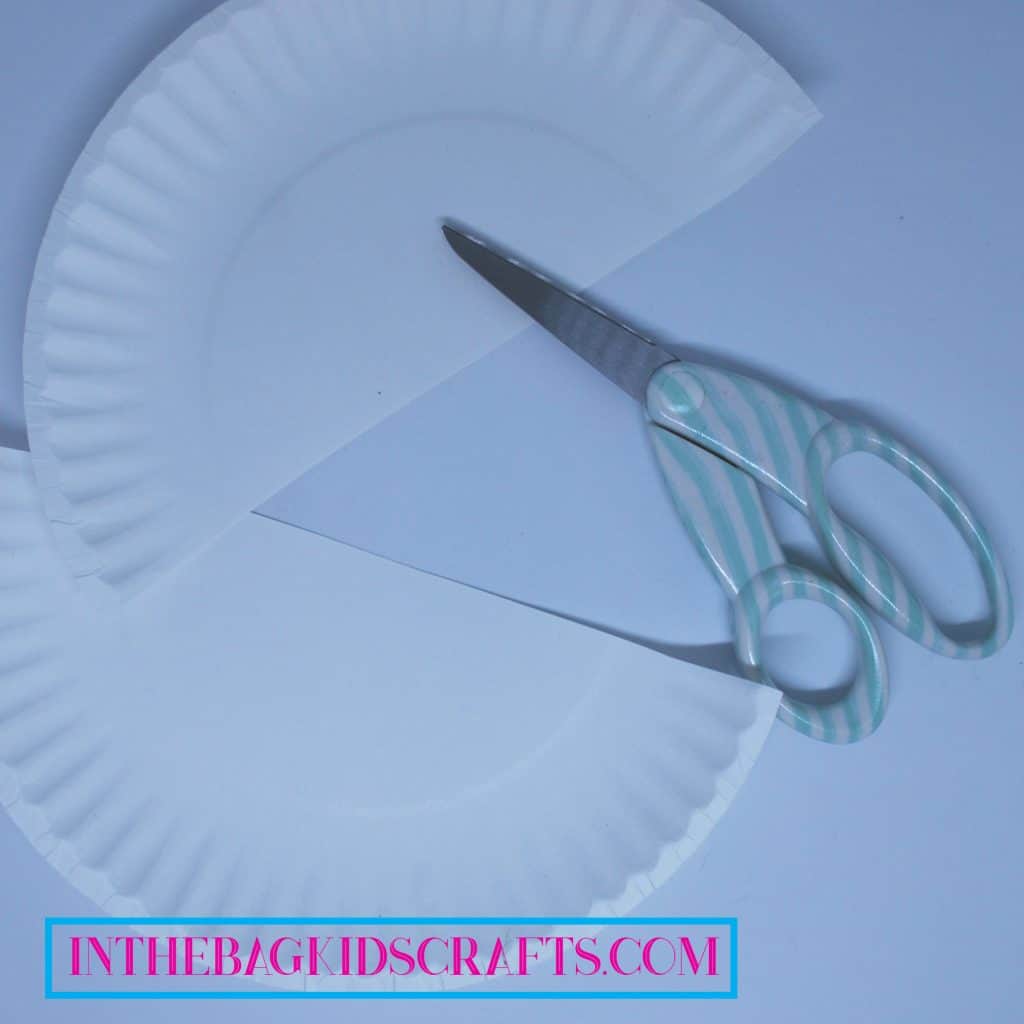
- Cut the plate in half
Step 2
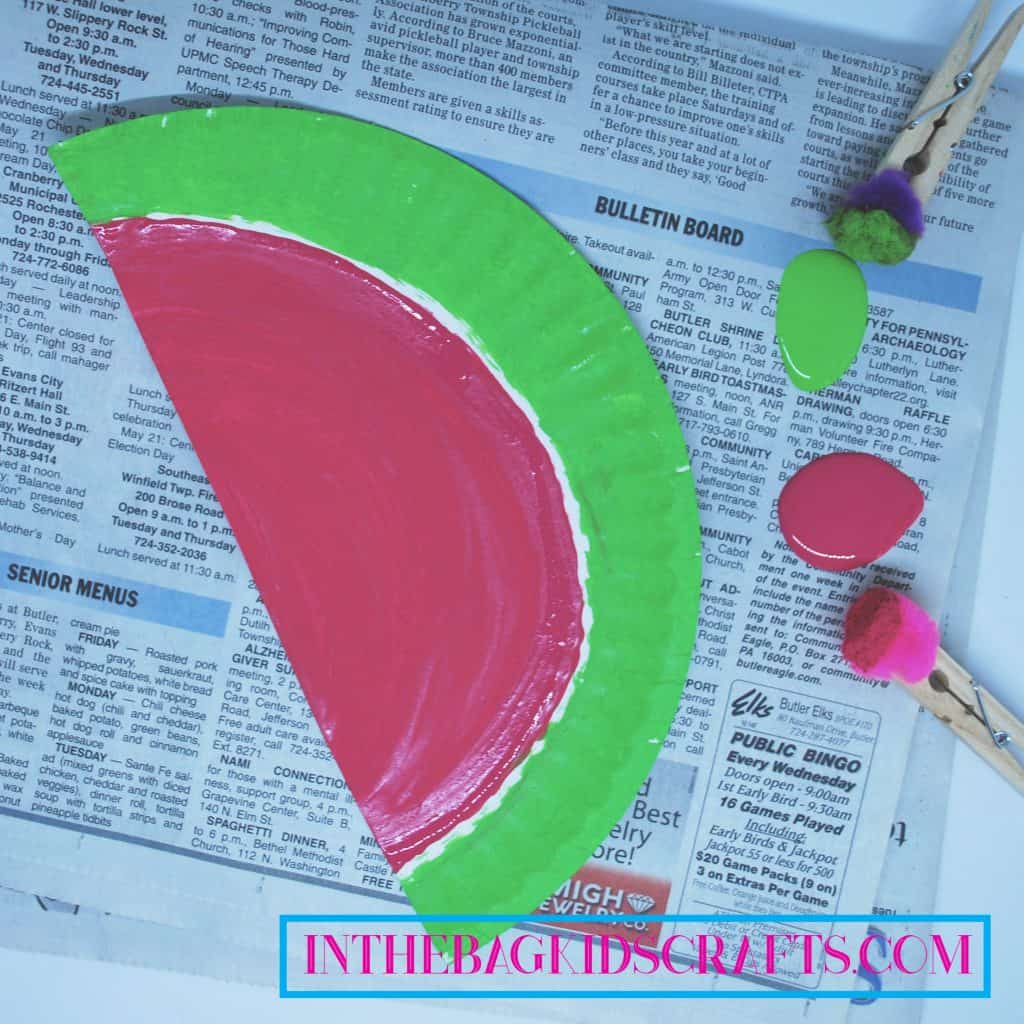
- Pinch the pompom with the clothespin to form a paint brush
- Paint the center of the half plate using pink (or red) paint
- Then, paint the outside edge of the plate green, leaving a small white area between the pink and light green
- Lastly, paint the edge dark green
- Allow paint to dry thoroughly
Step 3
- Glue the beads onto the watermelon randomly for the seeds
- Allow the glue to dry
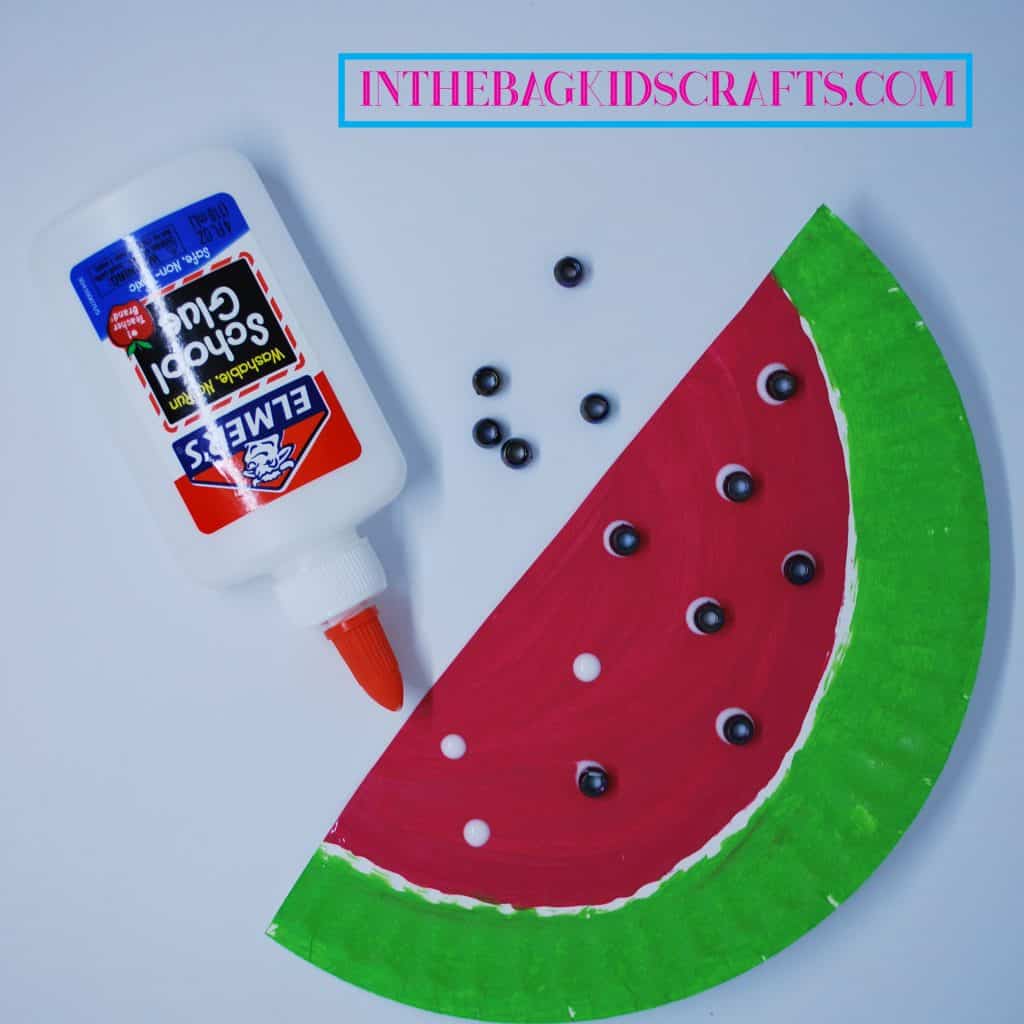
Step 4
- Tape the popsicle stick onto the back of the watermelon
Project 2: Popsicle Photo Prop
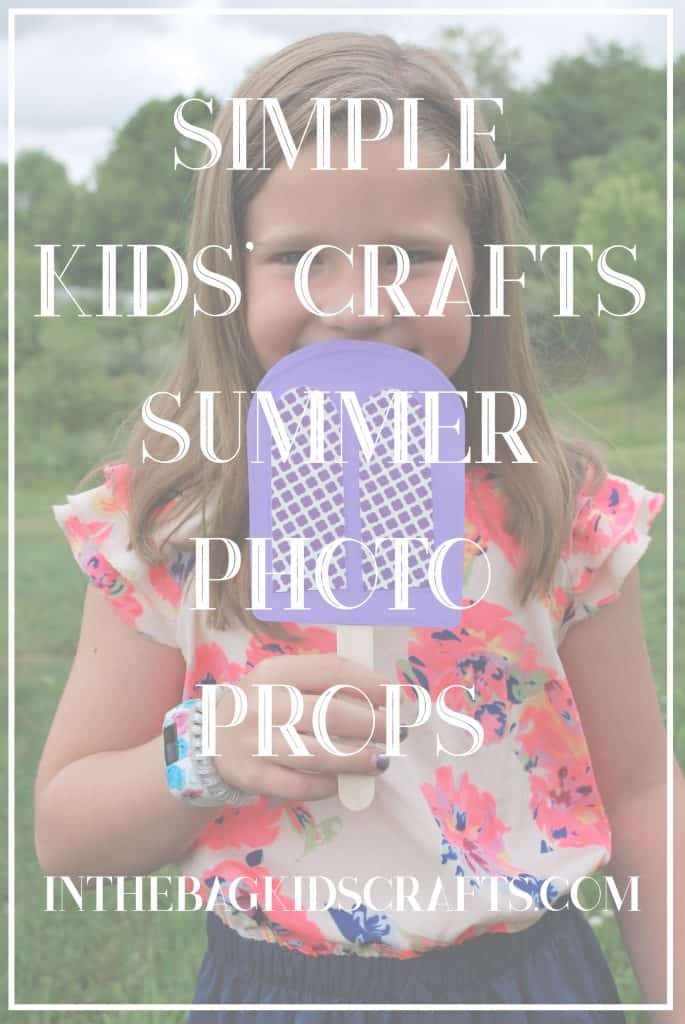
Save this craft for later…Pin it to your favorite Pinterest board!
SUPPLIES FROM THE BAG
- 2 paper plates
- Scissors
- 1 medium pompom
- 1 clothespin
- Large popsicle stick
- Scotch tape
- Paint (color of your choice-I used purple)
- Washi tape (coordinate with the paint color)
- Coordinating marker
- Glue stick
- Pencil
Step 1
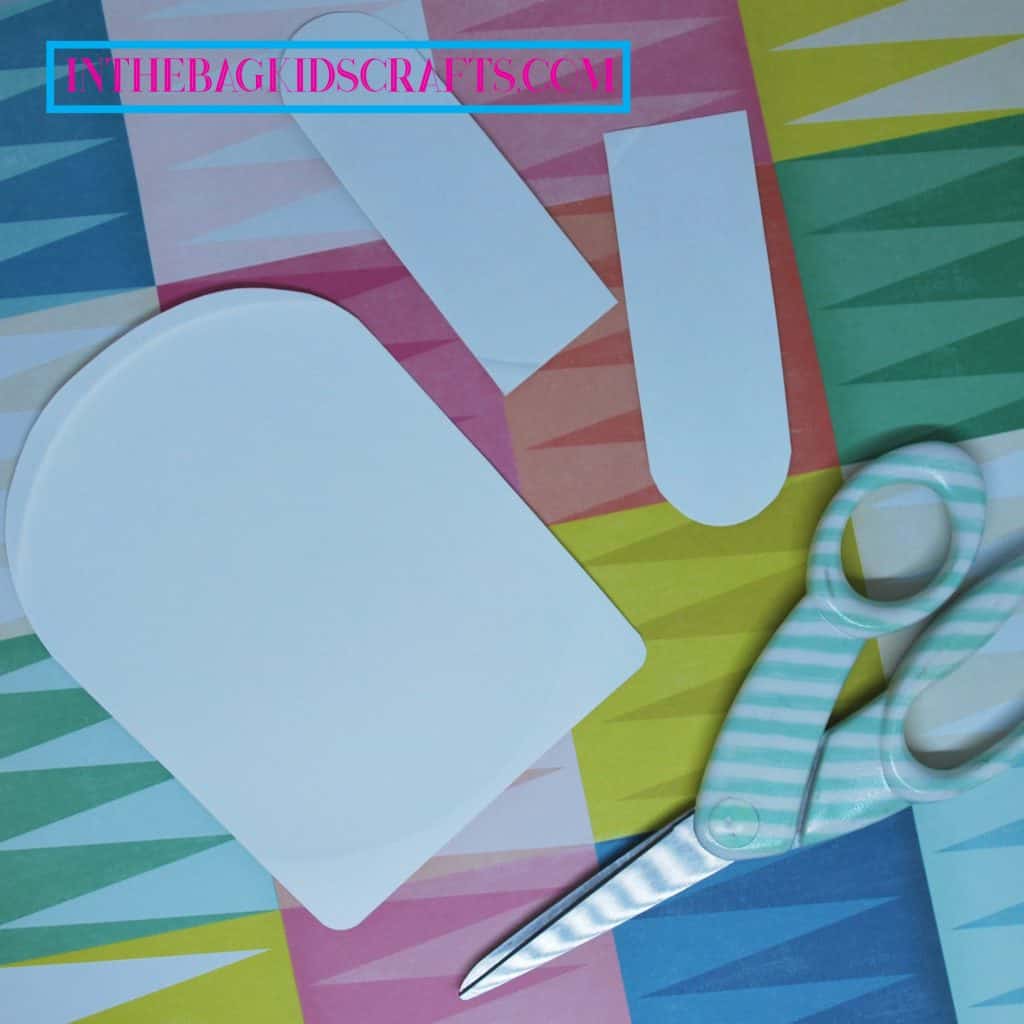
- Draw and cut a popsicle shape from one of the paper plates
- Cut 2 smaller elongated dome shapes (like the original popsicle). They should be small enough to fit in the middle with some space around each.
Step 2
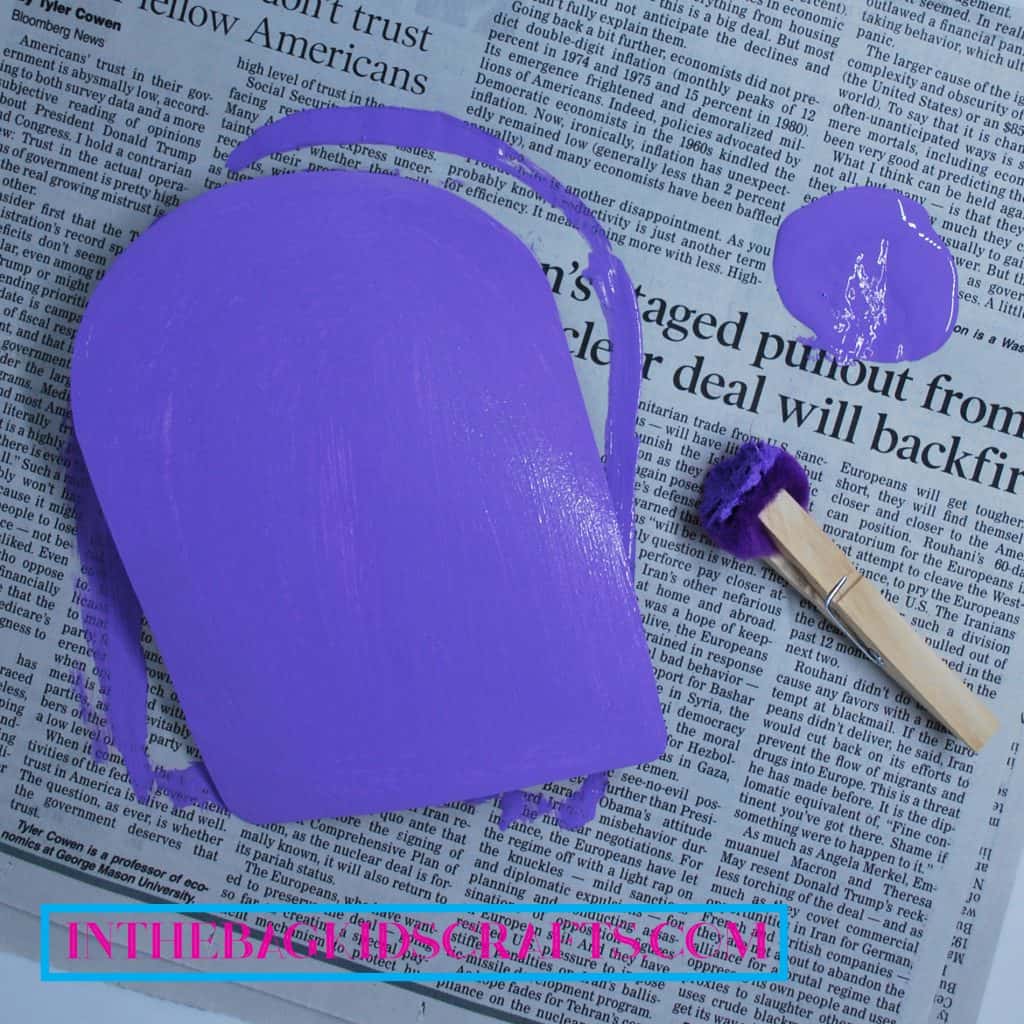
- Pinch the pompom with the clothespin to form a paint brush
- Paint the large popsicle top
- Allow the paint to dry completely
Step 3
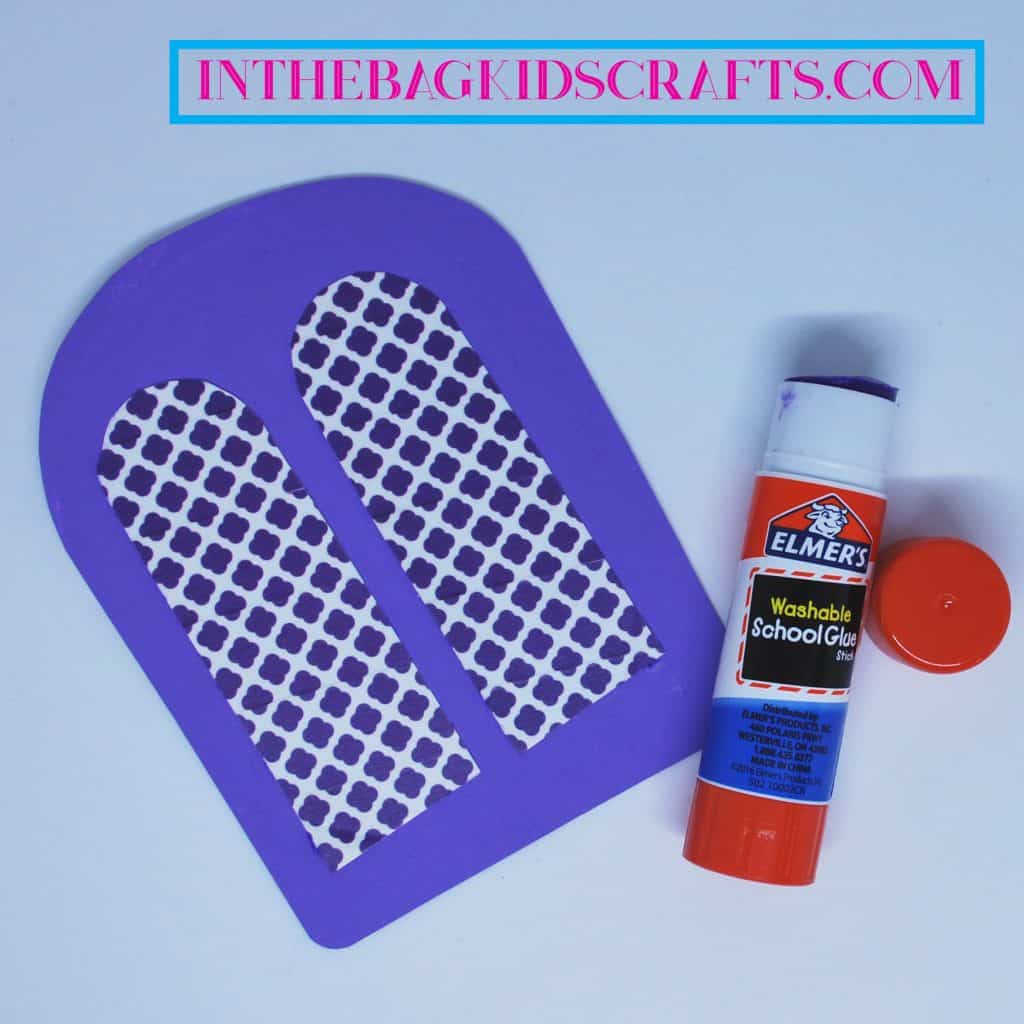
- Cover the smaller pieces with the washi tape
- Trim around the edges or fold washi tape over for a clean look
Step 4
- Use the glue stick to adhere the small pieces onto the large piece
Step 5
- Draw on some detail with the marker to give a sense of depth
Step 6
- Tape the large popsicle stick onto the back of the popsicle
Project 3: Goggles and Snorkel Photo Props
SUPPLIES FROM THE BAG
- 2 Paper plates
- Variety of washi tape
- Scissors
- 2 large popsicle sticks
- Scotch tape
- Pencil
Step 1
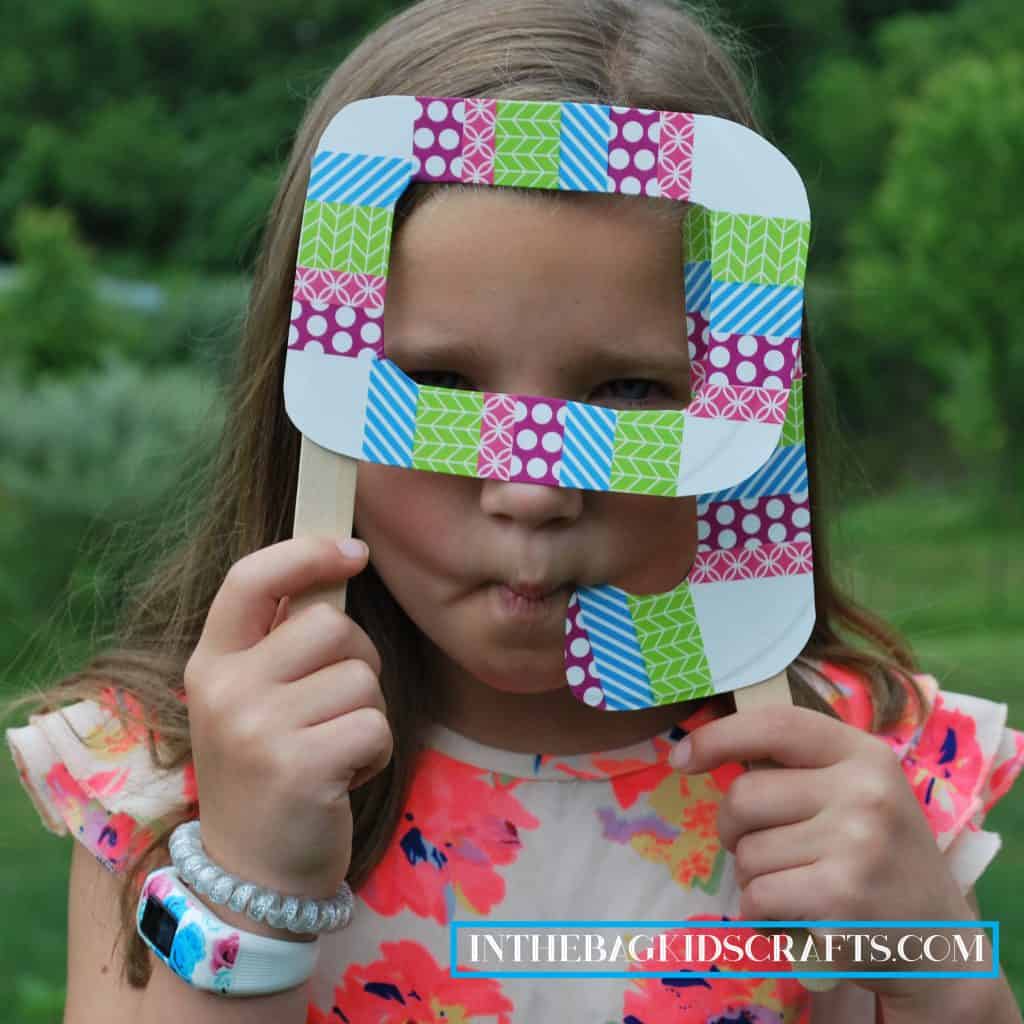
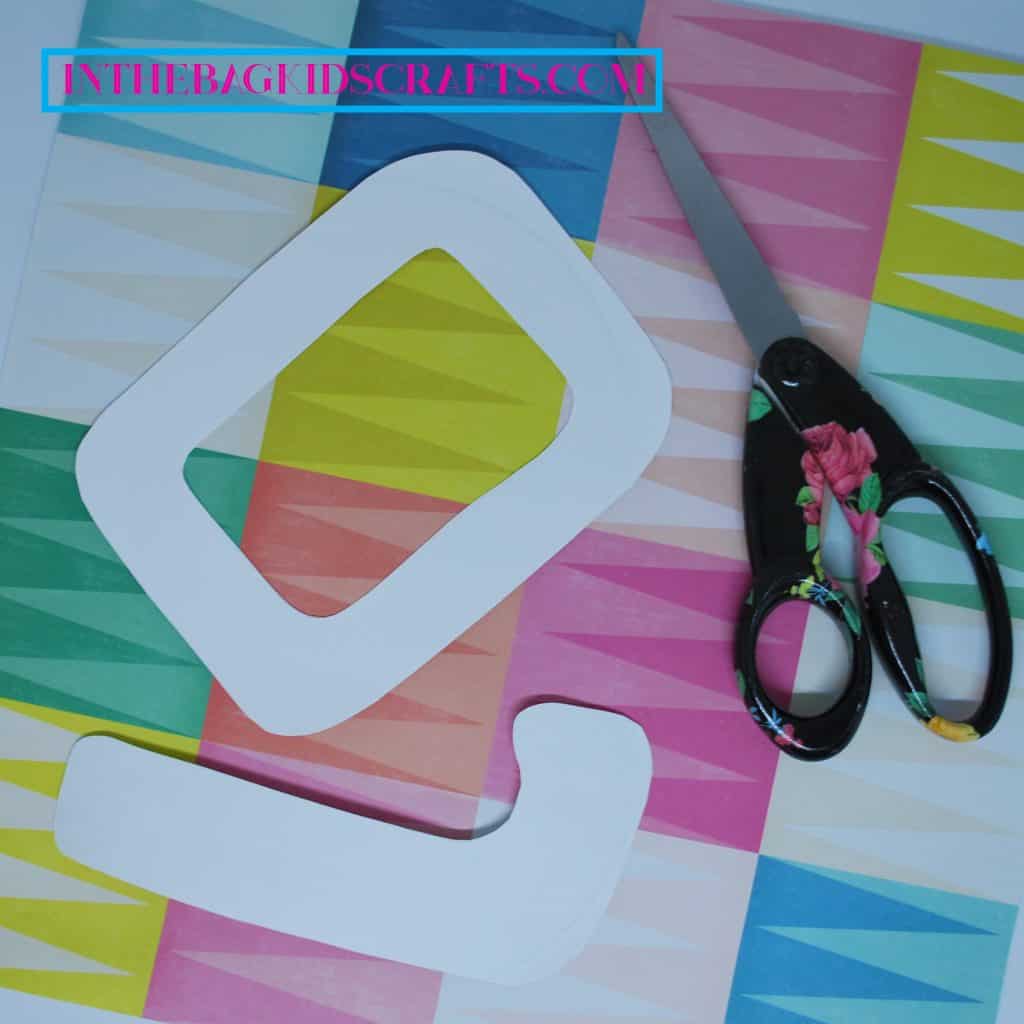
- Draw goggles on one plate and a snorkel on the other with a pencil. The goggles are a rectangle with rounded corners and the center cut out. The snorkel is an L shape with rounded corners. These do not have to be perfect. Just try your best.
- Cut out the shapes
Step 2
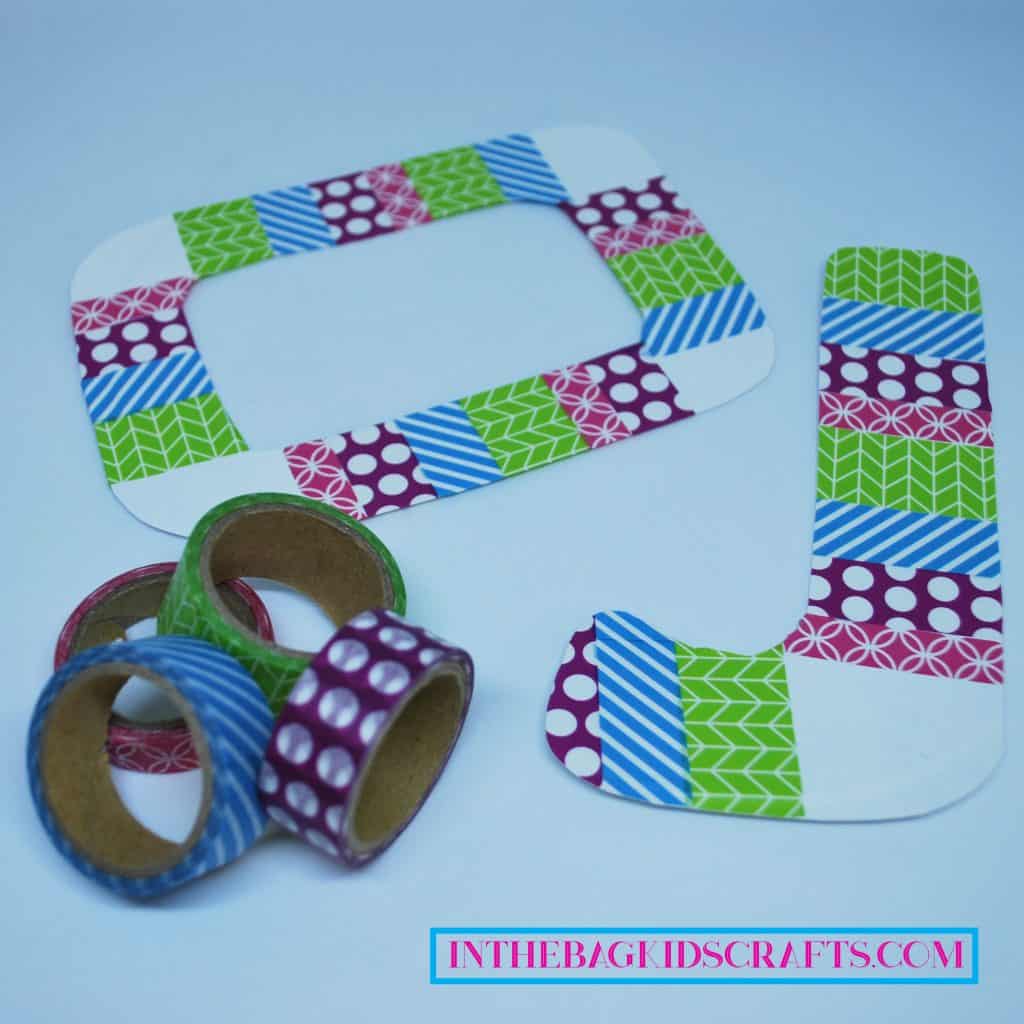
- Decorate each piece with washi tape however you desire
- Not seen: you can also color or paint your goggles and snorkel
Step 3
- Tape a popsicle stick onto the back of each prop
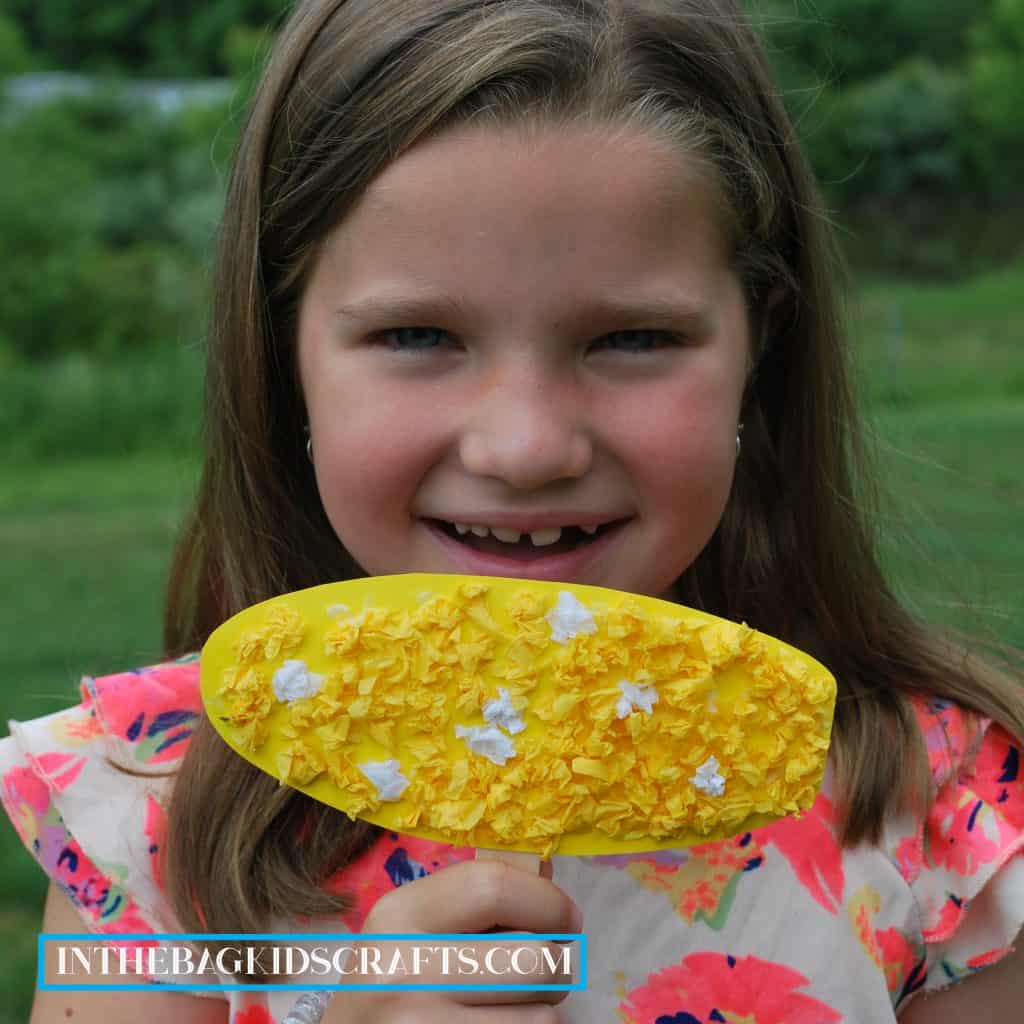
Project 4: Corn on the Cob photo prop
SUPPLIES FROM THE BAG
- Paper plate
- Yellow paint
- Medium pompom
- Clothespin
- Yellow and white tissue paper squares
- Elmer’s glue
- Large popsicle stick
- Scotch tape
- Newspaper (to contain the mess)
- Pencil
Step 1
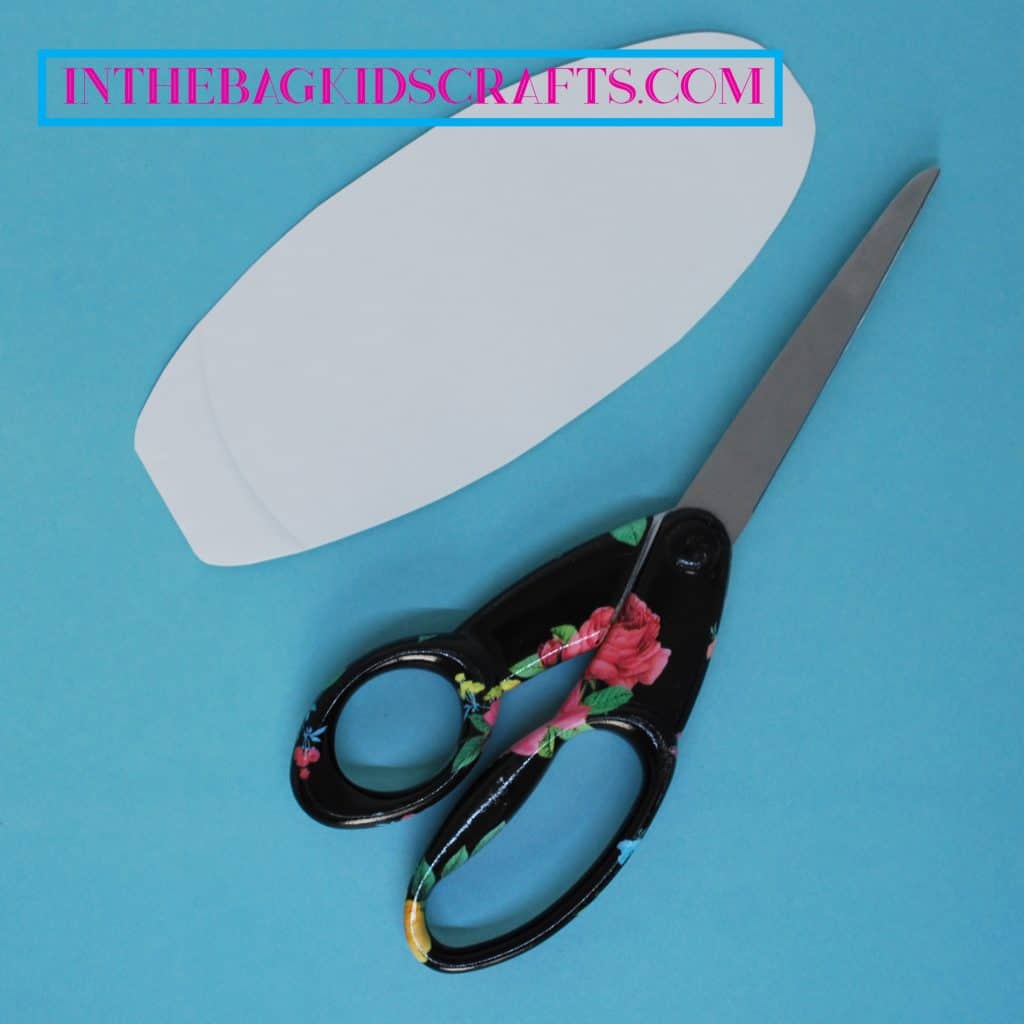
- Draw a long rectangle with rounded corners onto the paper plate. Make it as large as the plate will allow. It should look a little like a rocket ship when you are done.
- Cut out the shape.
Step 2
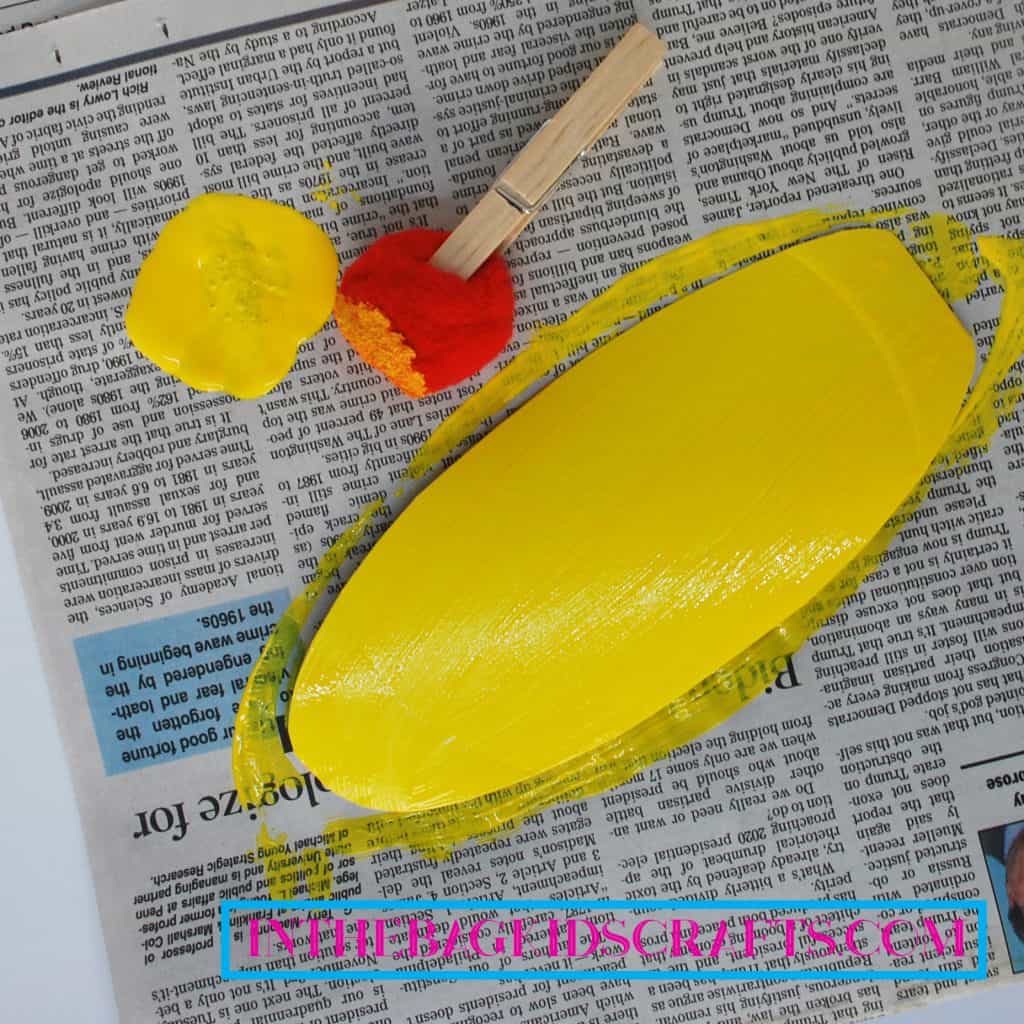
- Pinch the pompom with the clothespin to for a paint brush
- Place the oblong shape on the newspaper to keep from making a bigger mess
- Paint the cut out shape on the back side, covering completely with yellow paint
- Allow the paint to dry
Step 3
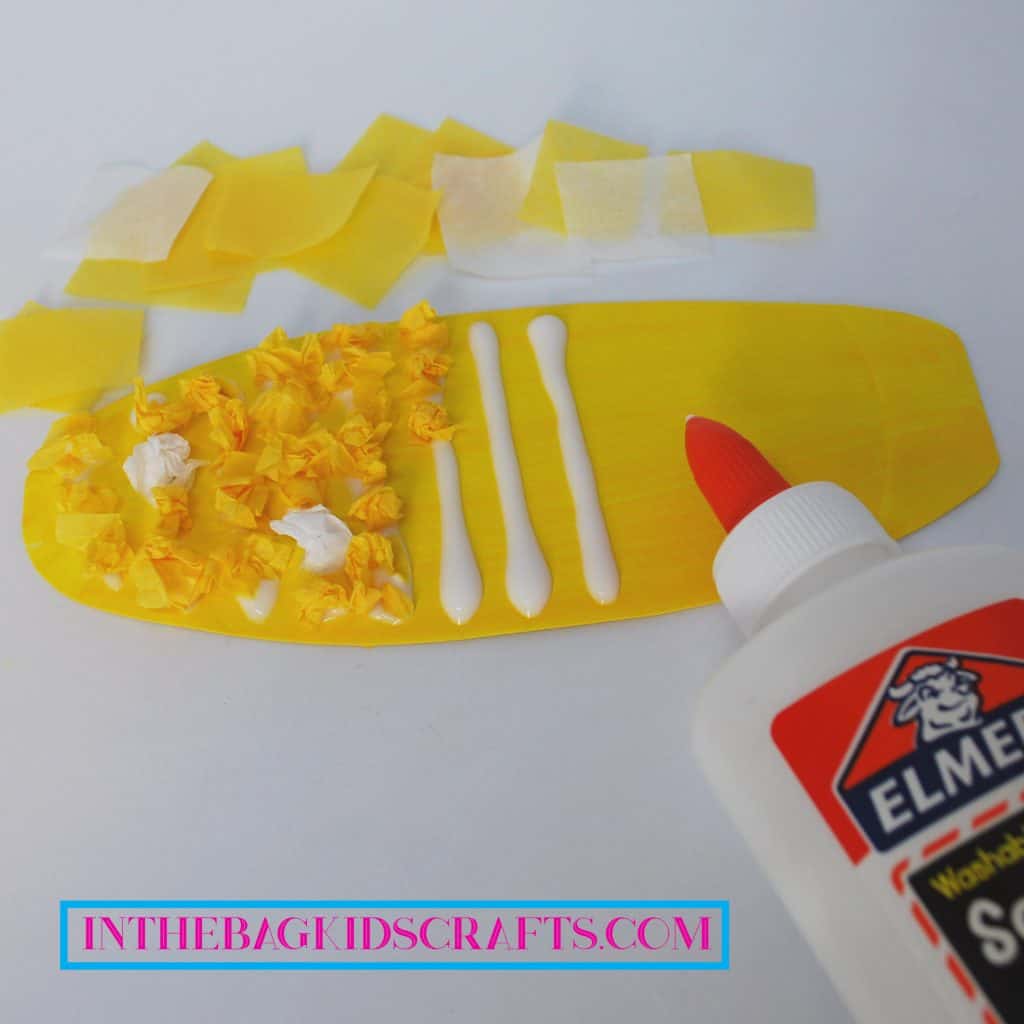
- Squeeze lines of Elmer’s glue on the project as pictured. Work one small section at a time.
- Crumple the small tissue paper squares and randomly place on the glue, one at a time. Use mostly yellow and mix in a little white here and there.
- Allow the glue to dry completely
Fine Motor Coordination
While making this corn on the cob photo prop, there are so many opportunities to work on developmental skills. To start, there is the obvious…your child will be working on fine motor coordination while pinching and placing the small pieces of tissue paper.
Crossing Midline
In addition, you can also take this chance to work on crossing midline. This simply means moving one side of the body into the space of the other side, such as when reaching across the body. This is a foundational skill, and children who struggle with this will often be delayed in reading, writing and other motor activities. (For more information on this subject, check out THIS post.)
It is simple to add practice for this skill to this craft…just place the tissue paper pieces on the opposite side of the hand that your child is using. (eg-if your child prefers to use his/her right hand, place the tissue paper on the left side.) If you notice him/her switch hands so that they don’t have to reach across (which often happens), gently let them know what hand they are to use for this task. You may even need to lightly restrict use of the hand that is not to be used by holding is gently. I often say something like, “No thank you lefty, you get to take a break. Righty is doing this activity.” You get the gist. Keep it fun and light. It should not feel like work.
Counting and Math Skills
Another skill that matches perfectly with this activity is counting. Have your kiddo count as they place the tissue pieces in place or count each line after it is finished. You could even work on addition and subtraction, depending on the level of your children.
Other Skills Promoted
And I think that it goes without saying that your kiddos will be working on social skills, sharing, using their imaginations, problem solving and so much more! as they play with their finished projects.
Step 4
- Tape a popsicle stick onto the back of the finished corn cob, in the center, to use as a handle
Lastly, just have fun taking photos! Allow kids not only to pose and play with the props but also to take the photos of each other. You can just have them use a cell phone camera. For instant gratification, print those cell phone pictures with the Sprocket. This is something that was gifted to me by my mom this Christmas, and it has been just the absolute best. It wirelessly connects to your phone and instantly prints pictures which are 2×3 inches. They are so cute and easy to display or use in projects.
I would love to see how you use your summer photo props and what others you come up with to add to the collection! Please share by adding your pic to the comments, emailing me at hello@inthebagkidscrafts.com or going to the contact page and uploading your pics. I will be sure to add them to the gallery, with credit given, of course. Also, stay tuned for a fun way to display your printed photos (coming soon!)
