Chick Craft (FREE Printable)
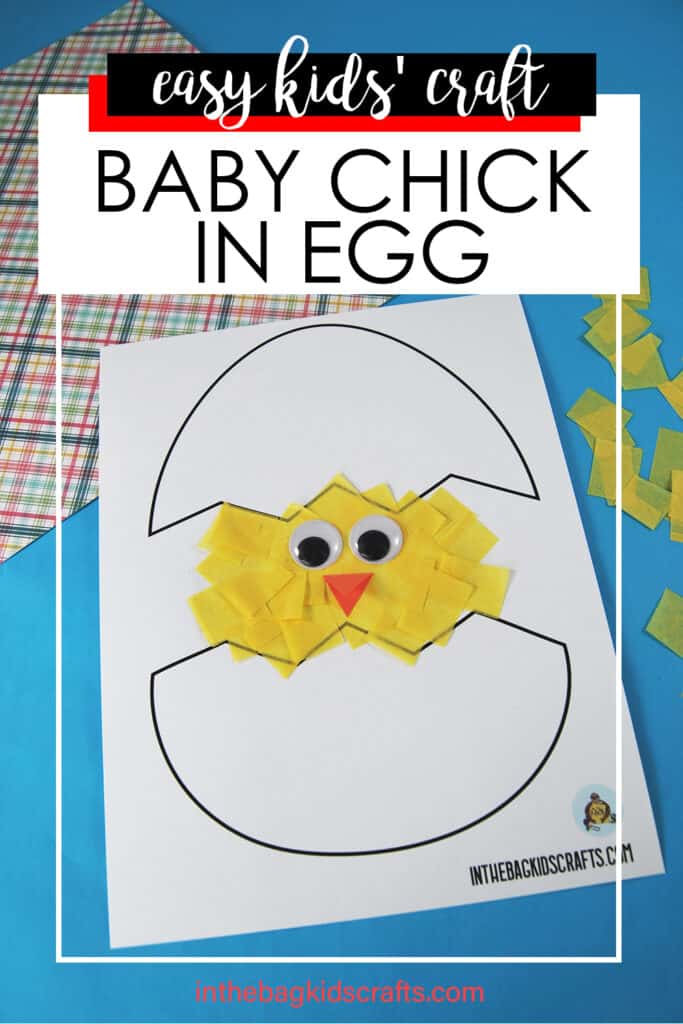
This adorable baby chick craft is fun and simple to make. Use the free printable craft template for even easier crafting. It’s perfect as an Easter craft or a Spring craft and can be enjoyed by kids of any age. Plus, it’s the perfect activity for fine motor fun.
If you like this chick craft, you’re also going to love making this popsicle stick Easter chick, this fluffy bunny craft or this mama hen craft.
Crafting with your kids could not be simpler…or more fun! when using craft flashcards. Get 100 sets today.
Fun Facts about Baby Chickens
- Chickens have a great sense of smell.
- They can see more colors than humans.
- Hens are quite concerned for the well-being of their chicks and become distressed if they think there is danger.
- They have their own language that consists of at least 24 different vocalizations.
- Chickens are living descendants of dinosaurs.
For more interesting facts about chickens, check out this article from Carolina Coops.
All activities require adult supervision. By using this site, you are agreeing to our terms of use. This post may contain affiliate links, which means if you make a purchase through these links, I may receive a small commission at no extra cost to you. Click here to read my full disclosure policy.
SUPPLIES FROM THE BAG
- Yellow tissue paper squares
- Glue stick
- Googly eyes (self-adhesive)
- Scrap orange construction paper
- Scissors
- Printable baby chick template
To make crafting with your kids actually do-able, even when life is hectic, we stick to a master list of craft supplies for everything that we make here. They all fit into one bag so that you can just grab and go. And, if you’re teacher, you’ll know exactly what to have on hand without extra prep each time you want to make something with your students. Just fill your bag, and you’re ready to craft away.
Save this Baby Chick craft for later. Pin it to your favorite Pinterest board…
How to make a Chick Craft (Option 1)
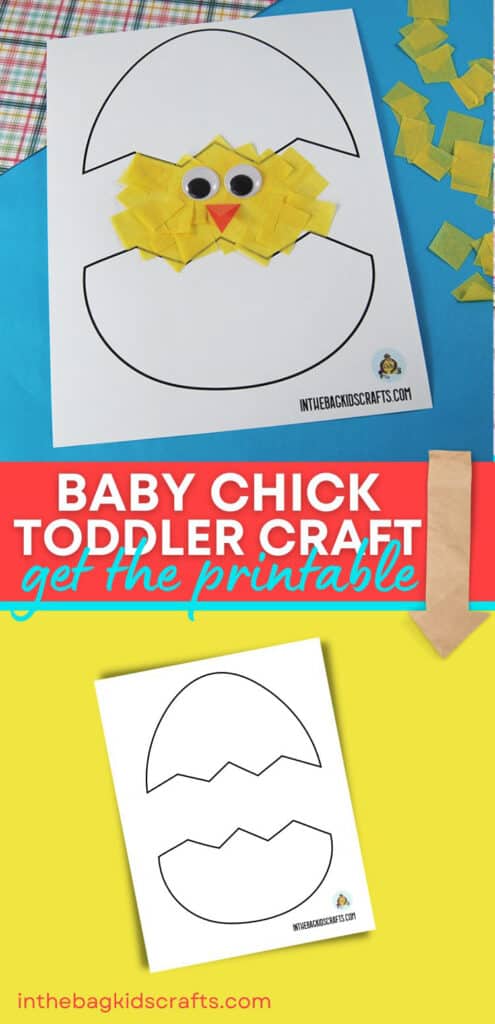
Step 1: Print the Chick Template
- Download and print the egg template for your chick craft.
- For best results, print onto cardstock or white construction paper.
*If you do not have access to a printer, draw the top and bottom sections of a broken egg, with a 4 to 5 inch space in between, onto a piece of white construction paper.
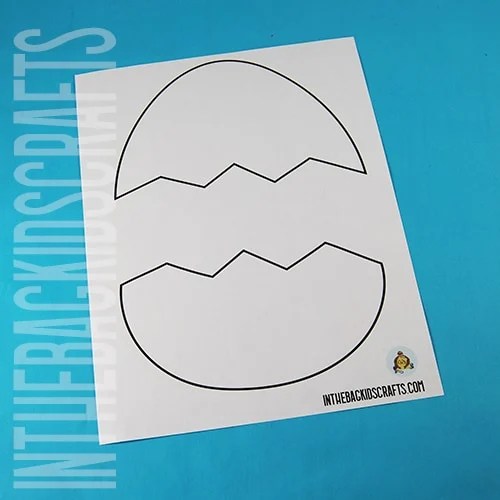
Step 2: Make the Baby Chick
- Use your glue stick to fill in the section between the top and bottom of the egg, leaving about an inch on each side without glue.
- Adhere yellow tissue paper squares (about 1 inch squares) to the glue. This is the face of your chick.
*You can also choose to use snipped or torn pieces of yellow construction paper for this step. This adds another way to practice early scissors skills (if snipping strips of paper) or fine motor skills (if tearing strips of paper).
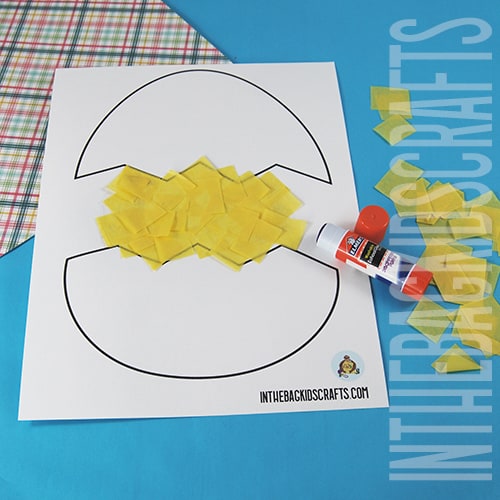
Step 3: Finish Off Your Spring Craft
- Fold a scrap of orange construction paper in half and cut a small triangle for the beak of your chick.
- Glue the beak in place.
- Apply googly eyes to your chick craft.
*If you prefer, you can use our printable paper eyes in place of googly eyes.
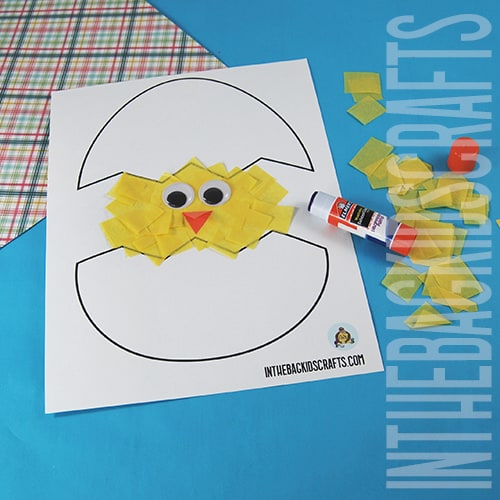
If you’d like to make this more of an Easter craft, you can also decorate the egg. Just use markers or crayons (or anything that you have on hand).
Check Out This Quick Baby Chick Craft Video Tutorial
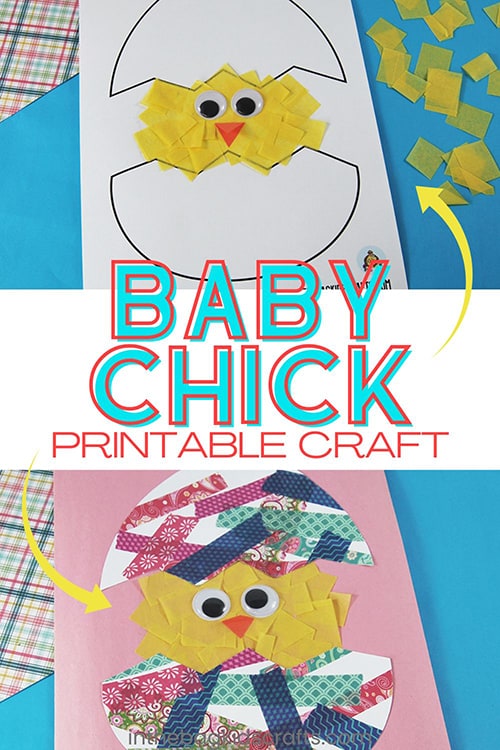
How to Make an Easter Chick Craft (Option 2)
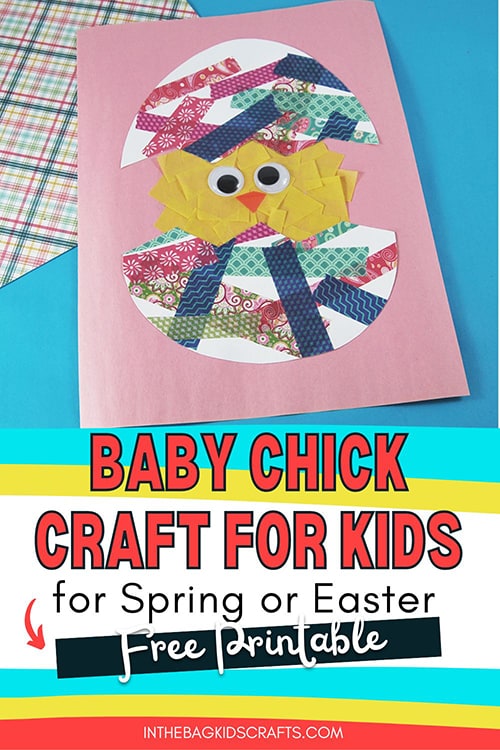
Version 2 of this baby chick craft is a little more complex (though still somewhat simple) and adds a little more Easter flair. Plus, we’ll be using one of my absolute favorite crafting supplies…washi tape! If this is new to you, washi tape is just patterned paper tape. It comes in a million different colors and designs and is inexpensive…so you can buy lots!
SUPPLIES FROM THE BAG
- Construction paper
- Glue stick
- Yellow tissue paper squares
- Googly eyes
- Scrap orange construction paper
- Scissors
- Washi tape
- Chick Craft Template
Again, you’ll see that all of these items are part of the master list of supplies that we use for every single craft on this site and in our shop. Just fill your bag and craft along!
Step 1: Make the Chick
- Choose a piece of construction paper, color of your choice.
- In the center, use your glue stick to create a circle that is about 5 to 6 inches around.
- Apply pieces of yellow tissue paper to the glue to form a the body of your chick.
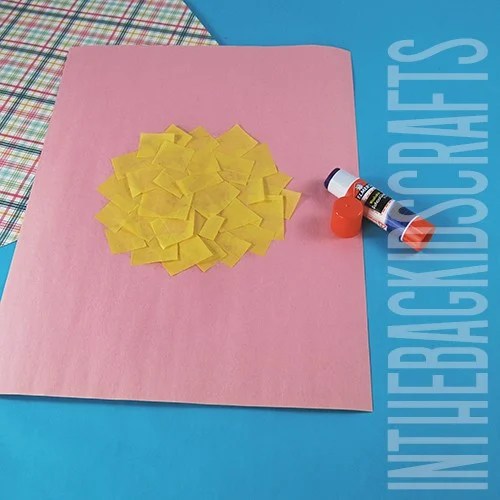
Step 2: Use the Free Craft Template
- Download and print the egg template. For best results, print it onto cardstock or white construction paper.
- Turn the printable over to the back and cover it in washi tape. This can just be a random pattern or something more organized.
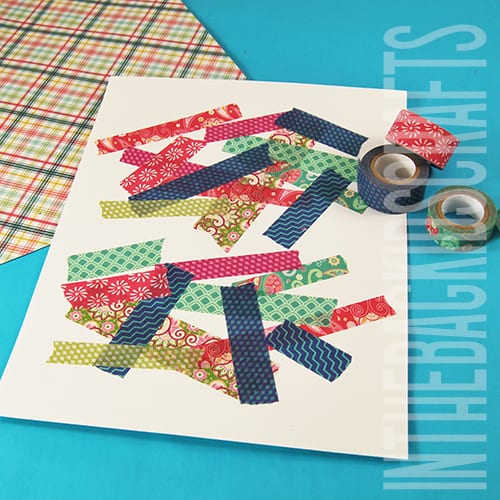
Step 3: Cut Out the Egg
- Once you are done decorating your egg with washi tape, cut out the parts of your broken egg.
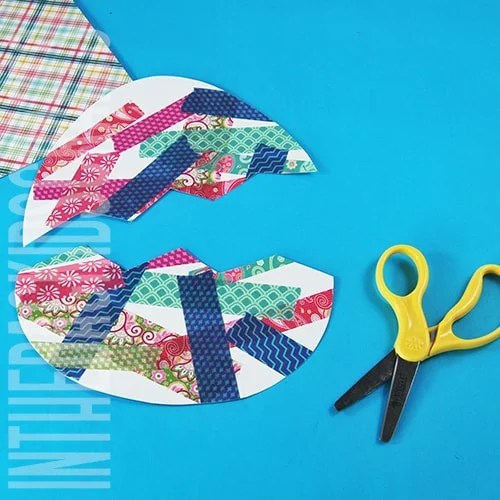
Step 4: Put Together Your Easter Craft
- Again, use the glue stick to adhere the parts of your egg to your baby chick craft, with the top of the egg just overlapping the top of the yellow tissue paper circle and repeating this with the bottom half.
- Fold a small piece of orange construation paper in half and cut a small triangle for the beak.
- Glue the beak in place.
- Adhere the googly eyes.
*If you prefer, you can use our free printable paper eyes for this step instead.
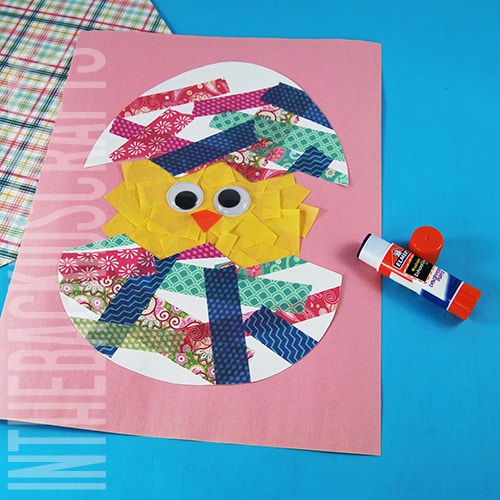
Now that you know how to make this chick craft, hang it up for a fun DIY Easter decoration. Or you could even laminate these and use them as table placemats. Wouldn’t that make a festive holiday table?
Save this Fine Motor Activity for later. Pin it to your favorite Pinterest board…
