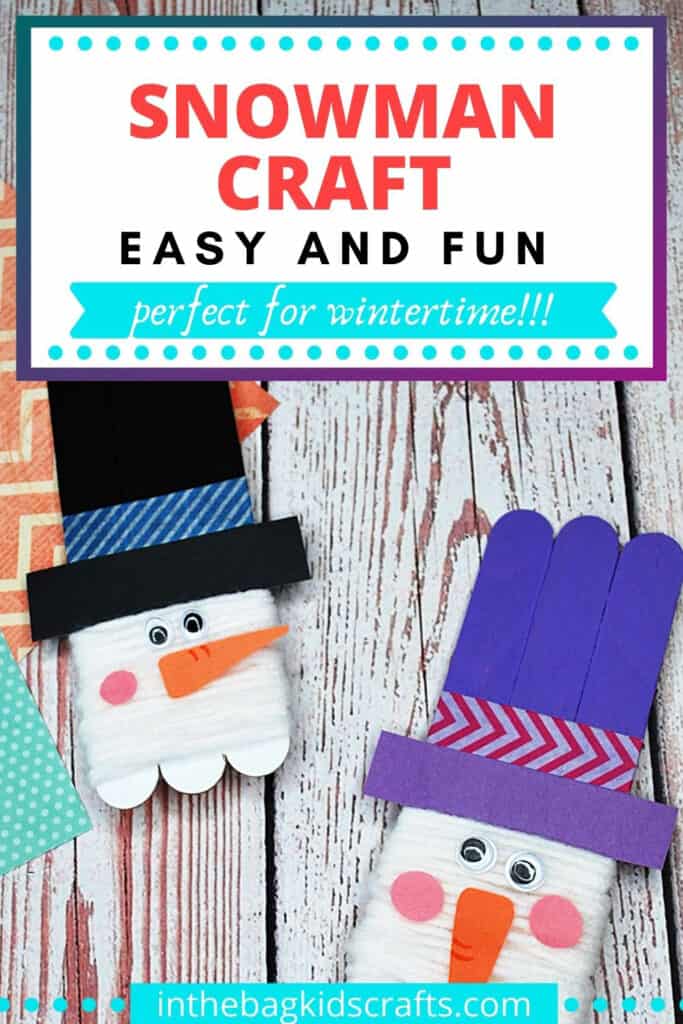
Arts and Crafts Snowman for Kids
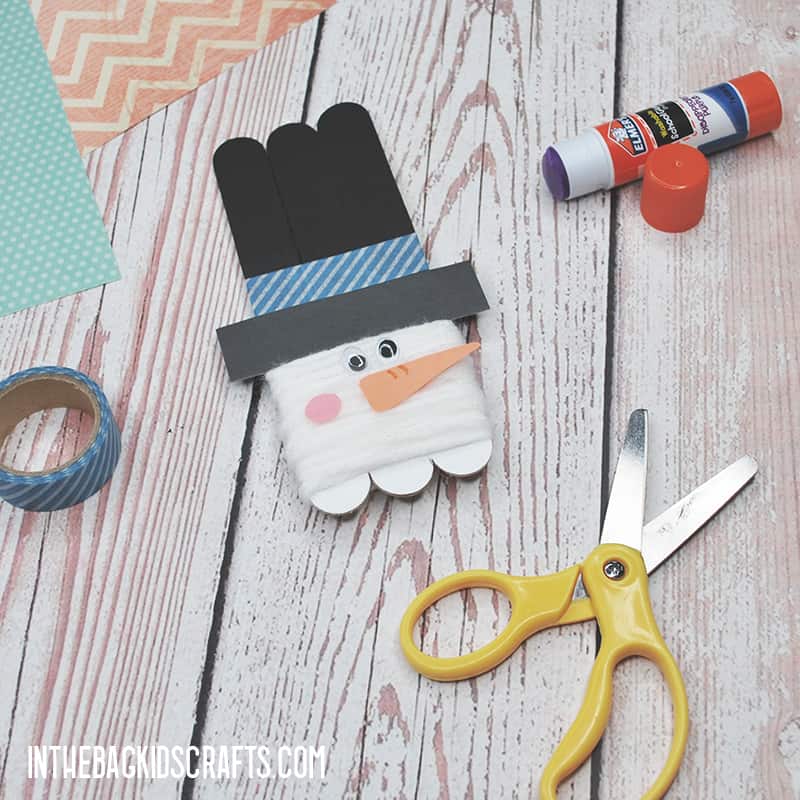
This arts and crafts snowman is so fun and simple to make. But not only that…it is also a great way for kids to practice coordinating their hands together (bilateral coordination activities) and one of the truly fun hand eye coordination activities. With just a few supplies you have the perfect winter craft for kids to make the next time you are all snowed in together. And just because my snowman looks a certain way, don’t put any limitations on your imagination. Your snowman should reflect your unique personality. Switch up this snowman craft for kids by switching out colors, add more details, play with his snowy face…whatever you want because this is YOUR creation!
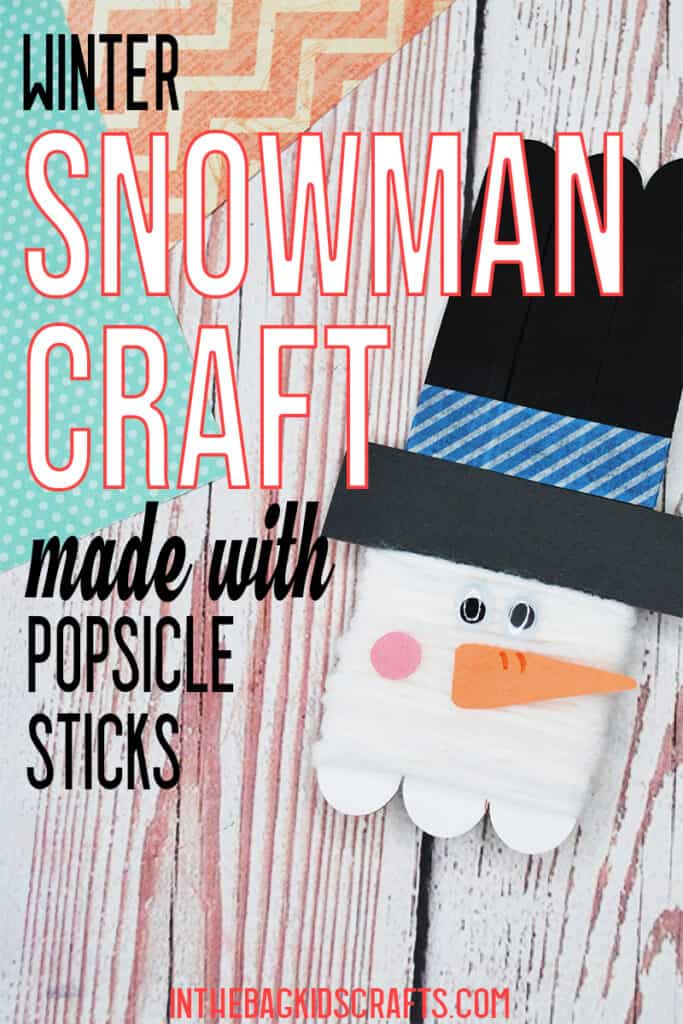
Save this Snowman Craft for Kids for later. Pin it to your favorite Pinterest board…
This post contains affiliate links, which means if you make a purchase through these links, I may receive a small commission at no extra cost to you. Click here to read my full disclosure policy.
SUPPLIES FROM THE BAG
- 4 Large popsicle sticks
- Elmer’s glue
- Glue stick
- Black and white paint (or colors of your choice)
- Scraps of black, pink and orange construction paper
- 2 Small googly eyes
- White yarn
- Scotch tape
- Washi tape (pattern of your choice)
- Scissors
- Clothespin
- 2 Medium pompoms
- Newspaper
I want to let in on a little secret (well, it’s not much a secret since I talk about it all the time…hah). Every craft that you see here on this site is made from the same list of supplies…a basic list of 27 items which are inexpensive, easily obtained, kid-friendly and fit into one bag. This may seem like it limits our creativity, but I have found it so freeing not to have the distractions of crafts cluttering up my space. Just imagine what you can make too!
Step 1: Build the Foundation for your Snowman Craft
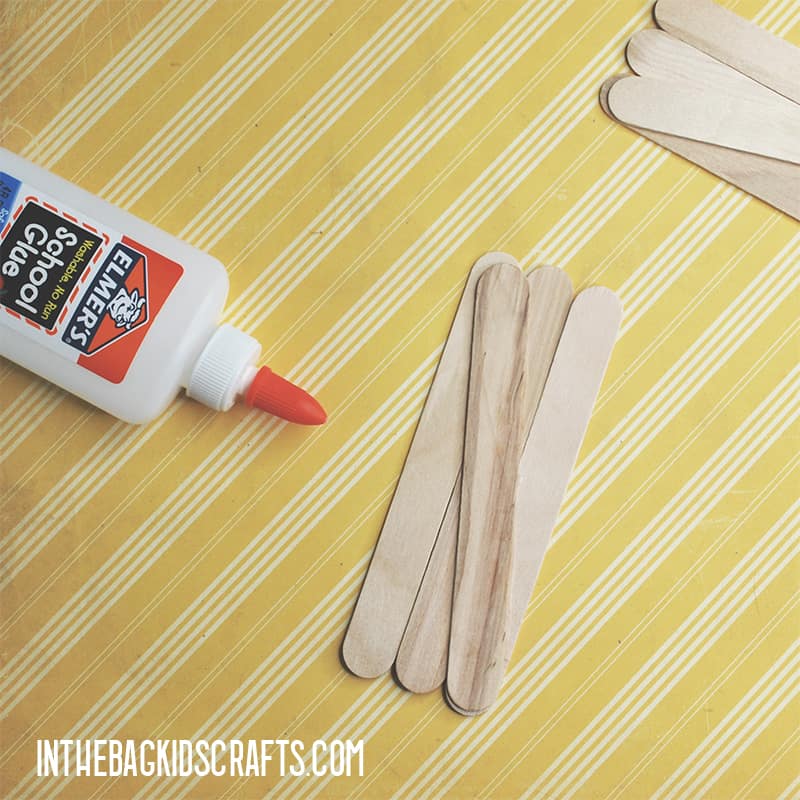
- Place 3 of the large popsicle sticks side by side in a row
- Then put some Elmer’s glue on the fourth popsicle stick and lay it diagonally across the other three
- Put it aside and give the glue some time to dry. If the popsicle sticks start to bend due to the moisture from the glue, place something heavy on top until the glue dries.
Step 2: Paint
- Once the glue has dried, place the popsicle stick creation on newspaper that is laid out on the table.
- Squeeze out a small amount of white and black paint onto your newspaper
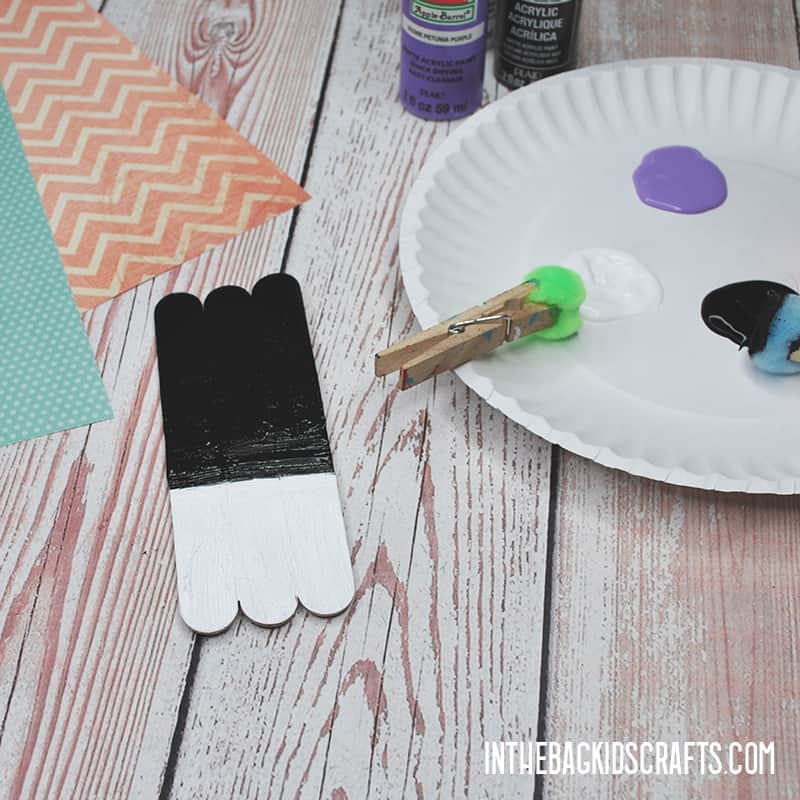
- Pinch a pompom with the clothespin to form a “paintbrush” and use it to paint the top 2/3 of the popsicle sticks black. This will be the hat of your snowman.
- Repeat the process with your clothespin and a clean fresh pompom and use it to paint the bottom 1/3 white.
- Again, set the craft aside to let the paint dry.
Step 3: Put the Snowman’s Hat Together
- Cut a strip of black construction paper, just a little wider than your popsicle sticks and about 1/2″ high
- Glue the strip in place where the black and white paint meet. This is the brim of your arts and crafts snowman hat.
- Choose a washi tape and adhere it just above the hat brim to make a colorful hat band.
Step 4: Wrap the Snowman’s Face
- Now you will tape the end of your white yarn to the back of the popsicle sticks, toward the bottom.
- Wrap the white yarn around and around the bottom section until your arts and crafts snowman is plenty frosty
- When it looks the way you want, snip the end and secure it to the back of your project with a piece of tape.
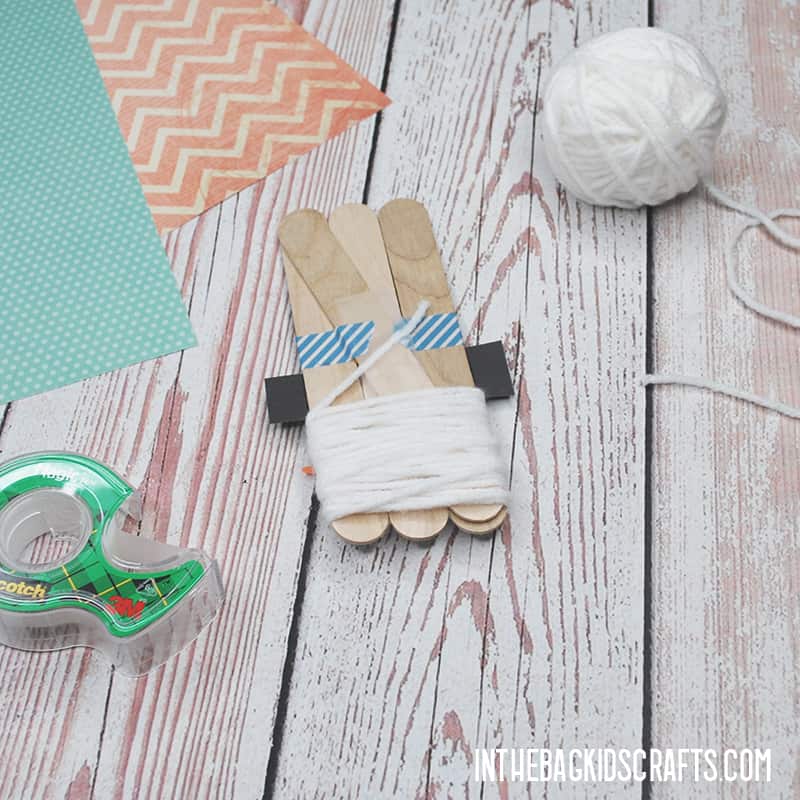

Wrapping yarn around and around our snowman is a great bilateral coordination activity. The hands will need to work together in order to cover the snowman’s face. This may seem like a small thing, but well developed bilateral coordination is essential for so many daily activities, like eating without making a big mess, washing our hair, playing games, and so much more! Crafting is a great way to further develop this skill. Check out these other crafts at inthebagkidscrafts.com that are also good for working on bilateral coordination.
Step 5: Finish with Some Details
- From your scraps of paper, cut an orange carrot nose and pink rosy cheeks.
- Glue then in place with your glue stick (using Elmer’s may cause the paper to bleed)
- Finally, add some googly eyes
Some Activities to Do During Your Craft Breaks
You probably noticed that there are a couple of times where a little patience is needed during this craft. First there is wait time for the glue to dry and then waiting again while the paint dries. My first suggestion is to do the gluing the day before and to just let it sit overnight. Make several so that you can create a group of snowman crafts when it is time to create the next day. Another thing to do is break for lunch or a snack. You can also take a little walk outside, swing, build with legos, play with some play dough…so many options!
This snowman craft for kids is great for preschool, kindergarten and elementary kids. Here is another idea…Paint an ‘S’ on the hat and turn this into a fun S is for Snowman craft for your preschooler. If you are going to do this, you may want to glue the popsicle sets together the day before and have them ready for your kiddos to decorate. You could even use paint sticks instead of regular paint if you have them on hand (though these are not on our master list of supplies that we use).
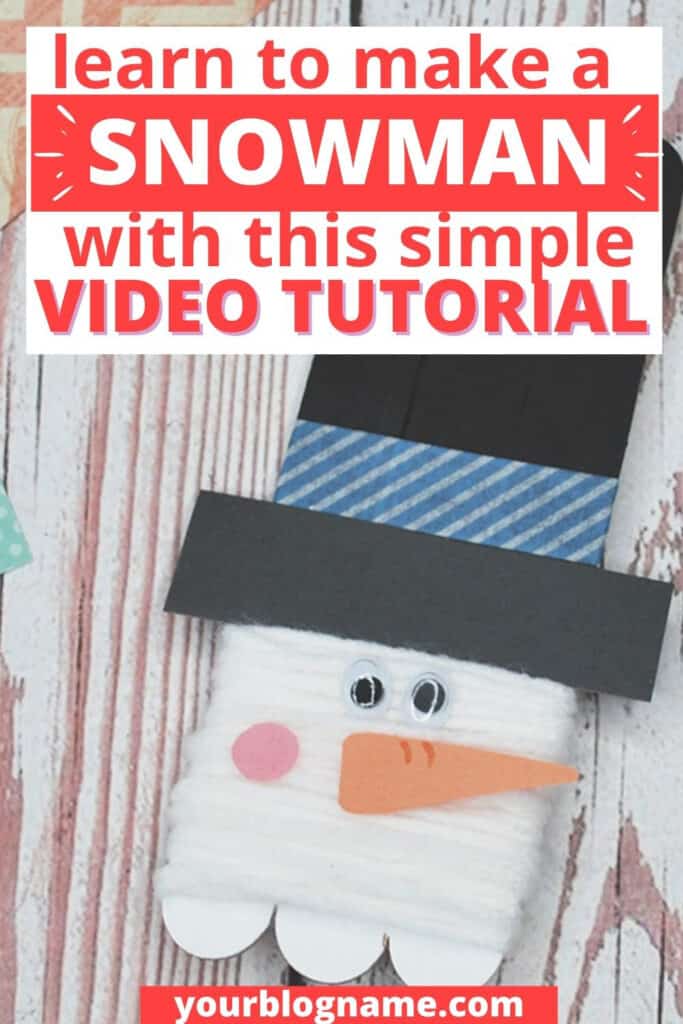
Follow the video tutorial for this Arts and Crafts Snowman
Save this Snowman Craft for Kids for later. Pin it to your favorite Pinterest board…
