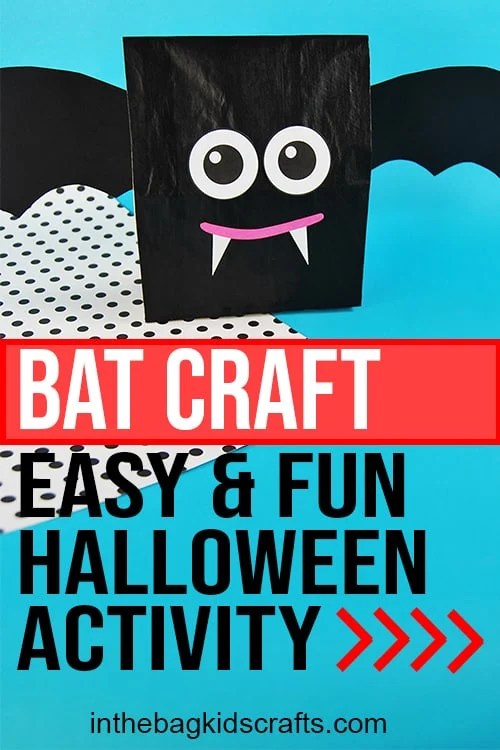
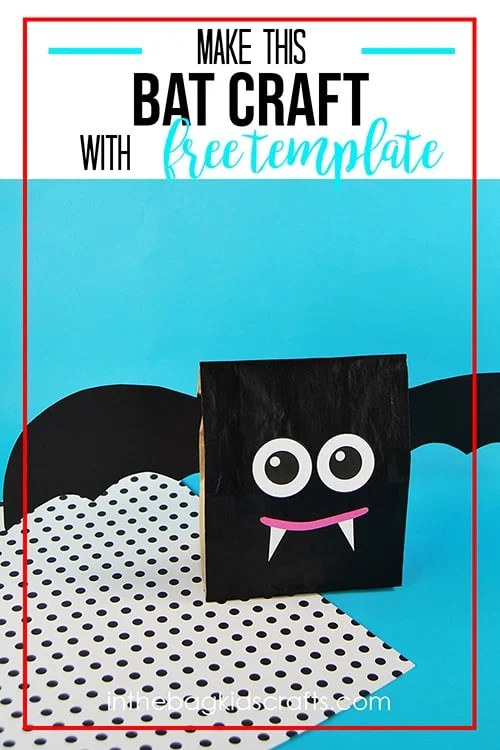
Bat Craft for Kids (with FREE Craft Template)
This bat craft for kids is so simple to make and starts with a basic item you probably have in your house right now…a paper lunch bag. And if you don’t have any, now’s the time to stock up. It’s one of the items that we use often and is part of our master list of supplies that we use for every craft that we make here. Keep scrolling to learn even more about our “in the bag” system.
Once you’re done making this paper bag craft, you can play with it, create a game with it (like trying to knock them over with a paper ball) or use it as a DIY Halloween decoration.
And if you like this Halloween bat craft, you’re going to love this black cat craft, this easy mummy craft or this ghost craft.
Nourish Your Relationship with Your Kids as You Craft Together all Year Long…
Fun Facts about Bats
Bats are truly fascinating animals. Here are a few of our favorite fun facts about bats for you to enjoy.
- Bats use something called echolocation, which are high-pitched sounds, to find their food even when it’s totally dark.
- The Mexican free-tailed bat may be the fastest animal on earth, with speeds recorded of up to 100 mph.
- Baby bats are called pups.
- The world’s largest bat is called the flying fox and has a wing-span of 6 feet.
- Bats are great pollinators and help spread seeds for nuts, figs and cacao, which chocolate is made from.
*For more interest facts about bats, check out this article from National Georgraphic Kids.
All activities require adult supervision. By using this site, you are agreeing to our terms of use. This post contains affiliate links, which means if you make a purchase through these links, I may receive a small commission at no extra cost to you. Click here to read my full disclosure policy.
SUPPLIES FROM THE BAG
- Paper lunch bag
- Newspaper
- Black paint
- Construction paper
- Scissors
- Glue stick
- Googly eyes (or printable paper eyes)
- Pompom
- Clothespin
- Stapler with staples
- Bat craft template
You’ll notice that all of the items on this supply list are part of the 27 things on our master list that we use for every single craft project on this site and in our shop.
A lot of these things you already have on hand, like scissors, glue, stapler, etc…and a few you’ll likely have to purchase. But, I promise, that it’s totally worth the investment to have a bag ready to go so that you can craft with your kids any time…anywhere. We created this system so that you can get right to the crafting. And we’ll give you all of the kids’ craft ideas that you could ever need. What are you waiting for? Fill your bag and craft along!
Combine Reading with Crafting
One of the absolute best ways that you can enhance the creative experience is to add reading a good book to your kids activity. Here are a few of our favorite books about bats for kids.


Save this Easy Bat Craft for later. Pin it to your favorite Pinterest board…
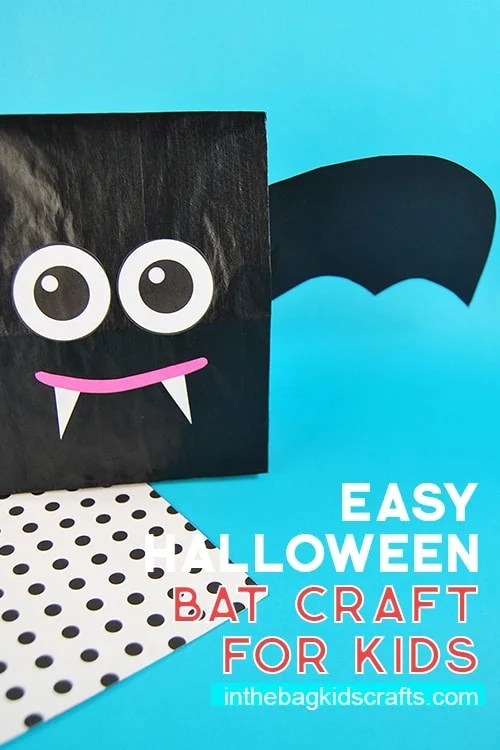
How to make a Bat Craft for Kids
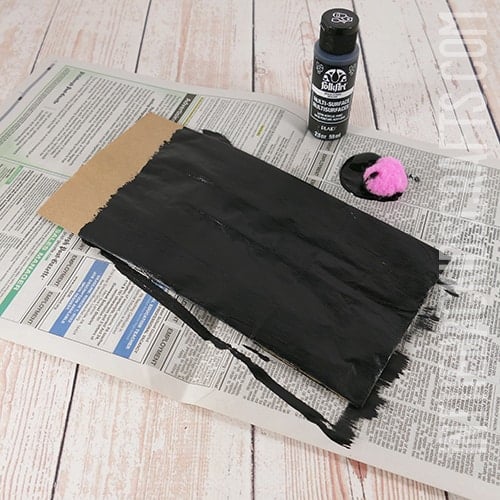
Step 1: Paint the Bag
- Lay out some newspaper on your crafting surface.
- Place the paper bag on the newspaper with the opening at the top.
- Pinch a pompom with a clothespin to form a “paint brush”.
- Then paint the front of the paper bag black. You can leave the top 1 to 2 inches unpainted.
*Use a think layer of paint so that it dries quickly. And if you really want to skip the mess of paint, just use crayons or markers for this step instead.
Step 2: Use the Bat Craft Template
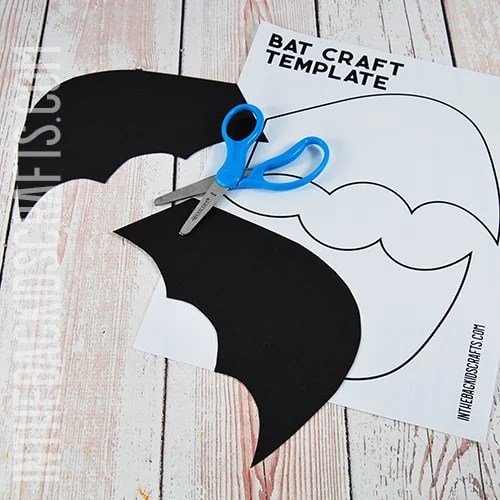
- Download and print the free bat craft template
- Use the template to cut out the wings of your bat from black construction paper.
*If you do not have access to a printer, simply draw the bat wings and cut them out. You can use the picture for a reference of how it should look.
Step 3: Create the Face of Your Bat Craft for Kids
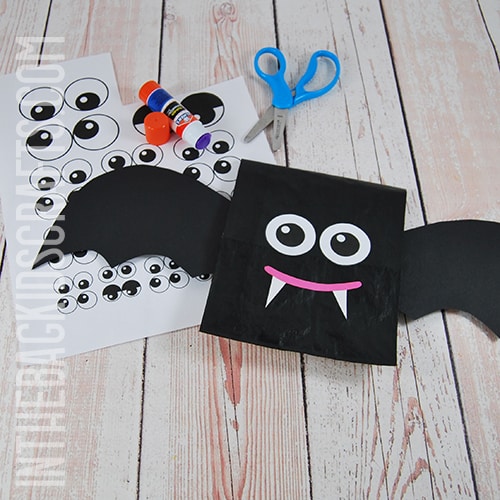
- Create the bat’s mouth by cutting out a smile and some fangs.
- Then glue them in place using your glue stick.
- Next add his eyes. You can either use googly eyes or print out and glue on paper eyes.
- Glue the wings onto the back of the bag, being careful not to glue it on top of the folded down part of the bag.
Step 4: Stuff Your Paper Bag Craft
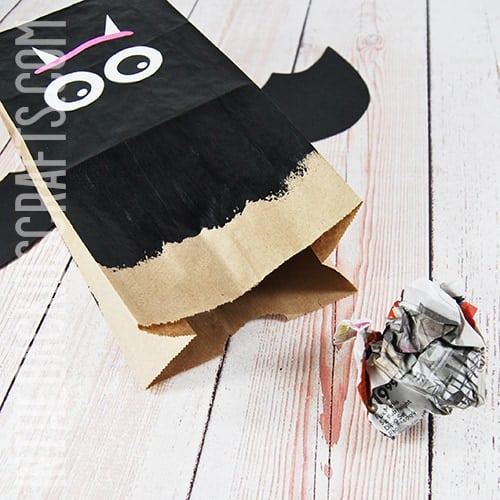
- Tear strips of newspaper and crumple them into balls.
- Open up the bag fully and start placing the crumpled newspaper balls in the top one at a time.
- Fill up the bag with stuffing but be careful not to over-stuff it.
Step 5: Finish It Off
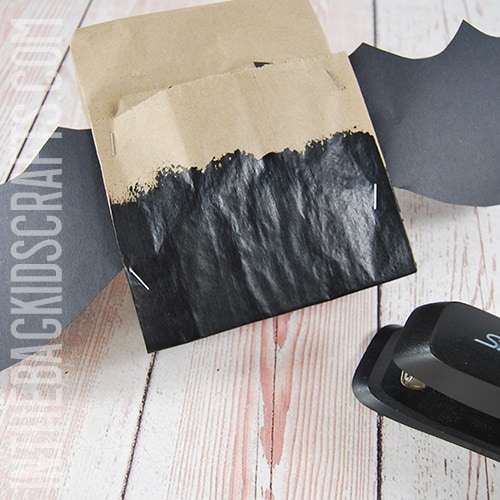
- Once the bat craft has been stuffed, fold the top back over.
- Secure the flap in back with a couple of staples on each side.
Now that you know how to make this easy bat craft, it’s time to really make it your own. We stuck to traditional colors for our bat, but maybe you’d like yours to be pink or silver or rainbow colored. You can also add other details, like rosy cheeks, bows, have him holding something like a pumpkin…or whatever you can think of! The only limit is your imagination.
You can also follow this link to make this flying paper plate bag craft…
Save this Halloween Bat Craft for later. Pin it to your favorite Pinterest board…
