Decorative Pencils Simple Kids’ Craft DIY
I always have the most fun when there is not really a plan. For example, my idea of the perfect vacation is going to a remote destination with little to no agenda. Alarm clocks are not allowed, and no one is on a schedule. Of course, you want to know what your options are in the area for adventuring so that when you are ready to go exploring, you can get right to it. But then I want to just be with my family and go where the day takes us. Sometimes I approach crafting the same way. I start with my bag of goodies and just see where it takes me. For this particular project I decided that the pencils which were in the bag might benefit from some sprucing up. After all, we are going to be making good use of them, and they might as well be pretty. So, I am going to show you the things that I did with mine. You can feel free to use these as a starting point. But please, please, PLEASE do your own thing. This is all about you. Dig into your bag and just go nuts!
In case you keep wondering to yourself, what does she mean by “the bag”. Please check out the tab in the menu which says “fill your bag”. There you will find a list of all of the things that I recommend you put in your bag (Ok, it doesn’t have to be a bag…it can be a container, or a box, or a suitcase, or a cabinet…wherever you choose to stock your supplies). As long as you keep the things from the list on hand, you will be able to craft along with every single project in this blog. And I mean EVERY SINGLE ONE!
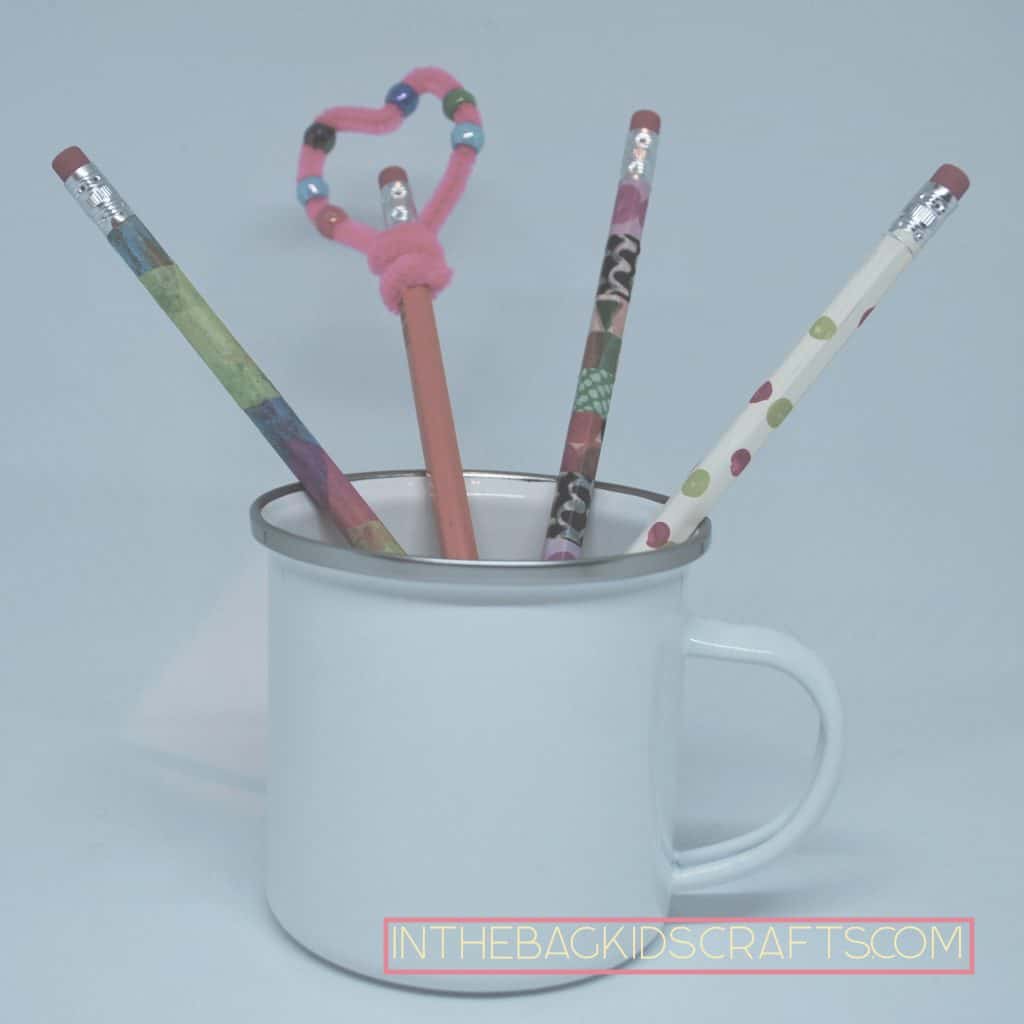
IDEA #1: Washi Tape Decorative Pencil
For this project, all you need is the pencil and some washi tape. I chose apply my washi tape in rows, but you can wrap one around, use ripped pieces, or zig zag a combination of patterns. Really, there is no limit. I picked this set of washi tape up recently at Joanne’s. If you like it, you can find this collection on Amazon HERE.
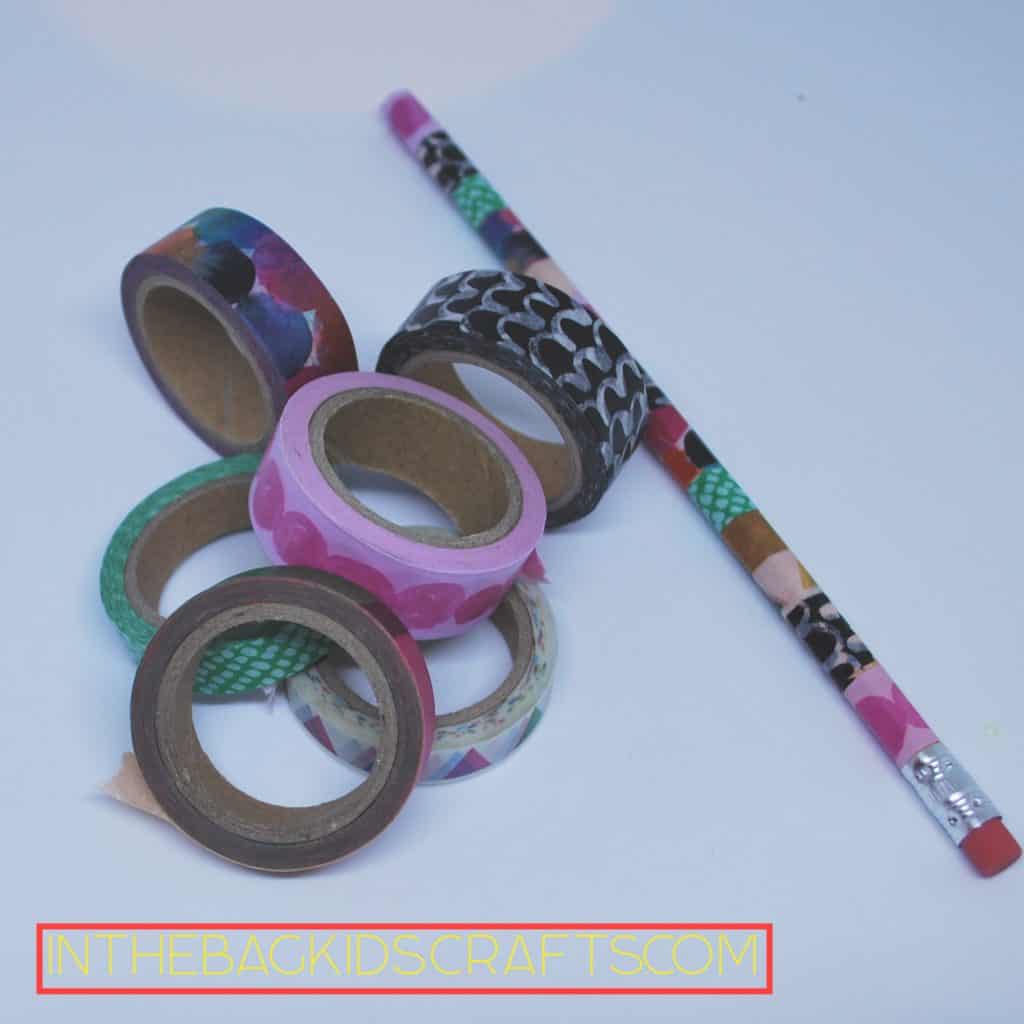
IDEA #2: Painted Pencils
Paint is always an option…Remember, since there is no paint brush in the bag, you can use a q-tip, a pencil eraser or a pompom pinched with a clothespin to make a faux paint brush. For this project, I used a pompom to paint the base coat. Allowed that to dry. And then applied polka dots using a q-tip. You can paint any pattern that you would like. A tip for paints…if you only want to keep a few basic paints on hand, start with black, white, royal blue, red and yellow. From those colors you can mix until you have just about any color on the planet (and beyond).
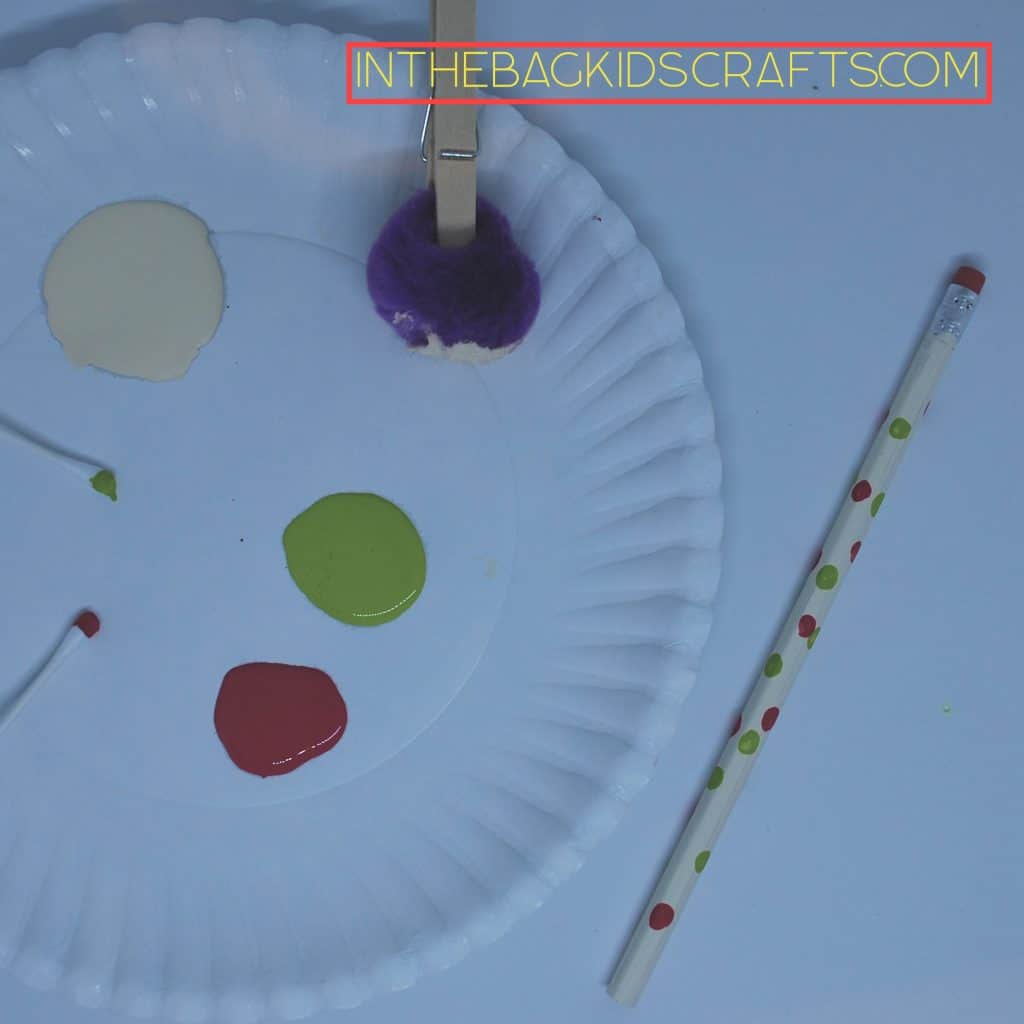
IDEA #3: Tissue Decoupage Decorative Pencil
When filling your bag, be sure to have a variety of sandwich baggies filled with colorful tissue paper squares. They will come in handy for so many projects!!! In this case, I used the glue stick to layer on 3 different colors of tissue paper to form a kind of mosaic look. You might choose to start with a layer of tissue paper and then glue on some beads or mini pompoms. Or maybe you will twist a pipe cleaner around the pencil…the possibilities are endless.
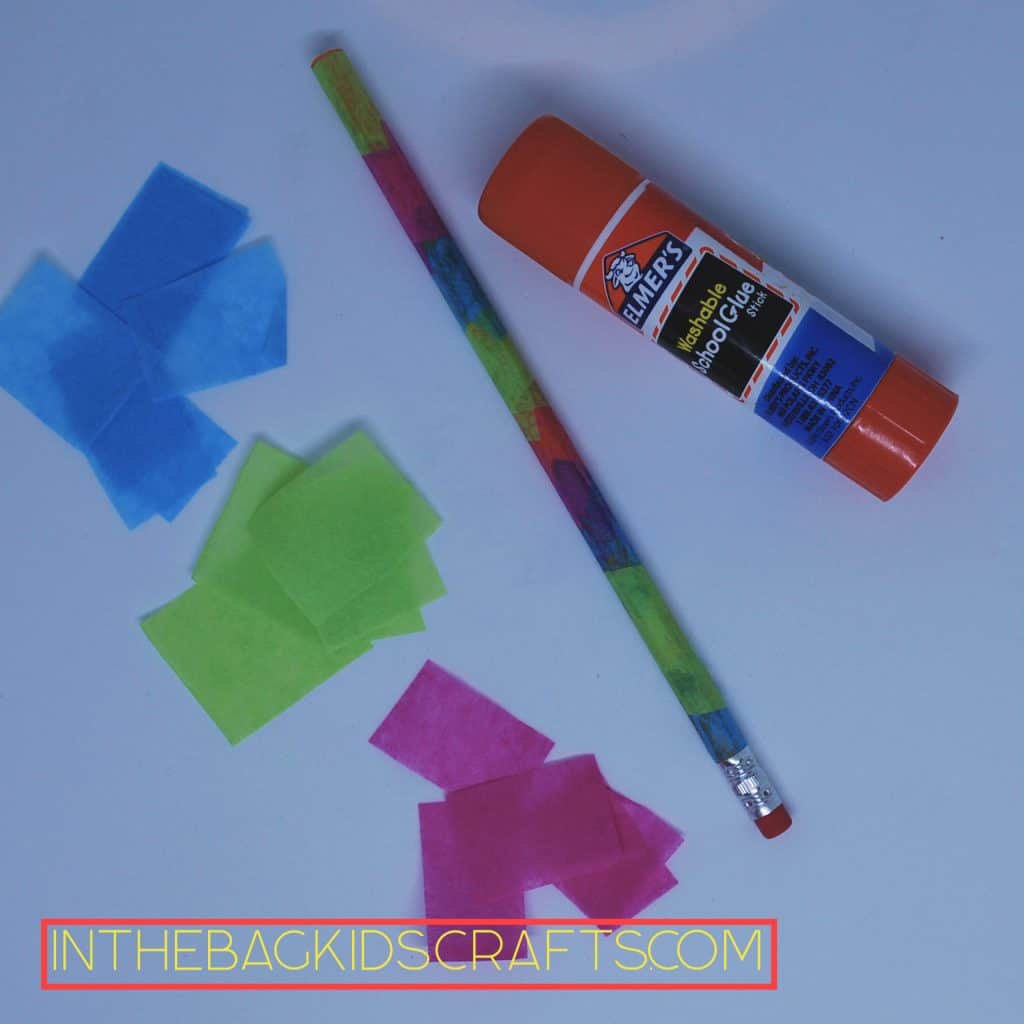
Now that you have seen a few of my ideas, I want to see your ideas! This is just the tip of the iceberg. Please email me at inthebagkidscrafts@gmail.com or go to the contact page on this blog to share your creations. I would love to post them in the gallery (with credit given, of course). Really get those creative juices flowing. There are not bad ideas here.
I made these pencils during a Facebook live event which you can check out HERE.