Easy Paper Mushroom Craft for Kids (FREE Printable)
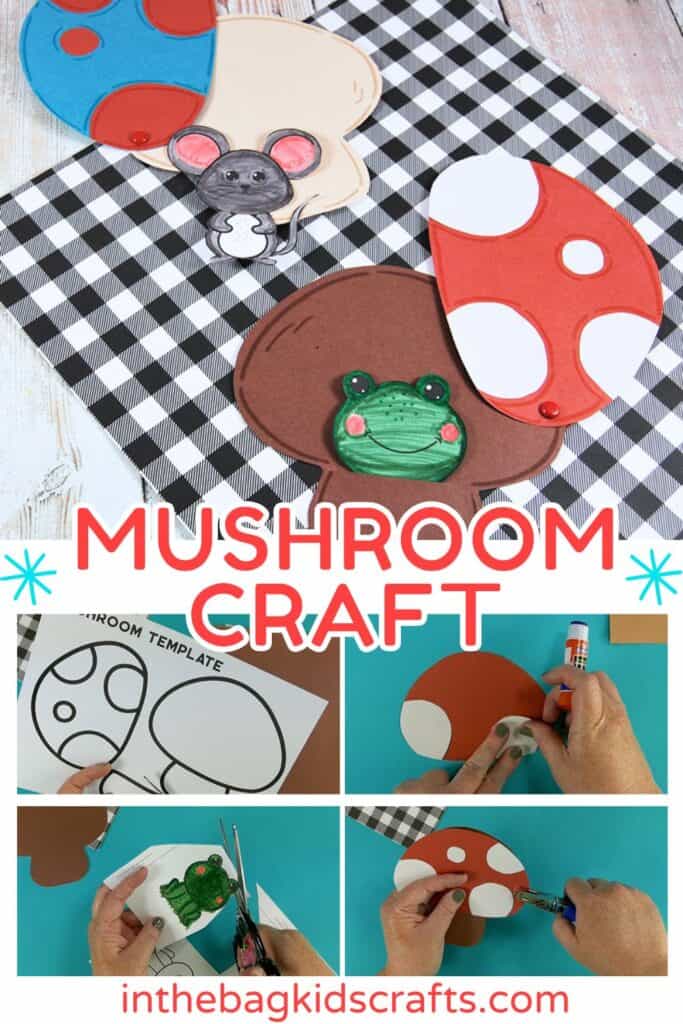
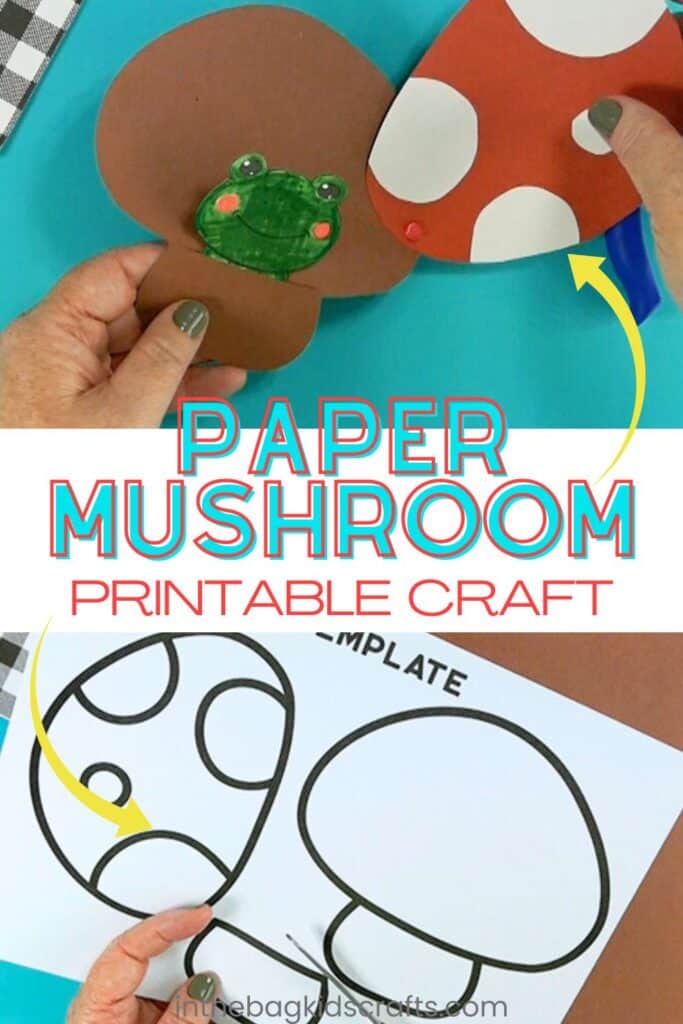
This easy paper mushroom craft contains a sweet surprise inside. The free printable includes not only a mushroom template, but also a couple of little critters to hide inside your mushroom. We’ll show you how to make these little mushroom houses with the simple step-by-step instructions below.
I bet you’ve never heard of craft flashcards…Of course you haven’t…because I totally made it up 🙂 As a pediatric Occupational Therapist, I’ve witnessed kids struggle to complete multi-step activities. So, I came up with this brilliant (if I do say myself) way to break down crafts into bite-sized pieces in the form of flashcards.

These are especially perfect for those kiddos who have limited attention spans.
Crafts are such a great developmental tool for kids (improves motor planning, attention span, executive functioning, fine motor skills, language development and more), and using flashcards makes planning crafts for your kids to enjoy even easier.
Just print out a few of your favorites onto cardstock, cut them into the cards with a hole in the corner and place them on a keyring that you can connect to your craft supply bag (which you can fill using our master list of supplies that we stick to for every single one of the projects in the flashcard collection). It’s so simple.
And the best part is that there’s not a screen in sight. Technology is such a great thing, but it’s also nice to take a break from it once in awhile and let the brain explore in other ways. Click the image to learn more about our collection of 100 Craft Flashcards for Kids.
Fun Facts About Mushrooms
- Mushrooms are also called toadstools
- Since mushrooms are a fungus, they don’t require sunlight to grow.
- Mushrooms are made up of about 90% water.
- Portabellas have lots of potassium, even more than a banana.
- They can also be a good source of vitamin B.
- There are 30 species of mushrooms that actually glow in the dark through a reaction called bioluminescence.
For more interesting facts about mushrooms, check out this article from Science Kids.
Save this Forest Craft for later. Pin it to your favorite Pinterest board…
All activities require adult supervision. By using this site, you are agreeing to our terms of use.
How to make an Easy Mushroom Craft
This tutorial will take you step-by-step through how to make a simple paper mushroom craft. But keep in mind that it’s only meant to be a starting place. Your craft should not look exactly like the one here. Add your own personality and flair to the project. The only limit is your imagination.
SUPPLIES FROM THE BAG
- Construction paper
- Scissors
- Glue stick
- Hole punch
- Metal brad
- Crayons or markers
- Mushroom template
Crafting with your kids is an opportunity to create memories that you’ll cherish forever. But there are lots of obstacles in the way…no time, too much mess, not having the right resources. That’s why we stick to a master list of basic craft supplies that fit into one bag to make all of the crafts you see here. It’s our way of taking away the challenges so that you can get right to the good stuff. Now go fill your bag and let’s make something!
Check Out the Video Tutorial for this Simple Mushroom Craft:
Coming Soon…
Mushroom Craft Instructions:
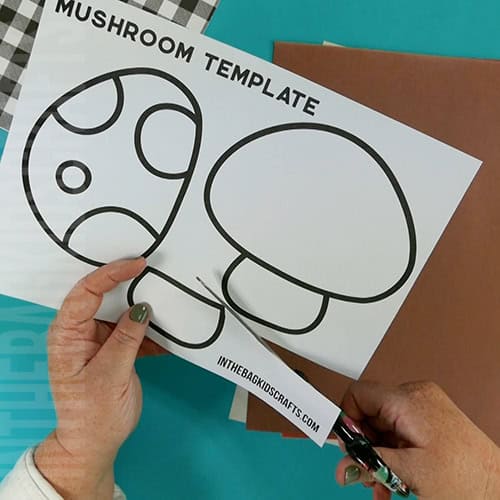
Step 1: Use the Mushroom Template
- Download and print the mushroom craft template. We chose to print the critters onto cardstock for a better result. The mushroom was printed onto regular printer paper so that we could use it as a template with construction paper.
- Cut out mushroom parts from your template using whatever colors of construction paper you like.
Step 2: Begin to Assemble Your Mushroom Craft
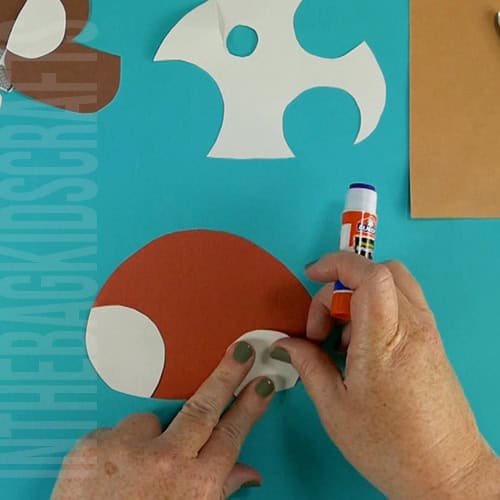
- Begin to assemble your mushroom by putting the spots into place on the cap. Use your glue stick for this step.
- If any of the spots are hanging over the edge of the mushroom cap, just trim away the excess paper.
Step 3: Add the Stem Pocket
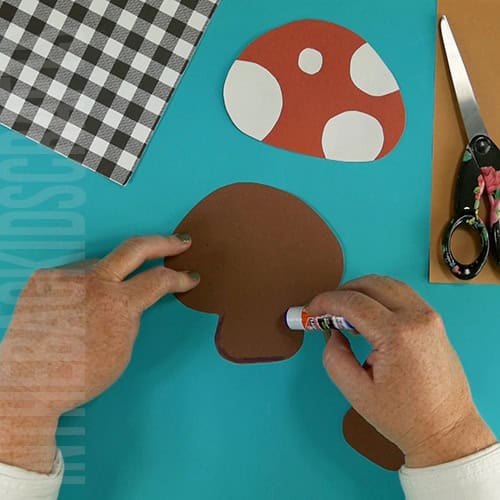
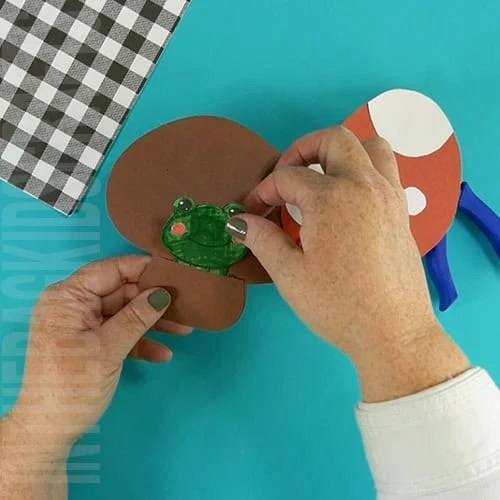
- Make the stem of the mushroom into a little pocket where our critter will live.
- Use your glue stick to go around the bottom and sides of the mushroom stem.
- Add the cut out stem on top and press firmly.
Step 4: Color your Little Animal
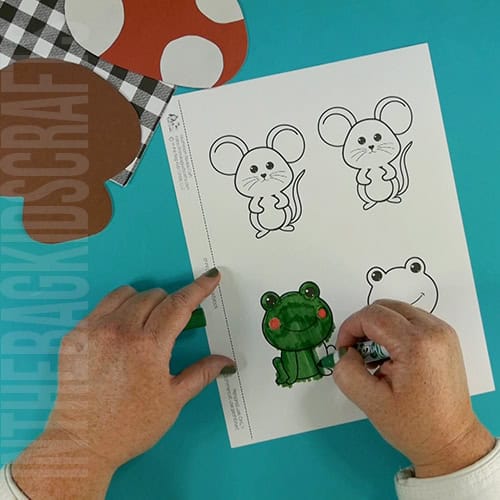
- Grab the part of your printable with the mouse and frog.
- Choose one of the little critters and color it using markers or crayons.
Step 5: Cut It Out
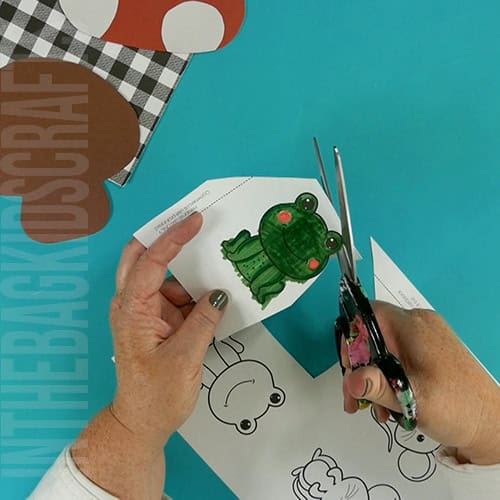
- Cut out the animal that you have colored.
Step 6: Create a Hinge on Your Mushroom Cap
- Now it’s time to assemble your mushroom. Place the cap on top of your mushroom and line up the borders.
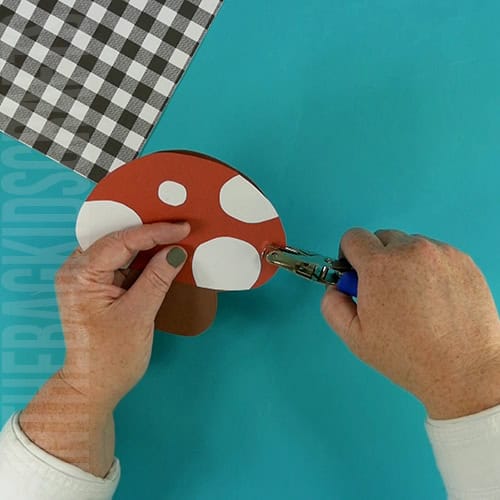
- Use your hole punch to place a hole on one side of the top of the mushroom (as pictured).
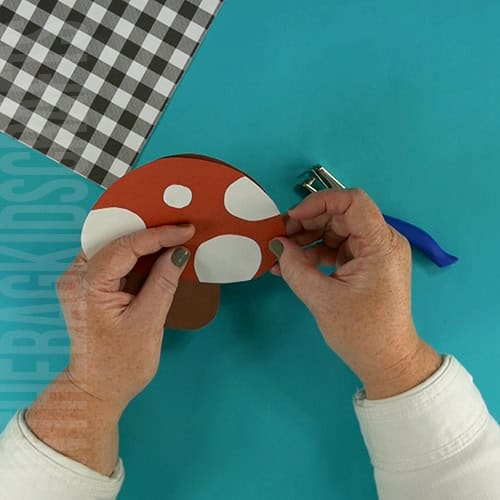
- Then place a brad through the hole you created. Open up the tongs on the back to secure the brad in place.
*This will allow the top of your mushroom to open and close by flipping it up.
Step 7: Place Your Animal in His Mushroom House
- Open up your mushroom and put the little animal that you colored and cut out into the pocket.
- Close up the top of the mushroom to hide him safely in his little mushroom home.
Do I Really Need Construction Paper?
No. You can just print this fun and simple craft onto cardstock and color the mushroom instead of cutting from construction paper. We used the construction paper because we always have some on hand and like the look of the vibrant colors to create the mushroom. But you can complete this activity with just the printable and the rest of the basic supplies you see in the list above.
Can I Use Both the Mouse and the Frog?
Absolutely! They can even live together in the same mushroom if you’d like. Though we enjoyed making each of them their own little mushroom house. You could even draw and cut out your little critter to live in the mushroom. Just keep him the same size so that he fits into the pocket. I think a chipmunk would be so cute!
Here are even more Forest Crafts
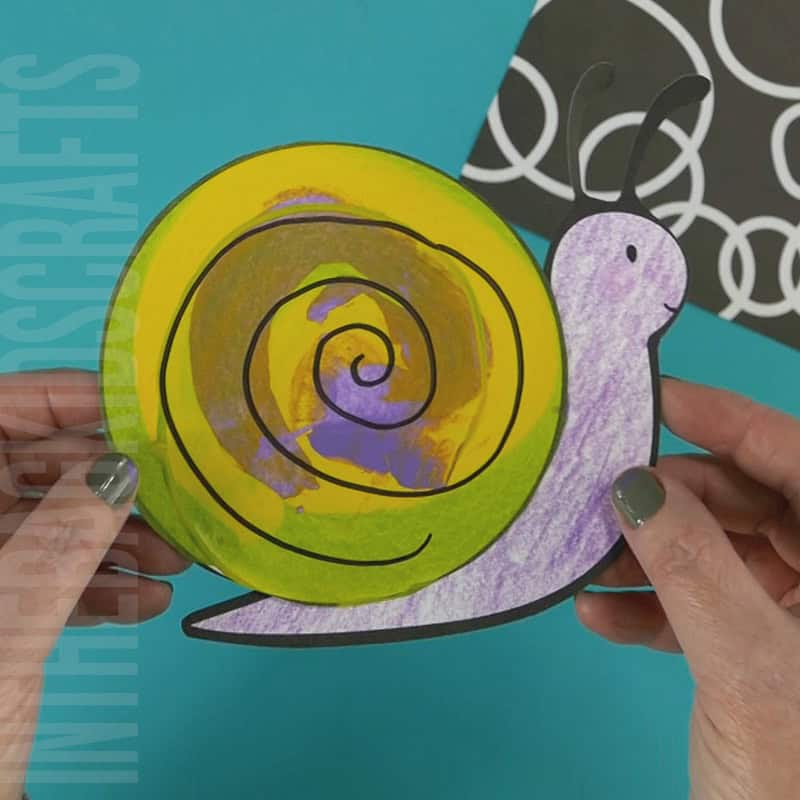
Printable Snail Craft
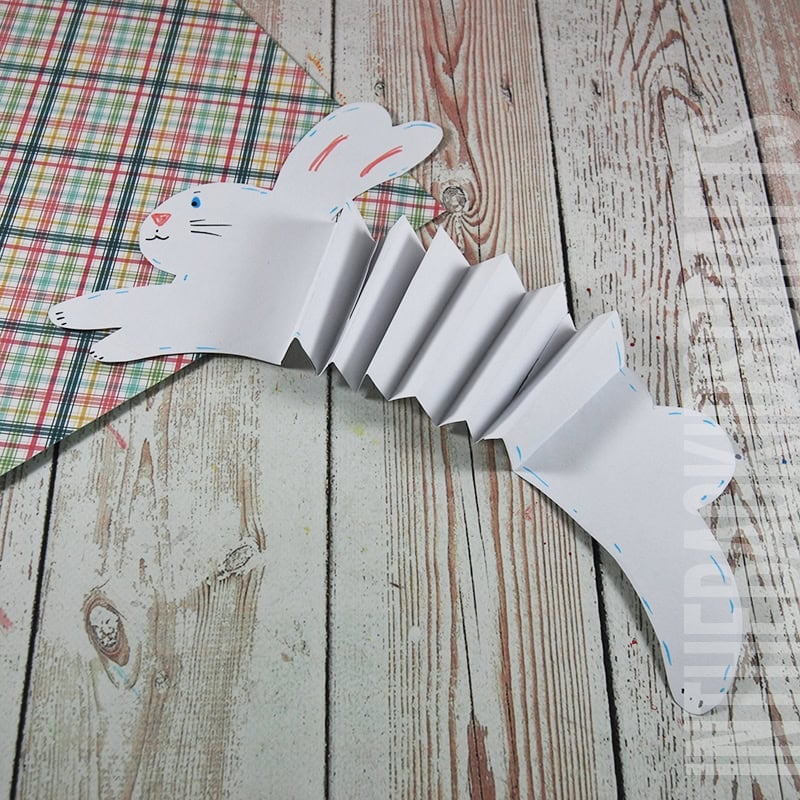
Paper Bunny Craft
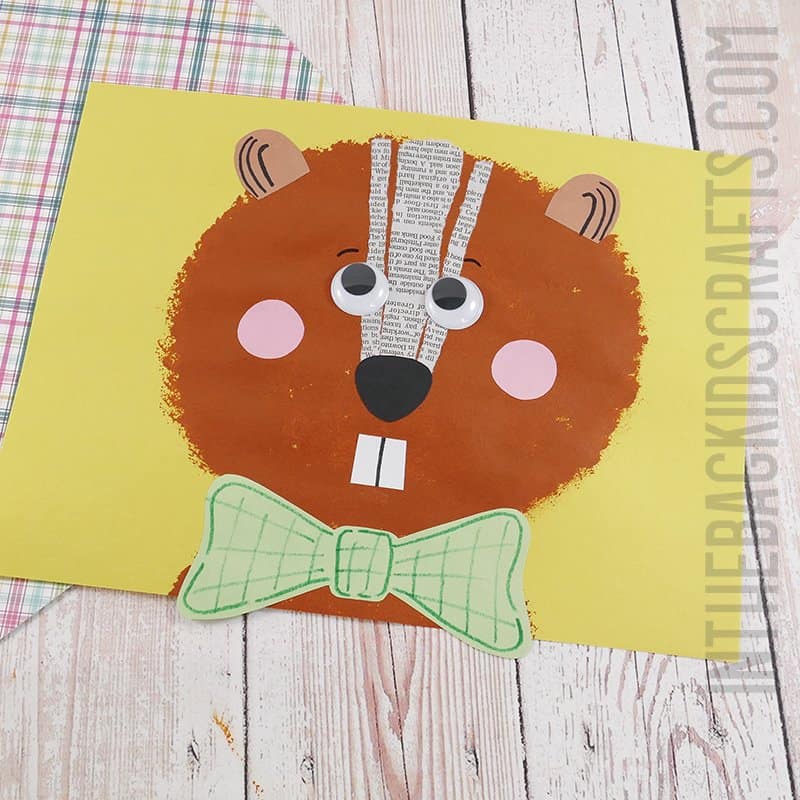
Painted Chipmunk Craft
Save this Woodland Animal Craft for later. Pin it to your favorite Pinterest board…
