Easy Sheep Craft for Kids
This easy sheep craft for kids is both simple and fun to make and great for working on so many developmental hand skills. Wrapping the body of the sheep is great for developing bilateral coordination (coordinating the hands together) and then for promoting hand strength when pinching the clothespins. These hand skills are essential for success in school, as well as in life! And working on these while doing crafts has even more benefits (check out THIS ARTICLE).
This post contains affiliate links, which means if you make a purchase through these links, I may receive a small commission at no extra cost to you. Click here to read my full disclosure policy.
SUPPLIES FROM THE BAG
- White Yarn
- Paper plate
- 4 Clothespins
- Black construction paper
- Cotton balls
- Elmer’s glue
- 2 Medium googly eyes (self-adhesive are best)
- Scissors
- Pencil
- Black Sharpie marker
- Washi tape with black pattern
- Sheep Craft Template Printable
Here at “In the Bag Kids’ Crafts” it is our mission to make crafting with your kids achievable. I know that you WANT to create with your kids, but I also know that life is HECTIC! So, we have simplified the process to save you time and energy. Every single project on this site uses the same MASTER LIST of supplies. Once you fill up your bag (which I promise will not take long at all!) you will be ready to craft when you find yourself with that rare down time. So, no more excuses…let’s get to crafting!!! Here is where you can find the list you need to fill up your bag…

Save this farm animal craft for later! Pin it to your favorite Pinterest board…
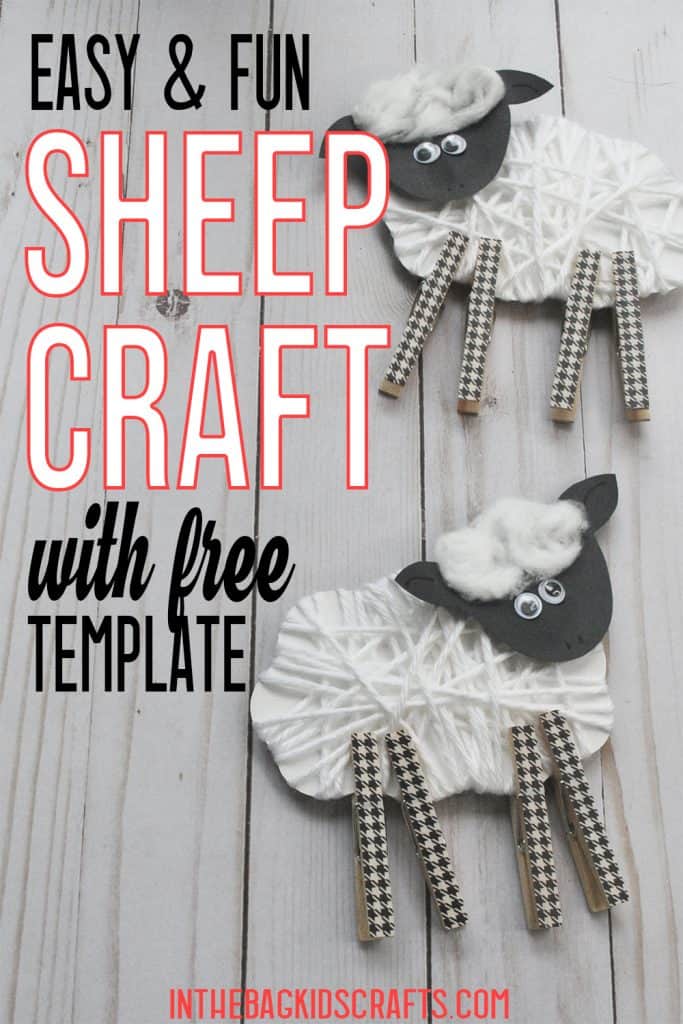
How to Make an Easy Sheep Craft
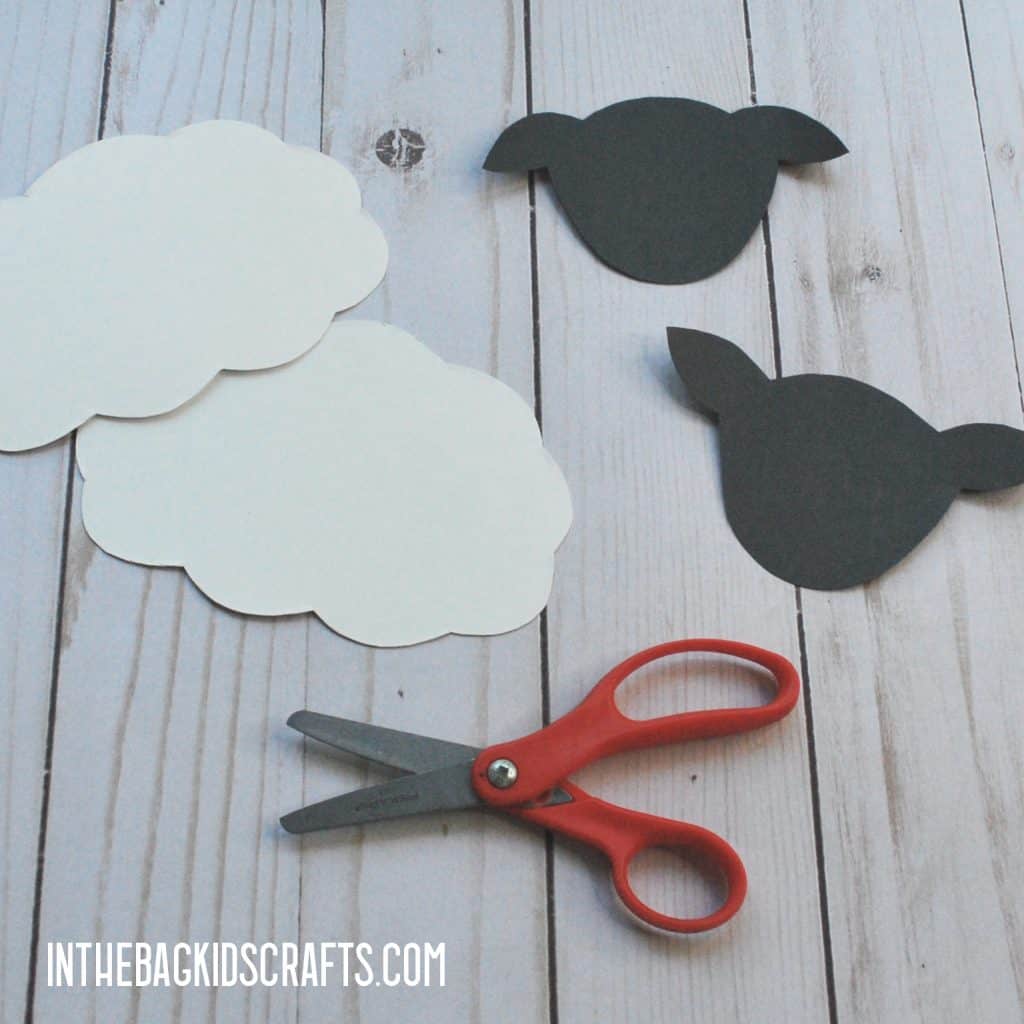
Step 1: Cut It Out
- Draw a fluffy sheep body or print and trace the template onto the paper plate.
- Cut out the sheep’s body
- Draw a sheep’s head or print and trace the template (head of your choice…there are two options) onto the black construction paper
- Cut out the head of the sheep

If you are doing this project with a preschool aged child, precut these pieces and then have them complete the other steps. The wrapping may be a little challenging, but it is a great activity to get them to practice working their hands together efficiently! So, let them do as much as they can on their own.
Step 2: Wrap It Up
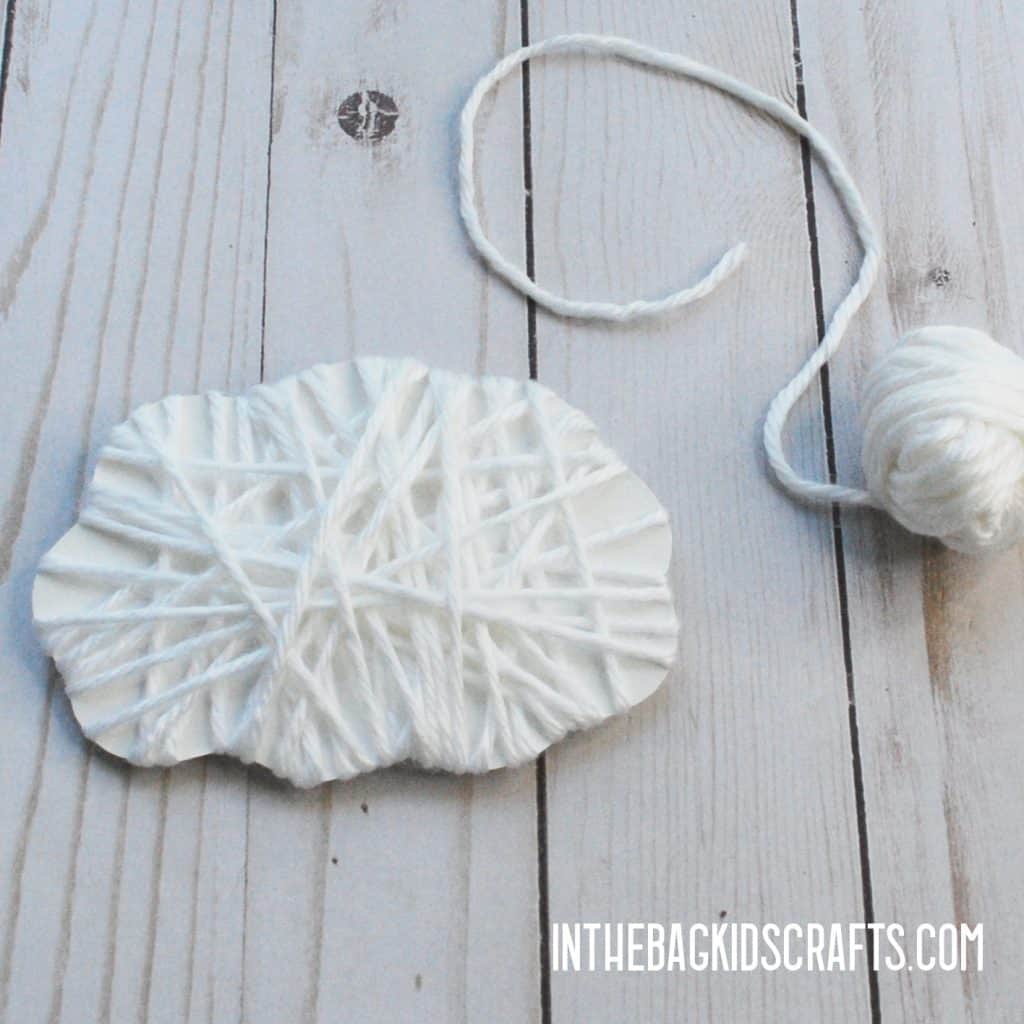
- Take the sheep body that you have cut out and wrap the white yarn around it, going in all directions. Continue wrapping until the body is as fluffy as you want it to be.
- *You will not need to tape the ends down if you make sure that the beginning is caught underneath the yarn that you are wrapping around. And then just snip and tuck the end under when you are finished. If it is not staying in place, just get a piece of tape to secure it in place.
Step 3: Add the Details
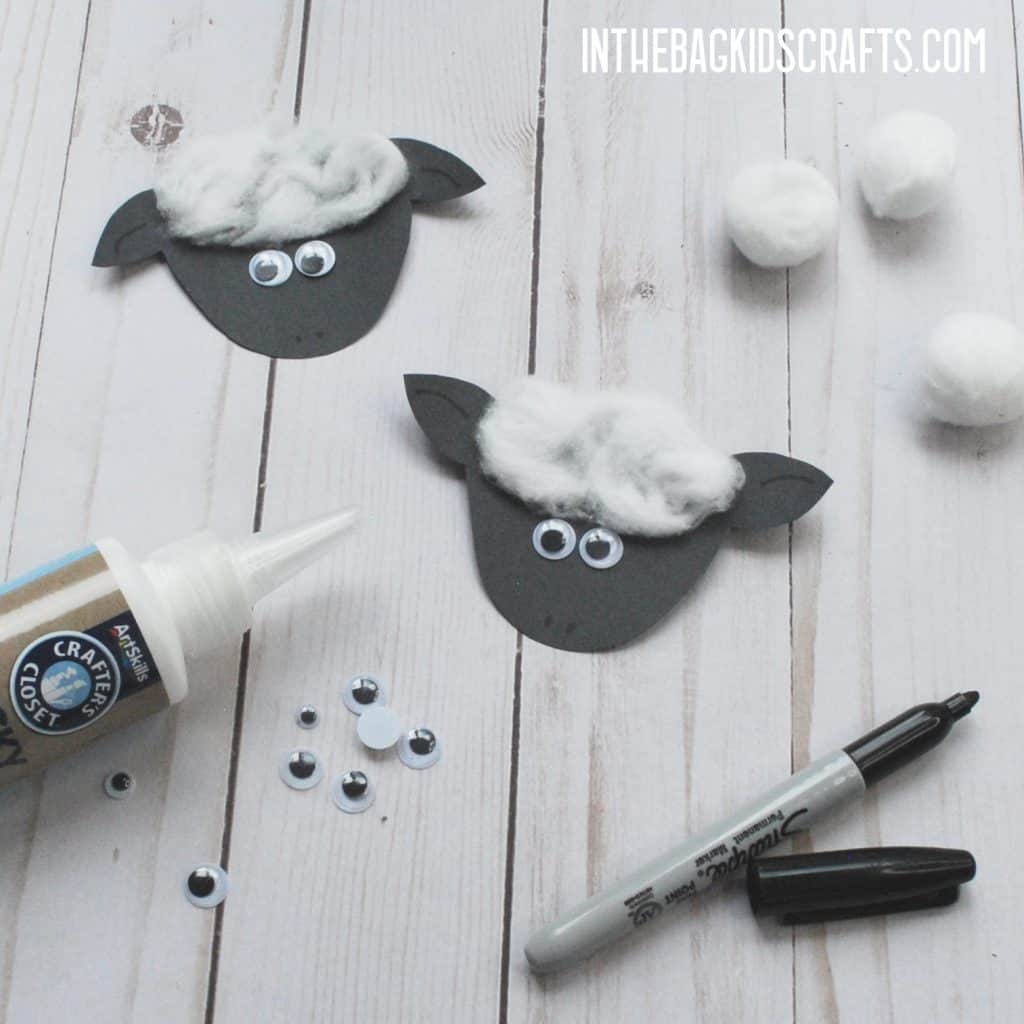
- Pull apart a cotton ball to make it fluffy and place about half of the fluffy cotton onto the top of the sheep’s head. Use the tacky glue to secure it in place.
- Put the googly eyes in place.
- Draw on details (such as nostrils and ear folds) with your black sharpie marker.
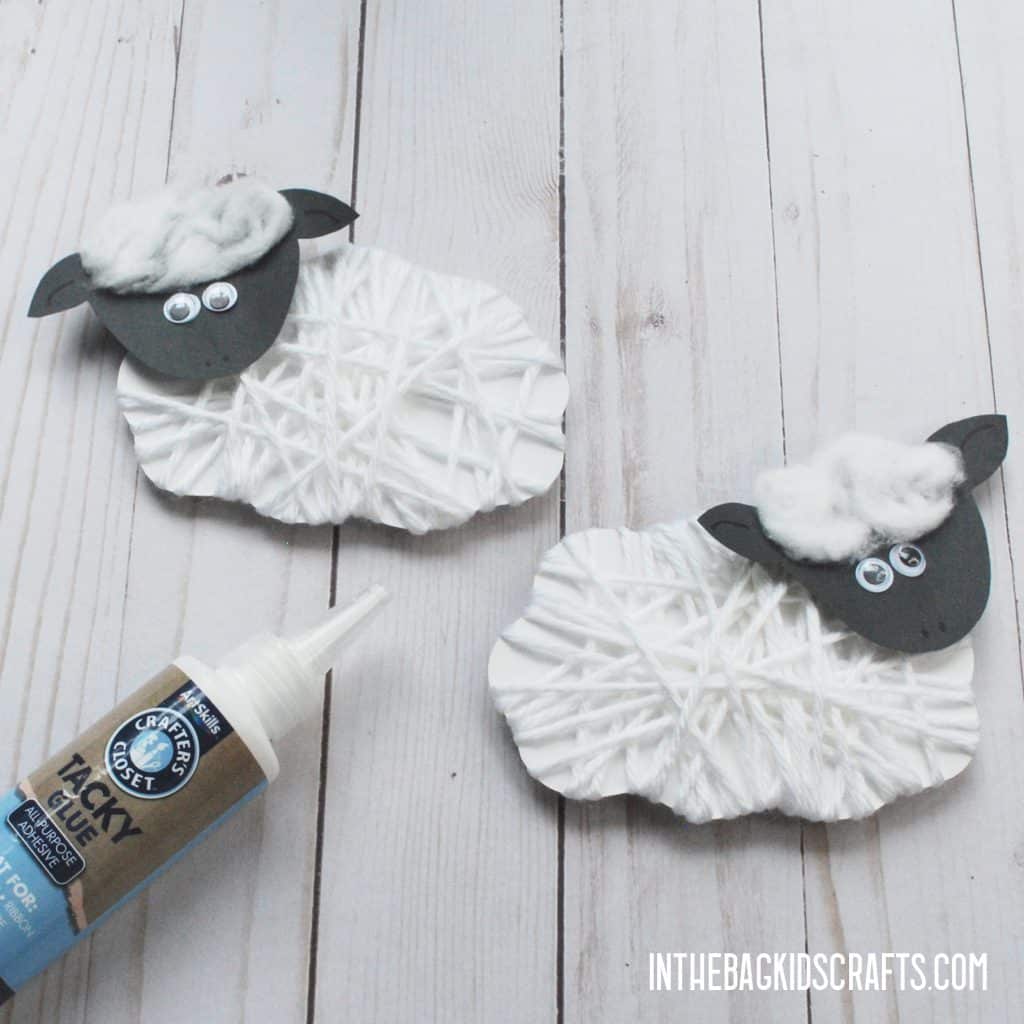
- Glue the head into place on the body with the tacky glue. You can angle it however you would like (looking up, looking down…)
Step 4: Take a Walk
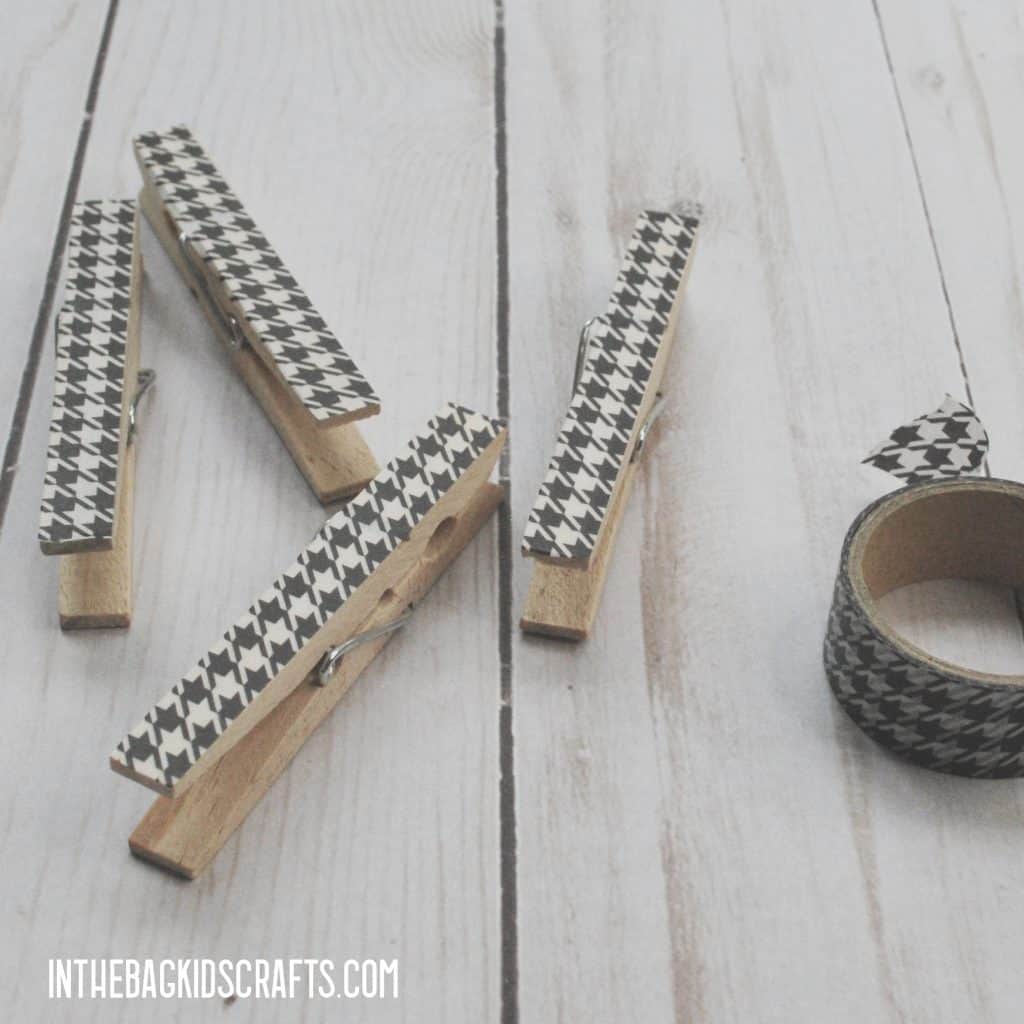
- Cover one side of each of the 4 clothespins with the black designed washi tape (or paint it black if you prefer)
- Trim off the excess washi tape
- Clip the legs into place on the body of the sheep
Enjoy This Sheep Craft Video Tutorial
Make Even More Farm Animal Crafts
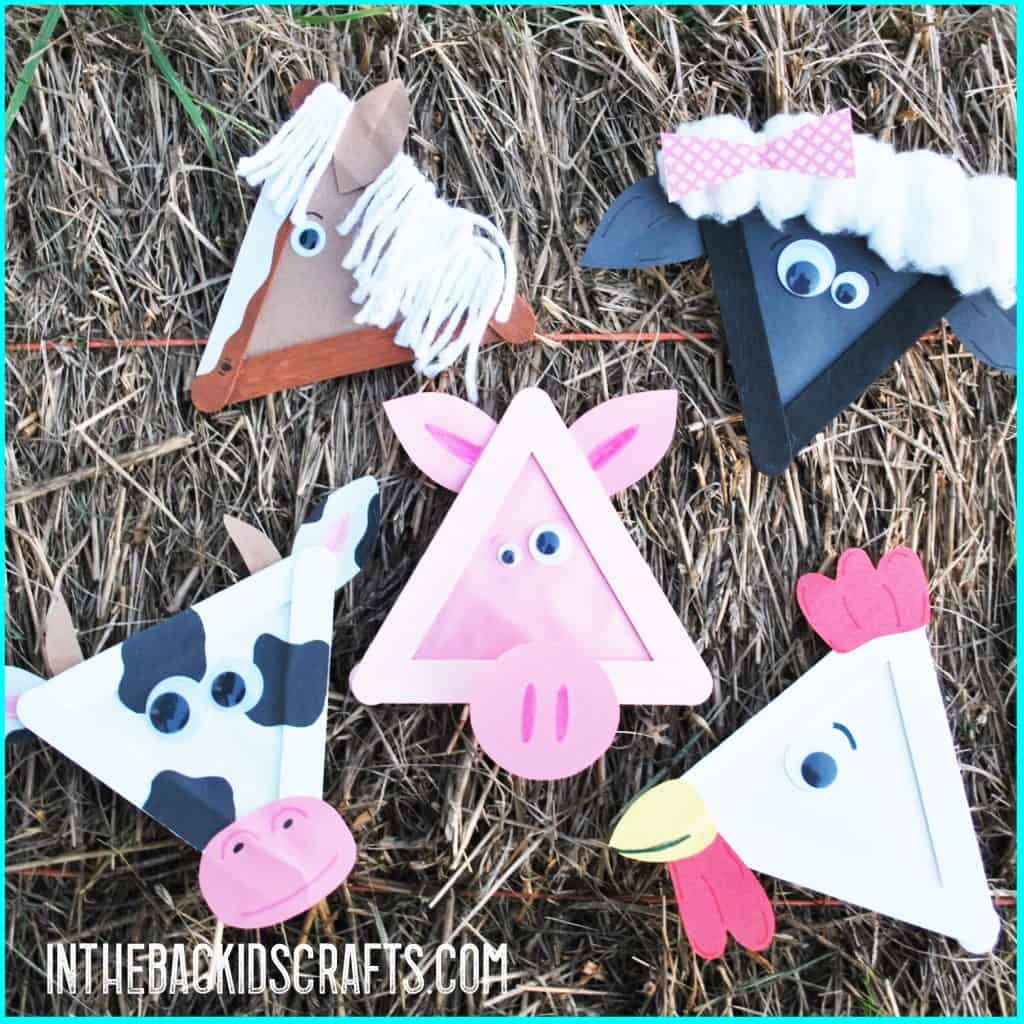
- Popsicle Stick Farm Animals
- Paper Plate Duck Craft
- Paper Plate Sheep
- Fluffy Sheep Craft
- Wiggly Ear Sheep Craft
- Rooster Craft
- Horse Craft
- Painted Sheep Craft
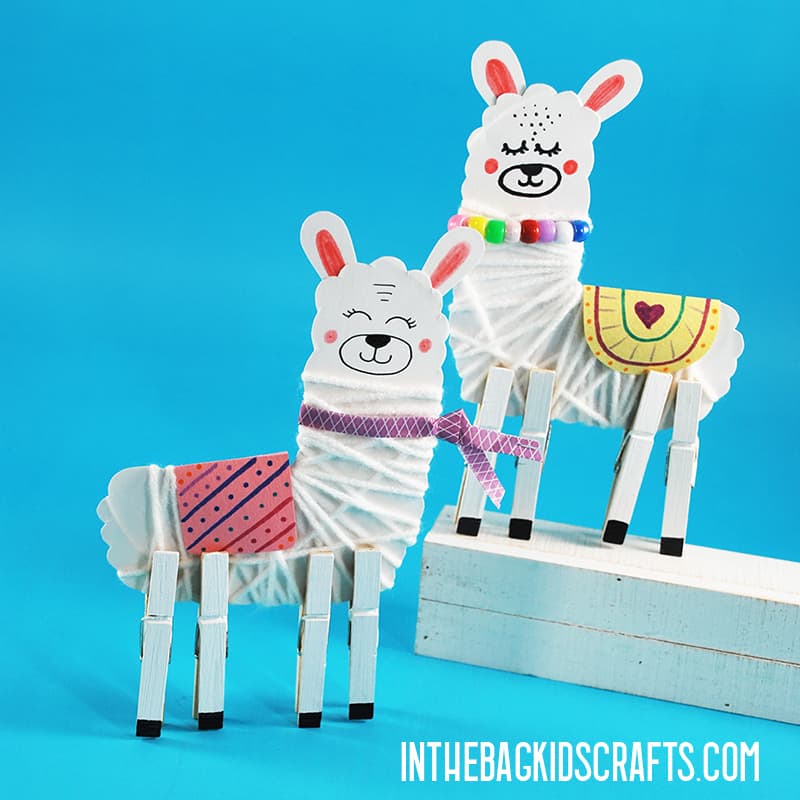
- Llama Craft
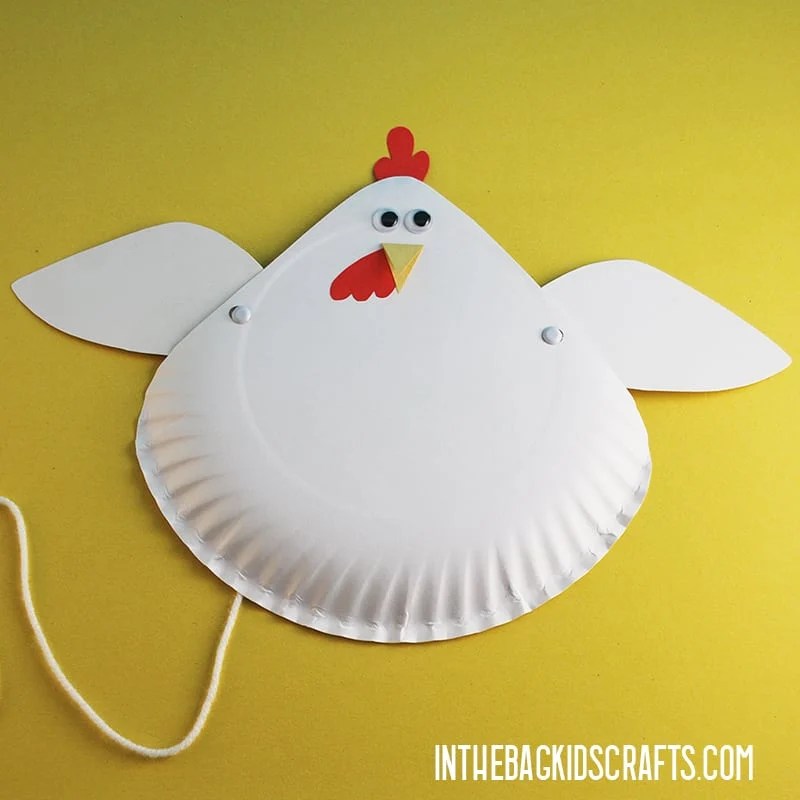
- Mother Hen Craft
- Paper Plate Sheep Craft
Save this paper sheep craft for later! Pin it to your favorite Pinterest board…
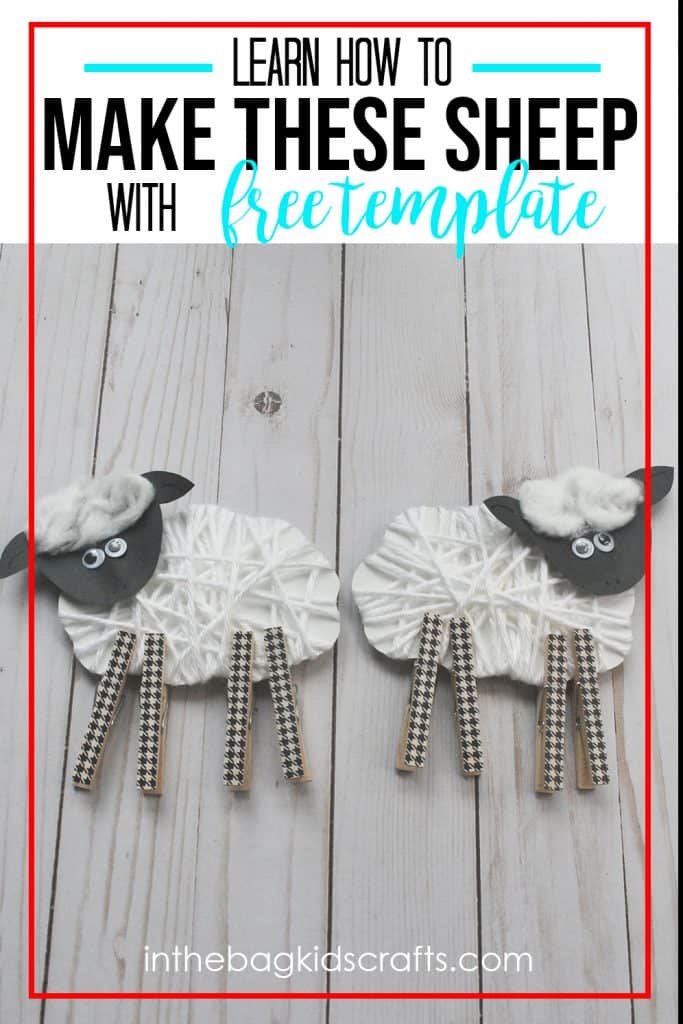
It is especially great as a preschool sheep craft. This could also use this as a Sunday School Craft or Junior Church craft when telling the story of the lost sheep and the Shepherd.
Happy Crafting!

