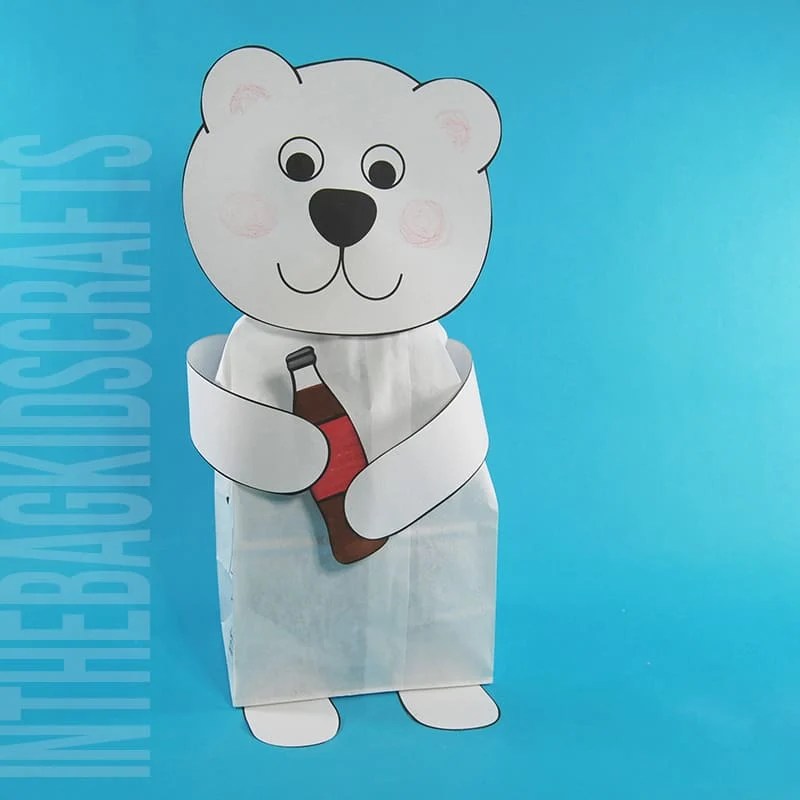
Cute Paper Plate Polar Bear Craft (FREE Template)
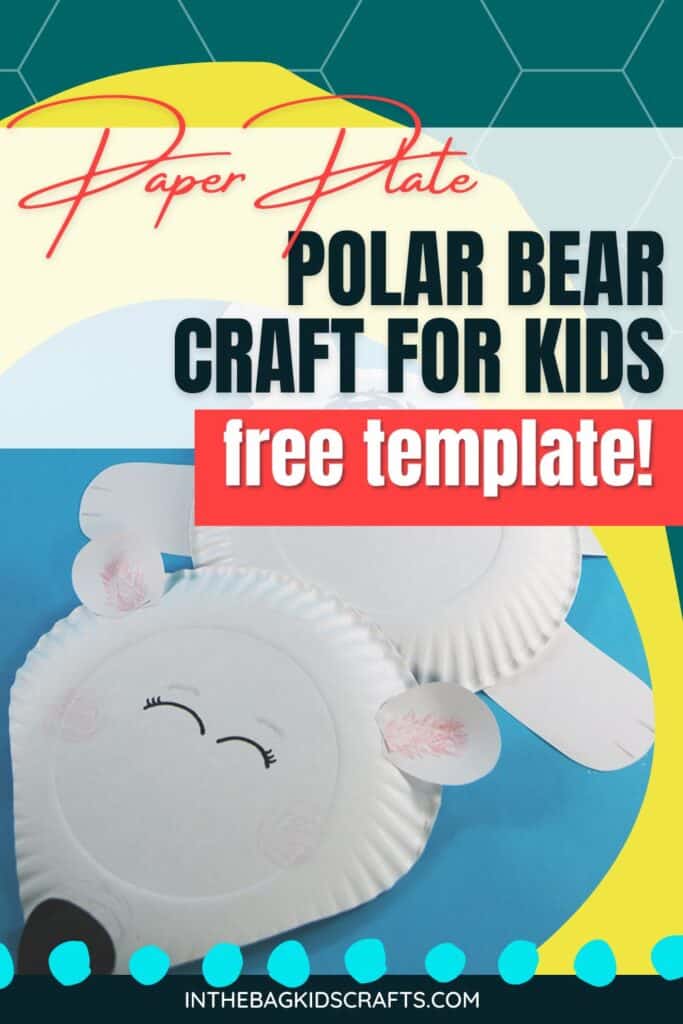
This cute paper plate polar bear craft is the perfect winter art project. Make it just for the fun of it or use it as a teaching tool to learn about polar bears as part of an arctic animals unit. You can make this craft with preschoolers, kindergarteners or elementary aged kids.
I bet you’ve never heard of craft flashcards…Of course you haven’t…because I totally made it up 🙂 As a pediatric Occupational Therapist, I’ve witnessed kids struggle to complete multi-step activities. So, I came up with this brilliant (if I do say myself) way to break down crafts into bite-sized pieces in the form of flashcards.

These are especially perfect for those kiddos who have limited attention spans.
Crafts are such a great developmental tool for kids (improves motor planning, attention span, executive functioning, fine motor skills, language development and more), and using flashcards makes planning crafts for your kids to enjoy even easier.
Just print out a few of your favorites onto cardstock, cut them into the cards with a hole in the corner and place them on a keyring that you can connect to your craft supply bag (which you can fill using our master list of supplies that we stick to for every single one of the projects in the flashcard collection). It’s so simple.
And the best part is that there’s not a screen in sight. Technology is such a great thing, but it’s also nice to take a break from it once in awhile and let the brain explore in other ways. Click the image to learn more about our collection of 100 Craft Flashcards for Kids.
Fun Facts About Polar Bears
- Polar bears are the only bears classified as marine mammals since they spend so much of their time in the ocean.
- Beneath all that white fur is actually black skin.
- They can swim for days at a time and go up to 6mph.
- Their are lots of things that threaten the lives of polar bears, including oil spills, melting ice, human interactions and more.
- A male polar bear can weight as much as 10 men.
For more information about polar bears, visit your local library. You can also check out this article by National Geographic Kids.
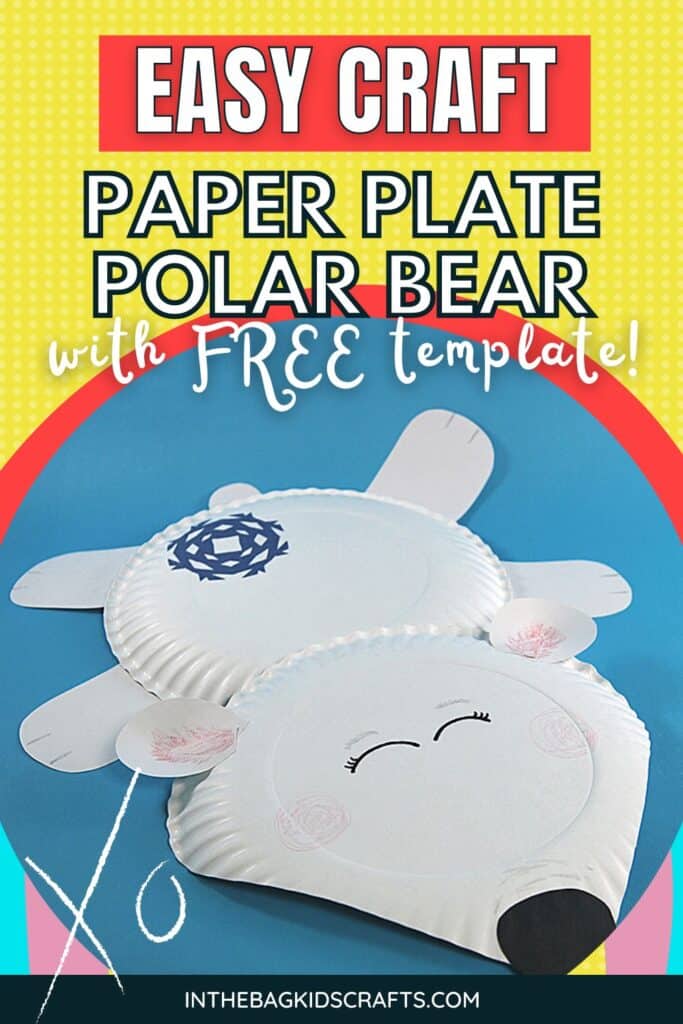
Save this winter craft for later. Pin it to your favorite Pinterest board…
Check Out this Simple Snowman Craft Video Tutorial:
All activities require adult supervision. By using this site, you are agreeing to our terms of use.
How to make a Paper Plate Polar Bear Craft
As with every craft on this site, this is meant to be a starting place. Feel free to add your own flair to it. Change up the colors, design, anything you want. This craft is all about you.
SUPPLIES FROM THE BAG
- 2 Paper plates (9-inch coated)
- Scissors
- Glue stick
- Markers
- Crayons
- Pencil
- Construction paper (white and black)
- Polar bear craft template
We believe in keeping crafting with your kids simple so that you can get right to the fun. The biggest way we do that is by sticking to a master list of craft supplies that we use for every single creative project you see here. It’s a basic list of 27 items that fit into one bag. Once your bag is filled, you’re ready to craft together!
Instructions:
Step 1: Shape the Polar Bear’s Head
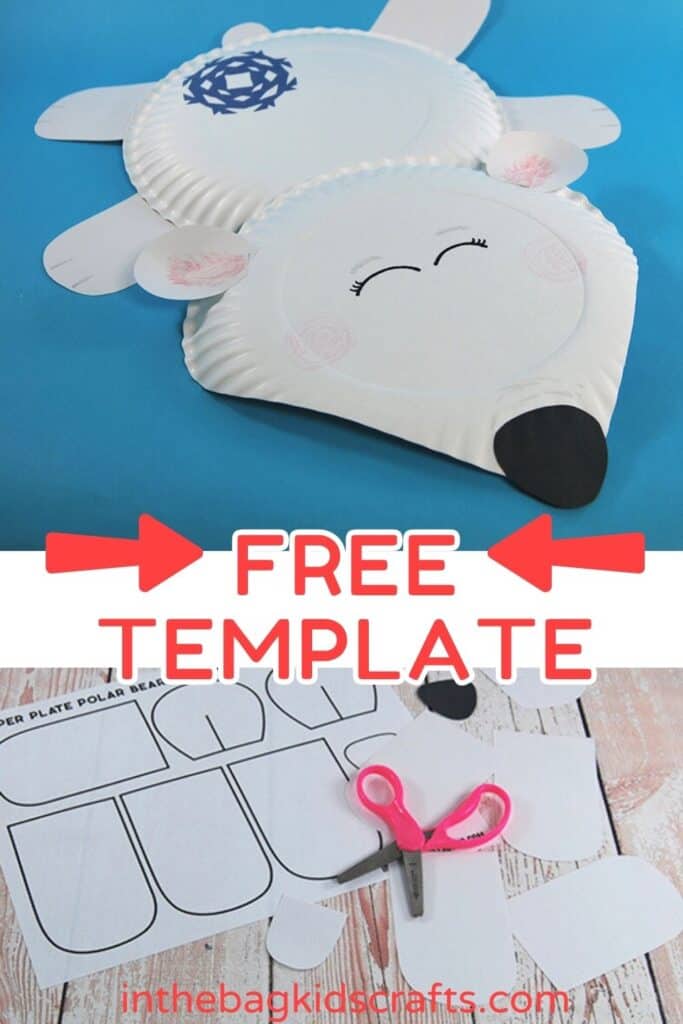
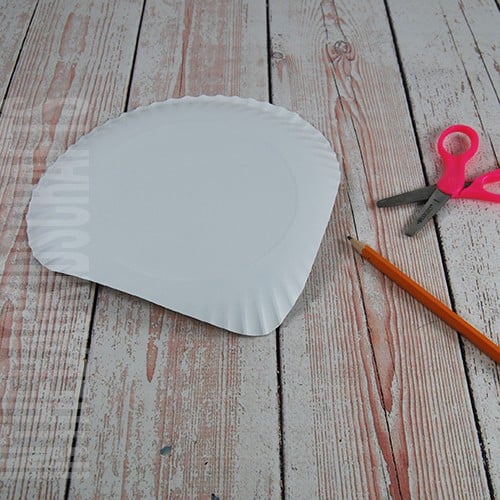
- Take one of the paper plates and draw 2 angles so that the plate begins to look like a triangle with one rounded side. This will be the polar bear’s head.
- Cut on the lines you’ve drawn and round the point (which will be the nose of your polar bear).
Step 2: Put Together the Body
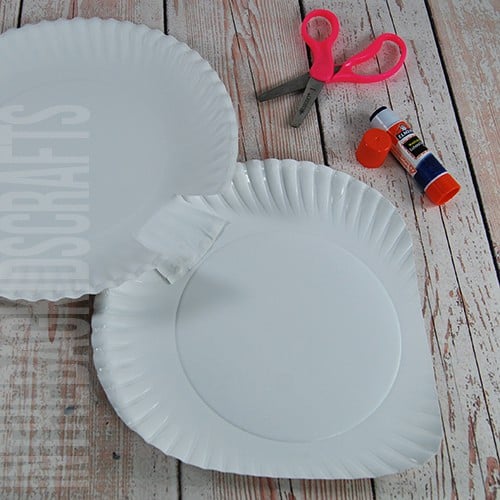
- On th esecond plate, cut 2 slits, about 2 inches apart and 1 inch deep.
- Fold the tab back.
- Turn both plates so that they are face up.
- Generously glue the tab with your glue stick and attach it to the rounded part of the plate you cut into shape.
- Press firmly so that the glue sets.
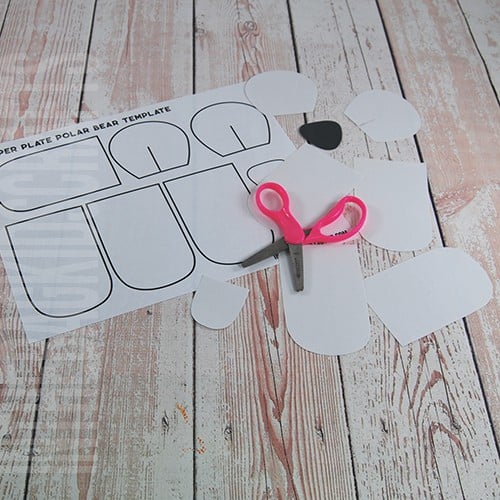
Step 3: Use the FREE Polar Bear Craft Template pdf
- Download the free polar bear craft template
- Use it to cut all of the parts out for your polar bear from white construction paper, except the nose, which should be black.
Step 4: Add the Legs and Tail
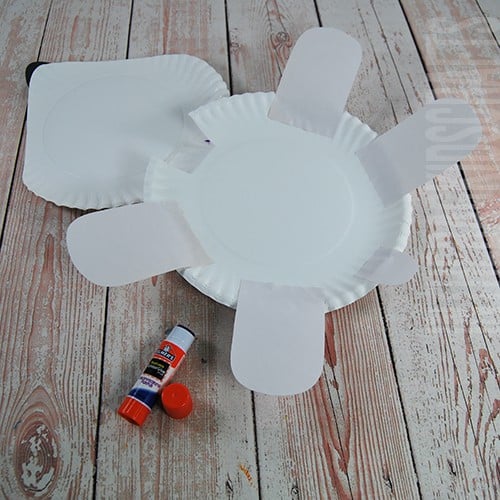
- Use the glue stick to attach all of the legs and tail of your polar bear craft to the paper plate body.
- The final version of your polar bear will have the bottoms of the paper plate facing up.
- Press each of the parts you have glued firmly so that the glue really grabs.
Step 5: Add the Ears
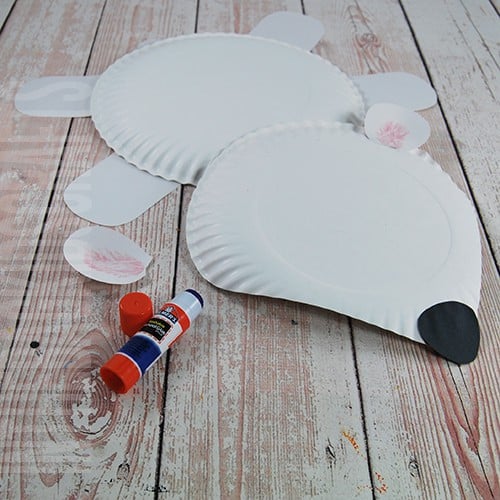
- Turn the polar bear over so that the bottoms of the plates are facing up (as pictured).
- Glue the polar bear’s nose in place.
- Take each of the ears and overlap the center at the slit. Secure with a little glue.
- Use a crayon to add a pink center to each ear.
- Now glue the ears in place at the back of the polar bear’s head.
Step 6: Finish Off Your Adorable Polar Bear Craft
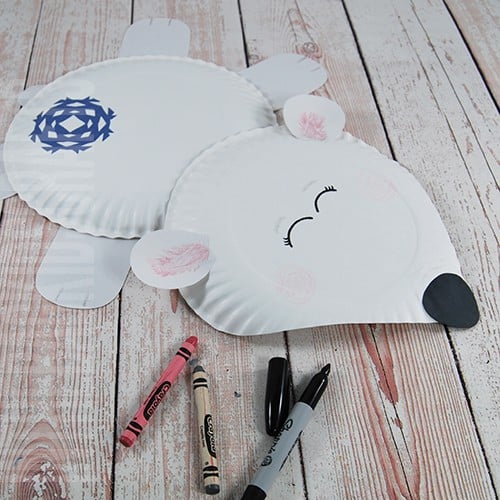
- Add more details to your polar bear’s face using markers and crayons.
- Draw on eyes or add googly eyes to the polar bear’s face.
- Decorate your polar bear craft with any other details you would like at this time.
How to Adapt This Craft for Preschoolers
This is a great craft for preschoolers with a couple of tweaks. You may want to prep the body of the polar bear in advance, as well as cutting out the parts so that they are ready to glue in place.
As always, only help as much as is absolutely necessary and leave lots of room for creativity. No two polar bears should look the same. Allow your kids to use their imaginations and throw the rules out the window. Ask yourself if you are helping or doing it for them. We adults often want to take over and make it “perfect” but resist the urge.
Can I Use This Same Template for Other Types of Bear Crafts?
Of course you can! Use this same template to make a black bear, brown bear, grizzly, or a pink bear with green polka dots. Seriously, use these instructions as a starting place to make whatever kind of bera you want.
Here are even more Polar Bear Crafts for you to make
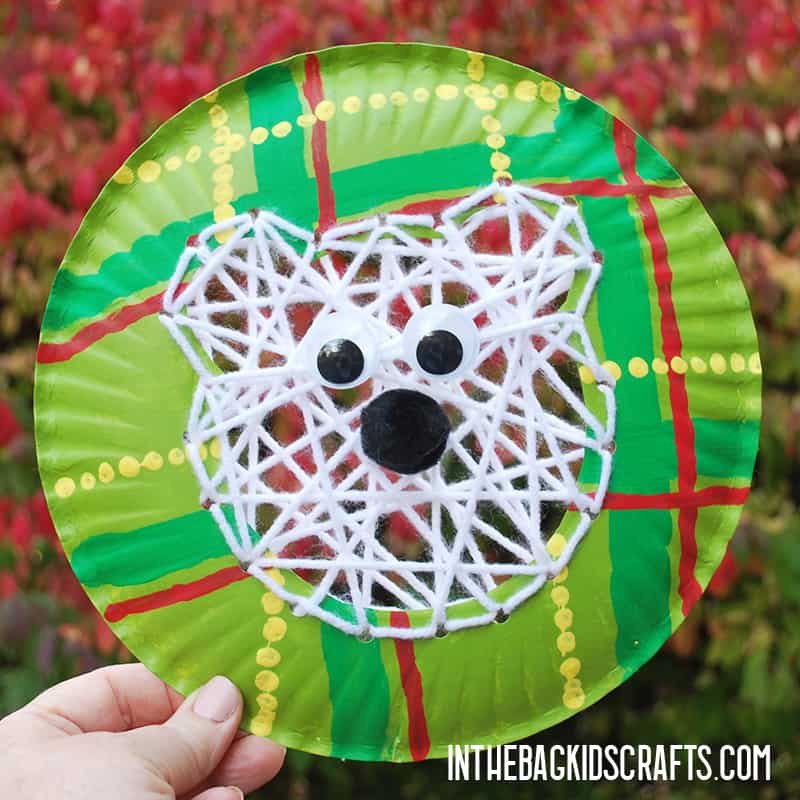
Lacing Polar Bear Craft
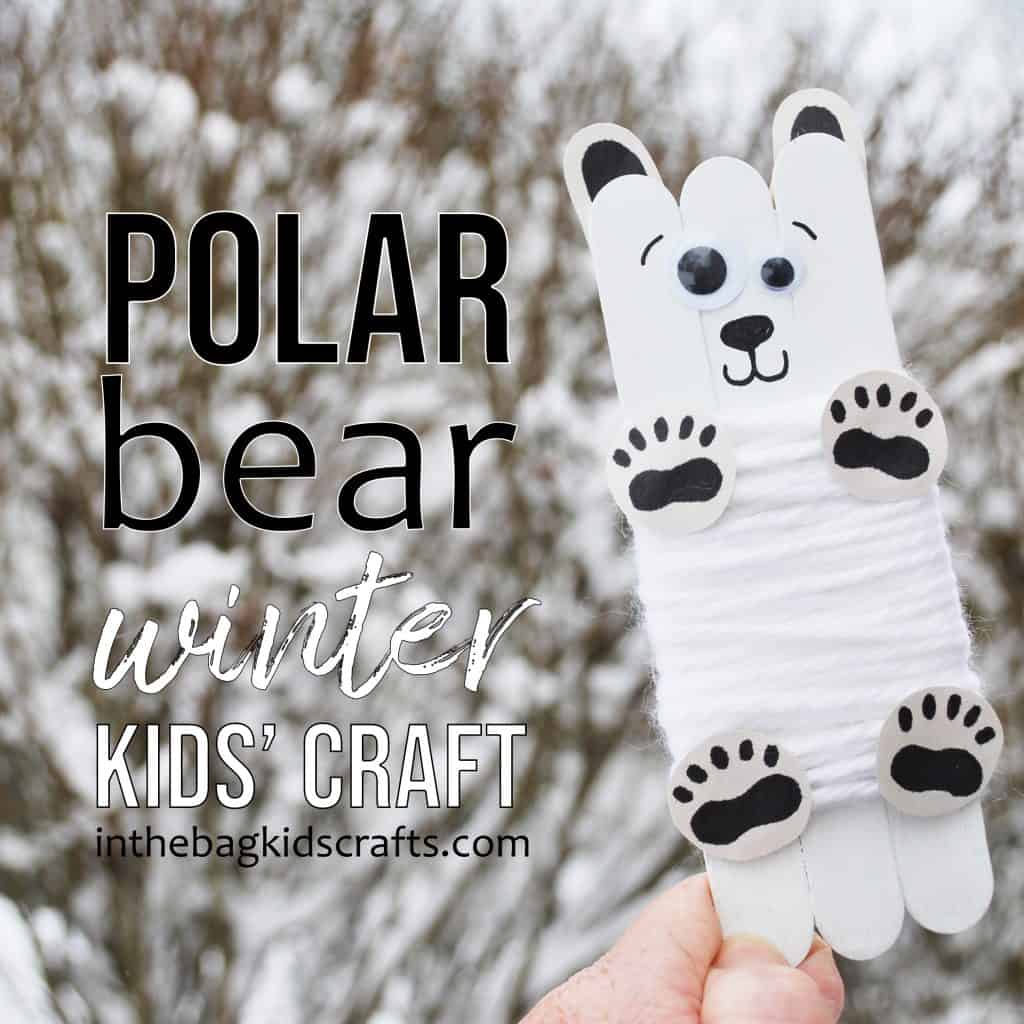
Popsicle Stick Polar Bear Craft
Easy Printable Polar Bear Craft
Save this Paper Plate Craft for later. Pin it to your favorite Pinterest board…
