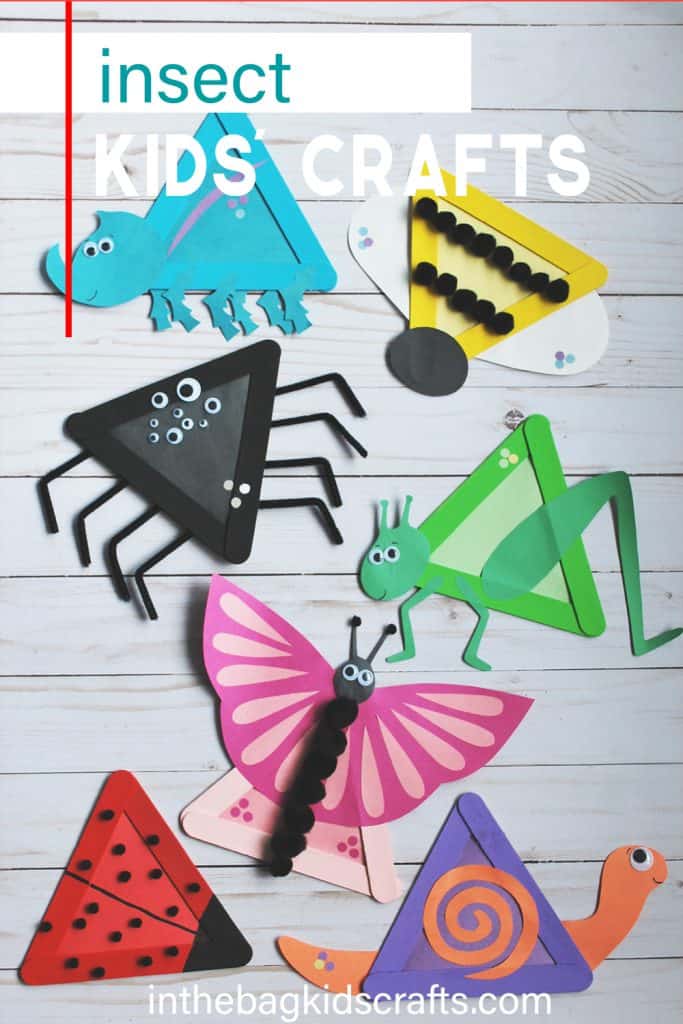
7 Easy Bug Crafts for Kids
I never thought that I would say bug crafts are “cute”, but these ones really are. And I know that you will use your imaginations and make them your own. Who says that your bee has to be yellow…maybe yours is bright green or pink? The instructions for the easy insect crafts for kids are just a guideline. Choose your own colors and decorations for the insects. Just have fun with it! Use the template or draw the parts free-hand. Make one or make them all. You cannot go wrong. Let’s make some bug art!
Love Bugs? Then we have just the thing for you! These 13 bug crafts are so fun and simple to make. Get the full collection today.
Just a little tip before getting started… if you are going to make these insect activities for preschoolers, you will want to prepare the popsicle stick frames ahead of time and precut the more intricate pieces of each craft.
The ones that are really make the best preschool crafts are the ladybug, spider or the bee. You only have to cut some basic shapes (which you can help with or make in advance). Just be careful with those little parts if you still have a kiddo who puts things in their mouth. Also, though these are not part of the master list we use, you can decide to use paint sticks instead of actual paint to decrease the mess and wait time when crafting.
The Templates for These Crafts are Included in This Amazing Triangle Crafts Collection
This post contains affiliate links, which means if you make a purchase through these links, I may receive a small commission at no extra cost to you. It does not mean that you will pay a penny more though. Seriously. Click here to read my full disclosure policy.
Project 1: Bee Craft
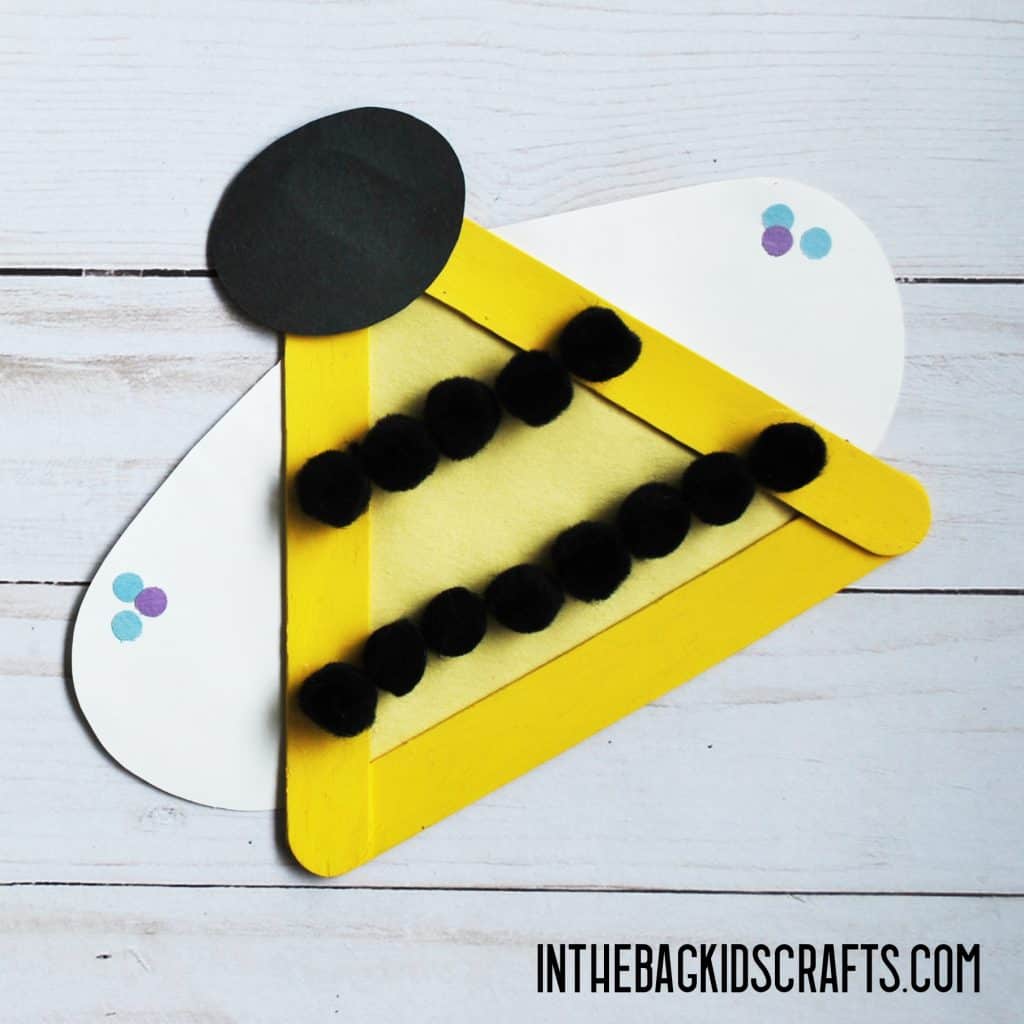
The first of our bug crafts is now considered to be the most important insect on the planet. Bees do so much for humanity, and we need to return the favor. This craft is a great jumping off point for a homeschool lesson about these little gems. And if you like this bee, check out another bee craft here.
SUPPLIES FROM THE BAG
- 3 Large popsicle sticks
- Newspaper
- Clothespin
- Medium pompom
- Yellow paint
- Small black pompoms
- Yellow construction paper
- Scrap of black construction paper
- White construction paper
- Elmer’s glue
- Scissors
- Glue stick
- Pencil
- Printable Template
These bug crafts, like every craft in this post and one this site, is made from the same MASTER LIST of supplies that every project uses! This approach makes crafting with your kids so much easier and more do-able in the midst of the busyness of life. Keep it simple…that’s our motto! Find out what to put in your bag HERE.
Step 1: Make a triangle
- Use the Elmer’s glue to make a triangle out of the 3 large popsicle sticks
- Give the glue plenty of time to dry. *You may want to make up several triangle frames and let them dry overnight. Then you will be ready to make lots of crafts without the wait time.
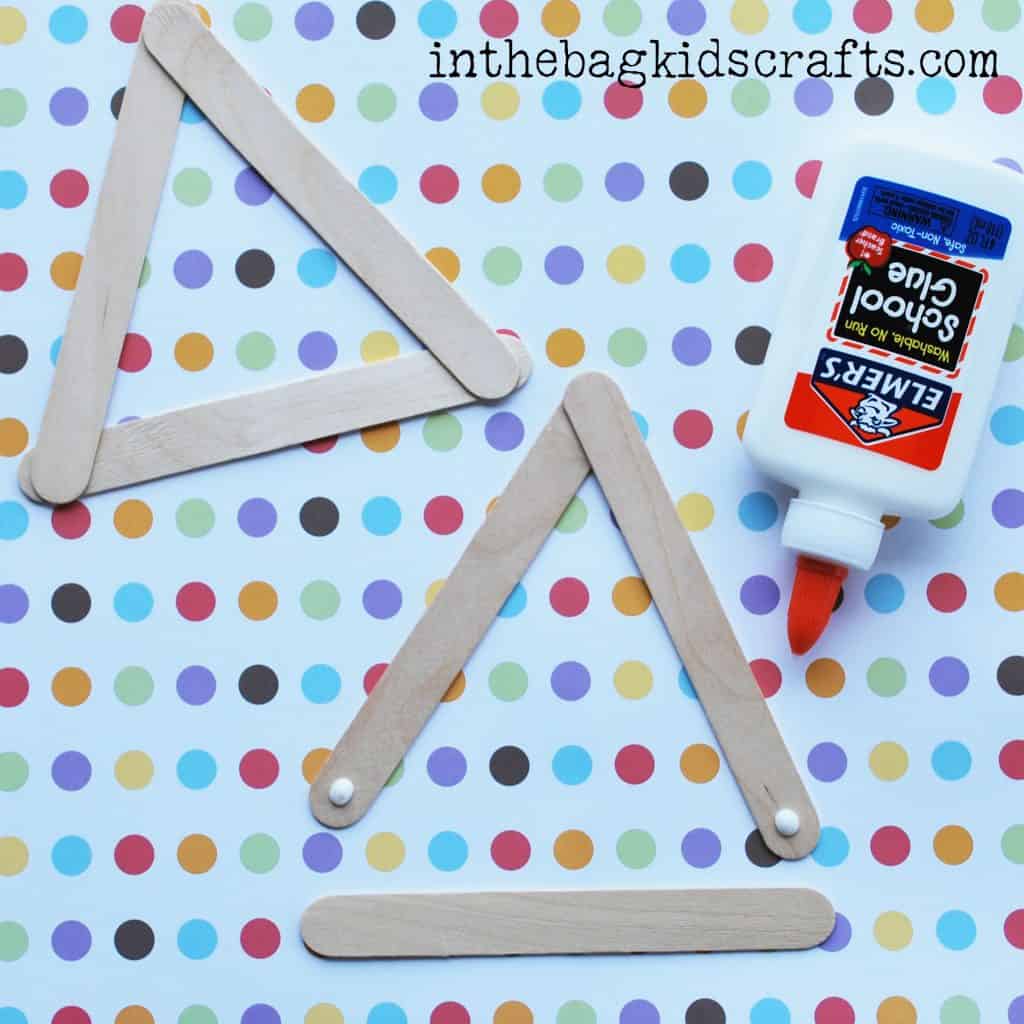
Step 2: Fill it in
- Place the triangle on the newspaper and squeeze out a little bit of yellow paint.
- Pinch the pompom with the clothespin to form a “paint brush”. And paint the frame yellow.
- Give the paint time to dry.
- Cut a triangle out of the yellow construction paper, just a little smaller than the frame. (Included in printable template)
- Once the paint is dry, use the glue stick to adhere it to the back of the popsicle stick frame.
Step 3: Add the details to your bug crafts
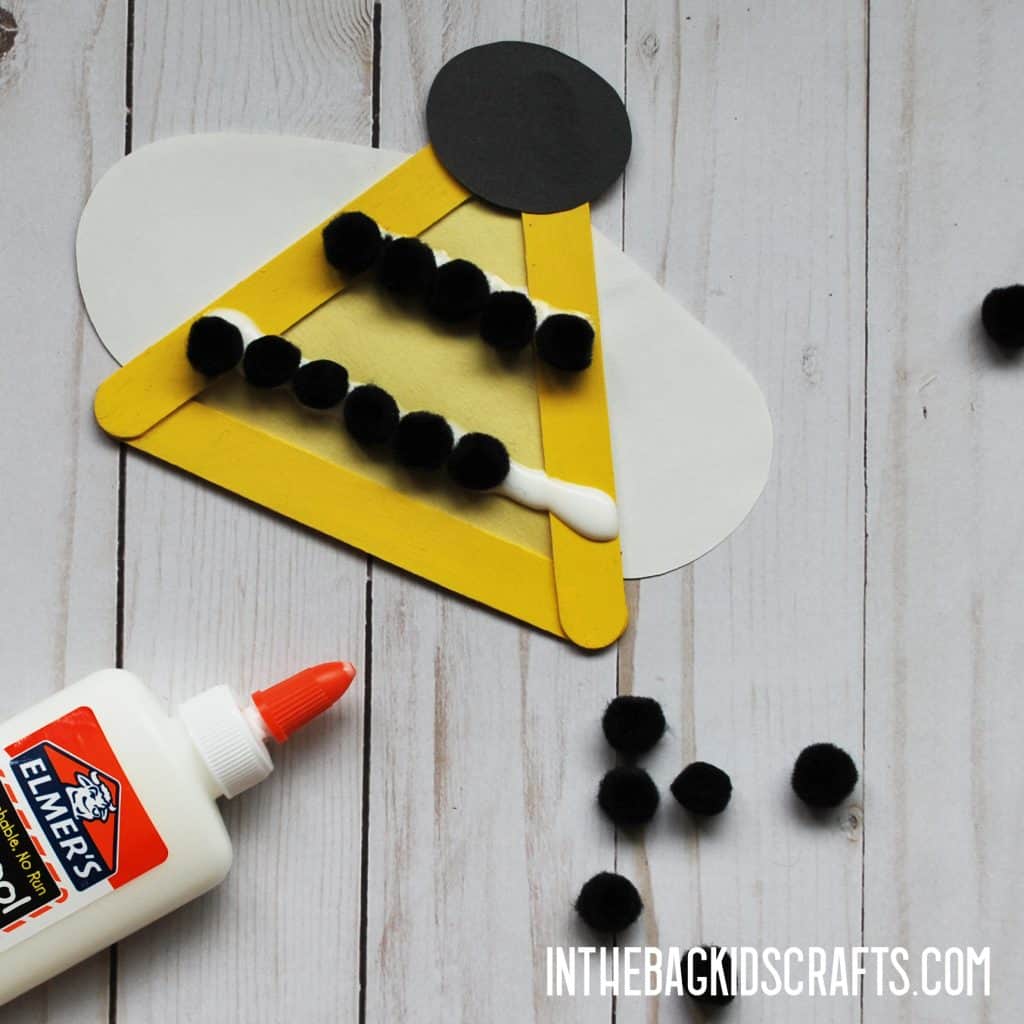
- Cut an oval out of the black scrap of construction paper which will be the head of your bee craft.
- Then, cut wings from the white construction paper
- Glue the head and wings into place using the glue stick
- Last, glue on 2 lines of small black pompoms for the bee’s stripes. If you do not have small pompoms, no worries. Just use a little black paint and make lines of fingerprint marks to form the stripes OR paint/draw on the black lines
Project 2: Butterfly Craft
SUPPLIES FROM THE BAG
- Scissors
- 3 Large popsicle sticks
- Elmer’s glue
- Pink paint
- Newspaper
- Clothespin
- Medium pompom
- Pink Construction paper
- Hot pink construction paper
- Scrap of black construction paper
- 2 Small googly eyes
- Glue stick
- Small black pompoms
- Pencil
- Printable Template
Step 1: Make the triangle
- Use the Elmer’s glue to make a triangle out of the 3 large popsicle sticks
- Give the glue plenty of time to dry. *You may want to make up several triangle frames and let them dry overnight. Then you will be ready to make lots of crafts without the wait time.
- *See picture in Project 1
Step 2: Fill it in
- Place the triangle on the newspaper and squeeze out a little bit of light pink paint.
- Pinch the pompom with the clothespin to form a “paint brush”. And paint the frame light pink.
- Give the paint time to dry.
- Cut a triangle out of the light pink construction paper, just a little smaller than the frame. (Included in printable template)
- Once the paint is dry, use the glue stick to adhere it to the back of the popsicle stick frame.
Step 3: Add the details to your insect crafts
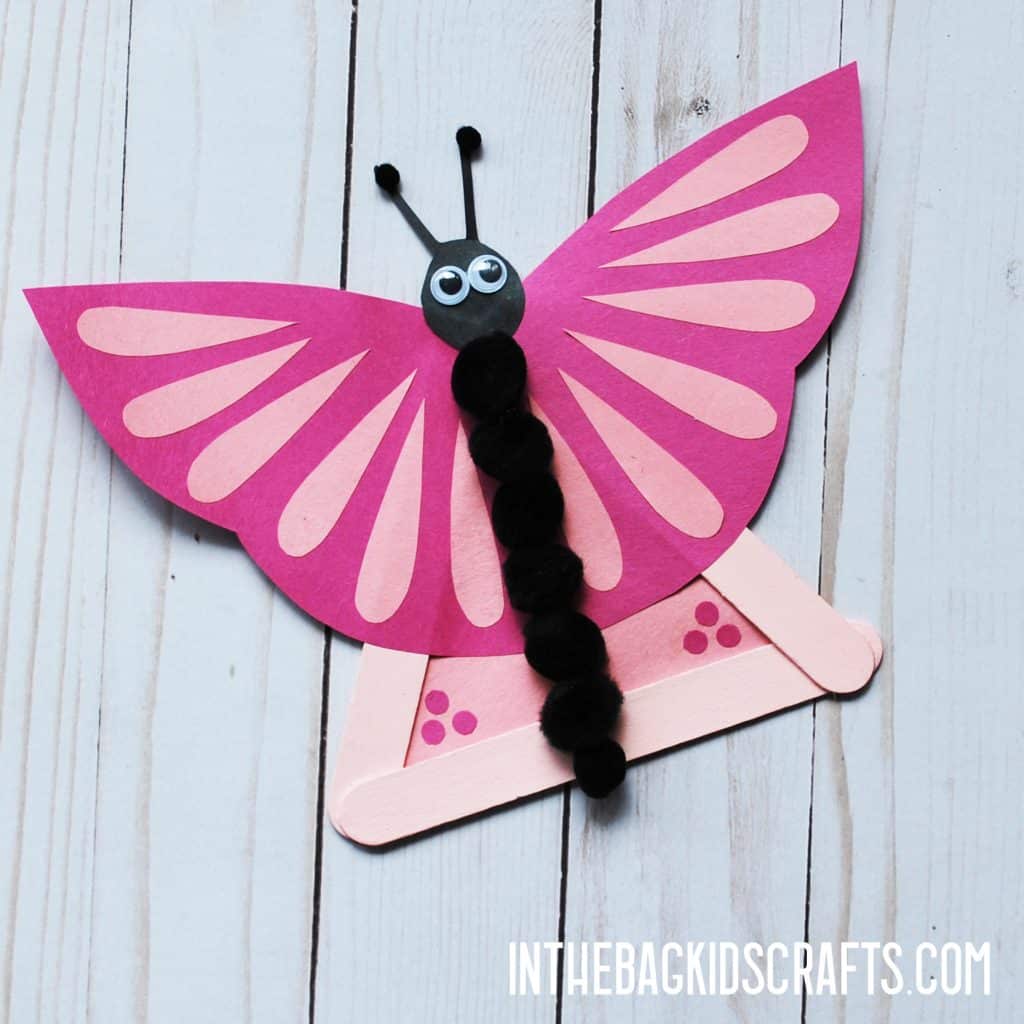
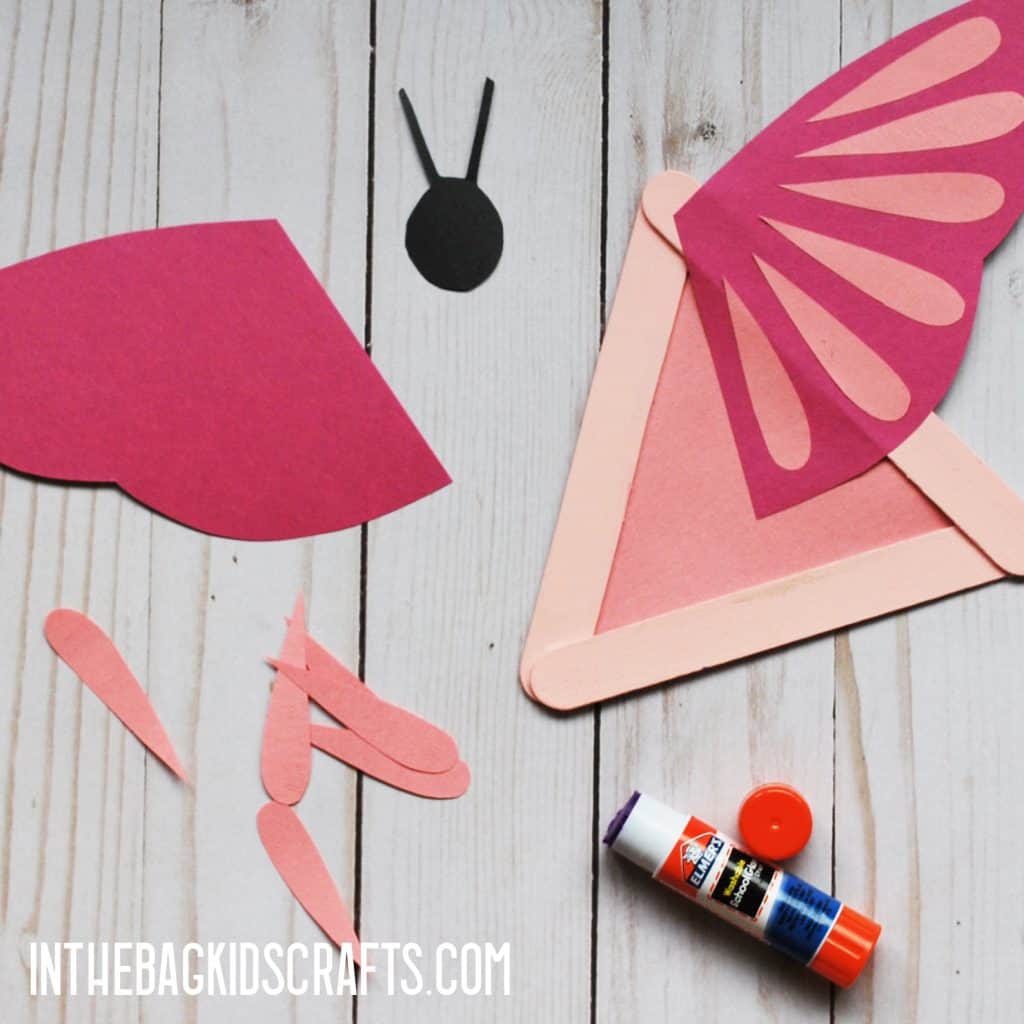
- Cut two wings out. I used hot pink paper for this, but you should use your favorite colors for this butterfly.
- Also, cut out the head from black construction paper.
- Add the details to the wings as desired. You can use the details from the template or draw in details with paint or markers
- Glue the head in place and add some googly eyes.
- Place a line of Elmer’s glue down the center and make the body from small black pompoms.
Love Bugs? Then we have just the thing for you! These 13 bug crafts are so fun and simple to make. Get the full collection today.
Project 3: Grasshopper Craft
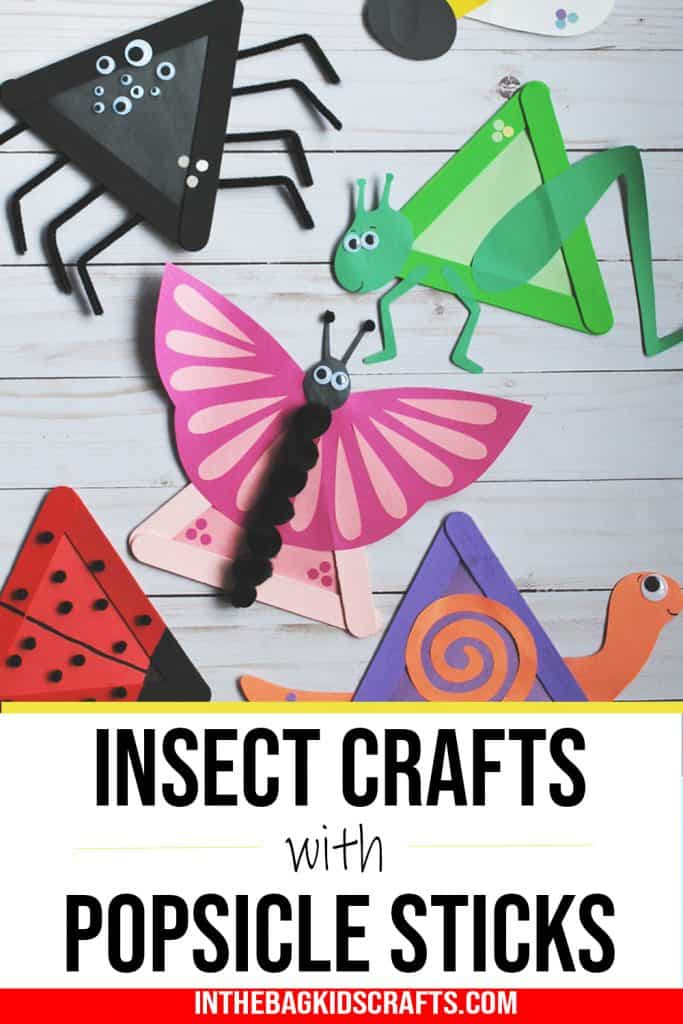
Save these bug crafts for later. Pin them to your favorite Pinterest board…
SUPPLIES FROM THE BAG
- 3 Large popsicle sticks
- Light and dark green construction paper
- Elmer’s glue
- Glue stick
- Scissors
- Black Sharpie marker
- Newspaper
- Clothespin
- Medium pompom
- 2 Small googly eyes
- Light green paint
- Printable Template
Step 1: Make the triangle
- Use the Elmer’s glue to make a triangle out of the 3 large popsicle sticks
- Give the glue plenty of time to dry. *You may want to make up several triangle frames and let them dry overnight. Then you will be ready to make lots of crafts without the wait time.
- *See picture in project 1
Step 2: Fill it in
- Place the triangle on the newspaper and squeeze out a little bit of light green paint.
- Pinch the pompom with the clothespin to form a “paint brush”. And paint the frame light green.
- Give the paint time to dry.
- Cut a triangle out of the light green construction paper, just a little smaller than the frame. (Included in printable template)
- Once the paint is dry, use the glue stick to adhere it to the back of the popsicle stick frame.
Step 3: Add the details to your bug crafts
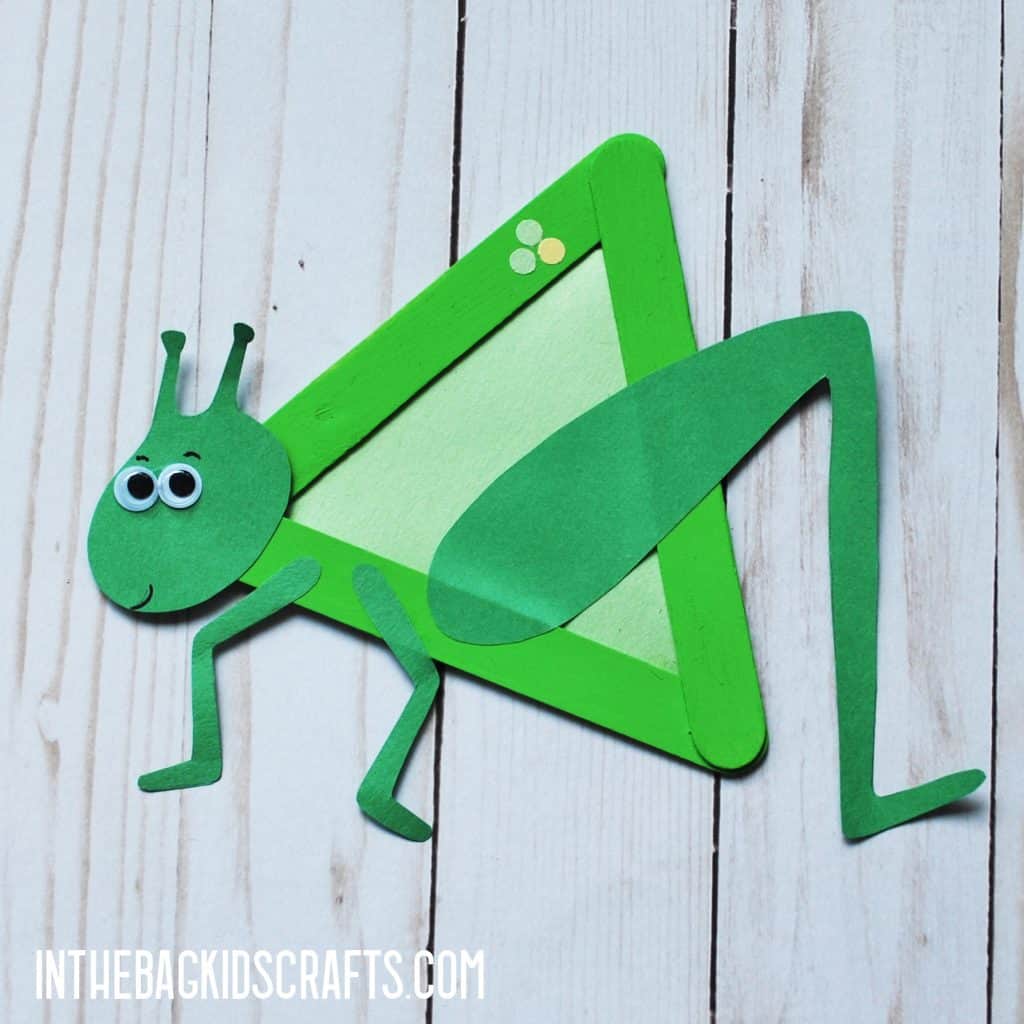
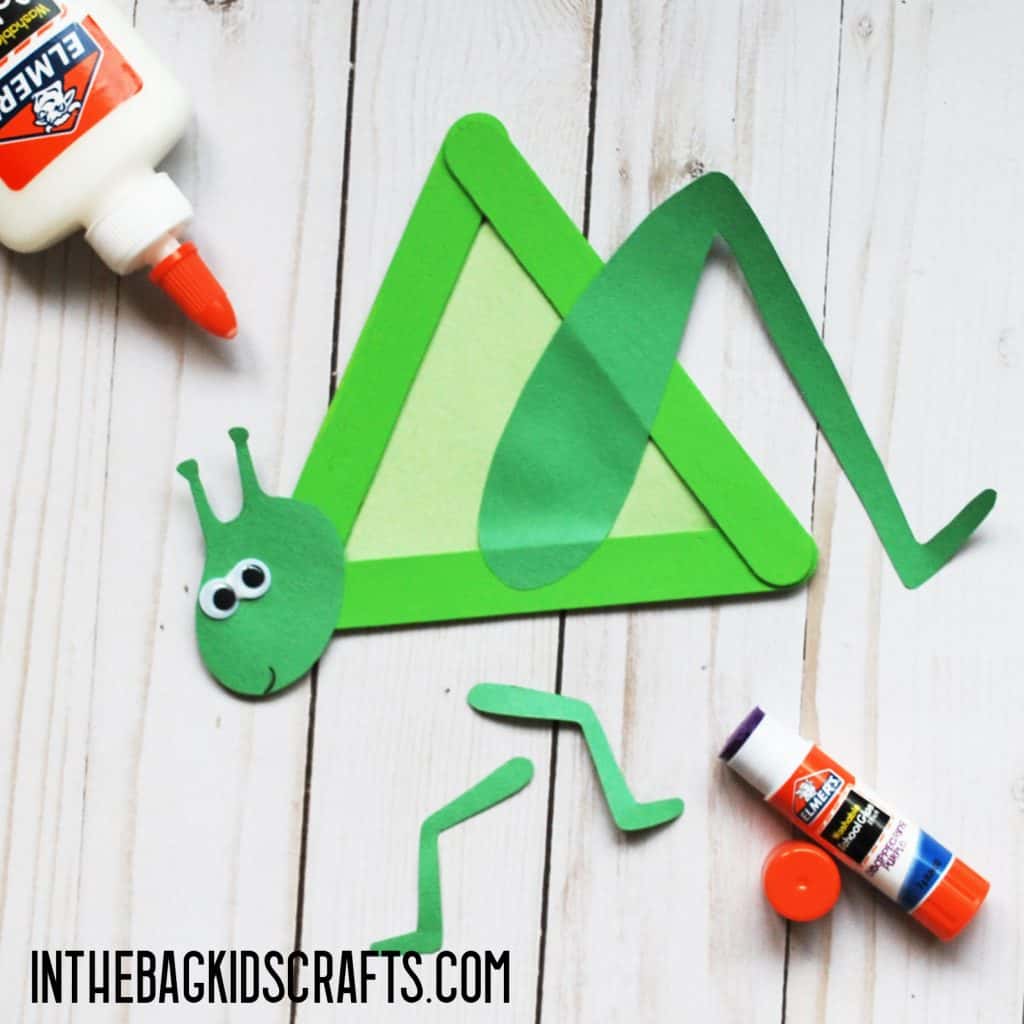
- Use the printable and trace the grasshopper parts onto the darker green construction paper
- Glue the pieces in place according to the picture below.
- Add some googly eyes
Project 4: Spider Craft
SUPPLIES FROM THE BAG
- 3 Large popsicle sticks
- Elmer’s glue
- Newspaper
- Clothespin
- Medium pompom
- Black paint
- Black construction paper
- Glue stick
- Scissors
- Assorted googly eyes
- Tape
- 3 Black pipe cleaners
Step 1: Make the triangle
- Use the Elmer’s glue to make a triangle out of the 3 large popsicle sticks
- Give the glue plenty of time to dry. *You may want to make up several triangle frames and let them dry overnight. Then you will be ready to make lots of crafts without the wait time.
- *See picture in project 1
Step 2: Fill it in
- Place the triangle on the newspaper and squeeze out a little bit of black paint.
- Pinch the pompom with the clothespin to form a “paint brush”. And paint the frame black.
- Give the paint time to dry.
- Cut a triangle out of the black construction paper, just a little smaller than the frame.
- Once the paint is dry, use the glue stick to adhere it to the back of the popsicle stick frame.
Step 3: Add the details to your insect crafts
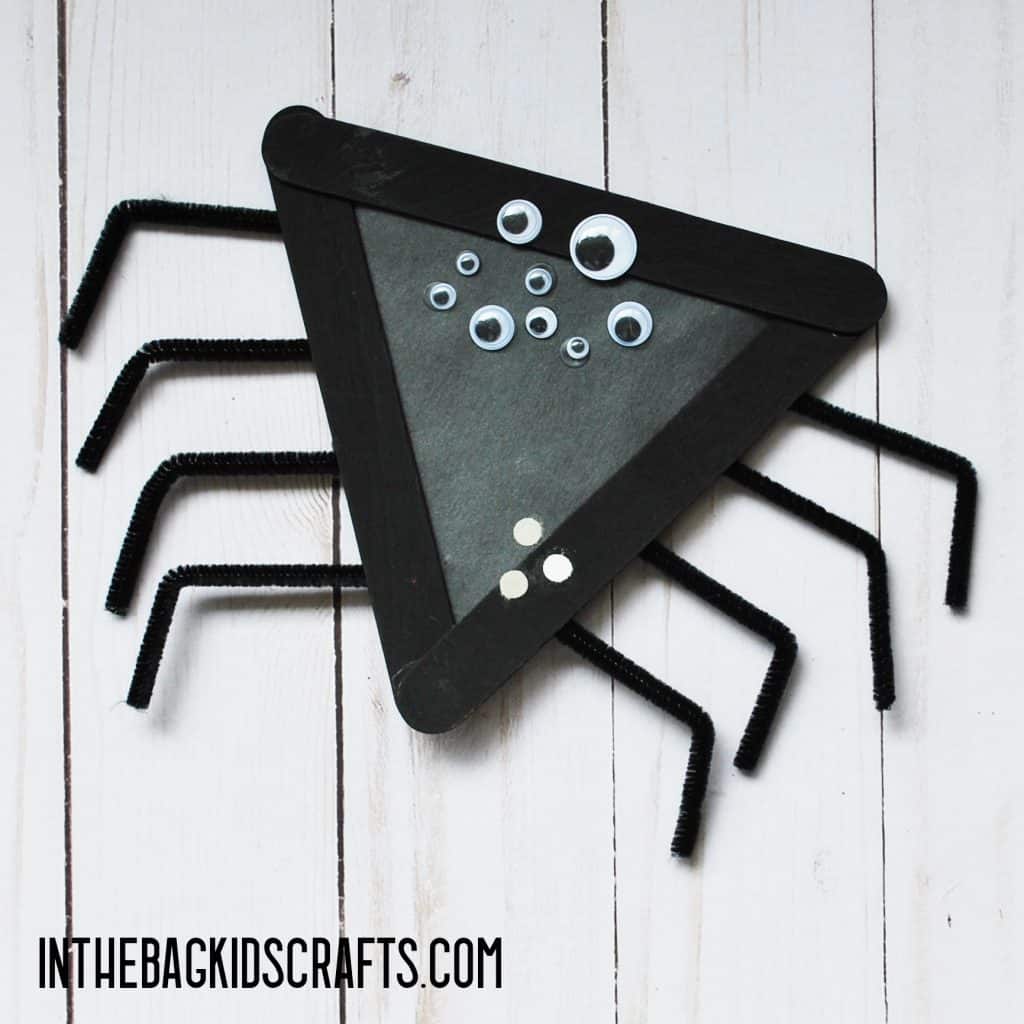
- Cut the three black pipe cleaners into thirds
- Tape the legs onto the back of the triangle and give a little bend
- If your googly eyes are not self-adhesive, use the Elmer’s glue to adhere various sized eyes
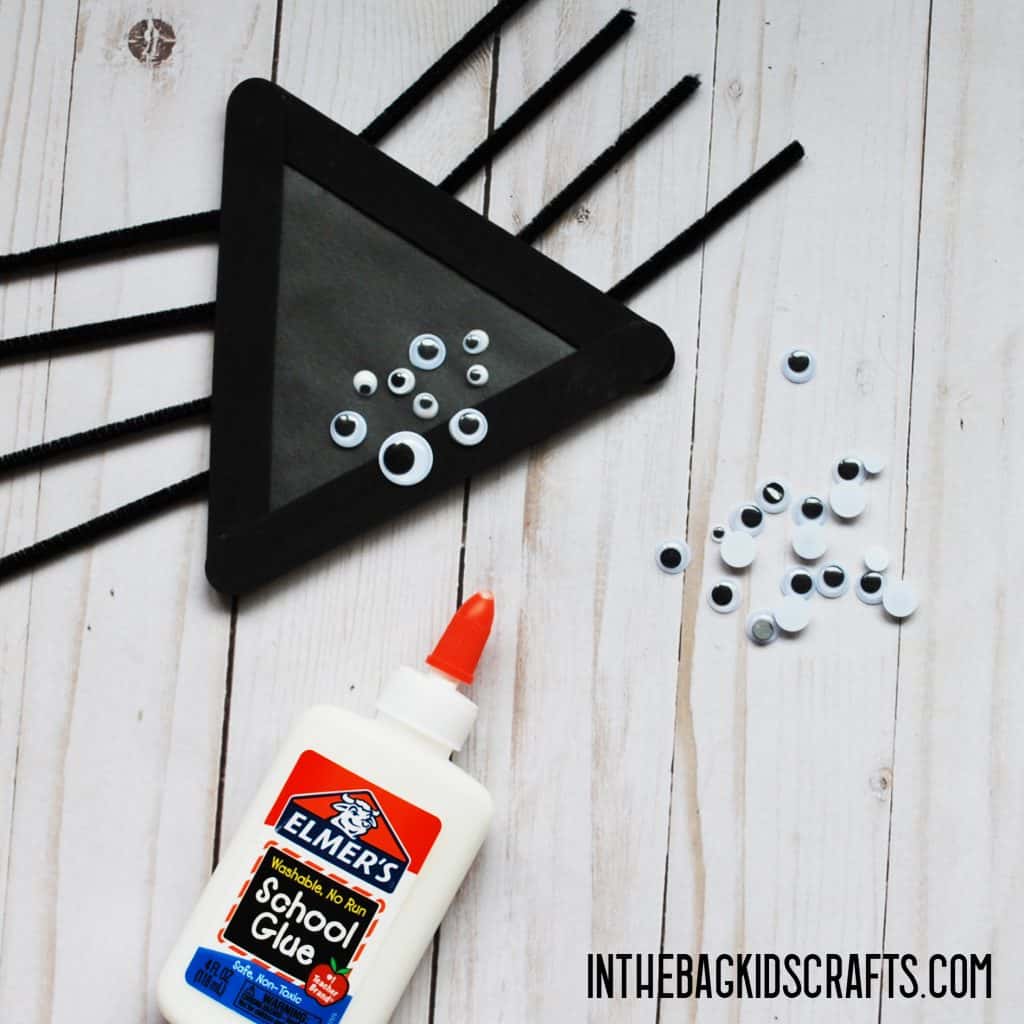
Watch us show you how to make the Spider Craft!
Project 5: Beetle Craft
SUPPLIES FROM THE BAG
- 3 Large popsicle sticks
- Elmer’s glue
- Aqua paint
- Newspaper
- Clothespin
- Medium pompom
- Aqua construction paper
- Scissors
- Glue stick
- 2 Small googly eyes
- Black Sharpie marker
- Scrap of purple construction paper
- Printable Template
Step 1: Make the triangle
- Use the Elmer’s glue to make a triangle out of the 3 large popsicle sticks
- Give the glue plenty of time to dry. *You may want to make up several triangle frames and let them dry overnight. Then you will be ready to make lots of crafts without the wait time.
- *See picture in Project 1
Step 2: Fill it in
- Place the triangle on the newspaper and squeeze out a little bit of aqua paint.
- Pinch the pompom with the clothespin to form a “paint brush”. And paint the frame aqua.
- Give the paint time to dry.
- Cut a triangle out of the aqua construction paper, just a little smaller than the frame. (Included in printable template)
- Once the paint is dry, use the glue stick to adhere it to the back of the popsicle stick frame.
Step 3: Add the details for your bug craft
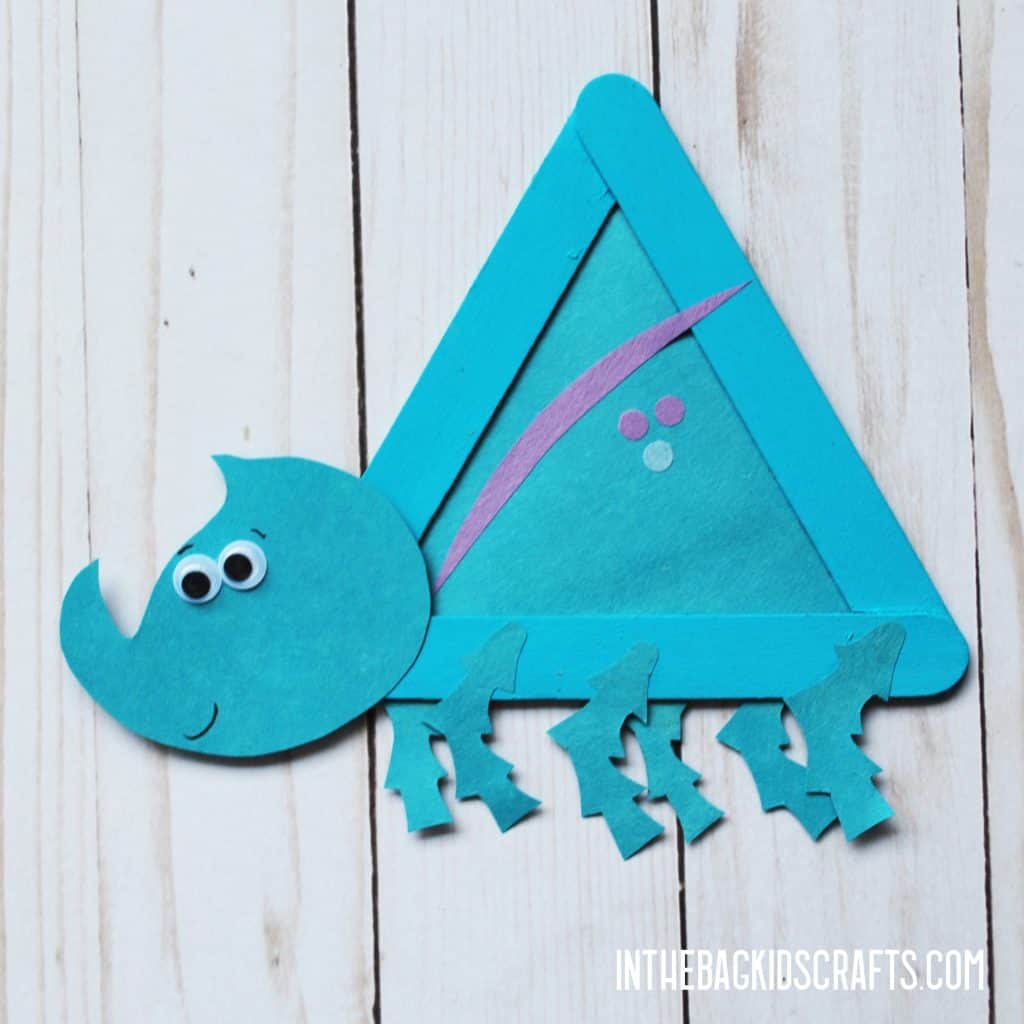
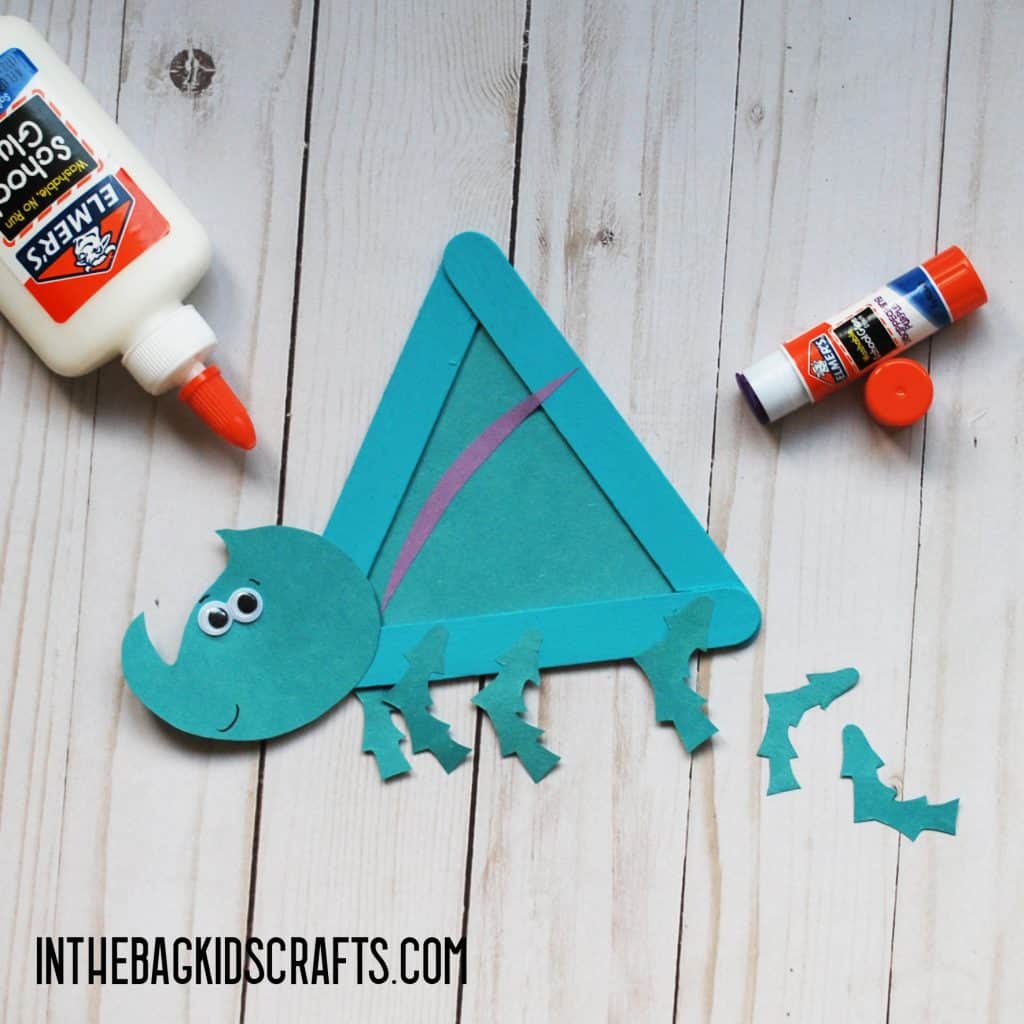
- Use the template to cut the parts of the beetle from aqua paper (and scrap of purple)
- Glue the pieces in place according to the picture
- Add some googly eyes and
- Last, draw on details like mouth and eyebrows using a black sharpie
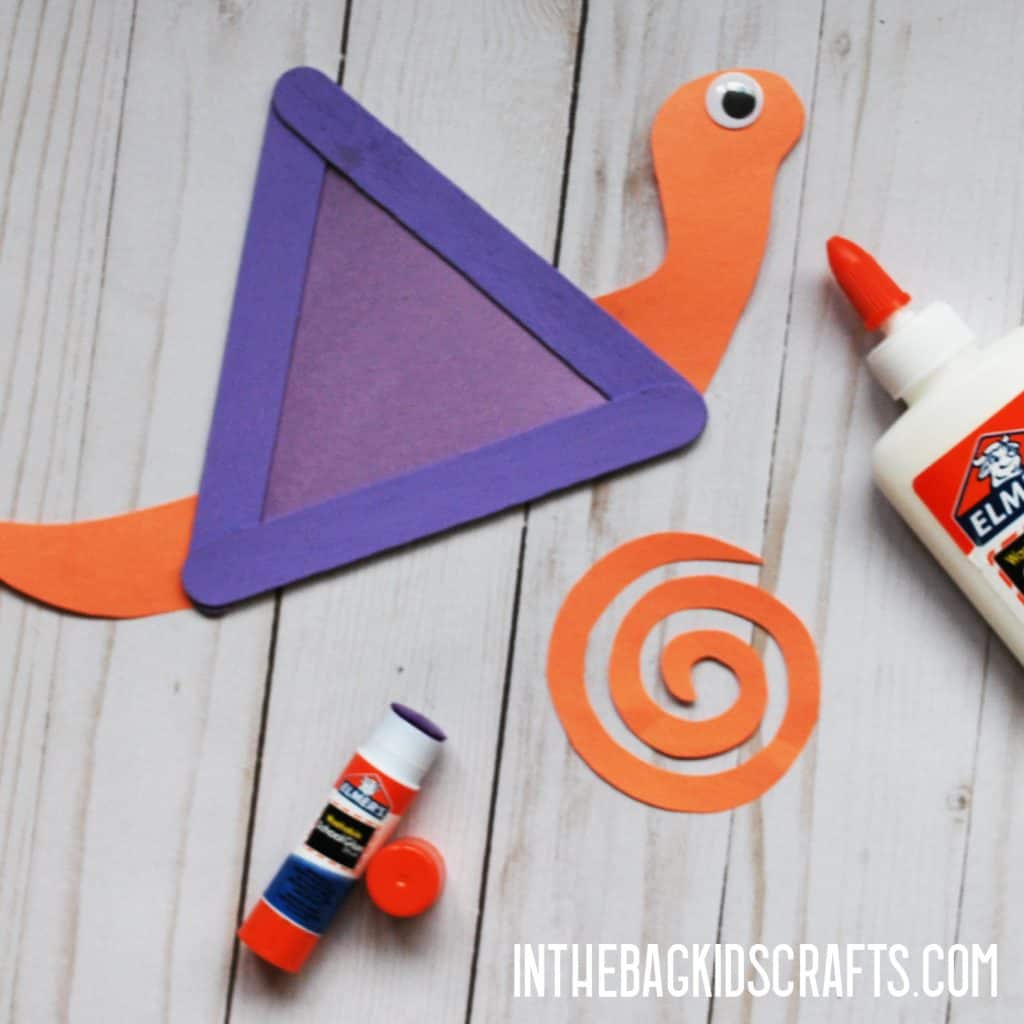
Project 6: Snail Craft
SUPPLIES FROM THE BAG
- 3 Large popsicle sticks
- Elmer’s glue
- Newspaper
- Purple paint
- Clothespin
- Medium pompom
- Purple and orange construction paper
- Scissors
- Glue stick
- 1 Medium googly eye
- Black Sharpie marker
- Printable Template
Step 1: Make the triangle
- Use the Elmer’s glue to make a triangle out of the 3 large popsicle sticks
- Give the glue plenty of time to dry. *You may want to make up several triangle frames and let them dry overnight. Then you will be ready to make lots of crafts without the wait time.
- *See picture in Project 1
Step 2: Fill it in
- Place the triangle on the newspaper and squeeze out a little bit of purple paint.
- Pinch the pompom with the clothespin to form a “paint brush”. And paint the frame purple.
- Give the paint time to dry.
- Cut a triangle out of the purple construction paper, just a little smaller than the frame. (Included in printable template)
- Once the paint is dry, use the glue stick to adhere it to the back of the popsicle stick frame.
Step 3: Add the details
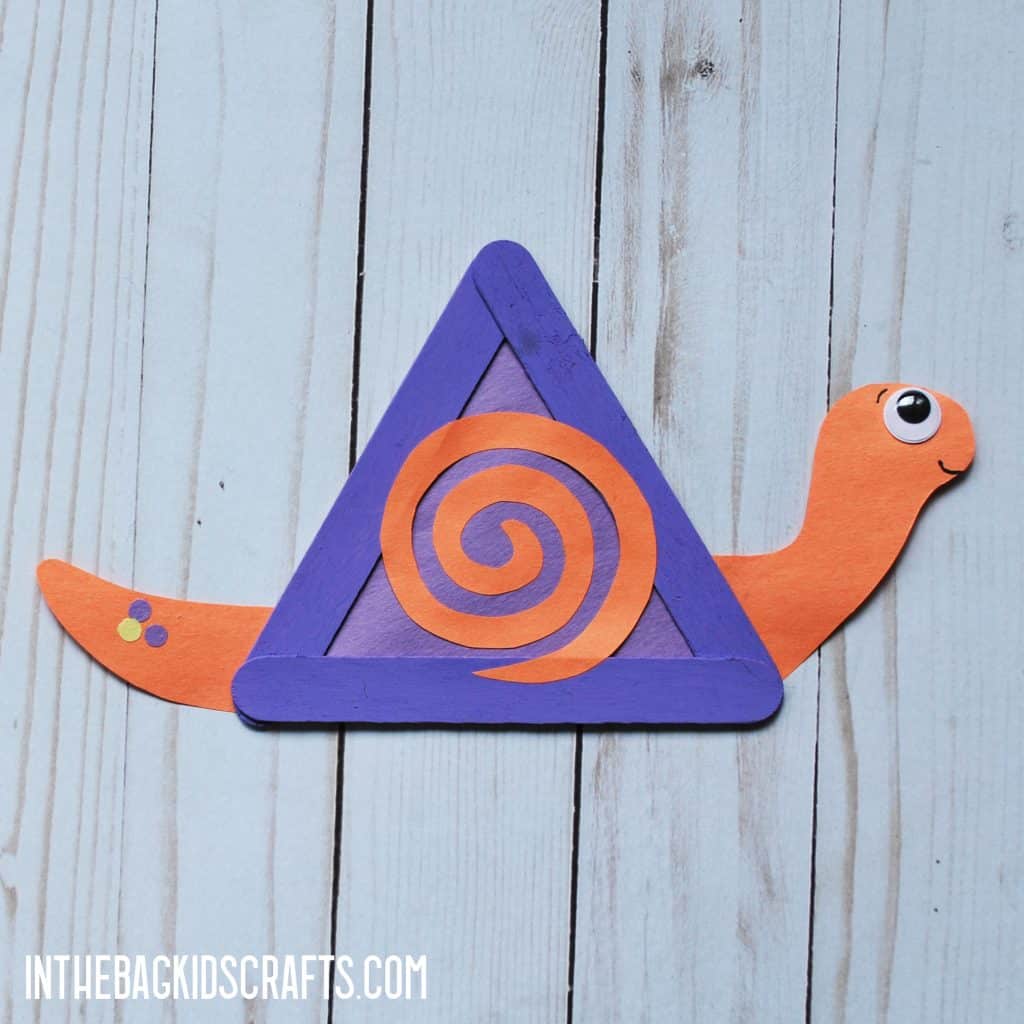
- Cut the details from orange paper using the template below.
- Then glue the pieces in place according to the picture
- Last give your snail a googly eye and draw on a mouth
Project 7: Ladybug Craft
SUPPLIES FROM THE BAG
- 3 Large popsicle sticks
- Elmer’s glue
- Red construction paper
- Scissors
- Glue stick
- Newspaper
- Clothespin
- Medium pompom
- Red paint
- Black Sharpie marker
- Mini black pompoms
- Q-tip
Step 1: Make the triangle
- Use the Elmer’s glue to make a triangle out of the 3 large popsicle sticks
- Give the glue plenty of time to dry. *You may want to make up several triangle frames and let them dry overnight. Then you will be ready to make lots of crafts without the wait time.
- *See picture in Project 1
Step 2: Fill it in
- Place the triangle on the newspaper and squeeze out a little bit of red paint.
- Pinch the pompom with the clothespin to form a “paint brush”. And paint the frame red.
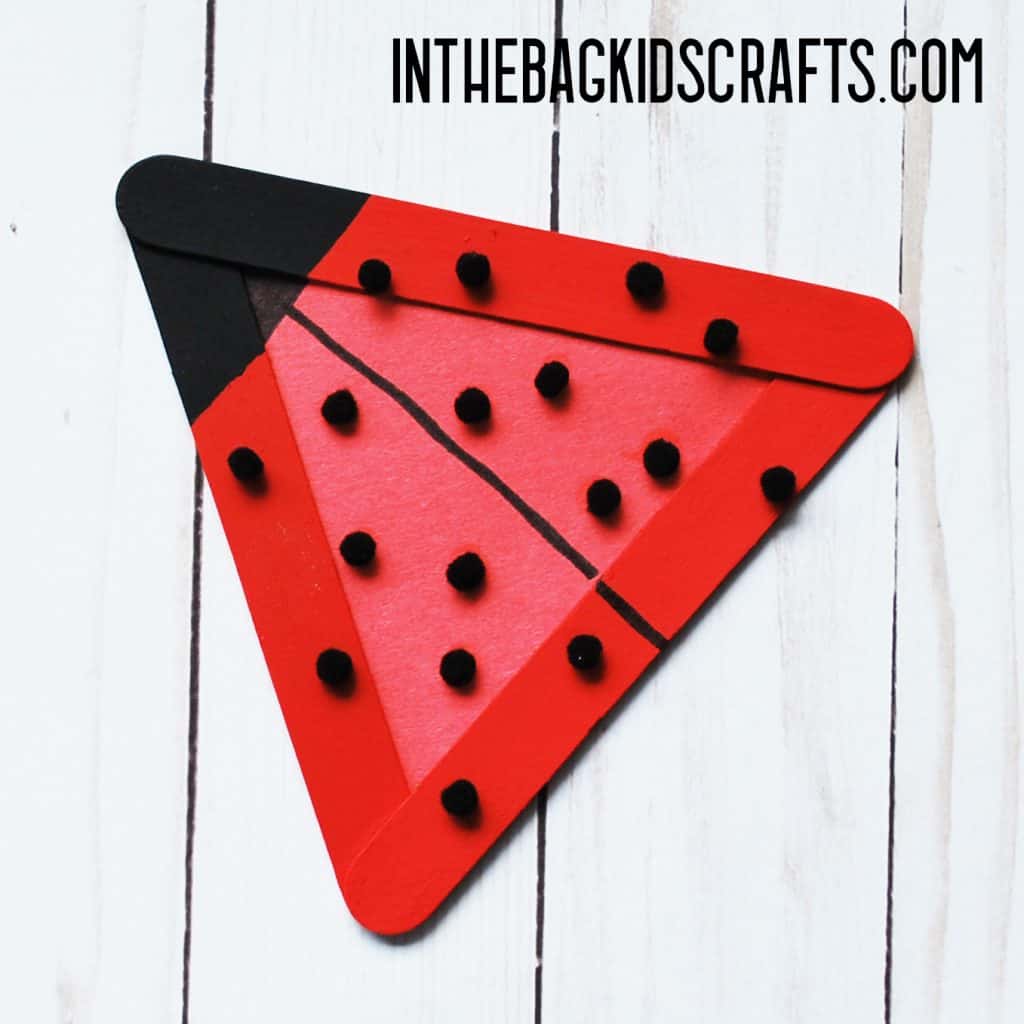
- Paint one of the triangle tips black for the head of the ladybug. You may want to use a q-tip for this.
- Give the paint time to dry.
- Cut a triangle out of the red construction paper, just a little smaller than the frame.
- Once the paint is dry, use the glue stick to adhere it to the back of the popsicle stick frame.
Step 3: Add the details to your bug crafts
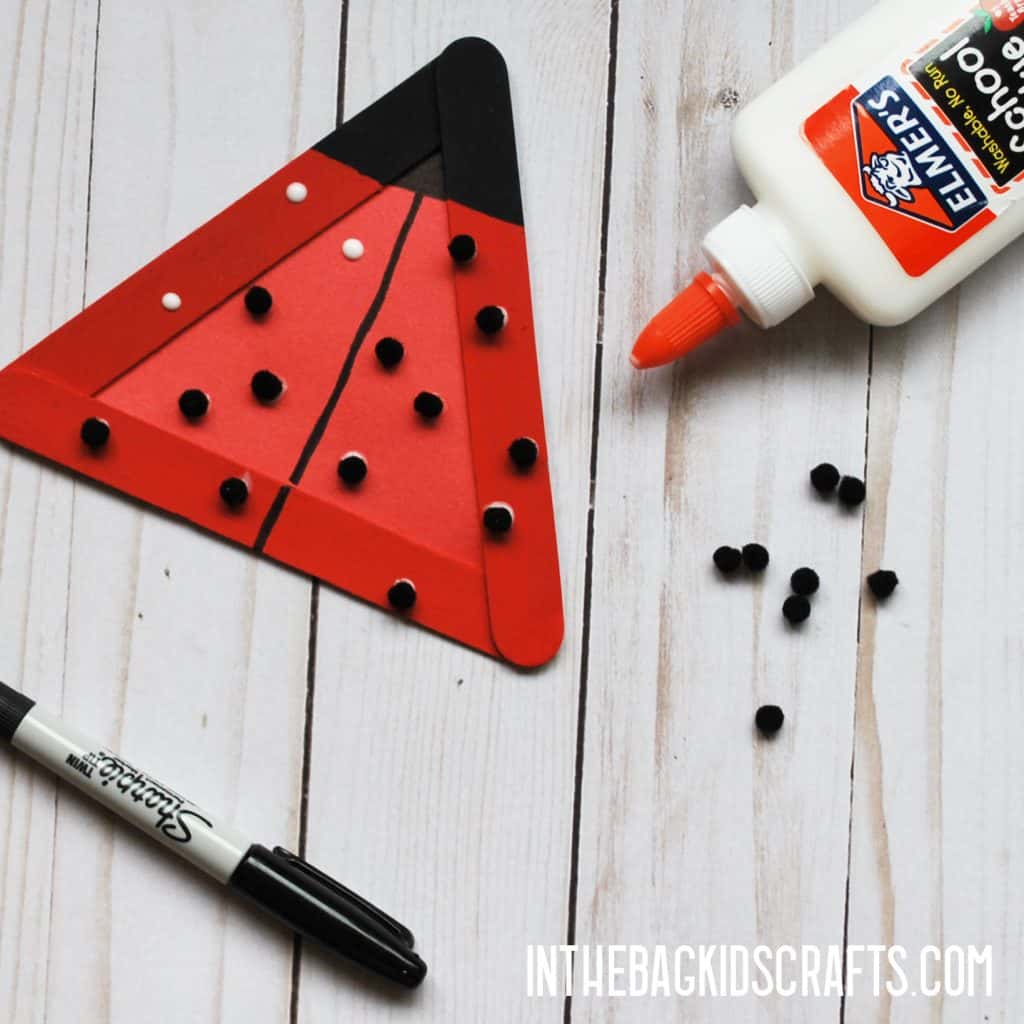
- Fill in head of the ladybug with the black Sharpie and draw line down the middle
- Glue mini black pompoms for the ladybug’s spots and let the glue dry. Now your bug crafts are complete.
- *If you do not have mini pompoms, draw on dots or use your pinky finger to make painted black dots.
I think that you will definitely agree that bug crafts are simply the best. They are like chips…you won’t be able to make just one. And once you have made several of these insect crafts, just think of the games that you can play. Plus all of the stories you can tell! Open your imaginations and get them going!
Save these bug crafts for later! Pin these crafts to your favorite Pinterest board…
