5 Easy Dinosaur Crafts for Kids
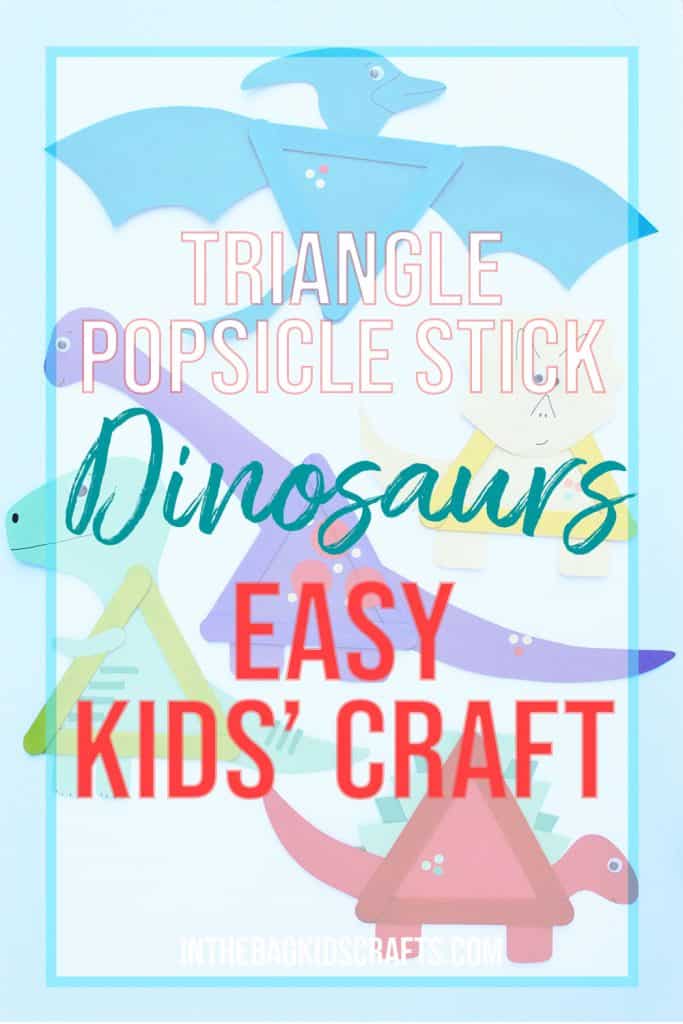
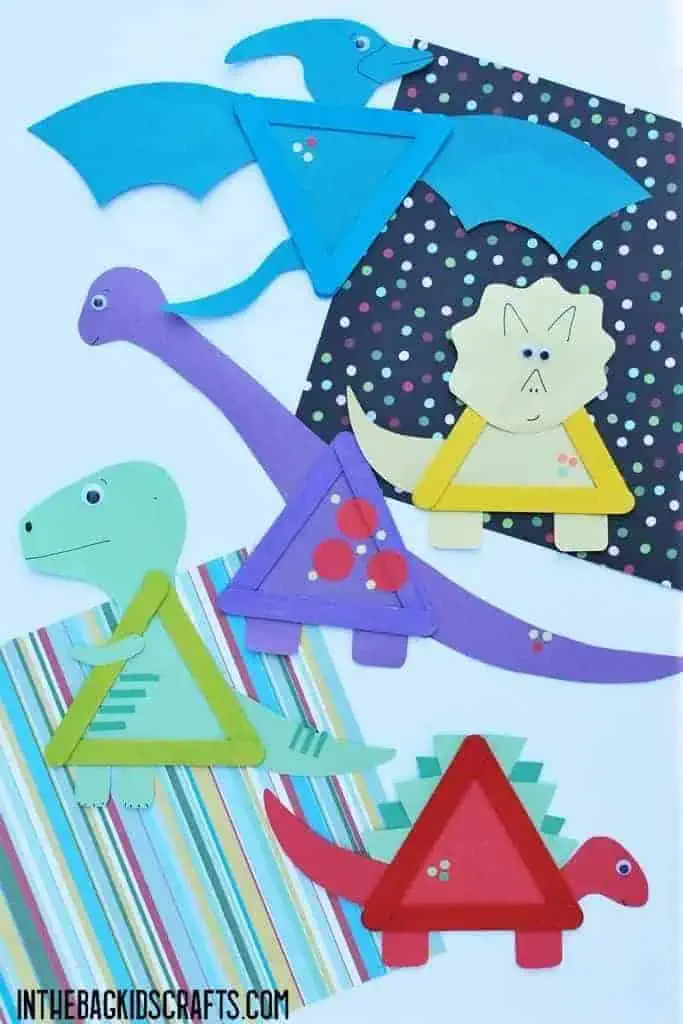
Who doesn’t like an adorable DINOSAUR!?! Boy, girl, young, old…dinosaurs bridge it all and are just downright FUN! So, here are my favorite 5 easy dinosaur crafts for kids for you to enjoy. Of course, as always, feel free to use your imaginations and let these dinosaurs take on your own personal flair. Just make them your own!
And, as always, we will make these easy kids crafts with things that you already have in your craft bag if you have used our master list of supplies to pack it. And the master list contains mostly things that you already have in your own house, plus a few special additions that you can get on Amazon (or at your local craft store).
You heard that right…we make EVERY craft on this site using the SAME MASTER LIST! And we do this so that you can be prepared to craft with your family any time you find yourselves with a little unexpected free time…No more excuses for not being creative with your kids, even if you don’t consider yourself to be particularly “crafty”. This approach makes it achievable for anyone to share crafty experiences with their children. You will not regret it…I promise! So, take just a few minutes now so that you are ready for later when the opportunity presents itself. Find out what to put in your bag.
Get the full collection (including these dinos) in our new eBook full of 45 easy crafts that start with a triangle shape.
This post contains affiliate links, which means if you make a purchase through these links, I may receive a small commission at no extra cost to you. Click here to read my full disclosure policy.
Project 1: Stegosaurus Kids’ Craft

SUPPLIES FROM THE BAG
- 3 Large popsicle sticks
- Red paint
- Elmer’s glue
- Newspaper
- Medium pompom
- Clothespin
- Red construction paper
- Glue stick
- Small googly eye
- Scraps of light and dark green construction paper
- Scissors
- Black marker
- Pencil
- Hole punch (optional)
- Dinosaur Printable Template
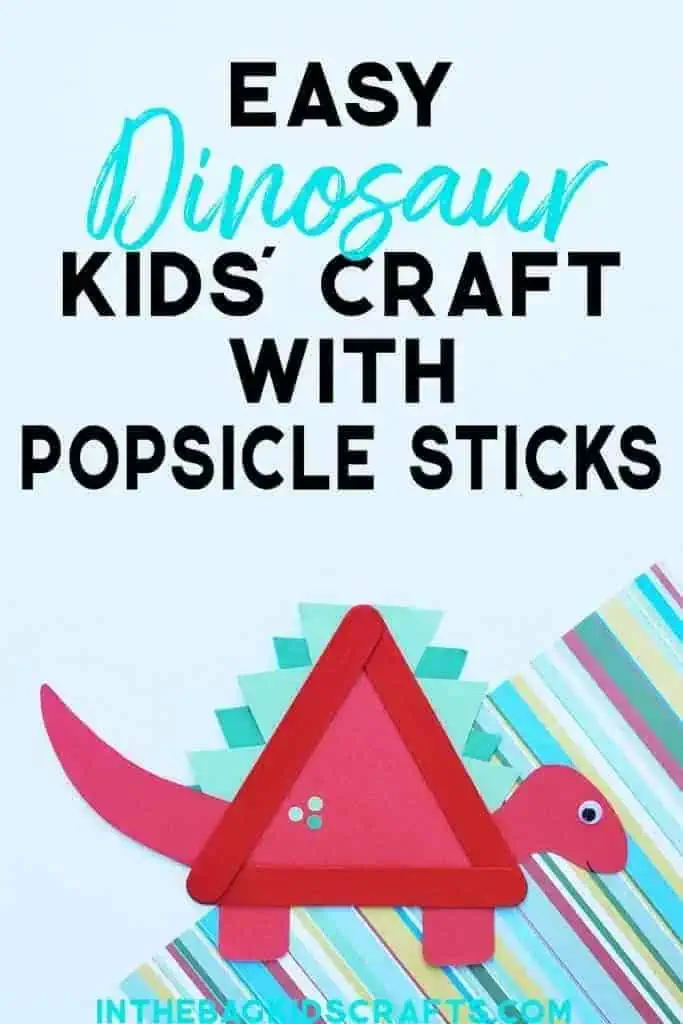
The first of these dinosaur paper crafts is my favorite, the Stegosaurus. And remember, this is your dinosaur. So, you should make him look how you want! Change the colors, add more details, whatever you want since this is your craft to make. Which one is your favorite?
Step 1: Make a triangle
- Glue together 3 large popsicle sticks and allow them to dry. It is best to let the triangle sit overnight to set. While you are at it, make several so that you can make all the things!
- Once the glue dries, place the triangle frame on the newspaper (so that you don’t make a mess) and pinch the pompom with the clothespin to form a paint brush
- Squeeze a small amount of paint onto the newspaper and paint your frame. For the stegosaurus, I used red paint. But you can change up the colors of paint and paper if you would like. Make it your own!
- Allow the paint while you are working on the next step.

Step 2: Put it together
- Print out the templates found in the resource library for the parts of your stegosaurus…OR…be adventurous and draw your own!
- Cut out each part and glue it in place on your triangle. Start with the triangle.
- For this dinosaur, you will need to trim down the spikes for the stegosaurus as needed.
- Glue on Mr. Stego’s little googly eye
- Draw on details as you would like
- Optional: Add a couple of “freckles” by using the hole punch to make little circles and gluing them in place.
Save this dinosaur craft for kids for later…Pin it!
Even though adding the “freckle” details is optional, if you have a kiddo who is working on building up hand strength, using the hole punch is a great tool for this! And, of course, building hand strength is one of the many factors that go into holding a pencil better. Find out more about how to help your child hold a pencil better in this FREE 5-part mini course sent straight to your inbox.
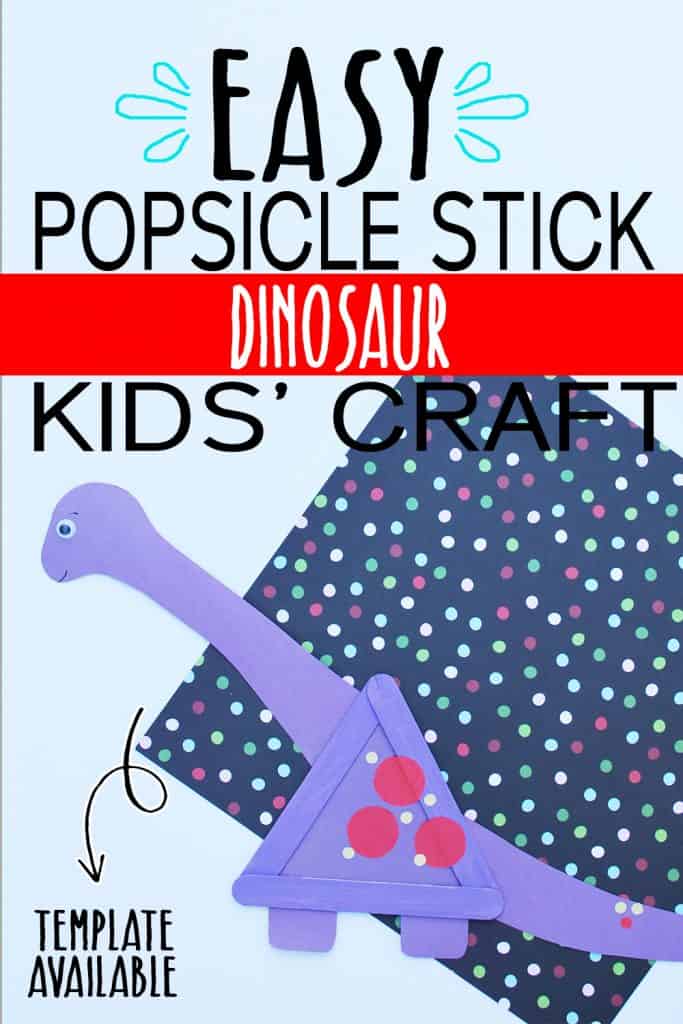
Project 2: Brachiosaurus Kids’ Craft

SUPPLIES FROM THE BAG
- 3 Large popsicle sticks
- Purple paint
- Newspaper
- Medium pompom
- Clothespin
- Purple construction paper
- Elmer’s glue
- Glue stick
- Scraps of red and yellow construction paper
- Scissors
- Small googly eye
- Black marker
- Pencil
- Hole punch (optional)
- Dinosaur Printable Template
This Stegosaurs dinosaur arts and craft is known to be a friendly veggie loving dino. He is often called a long neck for obvious reasons. If you want to change up the shape or give yours an even longer neck, you should. Make it your own.
Step 1: Make the triangle
- Glue together 3 large popsicle sticks and allow them to dry. It is best to let the triangle sit overnight to set. While you are at it, make several so that you can make all the things!
- Once the glue dries, place the triangle frame on the newspaper (so that you don’t make a mess) and pinch the pompom with the clothespin to form a paint brush
- Squeeze a small amount of paint onto the newspaper and paint your frame. For the brachiosaurus, I used purple paint. But you can change up the colors of paint and paper if you would like. Make it your own!
- Allow the paint while you are working on the next step.
Step 2: Add the details
- Print out the templates found in the resource library for the parts of your brachiosaurus…OR…be adventurous and draw your own!
- Cut out each part and glue it in place on your triangle. Start with the triangle.
- Once the bigger parts are in place, add the big red dots.
- Glue on Mr. Brachiosaurus’ little googly eye
- Draw on details as you would like
- Optional: Add a couple of “freckles” by using the hole punch to make little circles and gluing them in place.
Save this for later! Pin it…
Project 3: T-Rex Kids’ Craft

SUPPLIES FROM THE BAG
- 3 Large popsicle sticks
- Light green paint
- Newspaper
- Medium pompom
- Clothespin
- Light green construction paper
- Scraps of dark green construction paper
- Elmer’s glue
- Glue stick
- Scissors
- Black marker
- Medium googly eye
- Pencil
- Dinosaur Printable Template
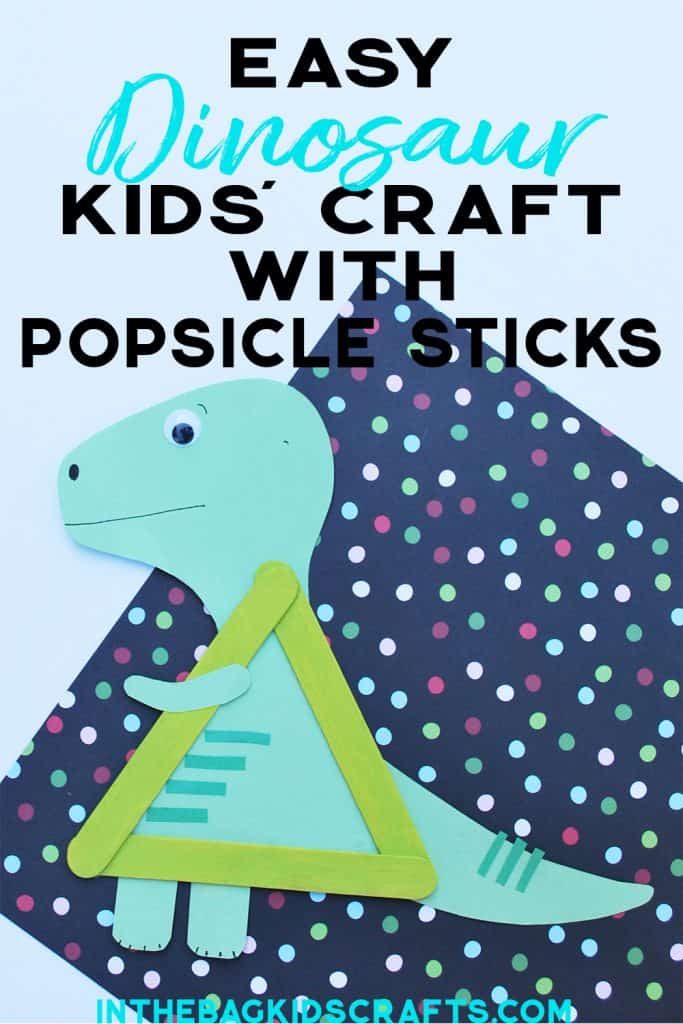
This T-Rex doesn’t look so scary, but don’t be fooled. When you are doing your dinosaur activity and engaging in free play with your newly made dinosaur crafts for kids you can decide that for yourself. Will your T-Rex be friendly or scary?
Step 1: Make the triangle
- Glue together 3 large popsicle sticks and allow them to dry. It is best to let the triangle sit overnight to set. While you are at it, make several so that you can make all the things!
- Once the glue dries, place the triangle frame on the newspaper (so that you don’t make a mess) and pinch the pompom with the clothespin to form a paint brush
- Squeeze a small amount of paint onto the newspaper and paint your frame. For the t-rex, I used light green paint. But you can change up the colors of paint and paper if you would like. Make it your own!
- Allow the paint while you are working on the next step.
Step 2: Add the details
- Print out the templates found in the resource library for the parts of your T-rex…OR…be adventurous and draw your own!
- Cut out each part and glue it in place on your triangle. Start with the triangle.
- Once the bigger parts are in place, add the little stripes.
- Glue on the T-rex’s little googly eye
- Draw on any details you would like
- Optional: Add a couple of “freckles” by using the hole punch to make little circles and gluing them in place.
Save this for later! Pin it…
Project 4: Triceratops Kids’ Craft

SUPPLIES FROM THE BAG
- 3 Large popsicle sticks
- Elmer’s glue
- Yellow paint
- Medium pompom
- Clothespin
- Newspaper
- Yellow construction paper
- Scissors
- Black marker
- Pencil
- 2 Small googly eyes
- Glue stick
- Tiny scraps of orange and green construction paper (optional)
- Hole punch (optional)
- Dinosaur Printable Template
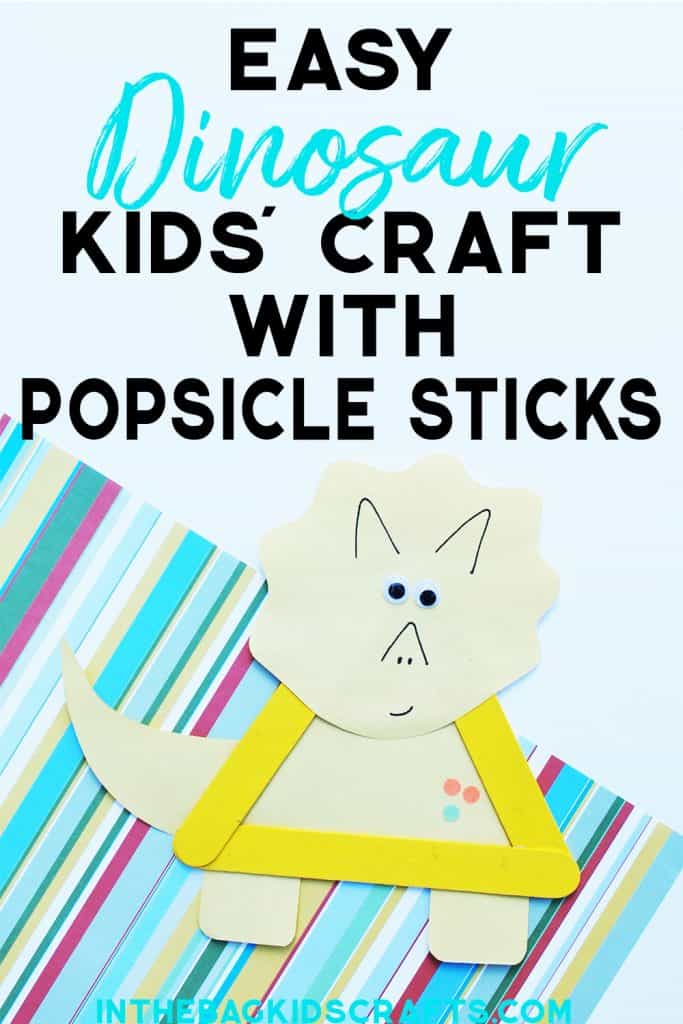
You can make this triceratops craft any color you choose. Mine is yellow, but you should use your imagination and decide on colors and details to add that are all your own.
Step 1: Make a triangle
- Glue together 3 large popsicle sticks and allow them to dry. It is best to let the triangle sit overnight to set. While you are at it, make several so that you can make all the things!
- Once the glue dries, place the triangle frame on the newspaper (so that you don’t make a mess) and pinch the pompom with the clothespin to form a paint brush
- Squeeze a small amount of paint onto the newspaper and paint your frame. For the triceratops, I used yellow paint. But you can change up the colors of paint and paper if you would like. Make it your own!
- Allow the paint while you are working on the next step.
Step 2: Add the details
- Print out the templates found in the resource library for the parts of your triceratops…OR…be adventurous and draw your own!
- Cut out each part and glue it in place on your triangle. Start with the triangle.
- Glue on Mr. Brachiosaurus’ little googly eye
- Draw on details as you want.
- Optional: Add a couple of “freckles” by using the hole punch to make little circles and gluing them in place.
Save this for later! Pin it…
Project 5: Pterodactyl Kids’ Craft

SUPPLIES FROM THE BAG
- 3 Large popsicle sticks
- Elmer’s glue
- Blue paint
- Newspaper
- Medium pompom
- Clothespin
- Scissors
- Blue construction paper
- Glue stick
- Small googly eye
- Black marker
- Pencil
- Tiny scraps of yellow and red construction paper (optional)
- Hole punch (optional)
- Dinosaur Printable Template
Step 1: Make the triangle
- Glue together 3 large popsicle sticks and allow them to dry. It is best to let the triangle sit overnight to set. While you are at it, make several so that you can make all the things!
- Once the glue dries, place the triangle frame on the newspaper (so that you don’t make a mess) and pinch the pompom with the clothespin to form a paint brush
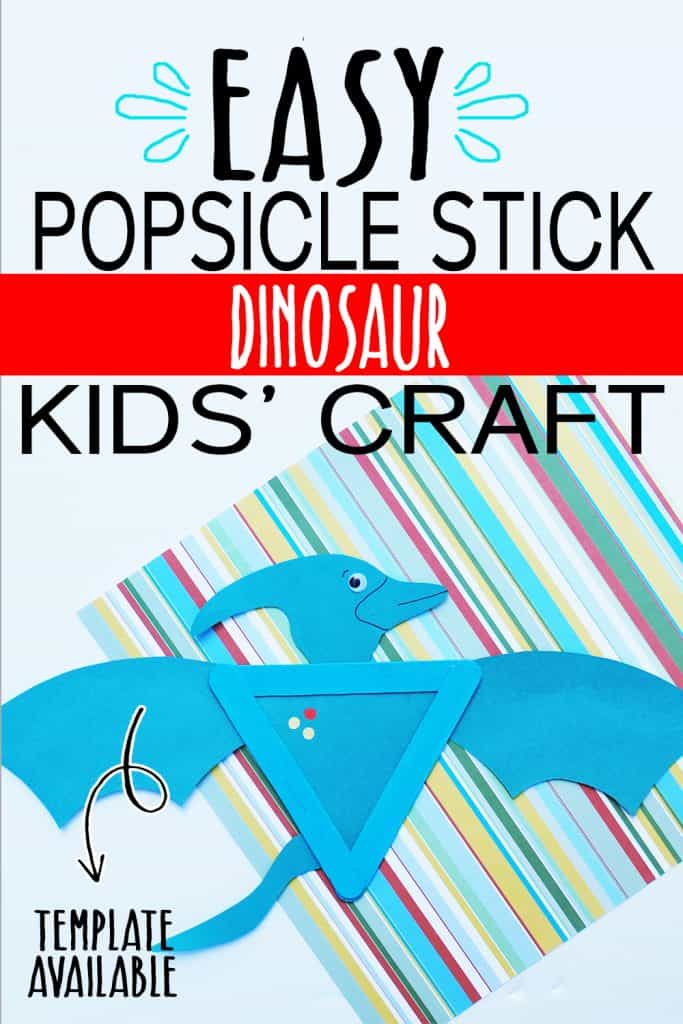
- Squeeze a small amount of paint onto the newspaper and paint your frame. For the pterodactyl, I used blue paint. But you can change up the colors of paint and paper if you would like. Make it your own!
- Allow the paint while you are working on the next step.
Step 2: Add the details
- Print out the templates found in the resource library for the parts of your triceratops…OR…be adventurous and draw your own!
- Cut out each part and glue it in place on your triangle. Start with the triangle.
- Glue on Mr. Pterodactyl’ little googly eye
- Draw on details as you want.
- Optional: Add a couple of “freckles” by using the hole punch to make little circles and gluing them in place.
So much time and care went into creating these little dinosaur crafts. I really hope that you enjoy making them and have even more fun playing with them, making up stories and creating words for them. Enjoy these dinosaur crafts for kids. When I look at them they just make me smile. From me to you…I hope creating these bring you some happiness too.
Happy Crafting! XOXO -Joy
Save these dinosaur crafts for kids for later! Pin them to your favorite Pinterest board…
