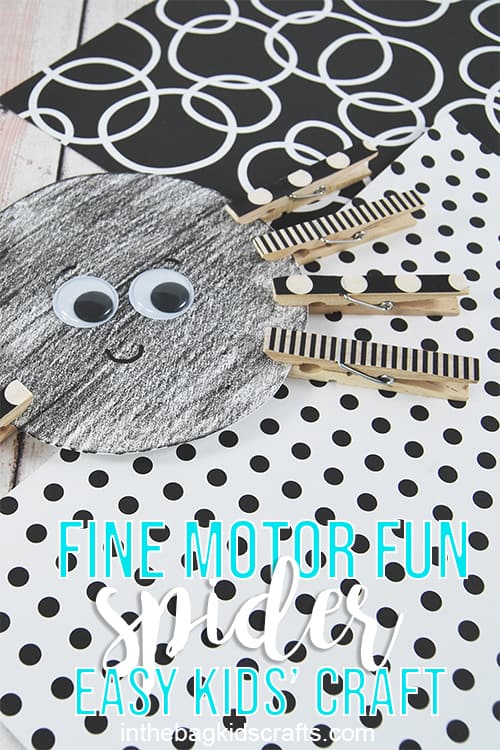
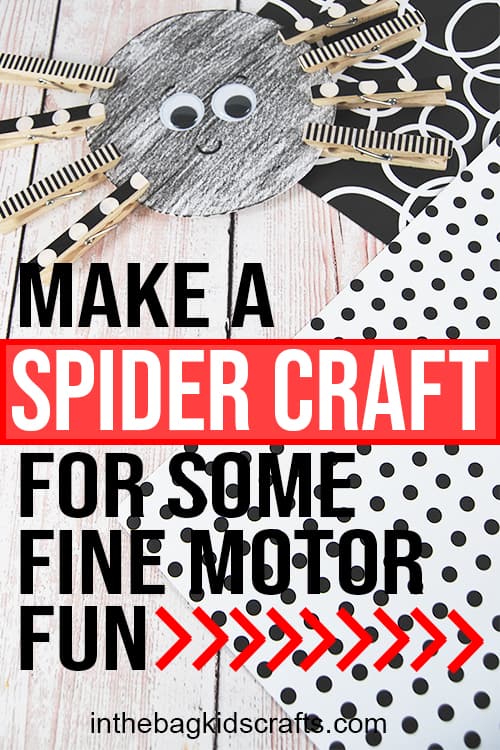
Spider Craft for Kids
This spider craft for kids is fun and simple to make, but it’s so much more than just your every day craft. Once you’re done creating, this spider becomes a great fine motor activity for kiddos.
It will help improve finger strength and dexterity and promote and mature pinch pattern, which comes in handy when learning to hold a pencil properly. That’s what makes this a great toddler craft or preschool craft. Though kids of any age can enjoy making this spider craft.
If you like making this spider craft, you’re also going to love this spider web mobile, this flying bat craft or this collection of bug crafts.
Nourish Your Relationship with Your Kids as You Craft Together all Year Long…
Fun Facts about Spiders
- All spiders produce silk, up to seven different types.
- There is a species of spider in South America that is mostly vegetarian.
- Jumping spiders can jump 50x their own length.
- Females lay up to 3000 eggs at a time.
- Spiders are nearsighted.
- They do not have teeth.
- There are more than 38,000 species of spiders, and they live on every continent in the world.
To learn more about spiders, check out this article by Discover Wildlife.
All activities require adult supervision. By using this site, you are agreeing to our terms of use. This post contains affiliate links, which means if you make a purchase through these links, I may receive a small commission at no extra cost to you. Click here to read my full disclosure policy.
Combine Reading with Crafting
The best way that I can think of to enhance the crafting experience is to combine it with reading a good book. Here are some of our favorite spider themed books for kids.


SUPPLIES FROM THE BAG
- Paper plate (9-inch coated)
- Scissors
- Crayons
- Googly eyes (or printable paper eyes)
- Glue stick (if using paper eyes)
- Markers
- 8 Clothespins
- Washi tape (black patterned)
about the bag system paragraph
Save this bug craft for later. Pin it to your favorite Pinterest board…
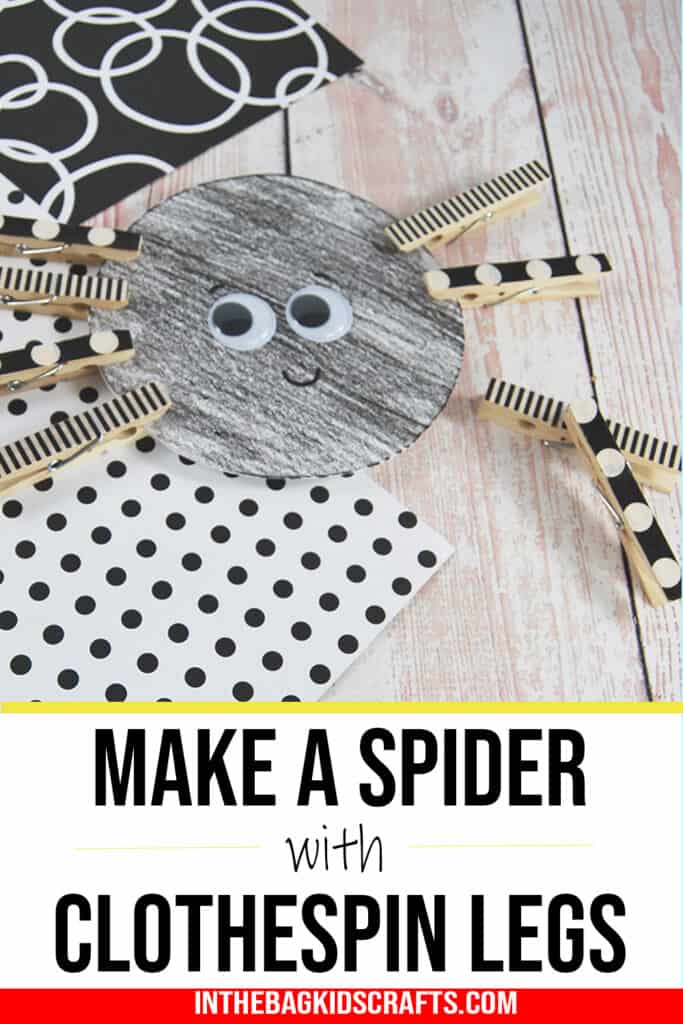
How to make a Spider Craft for Kids
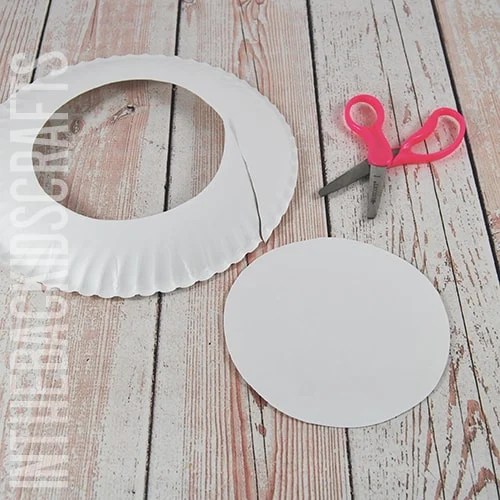
Step 1: Cut Out a Circle
- Cut out the center of a paper plate. You can follow the indented circle in the middle as a reference.
Step 2: Color and Decorate
- With the matte side of the cut out circle facing up, color your spider’s body using crayons or markers. We chose to stick to traditional black for your spider, but you can use whatever colors you would like.
- Apply googly eyes (or cut out paper eyes) to the center of your colored circle.
- Use a marker (a black Sharpie works best) to draw on a little smile.
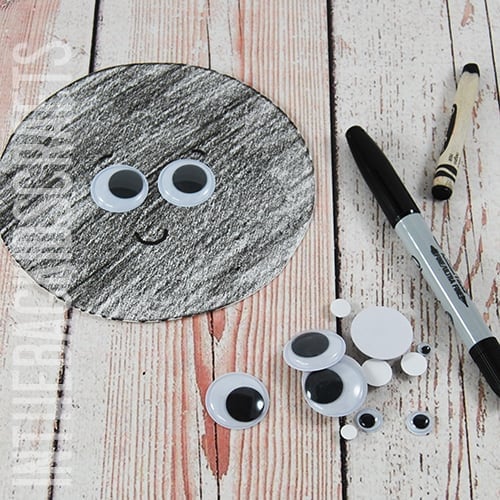
Step 3: Make the Legs for Your Easy Spider Craft
- Choose a washi tape (or several) with black patterns.
- Cover your 8 clothespins on one side.
- Trim away any excess tape using your scissors.
- You can also cover the other side of the clothespins in the same way if you choose.
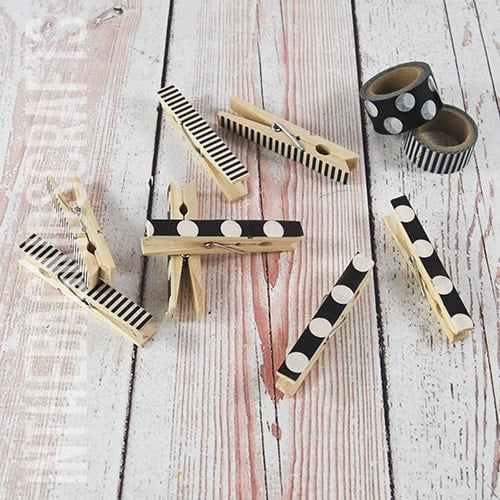
Step 4: Put the Spider Craft Together
- Finish off your spider craft by attaching his legs.
- Pinch each clothespin and add four legs to one side of the circle and four to the other side.
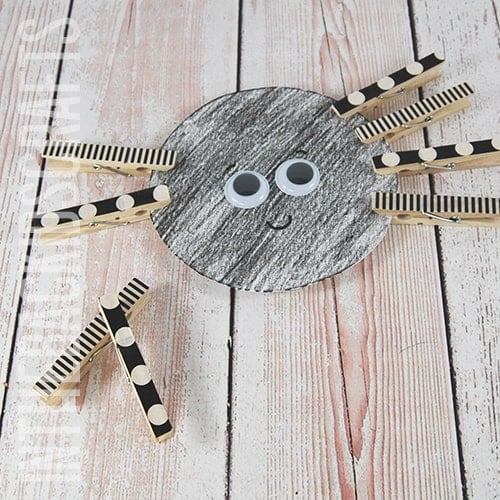
Now that you know how to make a spider craft, make more! You can make loads of these rather quickly. And each one could be different. We stuck to traditional black for our spider, but you can use whatever colors you like. Maybe you’d even like to make his legs in rainbow colors. The only limit is your imagination.
Save this Fine Motor Activity for Kids for later. Pin it to your favorite Pinterest board…
