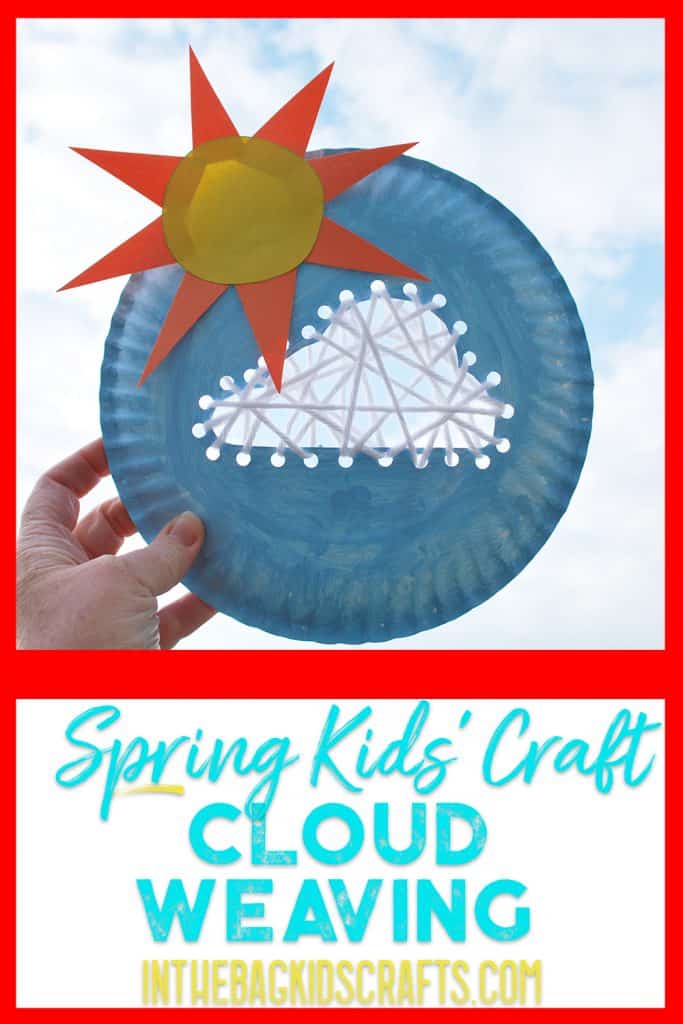
Cloud Activities for Preschoolers (Great for Fine Motor)
Spring is finally here! It seemed like winter would never end. But this To celebrate I wanted to develop a craft that would just make everyone smile, like the sun coming out from behind a cloud at last. So, please enjoy these cloud activities for preschoolers, along with this little diddy…
“Blue skies
Smiling at me
Nothing but blue skies
Do I see”
Save these cloud activities for preschoolers for later. Pin to your favorite Pinterest board…
All activities require adult supervision. By using this site, you are agreeing to our terms of use. Click here to read my full disclosure policy.
SUPPLIES FROM THE BAG
- Paper plate
- Light blue paint (if you don’t have light blue, add a little white paint to the royal blue)
- Scissors
- Hole punch
- Assortment of washi tape
- Clothespin
- Pompom (medium sized is best for this project)
- White yarn (1 1/2 yards)
- Scotch tape
- Pencil or sharpie marker
- Cloud Craft Template
And, of course, it can be completed with items from your bag. If you are new to this blog (or just haven’t caught on to what is going on here yet) let me explain…I want to make crafting with your kids as easy and do-able as possible (because there are just SOOO many benefits to this practice. More on that another time.). With that in mind, I have created a finite supply list that you can find HERE on the “Fill Your Bag” page. Keep these items on hand, and you will be able to make every project on this blog. Even better, you can pull the bag out and just go crazy, no instructions needed. Kids’ crafts for real life. Now that you have been brought up to speed, let’s get started…
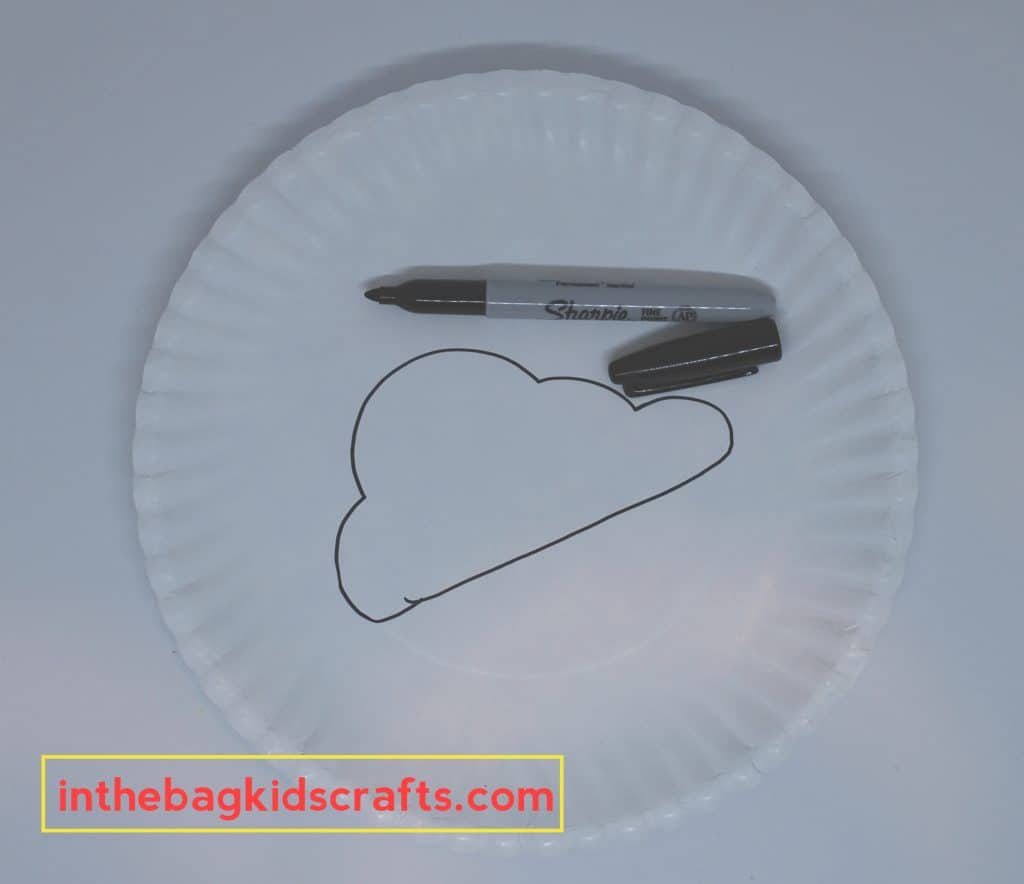
STEP 1: Use the Cloud Craft Template
- Print out the cloud template and cut out the cloud.
- Then trace it into the center of your paper plate…OR
- Draw a free-form cloud on the front of the paper plate. Keep it simple.
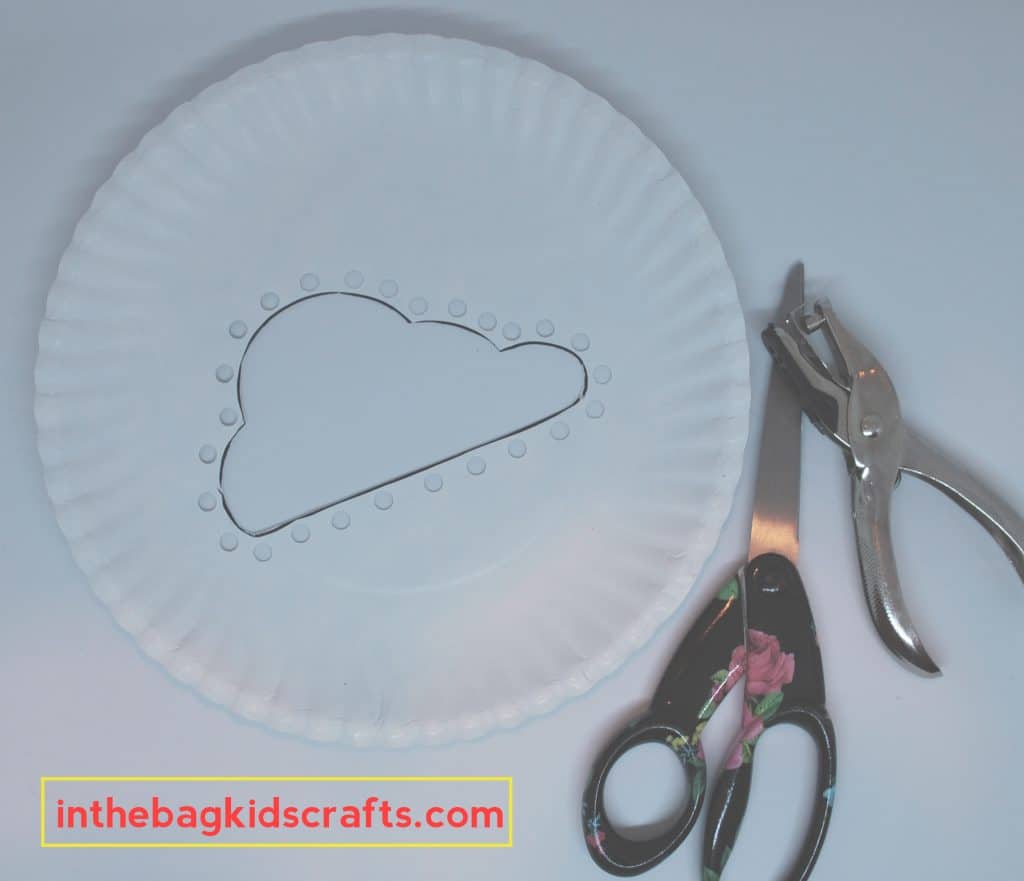
STEP 2: Cut Out the Cloud
- Cut out the cloud that you have drawn on the paper plate.
- Use the hold punch to punch holes around the border of the cloud, approximately 1/2 inch apart.
*If you are completing this craft with a preschooler or younger, you will definitely need to help with this step. Cut this complex shape inside the plate is beyond the skills of a typical preschooler (or even most kindergarteners).
STEP 3: Paint Your Paper Plate Craft
- Place the paper plate on the newspaper bottom side up.
- Combine the clothespin and pompom for a makeshift “paint brush”
- Paint the bottom of the plate light blue.
- Allow the paint to dry before moving on to Step 4

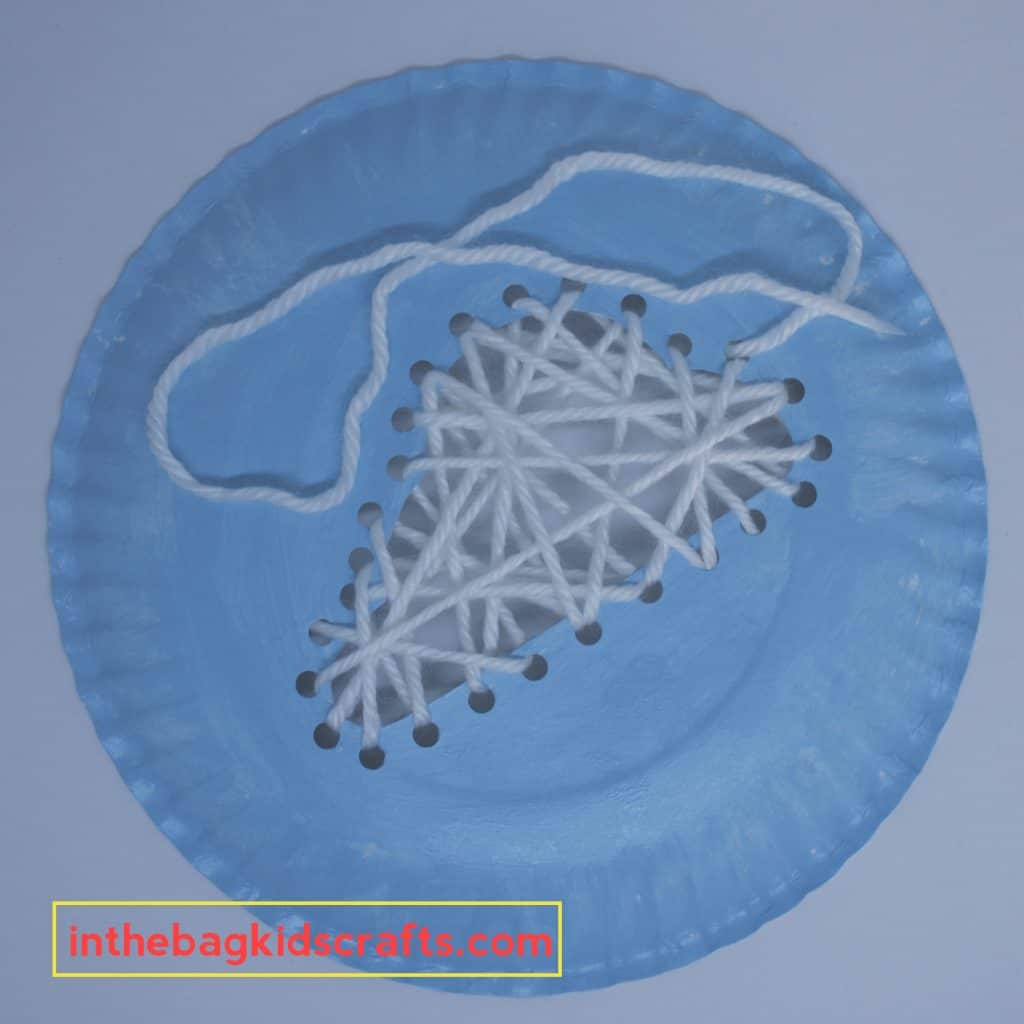
STEP 4: Lace the Cloud
- Wrap a small piece of scotch tape around the end of the white yarn
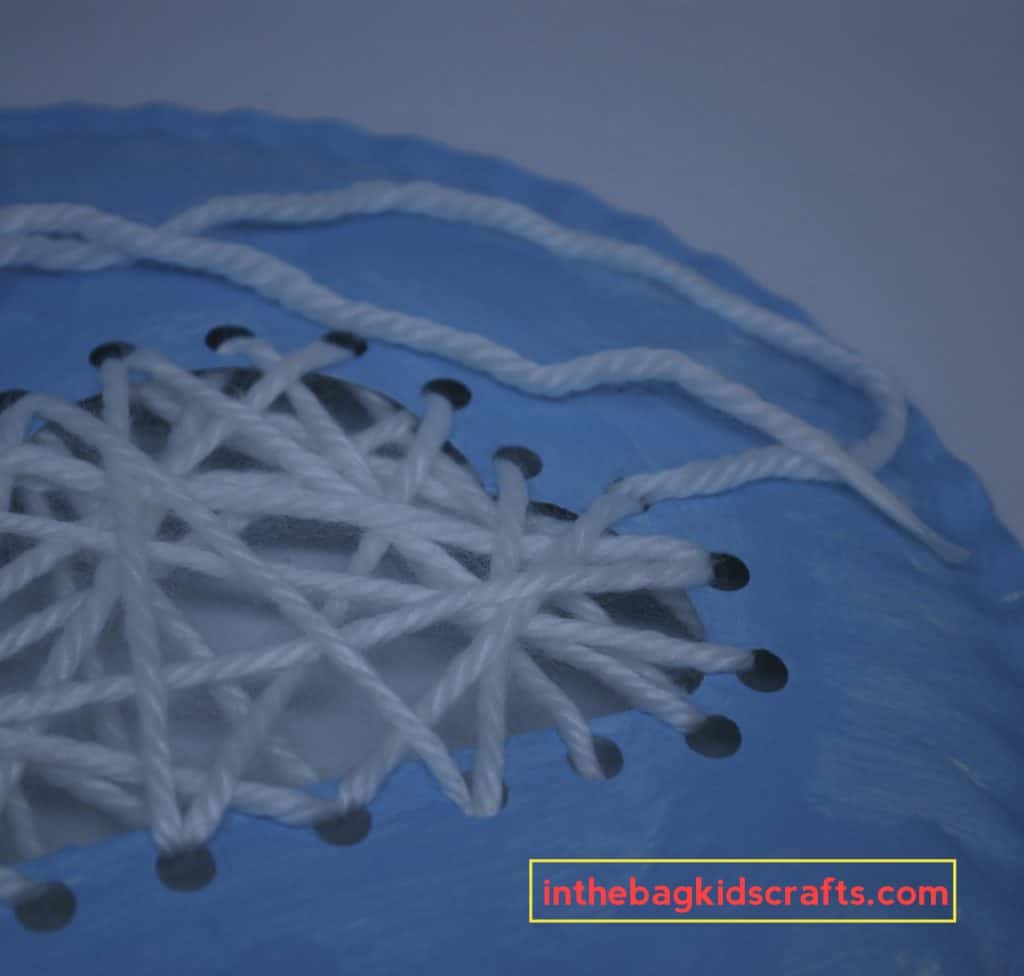
- Pull the yarn through a hole, leaving about 1 inch of a tale on the back side of the project
- Secure the tale end of the yarn with a piece of tape
- Weave the yarn through the holes in a random pattern, filling in the gap
- You can go through holes more than once. Just vary the pattern
- When you get to the end of the yarn, end in the back of the project
- Trim the yarn to leave approximately 1 inch and secure with a piece of tape
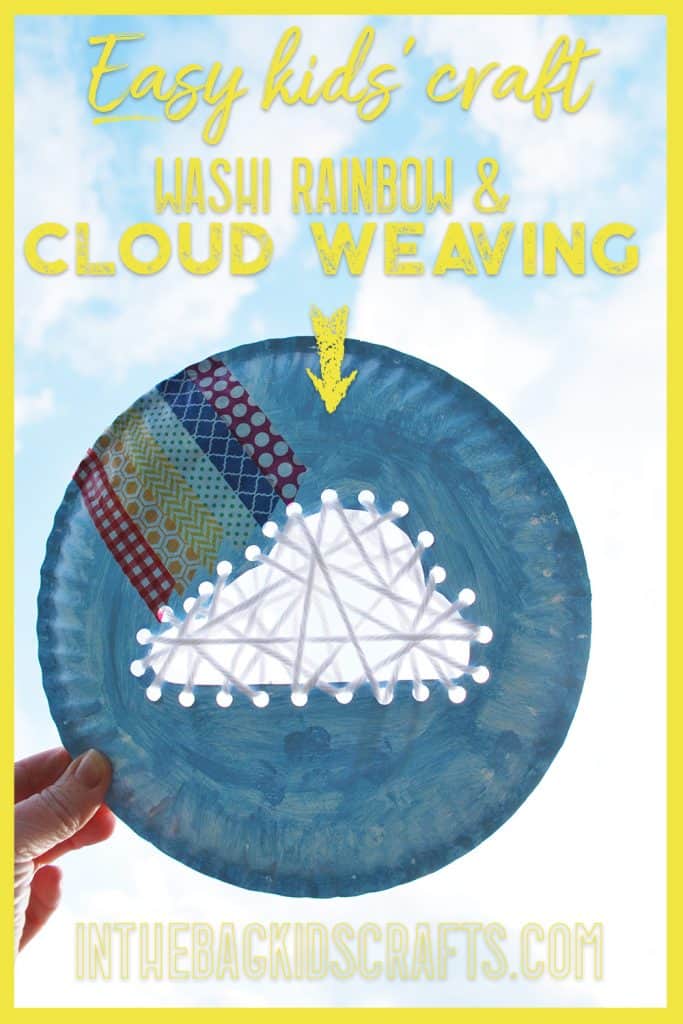
STEP 5: Add a Rainbow
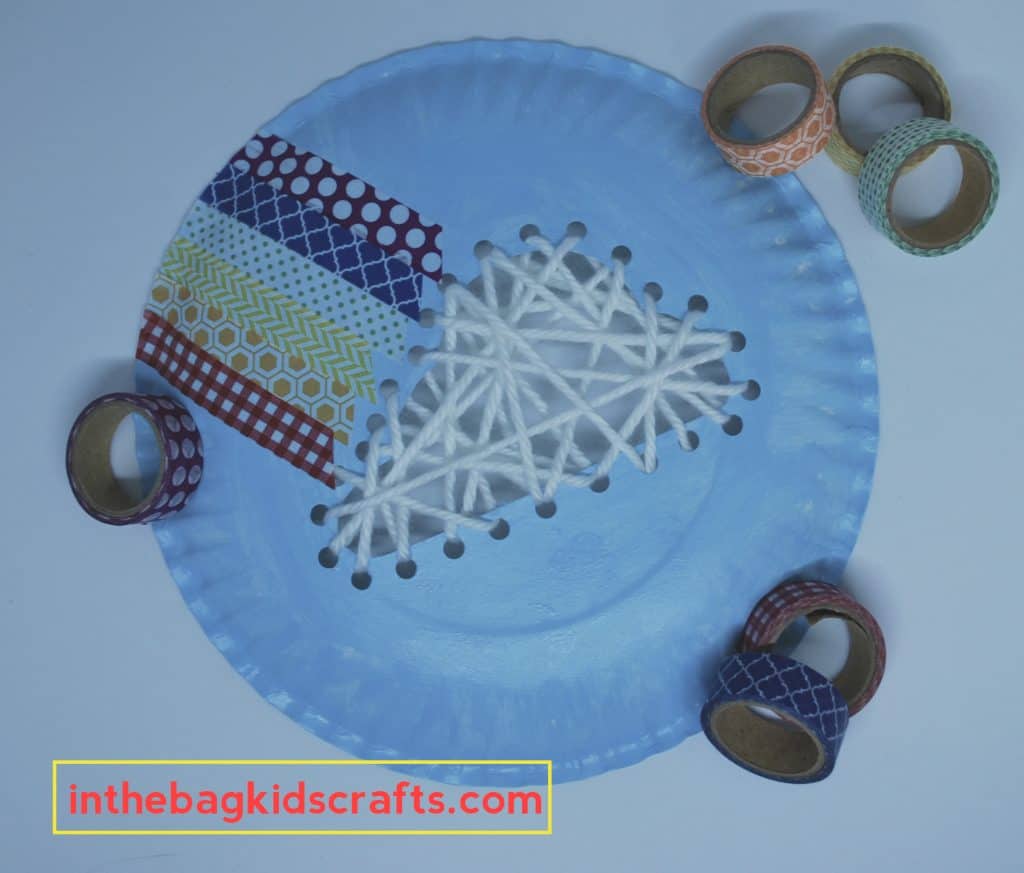
- Use washi tape to make a rainbow coming from the rainbow.
- You can cut the ends of the washi tape or wrap it over the edge of the plate.
Cloud Activities for Preschoolers Option 2
Instead of adding the rainbow for the final step, how about a little sunshine!
- Pull out orange and yellow construction paper from the bag
- Cut a circle out of the yellow paper
- Cut multiple small triangles out of the orange paper
- Glue these together to make a sun
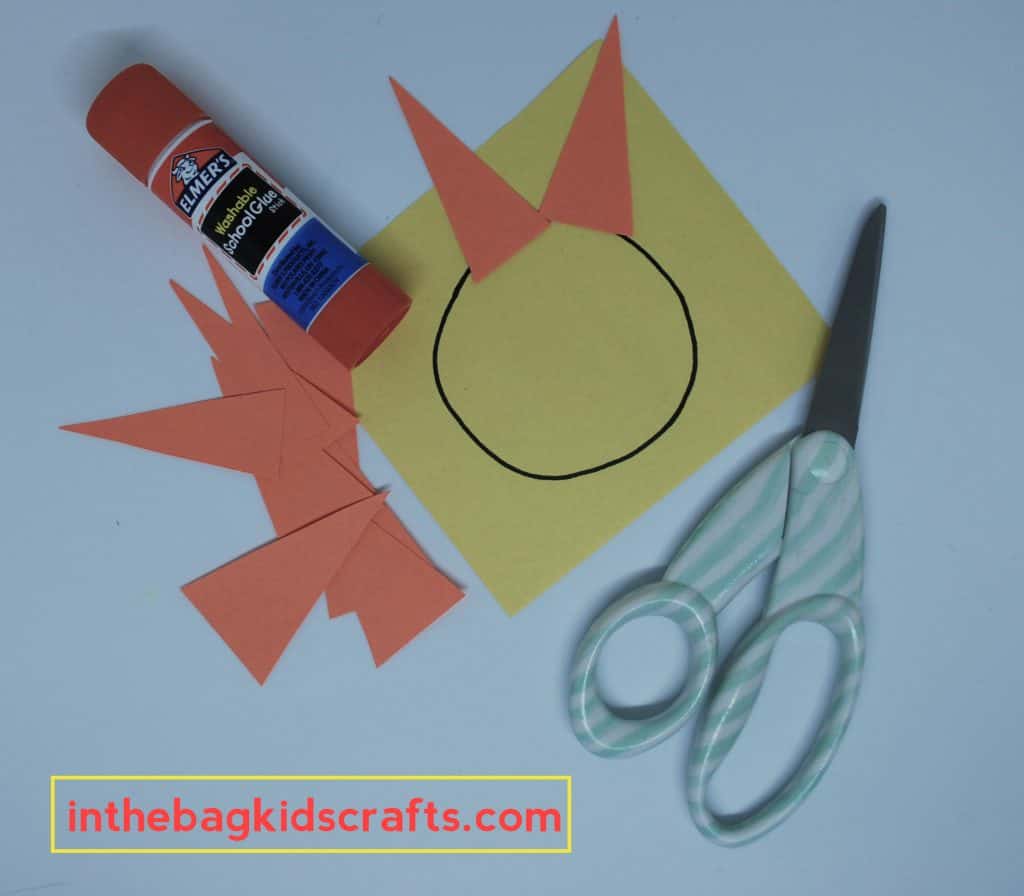
- Glue the sun in place over the cloud
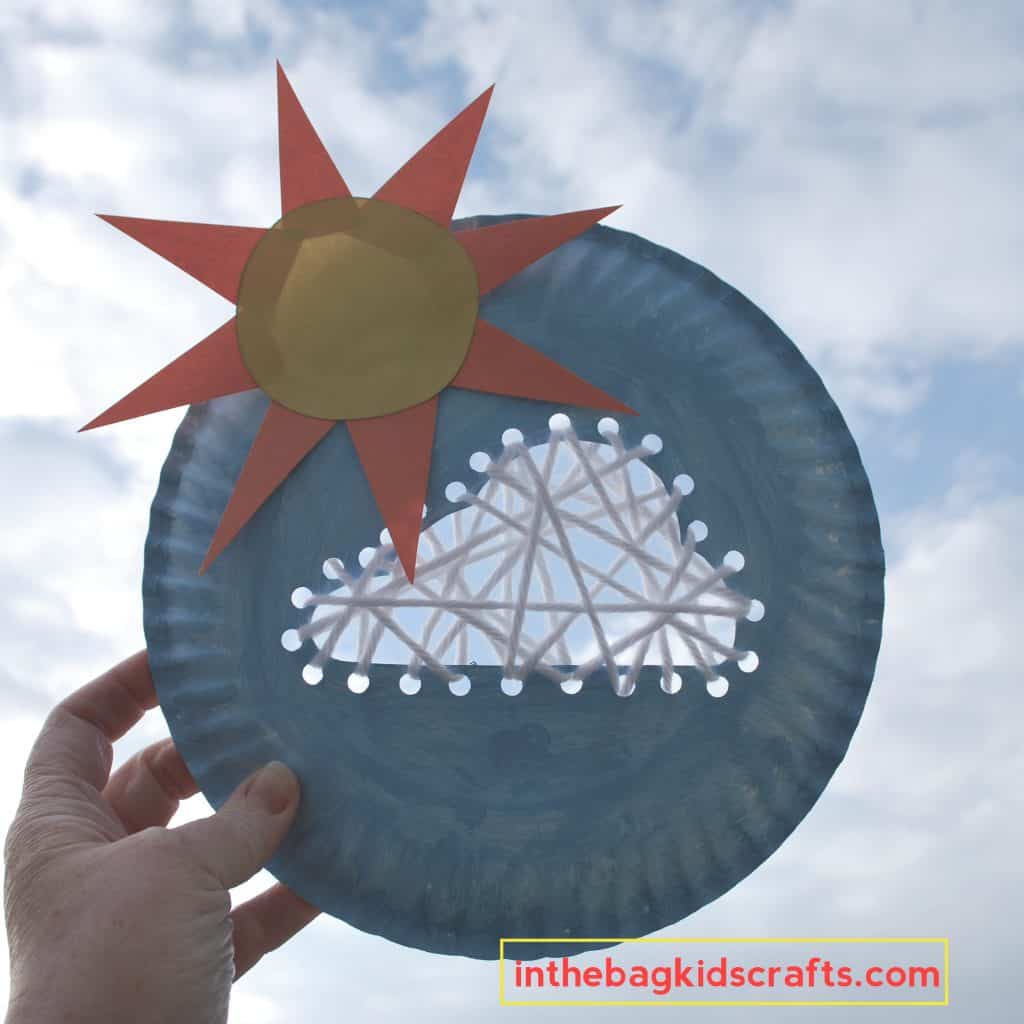
Of course, you might have your own version. Maybe there are birds flying over the cloud…or an airplane…or Superman. Or perhaps yours is a rain cloud, with drops coming down. You do you! We would love to see what you make. I can’t wait to see what you make!

- For little ones, pre-cut the cloud and place the holes farther apart. This will make the weaving a little easier.
- To add a little bling, you can string beads onto the cloud at random intervals as you are weaving.
- For children who are just learning to cut, tearing or snipping the washi tape is a great activity. If they are not ready to hold scissors, have them tear the tape. Meet them where they are, challenging them do go a little farther each time. Help them to be successful without doing it for them. (Soap box: When we do everything for our children we are only teaching them that we can do it better. Then why should they even try?)
- Bonus step: Tape a loop of string onto the back of the project in the back to be used as a hanger. Instant art!
Save this craft for later! Pin it to your favorite Pinterest board…
