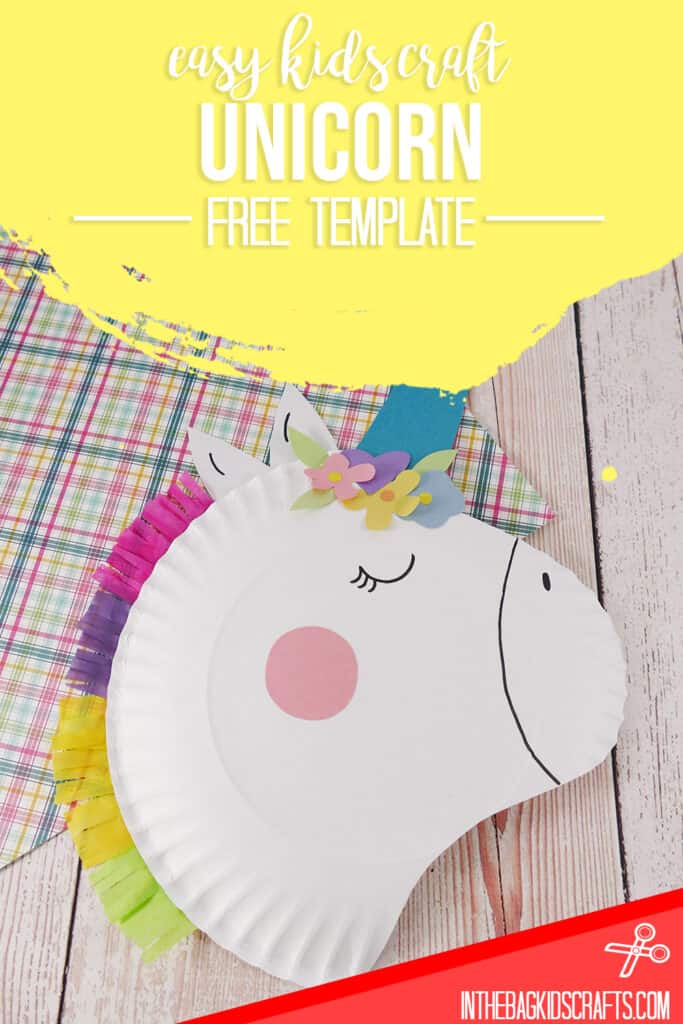
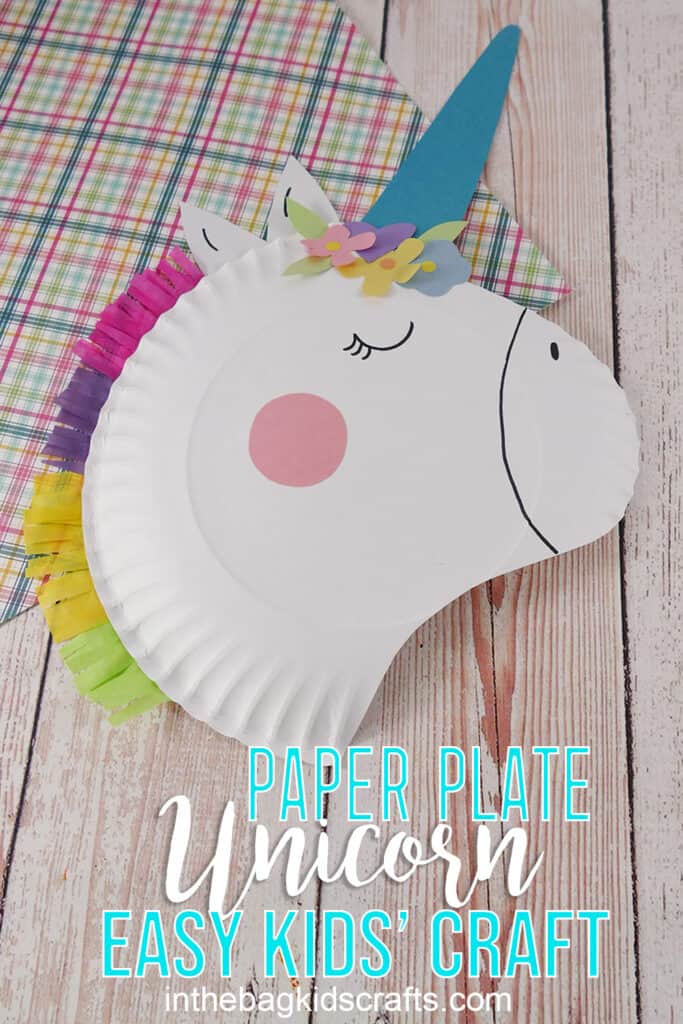
Unicorn Craft (with Free Craft Template)
This unicorn craft is simple to make and will lead to lots of smiles. Plus, just like kids, no two unicorns look the same. Be sure to give it your own unique flair. Plus, adding the little tissue paper pieces to the mane is a great way to practice fine motor skills. To make crafting even easier, be sure to download the free template.
If you enjoy this unicorn craft, you are going to love making this unicorn horn, a little unicorn notebook and this stuffed newspaper unicorn craft.
Scroll to the end for the full video tutorial of this unicorn craft. My friend, Izzy, came into the studio to help out on this one. It was so much fun!!!
Save this Unicorn Craft for later. Pin it to your favorite Pinterest board…
All activities require adult supervision. By using this site, you are agreeing to our terms of use. This post contains affiliate links, which means if you make a purchase through these links, I may receive a small commission at no extra cost to you. Click here to read my full disclosure policy.
SUPPLIES FROM THE BAG
- Paper plate (9-inch coated)
- Scissors
- Pencil
- Construction paper
- Glue stick
- Markers
- Tissue paper squares
- Unicorn craft template
This easy unicorn craft takes just a few basic items from your kids’ craft bag, starting with a paper plate. Every single item is part of the master list of items that fit into one bag that we use for all of the hundreds of crafts you see here and in our shop. I can’t wait to see all of the amazing things that you make with your kids now that you have a plan for more crafting time together.
How to Make a Unicorn Craft
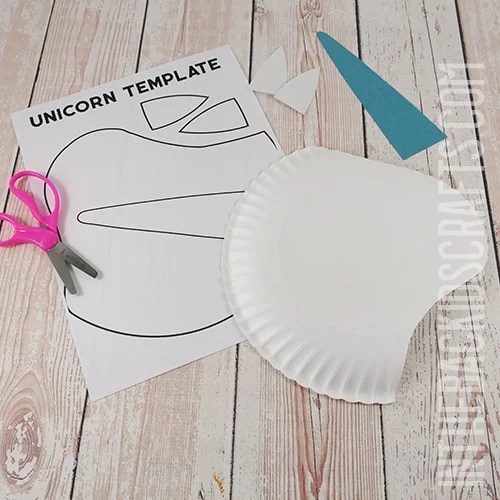
Step 1: Use the Unicorn Craft Template
- Print the unicorn craft template.
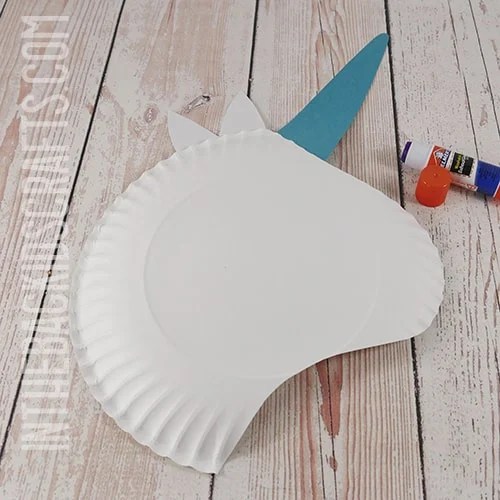
- Use it to cut out the shape of the unicorn on the bottom of a paper plate.
- Then use it to cut the horn and ears out of construction paper.
*If you do not have access to a printer, draw the nose shape of the unicorn on the paper plate and cut it out. Then draw the ears onto white paper and the unicorn horn onto paper of your color. Cut them all out.
Step 2: Glue It Together
- Use your glue stick to glue the unicorn’s horn in place.
- Then add the ears also.
Step 3: Add the Mane
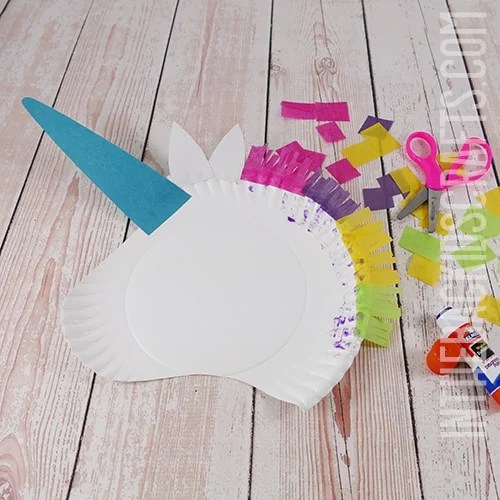
- Turn the unicorn craft over and glue a line of tissue paper squares along the unicorn’s neck, sticking out over the edge to form the mane.
- Use whatever colors of tissue paper you like, even combining colors.
- Once all of the tissue paper squares are in place on the back of the unicorn’s neck, snip the tissue paper so that it looks like the hair of the mane.
Step 4: Finish Off Your Unicorn Craft
- Now turn the unicorn over to the front side and use a marker to draw on an eye and the nose.
- Use scraps of construction paper or markers or crayons to add other details as you would like. We added some flowers to the base of the unicorn’s horn and a rosy cheek. Just use your imagination and make it your own.
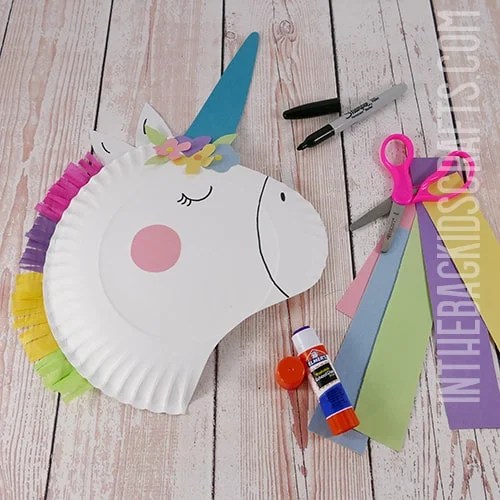
Now that you know how to make a unicorn craft, really make it your own. Change up the details, make the mane whatever color you like and even color the head of the unicorn so that it’s not white anymore if you really want to make a change. Add a popsicle stick handle if you want to make the unicorn into a puppet and put on a show.
Watch the full video unicorn craft tutorial
Save this Paper Plate Craft for later. Pin it to your favorite Pinterest board…
