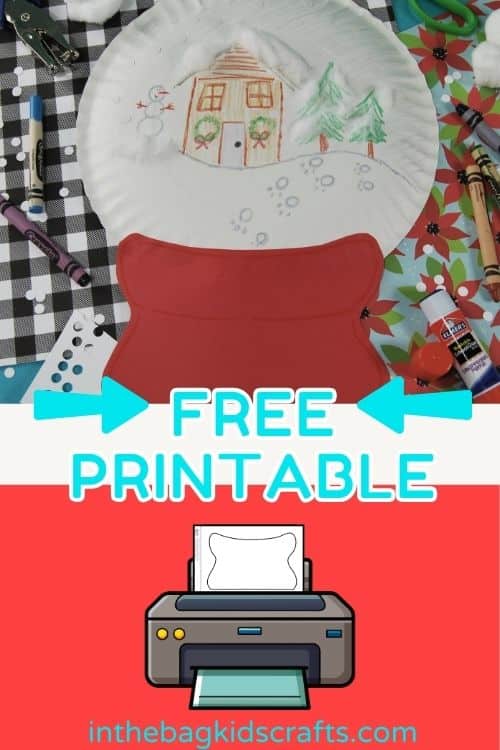
Easy Paper Plate Snow Globe Craft for Kids
This easy snow globe craft is perfect for kids of all ages andis a great way to express so much creativity. This fun craft is perfect for the holiday season or as a simple winter craft, and it takes so few supplies. You’re going to love all of the winter scenes that your kids can come up with to create this mini masterpiece.
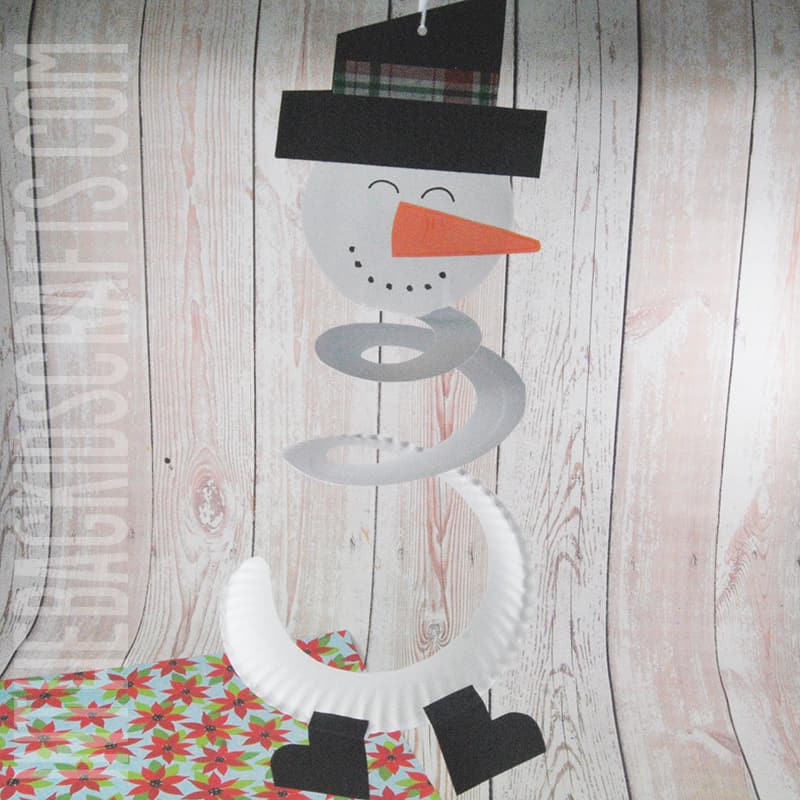
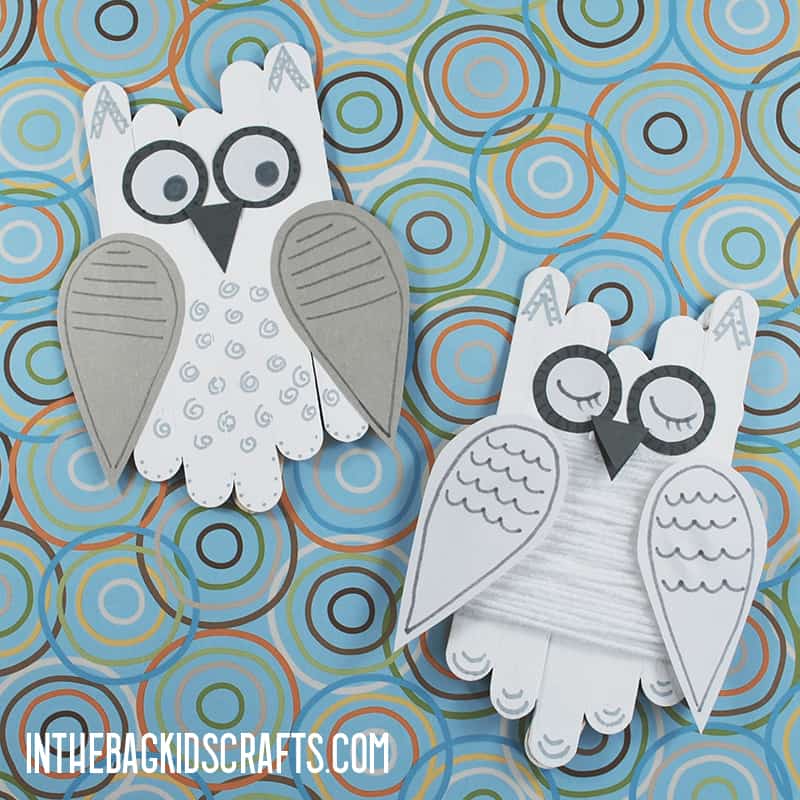
If you enjoy making these waterless snow globes, you’re also going to love making this snowman mobile craft, this snowy owl craft or this polar bear craft.
Save this Snow Globe craft for later. Pin it to your favorite Pinterest board…
There’s No End to the Inspiration with This Collection of 100 Craft Flashcards
Fun Facts About Snow Globes
- Snow globes were invented by a man named Erwin Perzy in the 19th century in Austria.
- In the United States, the first snow globe-related patent was granted in 1927 to Joseph Garaja of Pittsburgh, Pennsylvania.
- Plastic versions were introduced in the 1950s.
- Scenes inside snow globes vary greatly and can be almost anything.
To learn more about snow globes, check out this article from Kiddle.
All activities require adult supervision. By using this site, you are agreeing to our terms of use. This post may contain affiliate links, which means if you make a purchase through these links, I may receive a small commission at no extra cost to you. Click here to read my full disclosure policy.
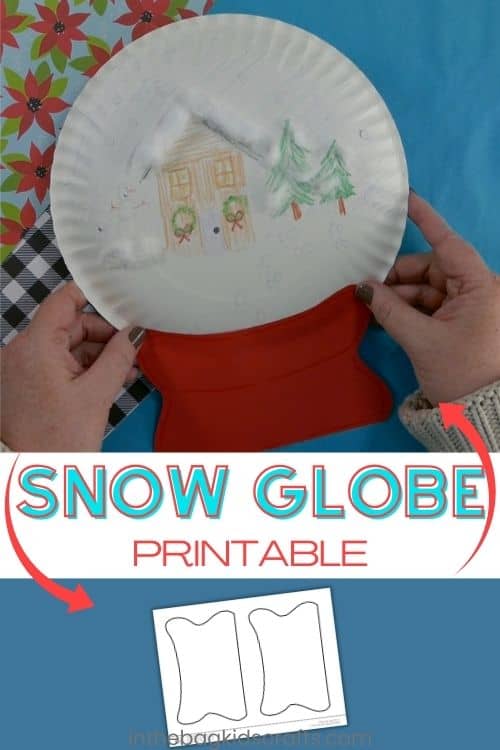
How to make Homemade Snow Globes
We’re going to skip the mason jars, hot glue, glitter, baby oil, cup or water…all of it. Let’s keep it simple but still have just as much fun making a little work of art. This paper plate snow globe is a great idea for your next snowy day indoors. Your own snow globe can contain any world you want.
SUPPLIES FROM THE BAG
- Paper plate (9-inch coated)
- Crayons or markers
- Scissors
- Glue stick
- Optional: hole punch with white paper, cotton balls
- Snow globe craft template
To make crafting with your kids actually do-able and fun (like it should be), we always stick to a list of basic supplies that fit into one bag for all of the crafts that you see on this site. We never stray from the master list so that once you fill your bag, you’re ready to craft along over and over again, even when time and money is tight. Now let’s craft some memories!
Check Out the Video Tutorial for this Simple Snow Globe Craft…
Step-by-step Instructions for Your Own DIY Snow Globes:
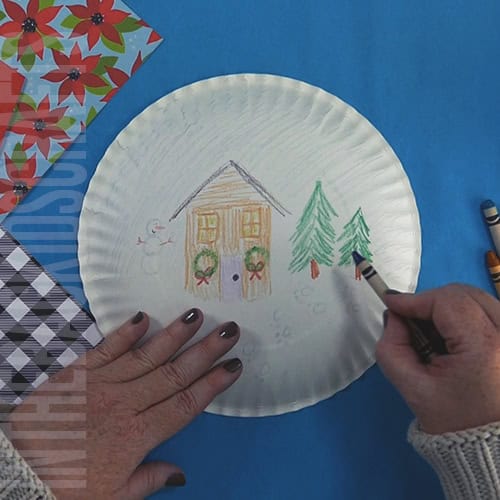
Step 1: Create the Snow Globe Scene
- The first thing is to turn the paper plate so that it is bottom side up. This side has a matte finish so that it’s easier to color on and simulates a globe type form.
- The first step is to grab your crayons or markers and draw a wintery scene. You can also make this into a Christmas snow globe by adding Christmas details into your picture.
*If you don’t have paper plates on hand, simply cut out large paper circles from white construction paper or cardstock.
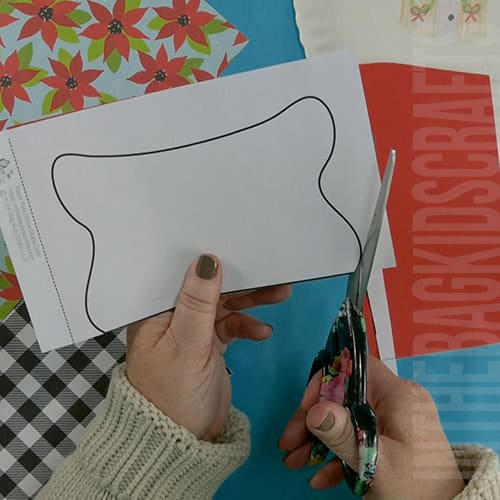
Step 2: Use the Free Template
- Download and print the snow globe template. You can print onto regular white printer paper or directly onto construction paper in the color of your choice.
- If you printed onto printer paper, place the template over a piece of construction paper (we used red) and cut it out.
- The next step is to add any details you would like to the base of your snow globe, this can even include a special message.
*If making this craft with a classroom of students, cut out several layers of paper at once. You can hold them together with a couple of staples placed around the outside while cutting.
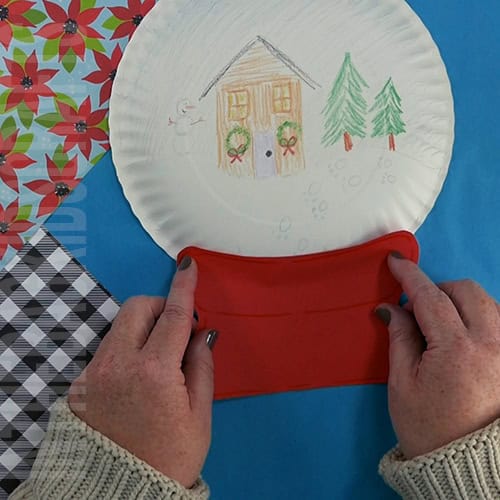
Step 3: Add the Base
- Use your glue stick to generously apply glue to the top of the cut out base.
- Attach the bottom of the snow globe and press firmly. Hold for a moment to give the glue time to adhere.
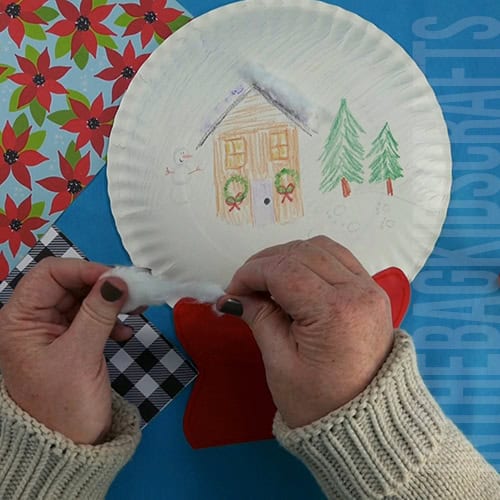
Step 4 (Optional): Add Some Cotton Snow
- To really bring your snow gloe scene to life, add some cotton “snow” wherever you’d like. Just fluff it up a bit and adhere with your glue stick.
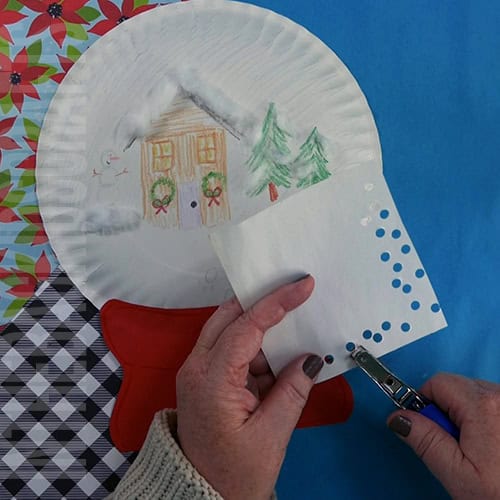
Step 5 (Optional): Let It Snow!
- As a finishing touch for your fun winter craft, use the hole punch on some white or light colored paper to create little snow flakes.
- Glue them randomly onto your picture for another snowy element.
Crafting Outside the Bag
As you know, we stick to only items that we keep in our kids’ craft bag when making each easy craft. However, you don’t need to stick to the bag if you happen to have other items on hand. Puffy paint would be a perfect addition to this simple craft. You could even kick it up another notch by adding a teaspoon of glitter.
Tips for Little Kids
When making this fun project with little ones, precut the bottom of the snow globe so that you have it ready to go. To enhance fine motor skills, break crayons in half when coloring. Whatever you do, let them take full control, even scribbling is ok. This is their project. When an adult takes over it only teaches that child that they aren’t capable.
Here are even more Snow Day Crafts to make
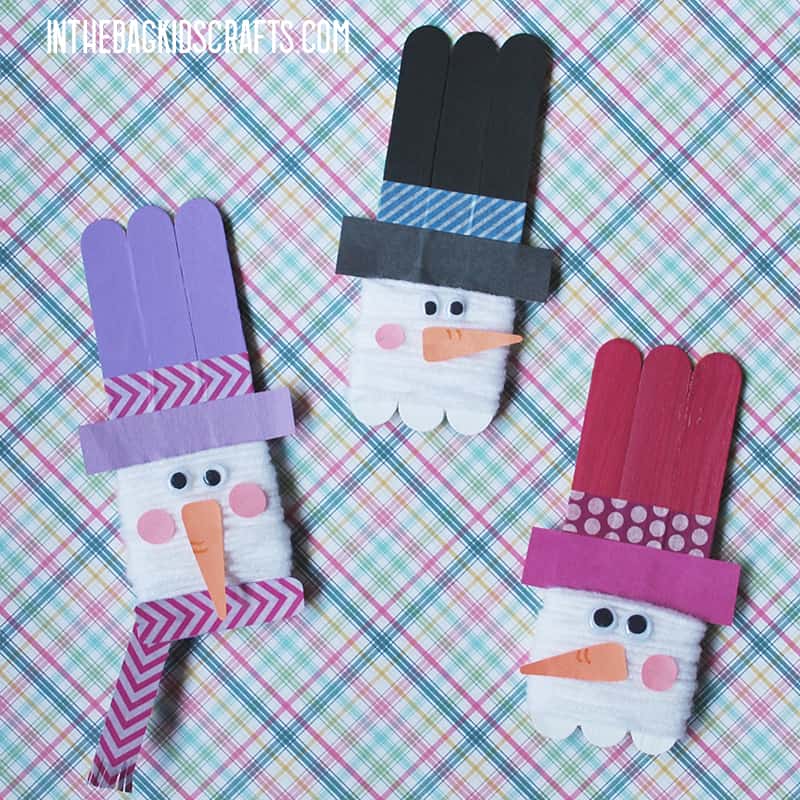
Popsicle Stick Snowman Craft
Snowman Mobile Craft
Snowy Owl Crafts
Share With Us
Did you make this activity with your kids or students? We’d love to feature them on our social media!
For a chance to have your child’s project featured, simply snap a picture of the completed project and email it to us directly by clicking here or use #inthebagkidscrafts on your social media!