3 Clothespin Animal Crafts (great for fine motor)
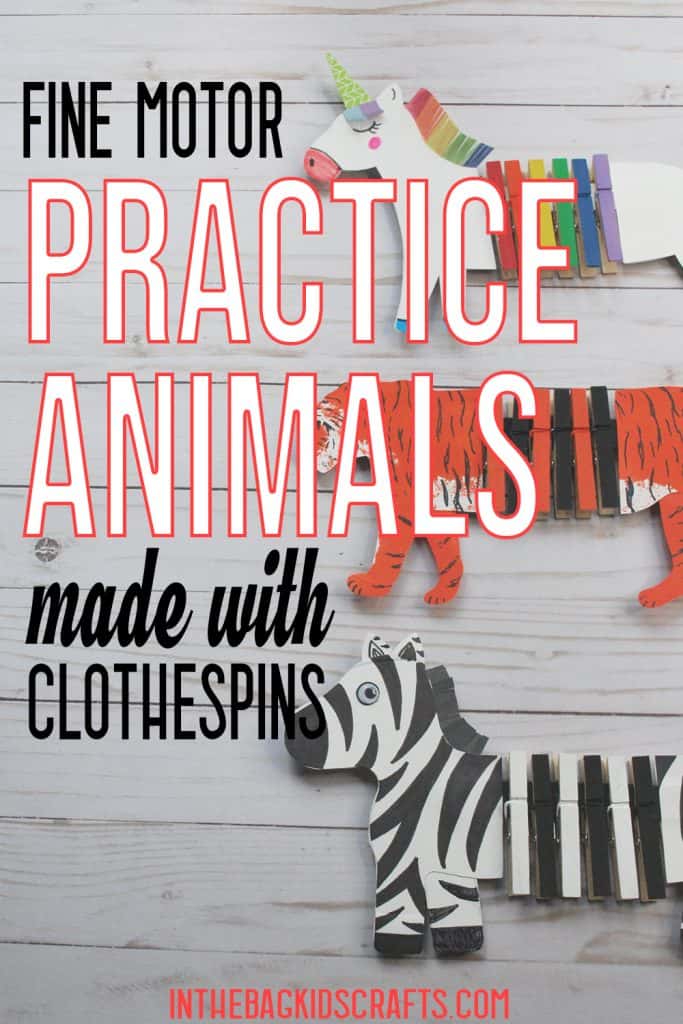
These clothespin animal crafts are not only totally adorable but are great for working on fine motor skills. Clothespin craft ideas are perfect for getting little fingers moving and strengthening the muscles of the hand. Did you know that there are over 30 muscles in the hand? And, just like any other muscle, they need to be developed through activities that will strengthen them and promote coordination.
Not only do they need to be strong, they need to be able to coordinate with all of the other muscles and work together to accomplish tasks. There is so much that goes into that, and lots of kids need a little extra practice to master fine motor skills. Enjoy both making and playing with these 3 clothespin animal crafts for building fine motor skills.
Get the templates for these Clothespin Animal Crafts
This post contains affiliate links, which means if you make a purchase through these links, I may receive a small commission at no extra cost to you. Click here to read my full disclosure policy.
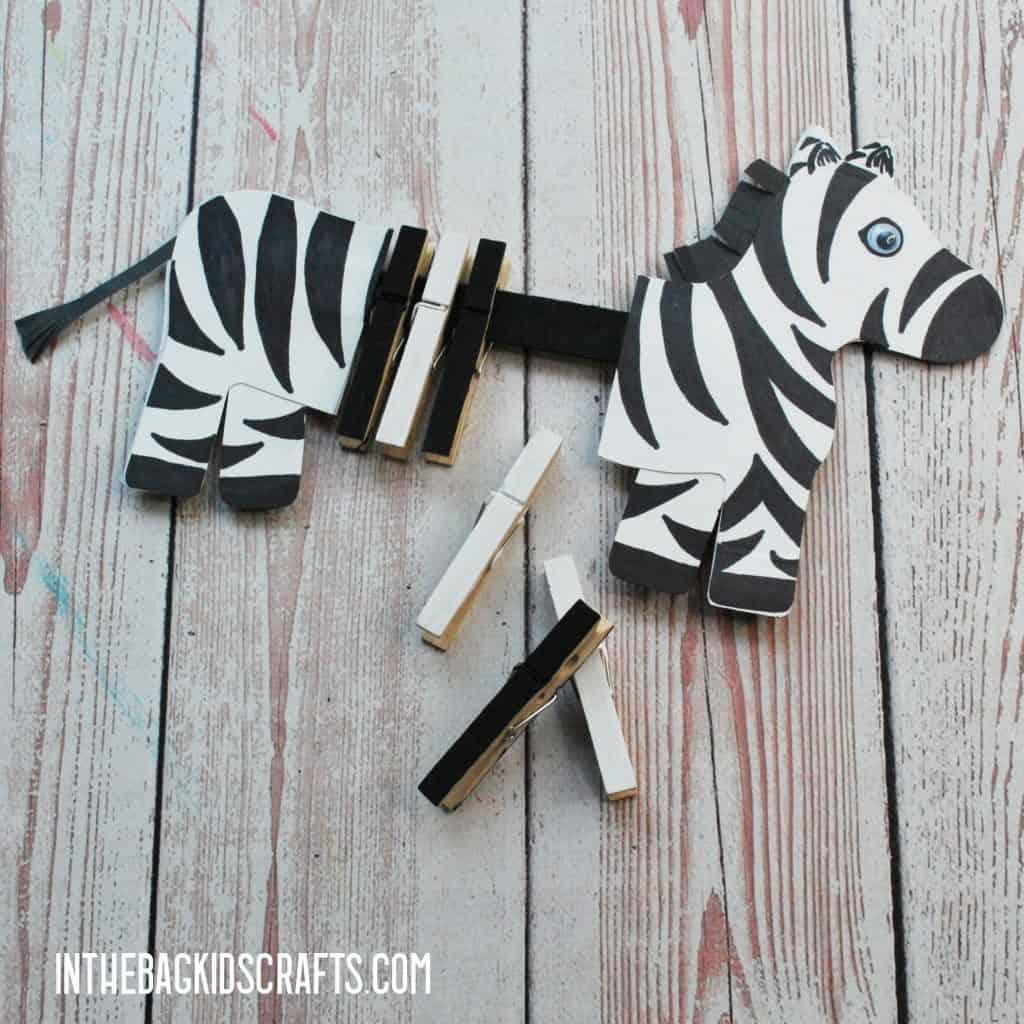
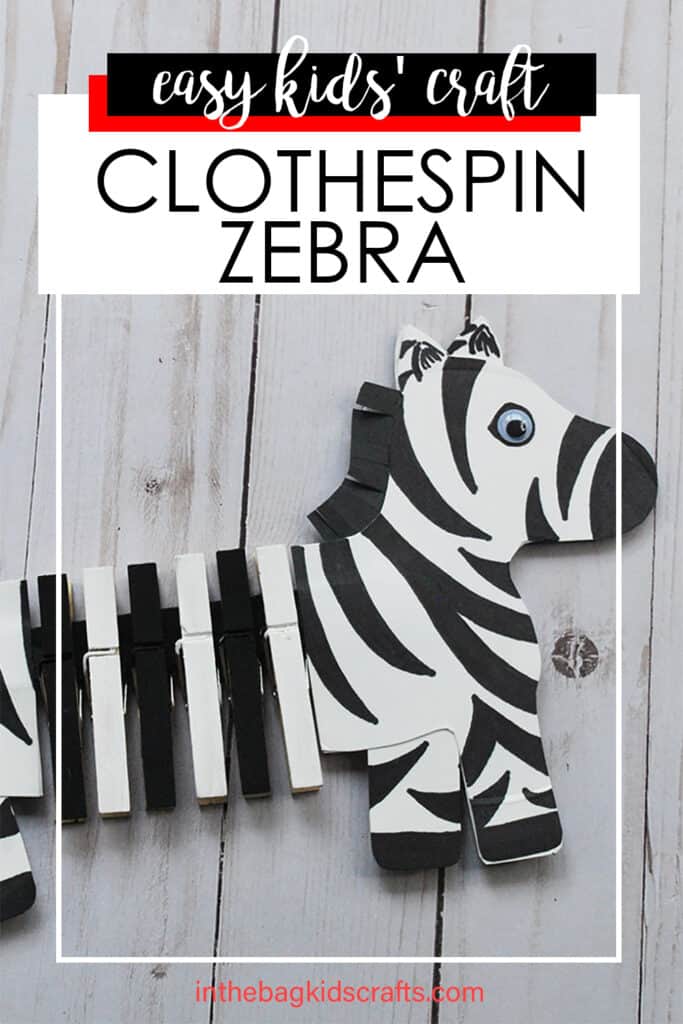
ZEBRA CRAFT WITH CLOTHESPINS
SUPPLIES FROM THE BAG
- 4 Paper plates (9-inch coated)
- Scissors
- Pencil
- Black Sharpie marker
- Newspaper
- 7 Clothespins
- White paint
- Black paint
- 2 Medium pompoms
- Large popsicle stick
- Glue stick
- 2 Small googly eyes
- Elmer’s glue (if the googly eyes are not self-adhesive)
- Scraps of black construction paper
- Zebra craft template
Time Frame: 30 minutes (Depending on the amount of detail being added)
Age Recommendation: This craft is appropriate for preschool on up. For little ones, you will want to pre-cut the pieces. But the painting, gluing and securing of the clothespins can be done by all ages.
Like all crafts on this website, the items above are taken from the MASTER LIST of supplies that we use for every single project! That may seem a little bit unusual, but think about it for a minute. If you just use our free printable shopping list of supplies to fill up your bag, you will be ready to choose from hundreds of crafts (and growing all the time) and get started…no extra prep, less mess, less stress and very DO-ABLE, even when life is hectic! So, get to creating with your family already! You will be so glad that you did!
Step 1: Paint Your Zebra Craft
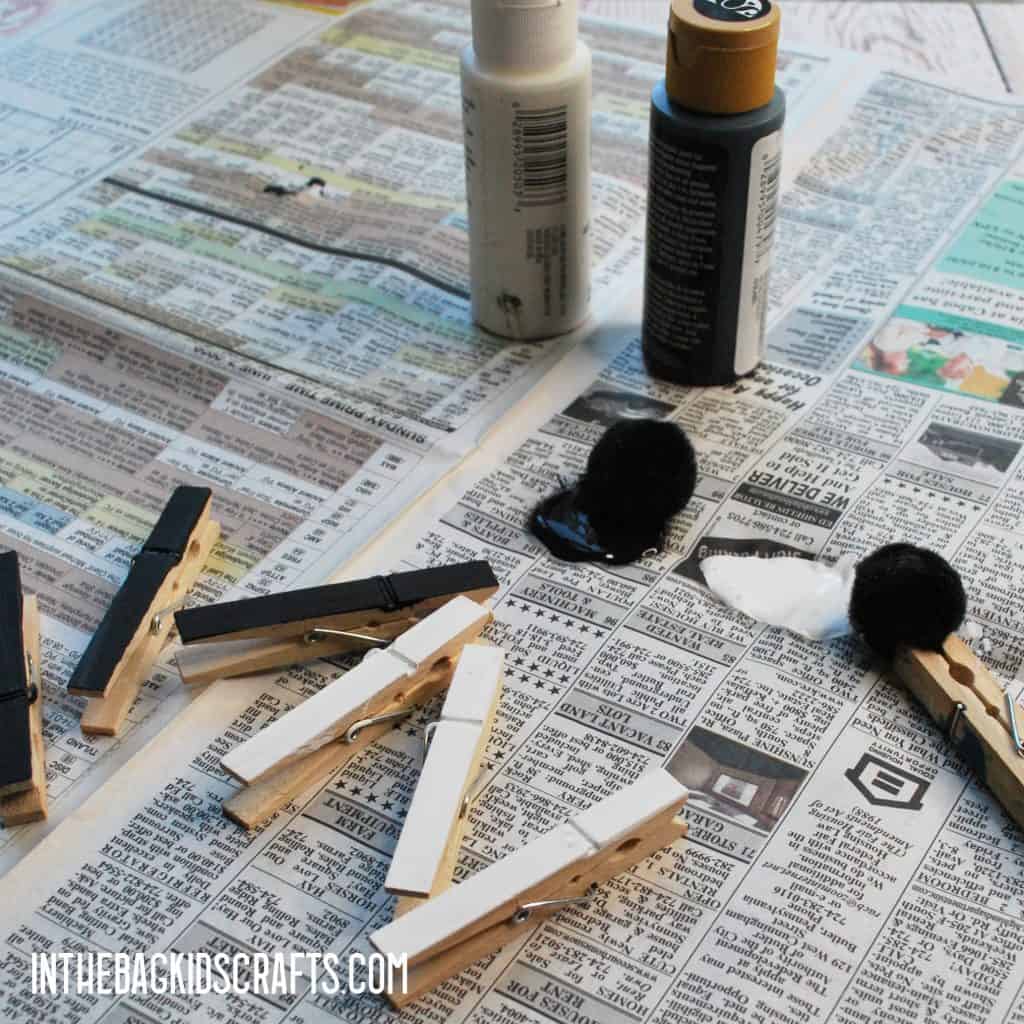
- For the first of our clothespin craft ideas, place six of the clothespins on the newspaper
- Squeeze out a little white and black paint
- Pinch one of the pompoms with the remaining clothespin to form a “paint brush”
- Paint 3 of the clothespins white
- Then, change to a fresh, clean pompom and paint the other three black
- Also, paint the large popsicle stick black
- Flip over the clothespins and popsicle stick and paint the other side also so that you can have a 2D zebra
- Set them aside, and let the paint dry completely while you move on to the next step.
Step 2: Use the Zebra Craft Template
- Print the zebra craft template for the front end and back end of the zebra.
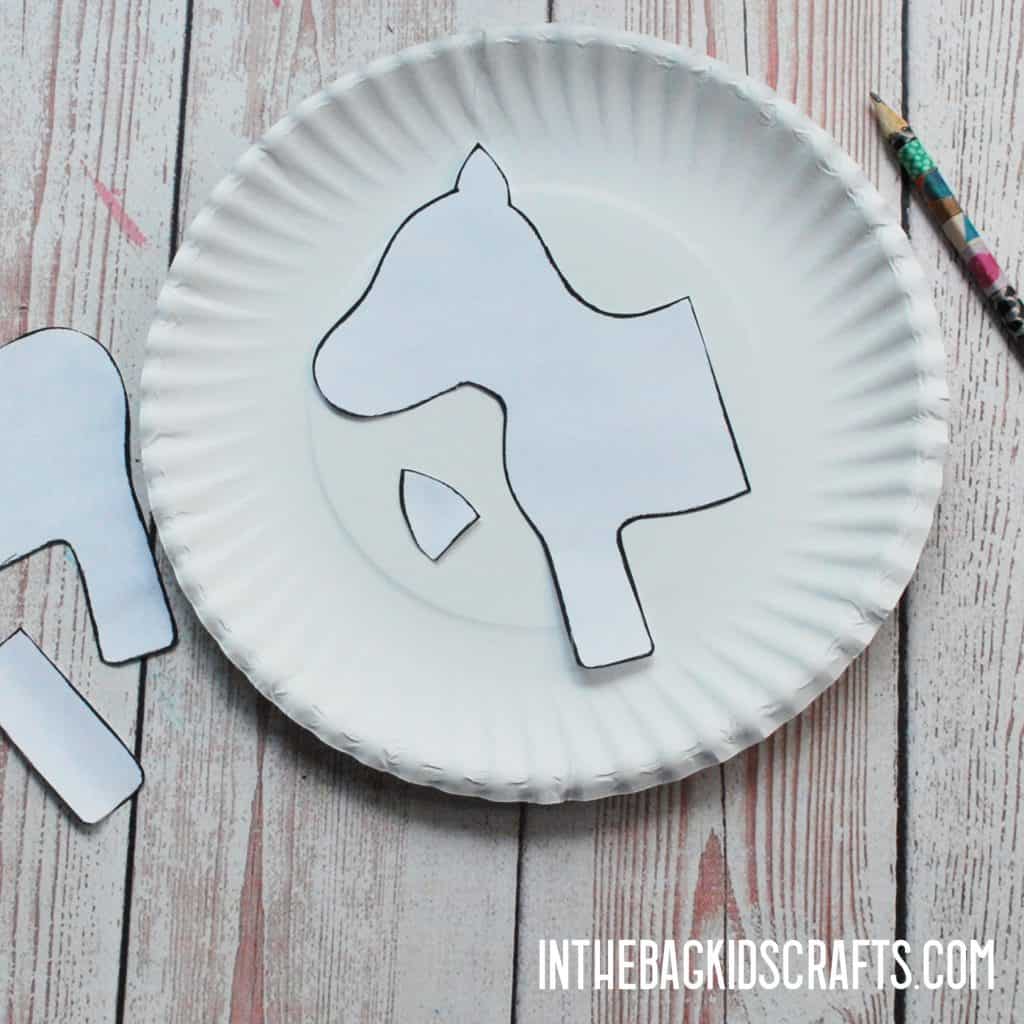
- Trace the front of the zebra onto a paper plate, staying in the middle as much as possible. Cut it out. Repeat this again on another plate, making a mirror image of the first cutout, so that you can make a zebra sandwich.
- Now, trace the back end of your zebra onto 2 more plates, again staying in the center and making the pieces mirror images. Cut out the pieces.
- Trace and cut out 2 additional legs and one ear (from template)
*Keep in mind that you will want the matte side of the paper plate facing out when you put your zebra craft together.
Step 3: Add Some Detail
- Before putting it all together we are going to take this chance to add details to the zebra.
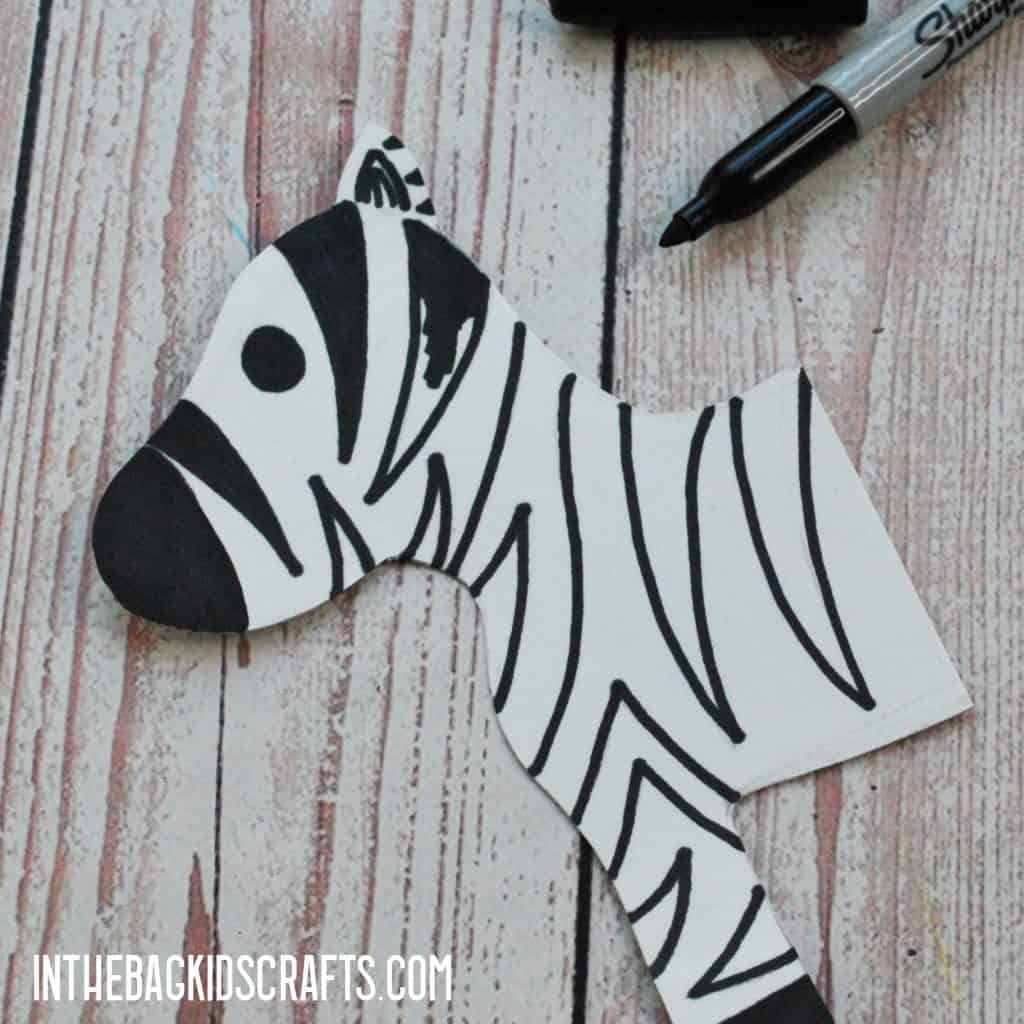
- Draw on his stripes however you would like…on both sides (front and back). I used a black sharpie marker for this. *It is easiest if you draw on the matte side of the paper plate rather than the coated glossy side.
- Cut a strip of black paper the size of the zebra’s neck and glue it onto the back. Snip the paper to make “hair” for the mane.
- Add the additional legs and ear, gluing them in place on the back of one of the front and back sets. Add the stripes and other details.
- Give your zebra a tail by cutting a thin strip of black paper and snipping the end. Glue it in place.
Step 4: Put Together Your Zebra
- Place the end of the painted popsicle stick sandwiched in between the 2 front end pieces of the zebra. It should be about 1 to 1 1/2 inches. The popsicle stick should not be exactly center vertically but slightly above center.
- Also put the extra leg in place in between the layers.
- Now secure your sandwich with the glue stick.
- Do the same with the back end of your zebra by sandwiching the end of the popsicle stick and adding glue to the center. *Be sure to leave enough room on the popsicle stick for your 6 clothespins without much extra space.
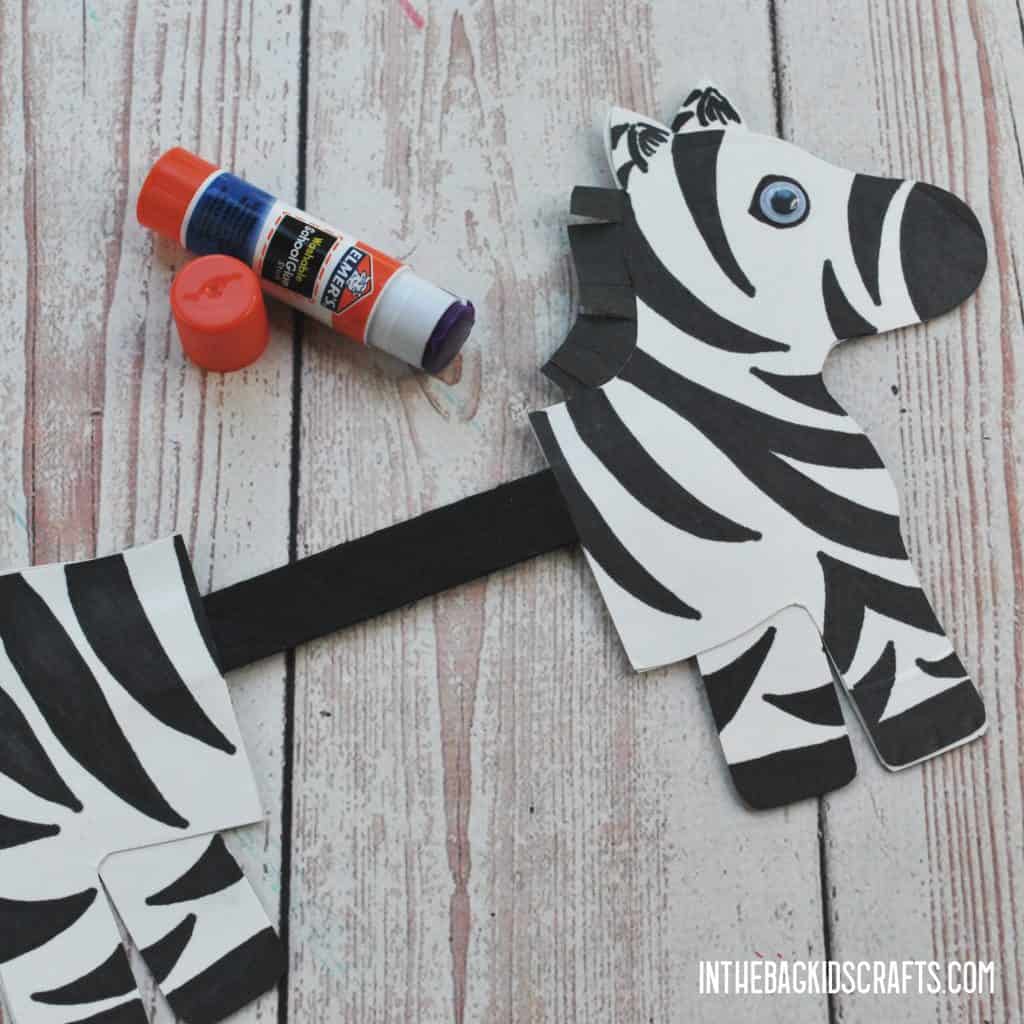
- Add your stripes to the zebra by pinching the clothespins onto the popsicle stick.
- Last, put the googly eyes in place. Use Elmer’s glue if it they are not self-adhesive. Set it aside to let the glue dry.

Not only are these crafts great for working on finger strength, motor separation of the hand, arch development, fine motor coordination and bilateral coordination because of the clothespin element, there are other developmental benefits as well. For example, if you approach this craft by allowing your child to make his/her own decisions about drawing on the details, even if that means that it won’t look like grown-up made it (which, by the way, IT SHOULDN’T!), then they will be working on executive functioning, problem solving and motor planning too. Learn more about promoting fine motor skills from our friends at “Hands On as We Grow”.
These are all necessary skills for success in school…and life! And all this will be happening while your child is simply having fun and creating something that they will be so proud of! After all, children learn best through play…never lose sight of that. Keep it fun! The process is more important than the final result. If you want to learn more about improving your child’s fine motor skills, this FREE mini course is a perfect place to start…
Help Your Child Hold a Pencil Better (FREE Mini Course)
Save these Clothespin Crafts for later…Pin to your favorite Pinterest board!
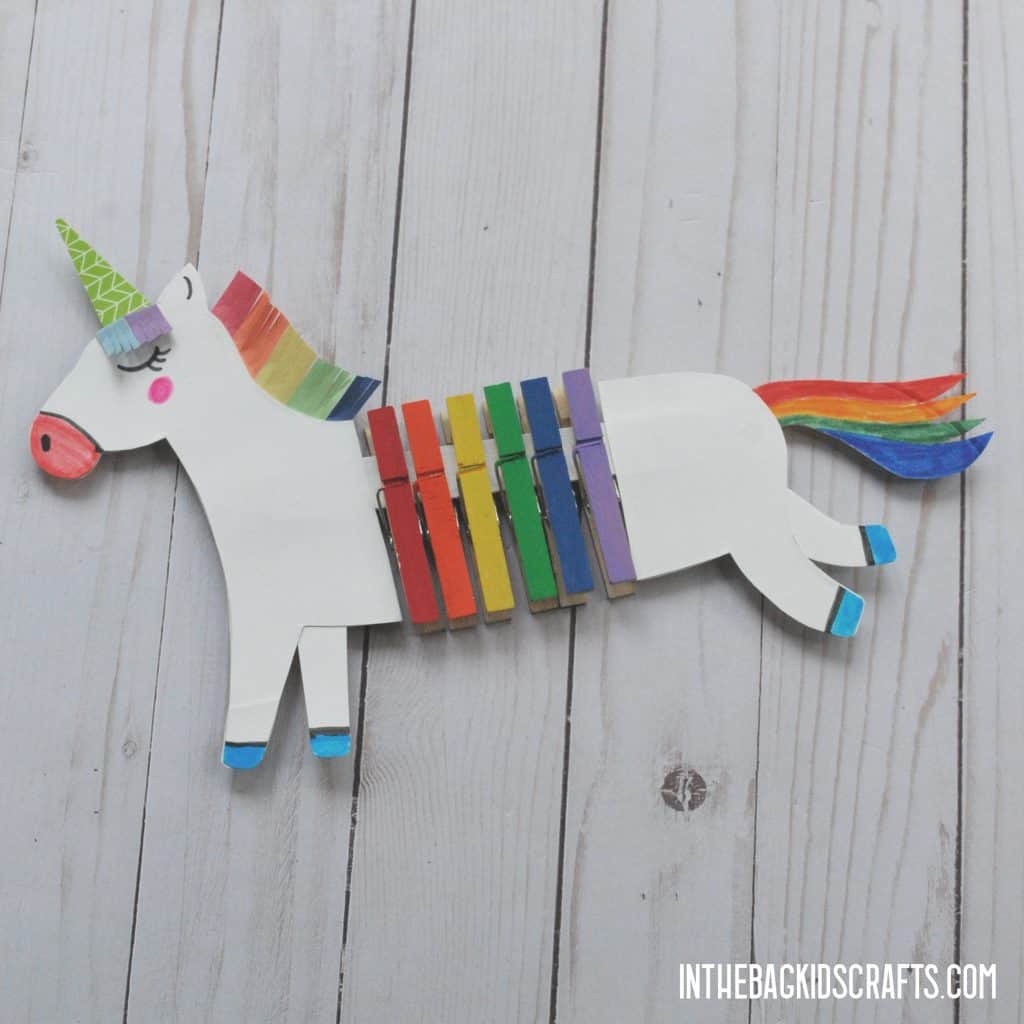
UNICORN CRAFT WITH CLOTHESPINS
SUPPLIES FROM THE BAG
- 4 Paper plates (9-inch coated)
- Scissors
- Glue stick
- 7 Clothespins
- Newspaper
- 7 Medium pompoms
- Paint in 6 rainbow colors
- White paint
- Pencil
- Scraps of rainbow colored construction paper
- Markers
- Large popsicle stick
- Optional: washi tape for the horn (pattern of your choice)
- Unicorn craft template
Time Frame: 20-25 minutes (Depending on the amount of detail being added)
Age Recommendation: This craft is appropriate for preschool on up. For little ones, you will want to pre-cut the pieces. But the painting, gluing and securing of the clothespins can be done by all ages.
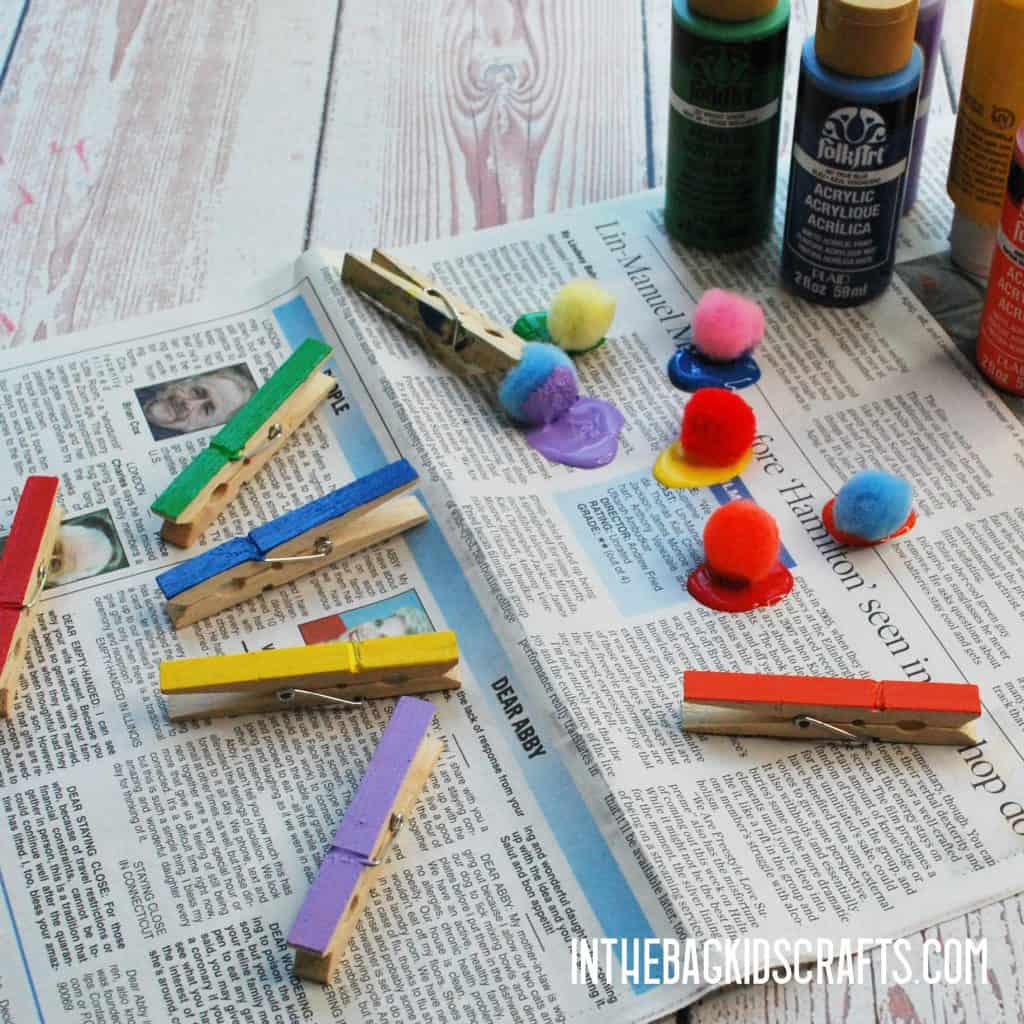
Step 1: Paint Your Unicorn Clothespin Animal Crafts
- Place six of the clothespins on the newspaper
- Squeeze out a little of each of the rainbow colors (it doesn’t take much)
- Pinch one of the pompoms with the remaining clothespin to form a “paint brush”
- Paint each of the clothespins a different color
- Change up the pompom for each color
- Now paint the popsicle stick white.
- Set them aside, and let the paint dry completely
*All painting should just be done on one side of the clothespins and popsicle stick…unless you would like to make your unicorn 2D. Then, once one side is dry, flip the pieces over and paint the other side also.
*And if you just really don’t want to mess with getting the paint out, cover the clothespins and popsicle stick in washi tape. You can use whatever colors and designs you like. Just press it in place and trim away the excess.
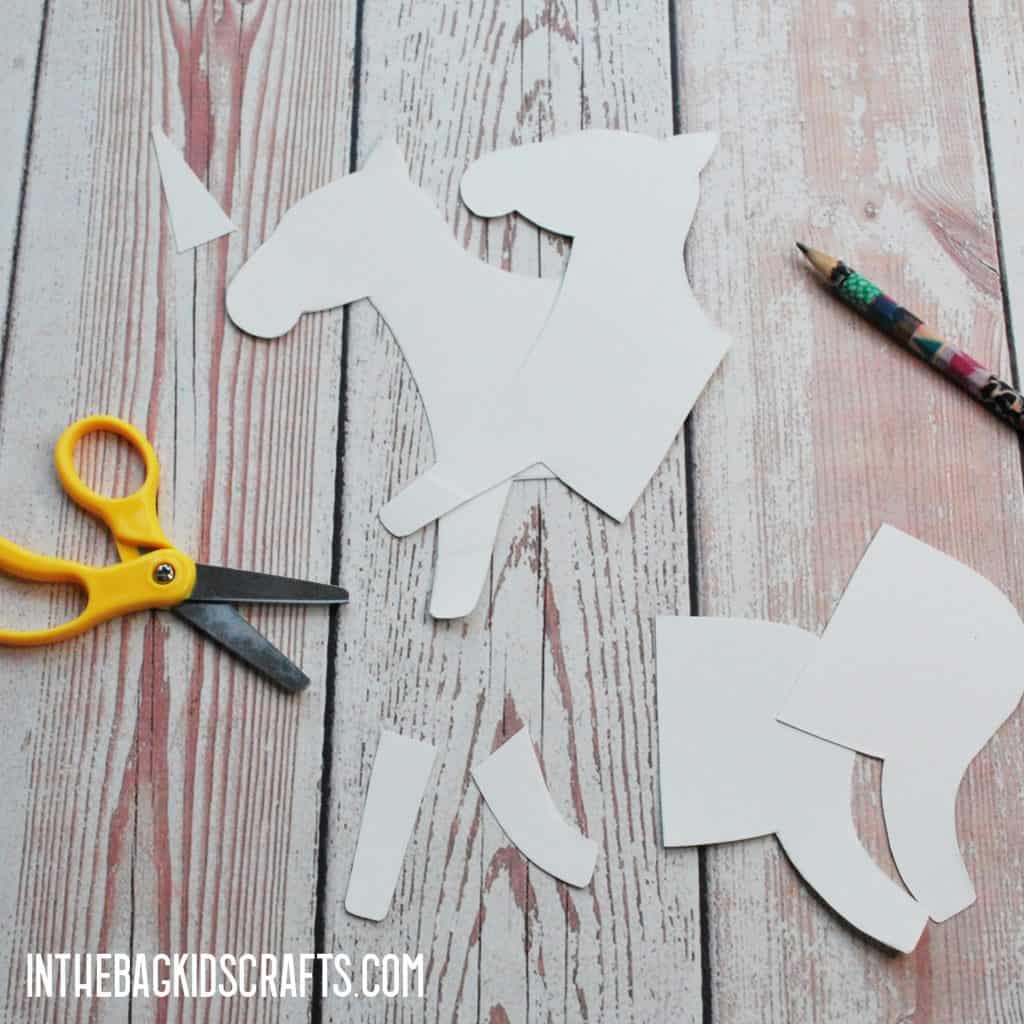
Step 2: Use the Unicorn Craft Template
- Print the craft template for your clothespin unicorn.
- Trace the front of the unicorn onto a paper plate, staying in the middle as much as possible. Cut it out. Repeat this again on another plate so that you have 2 mirror image cutouts.
- Now, trace (or draw) the back end of your unicorn onto 2 more plates in the same way as the front. Cut out the pieces.
- This will basically give you a unicorn sandwich which we will begin to put together in an upcoming step.
- From the leftover scraps, trace and cut out the remaining parts of your unicorn.
- Trace or draw the tail onto one of the scraps of colored construction paper or onto paper plate scraps that you will color with markers and snip the ends to form the hair.
Step 3: Add the Details to Your Unicorn Paper Craft
- Before putting it all together this second of our clothespin craft ideas, we are going to take this chance to add details to the unicorn. If you want to make your unicorn 2D, be sure to add details to the front and back.
- Draw on the nose and face and whatever other details you would like to add. *It is easiest if you draw on the matte side of the paper plate rather than the coated glossy side.
- Cut several little blocks of colored construction paper and glue them along the unicorn’s neck to form his mane. Snip the paper to make the “hair”. You can leave this standing straight up or make the blocks a little bigger so that you can fold the mane forward.
- Optional: Color the unicorns horn with a patterned washi tape of your choice and then trim around the outside edge.
- Add the additional legs, horn, tail and ear, gluing them in place on the back of one of the front and back sets.
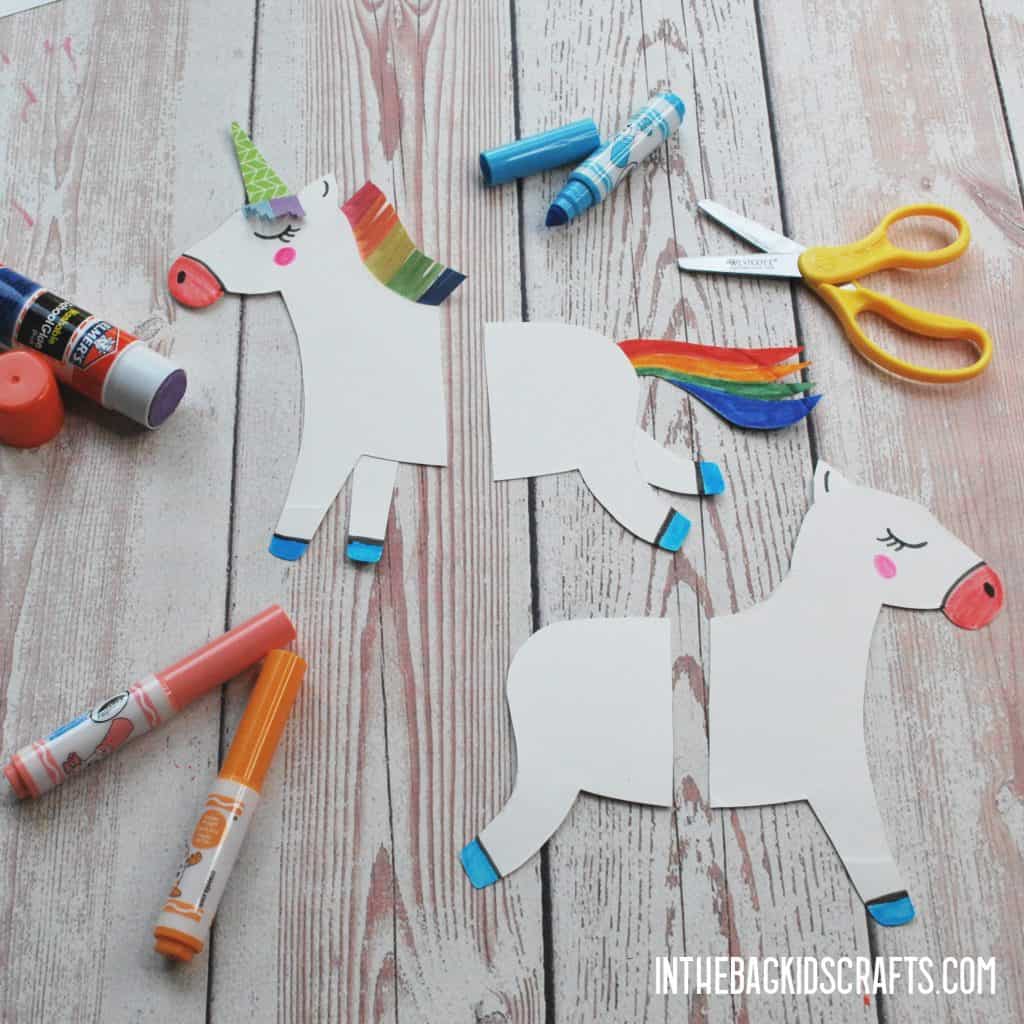
Step 4: Put Your Unicorn Craft Together
- Place the end of the painted popsicle stick sandwiched in between the 2 front end pieces of the unicorn. It should be about 1 to 1 1/2 inches in. The popsicle stick should not be exactly center vertically but slightly above center.
- Now secure your sandwich with the glue stick.
- Do the same with the back end of your unicorn by sandwiching the end of the popsicle stick and adding glue to the center. *Be sure to leave enough room on the popsicle stick for your 6 clothespins without much extra space.
- Add your rainbow stripes to the unicorn by pinching the clothespins onto the popsicle stick.
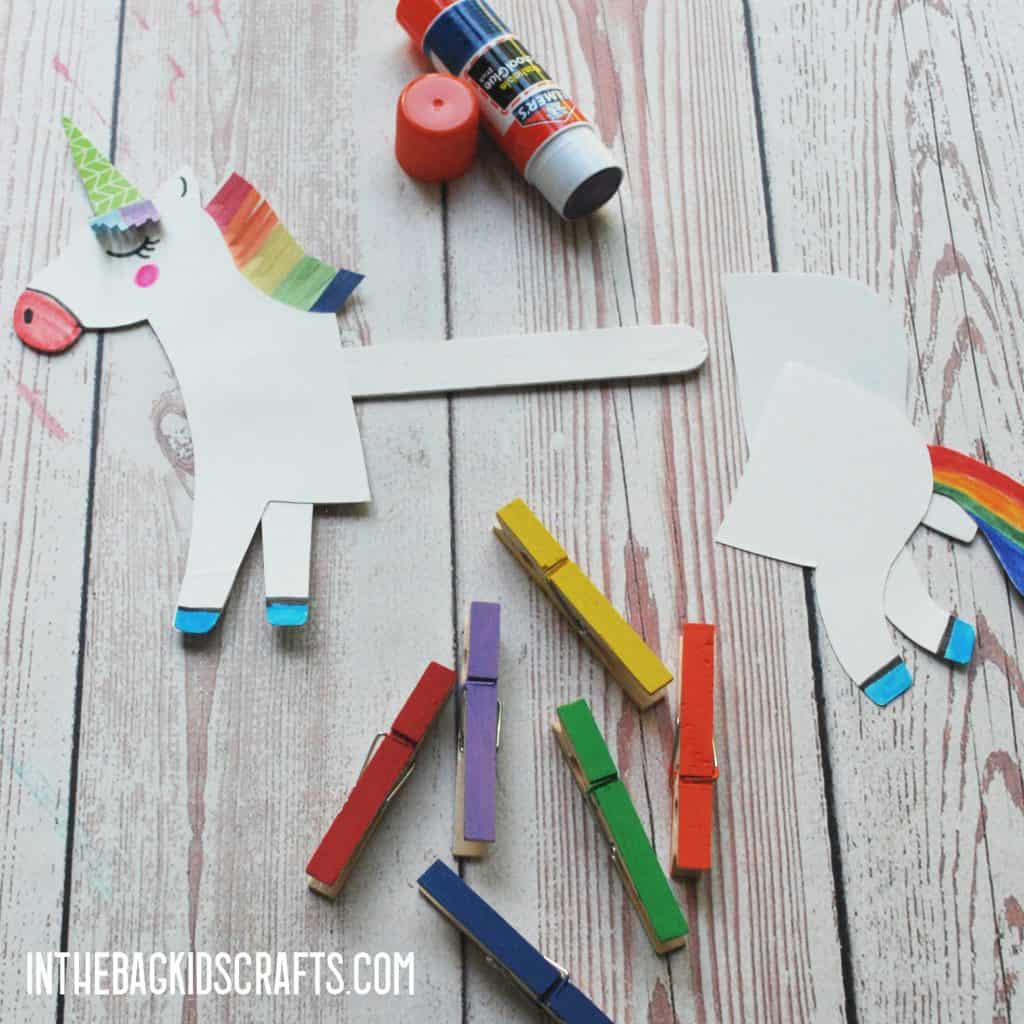
Check out these other Unicorn Crafts…
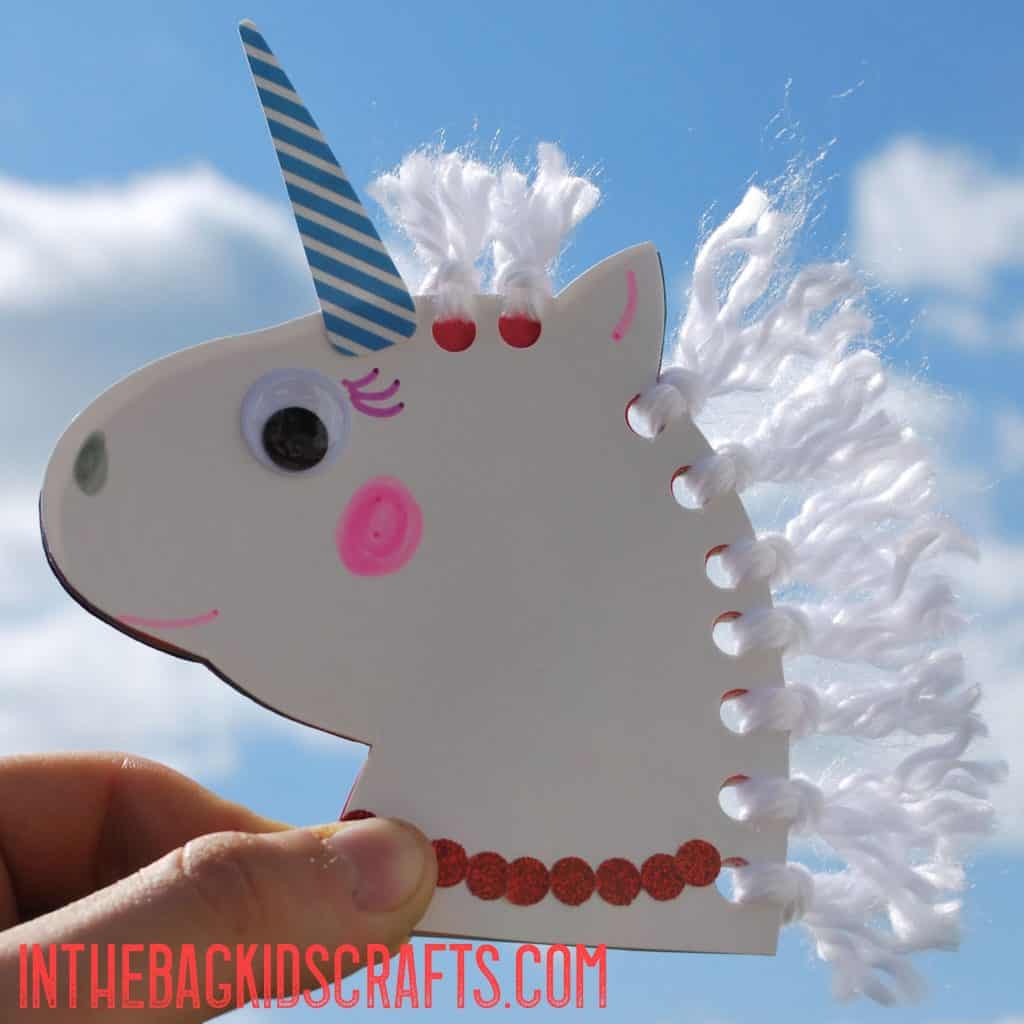
You’ll Also Love Making This Paper Plate Unicorn Craft
Save these Clothespin Animal Crafts for later. Pin to your favorite Pinterest board…
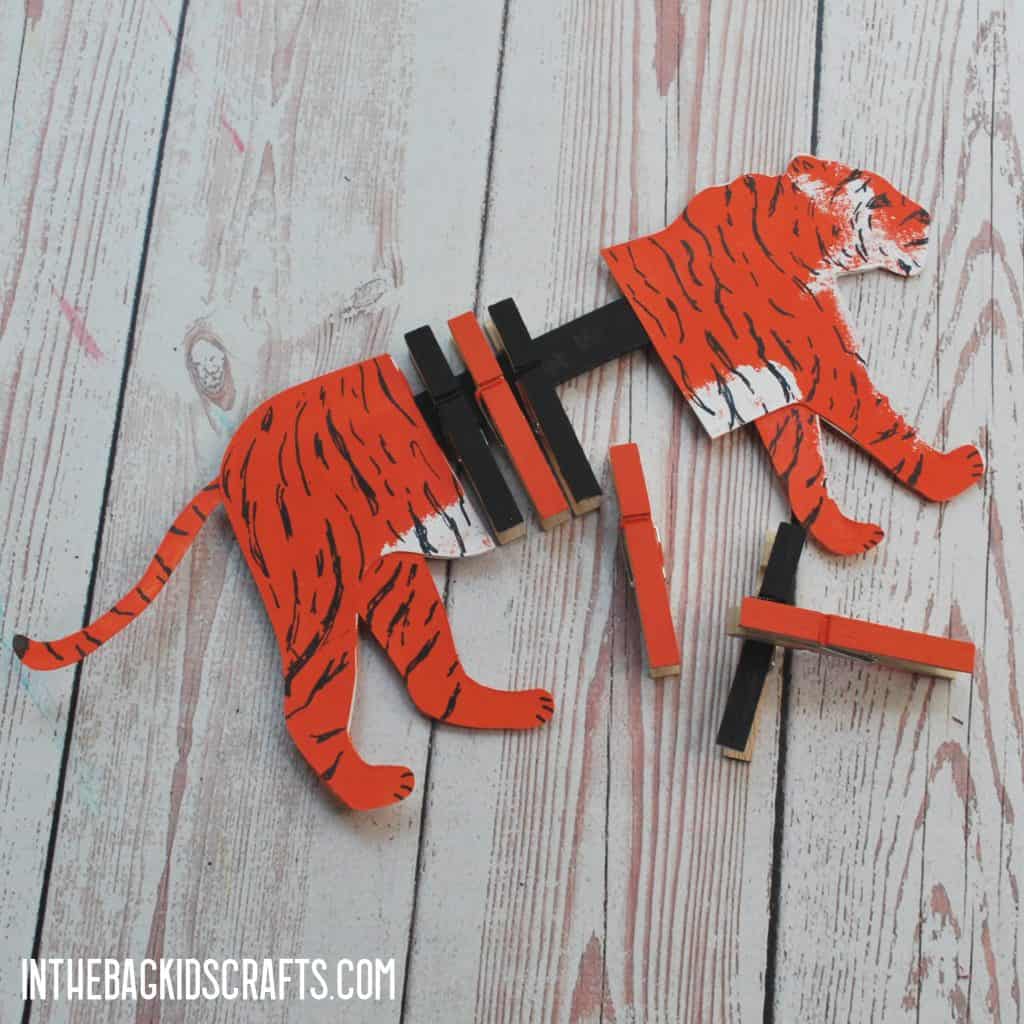
TIGER CRAFT WITH CLOTHESPINS
SUPPLIES FROM THE BAG
- 4 Paper plates (9-inch coated)
- Scissors
- Glue stick
- Pencil
- Newspaper
- Orange and black paint
- 7 Clothespins
- 2 Medium pompoms
- Black Sharpie marker
- Large popsicle stick
- Scrap of orange construction paper
- Tiger craft template
Time Frame: 20-25 minutes (Depending on the amount of detail being added)
Age Recommendation: This craft is appropriate for preschool on up. For little ones, you will want to pre-cut the pieces. But the painting, gluing and securing of the clothespins can be done by all ages.
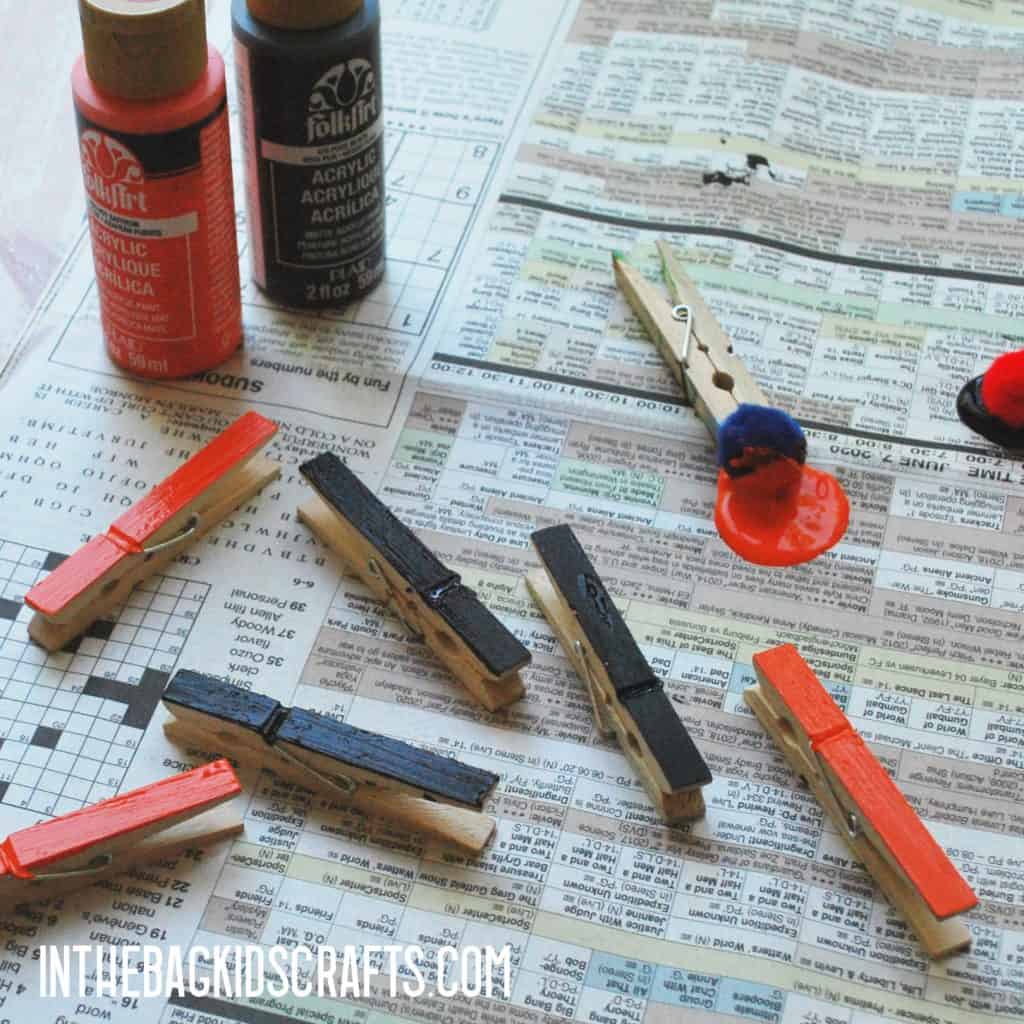
Step 1: Paint Your Tiger Craft Clothespins
- To begin our third and final of the clothespin animal crafts ideas, place six of the clothespins on the newspaper
- Squeeze out a little orange and black paint
- Pinch one of the pompoms with the remaining clothespin to form a “paint brush”
- Paint 3 of the clothespins orange
- Then, change to a fresh, clean pompom and paint the other three black
- Also, paint the large popsicle stick orange
- To make your tiger 2D, flip each piece over and paint the other side to match.
- Set them aside, and let the paint dry completely while you move to the next step
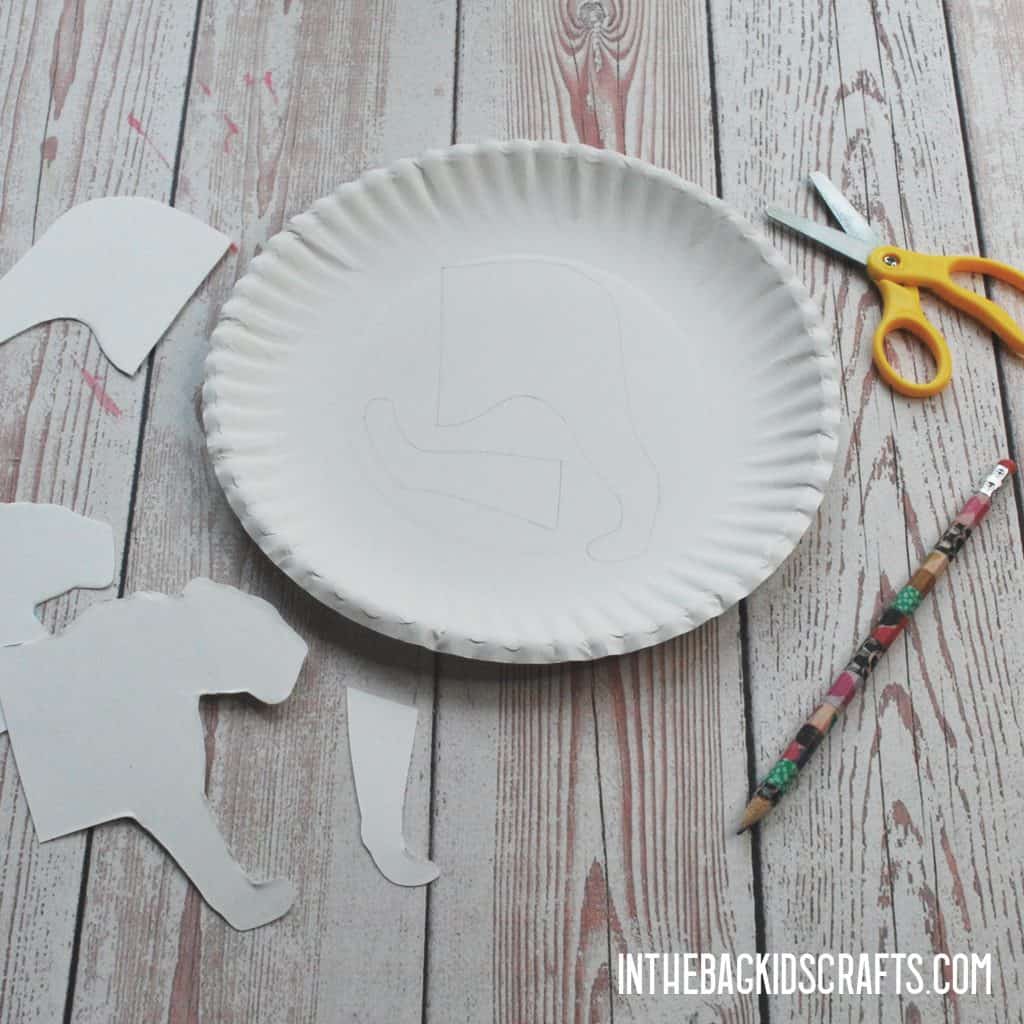
Step 2: Use the Tiger Craft Template
- Print the clothespin animal crafts templates.
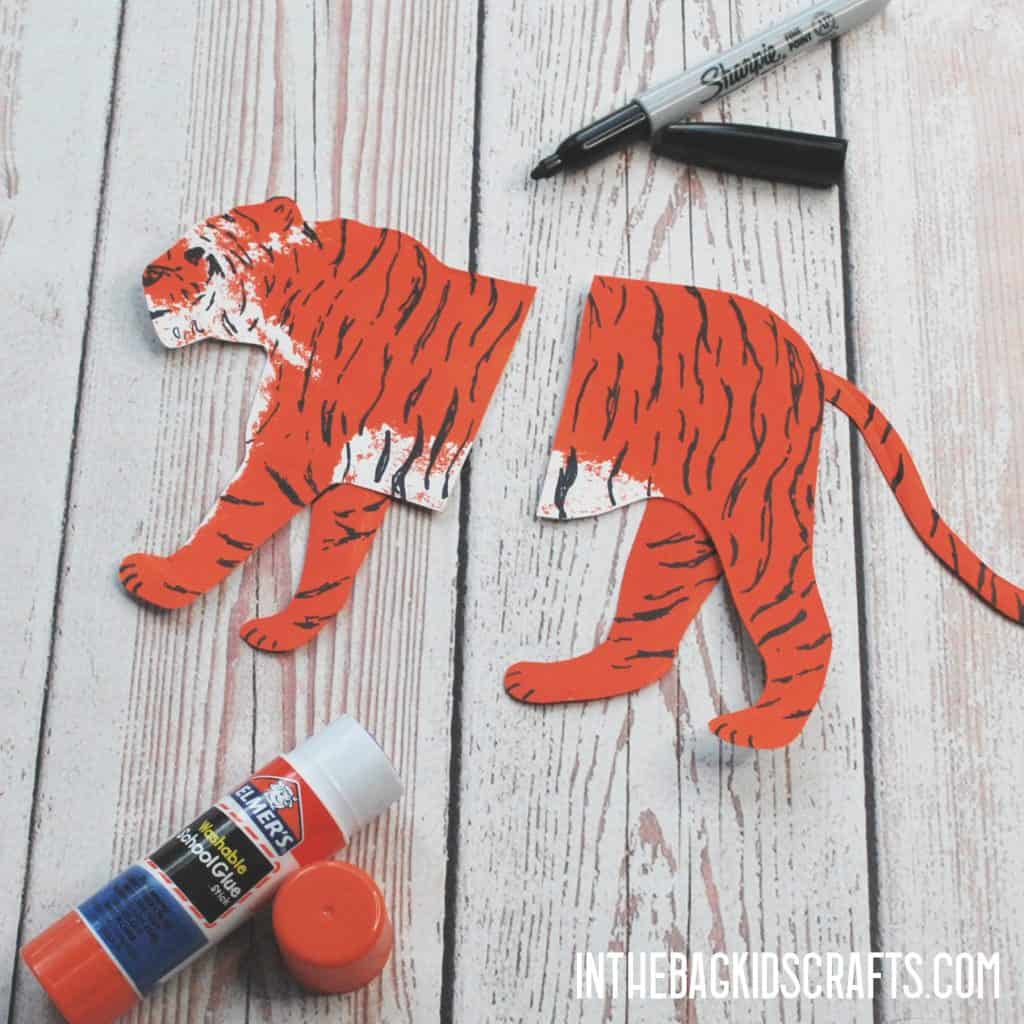
- Trace the front of the tiger onto a paper plate, staying in the middle as much as possible. Cut it out. Repeat this again on another plate, creating a mirror image.
- Now, repeat this process with the back end of the tiger.
- This will basically give you a tiger sandwich which we will begin to put together in an upcoming step.
- Trace the additional legs and tail onto scraps of the remaining paper plate and cut them out. You only need one of each of these.
Step 3: Add Some Detail
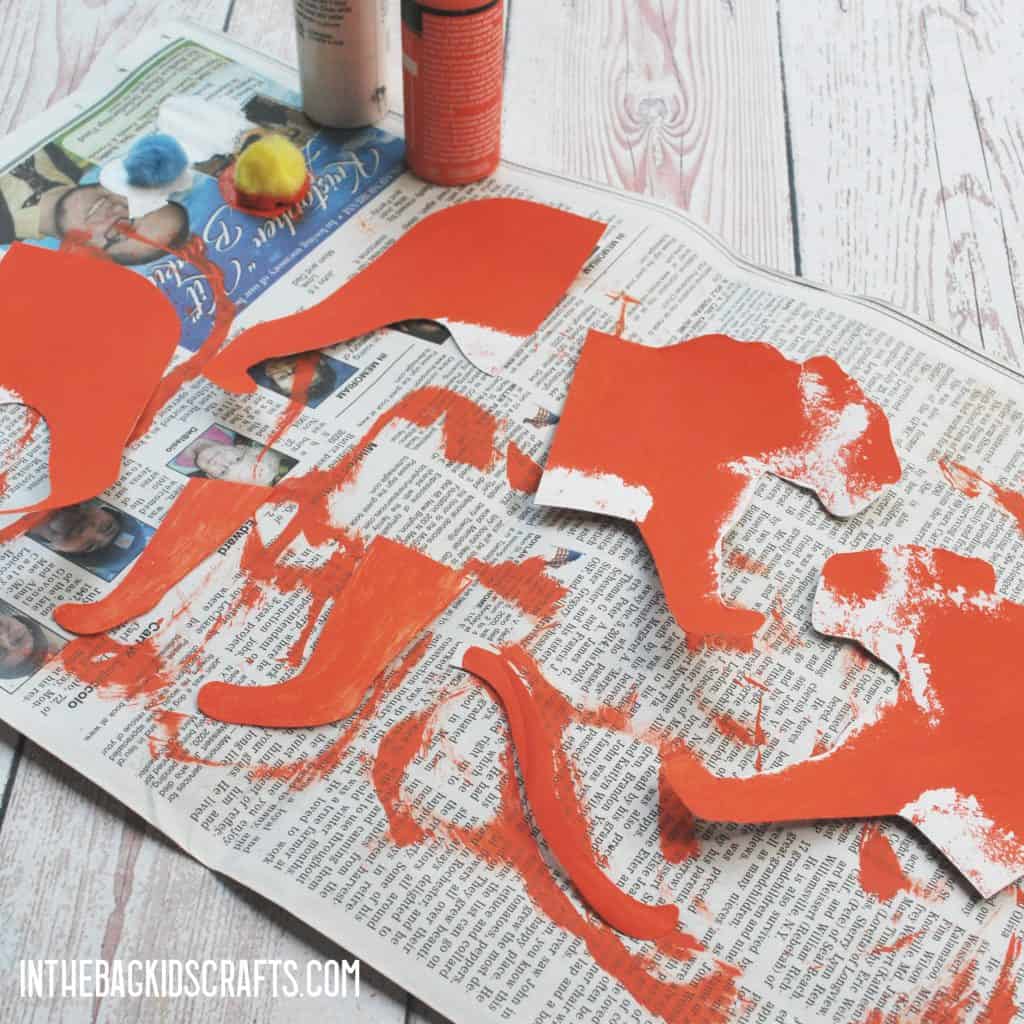
- Paint the pieces of your tiger orange and use a pompom to tap on a little white paint as pictured (tummy, face, etc.) to add a little detail. Sit your painted pieces aside for a minute to dry if needed. It will not take long at all. *It is easiest if you paint on the matte side of the plate rather than the coated glossy side.
- Before putting it all together we are going to take this chance to add details to the tiger. Draw on his stripes however you would like, on both the front and the back if you want your tiger to be 2D.
- Draw on his facial features.
- Add the additional legs and tail, gluing them in place on the back of one of the front and back sets.
Step 4: Put Together Your Tiger Craft
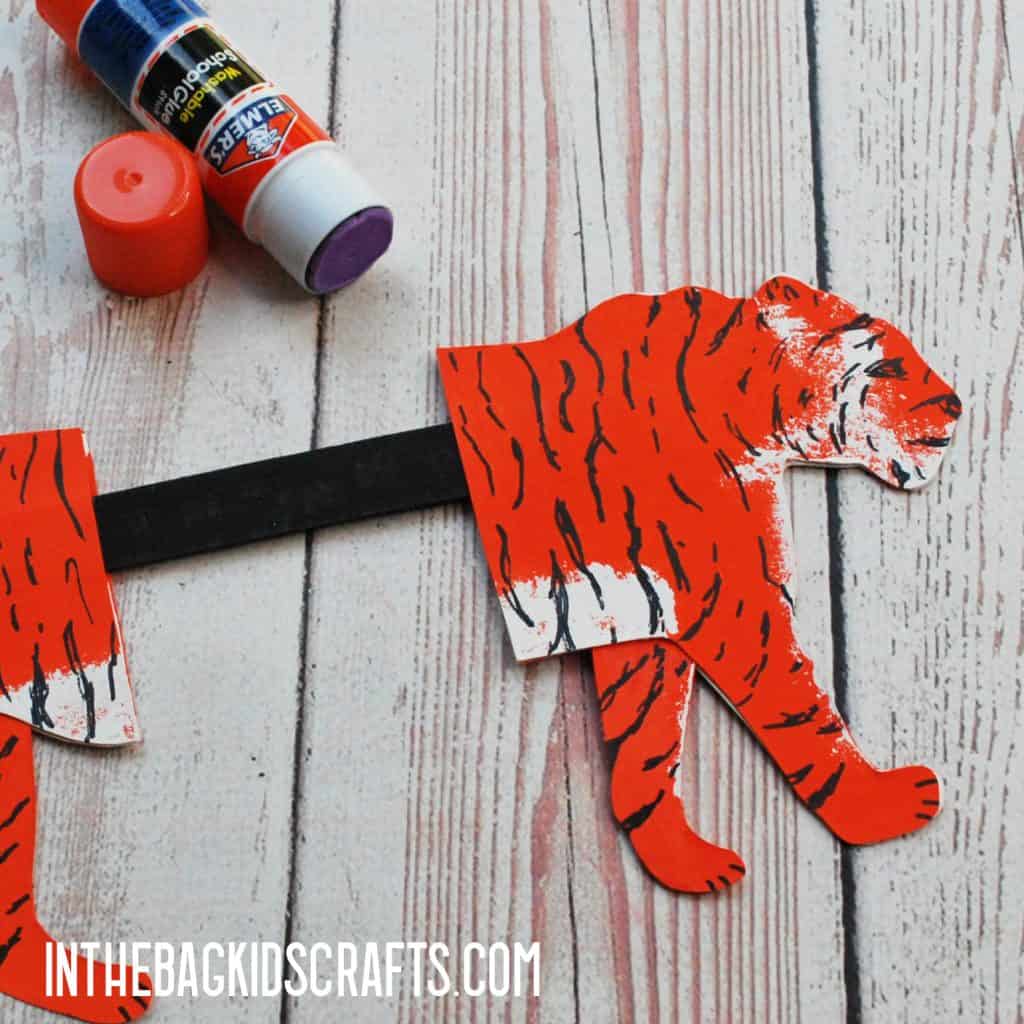
- Place the end of the painted popsicle stick sandwiched in between the 2 front end pieces of the tiger. It should be about 1 to 1 1/2 inches. The popsicle stick should not be exactly center vertically but slightly above center.
- Now secure your sandwich, with the popsicle stick in the middle, with some glue.
- Do the same with the back end of your tiger by sandwiching the end of the popsicle stick and adding glue to the center. *Be sure to leave enough room on the popsicle stick for your 6 clothespins without much extra space.
- Add your stripes to the tiger by pinching the clothespins onto the popsicle stick.
More Animal Crafts for Kids to Make
- Llama Craft
- Kangaroo Craft
- Ocean Animal Crafts
- Skunk Craft
- Tiger Craft
- Giraffe Craft
- Paper Bag Squirrel Craft
- Wiggly Eared Dog Craft
- Axolotl Craft Puppet
- Sleeping Deer Craft
- Paper Bag Cats
- Paper Bag Owl Crafts
- Fluffy Bunny Craft
- Sleeping Cat Craft
- Clothespin Porcupine Craft
Save these clothespin craft ideas for later…Pin it to your favorite Pinterest board!
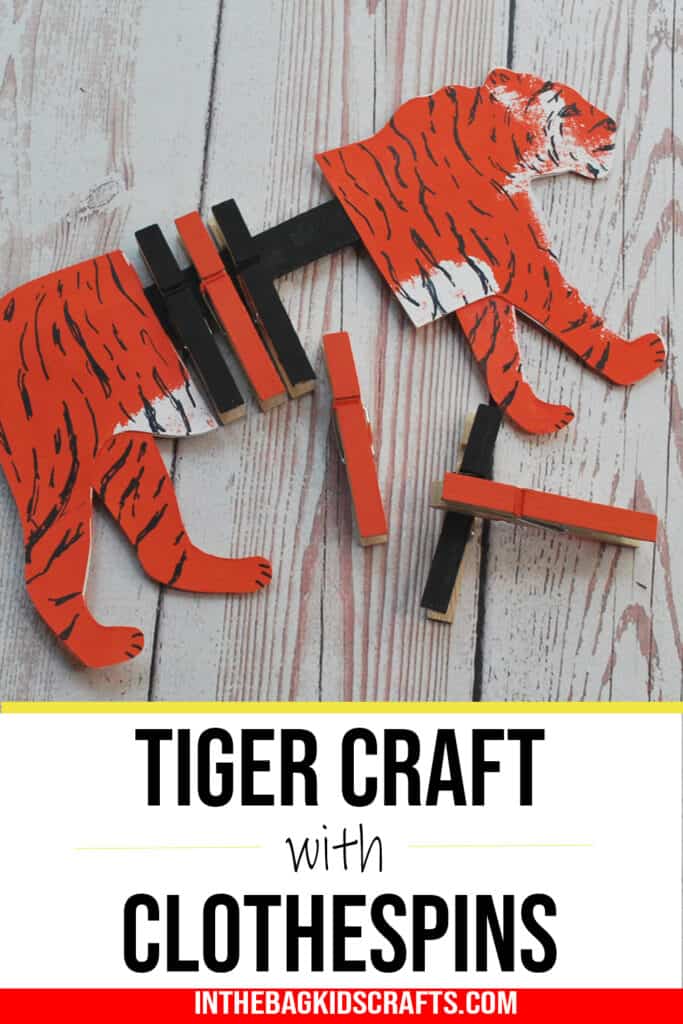
Now that you know how to make these clothespin animal crafts, don’t just stop at one. Make the whole collection. Or maybe your have an idea for another animal to add to the collection. We would love to see what your imagination comes up with!

