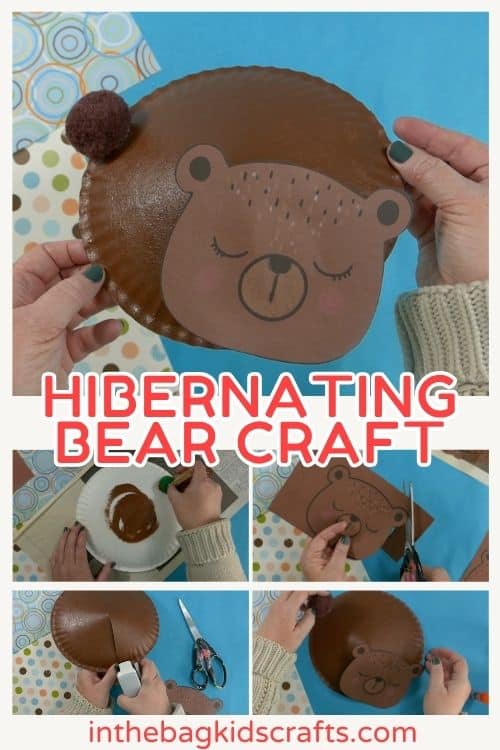
Free Printable Hibernating Bear Craft for Kids
What could be cuter than a sleeping bear? I can practically hear the bear snores. This adorable hibernating bear craft starts with a free printable and a paper plate. We chose to pull out the paint for this, but you can also just stick to crayons and markers to control the mess factor. It’s perfect for kids of any age, from preschool through elementary.
If you enjoy this hibernation craft this winter season, you’re also going to want to check out THIS ARTICLE that includes lots hibernating animal crafts.
Save this Hibernating Bear Craft for later. Pin it to your favorite Pinterest board…
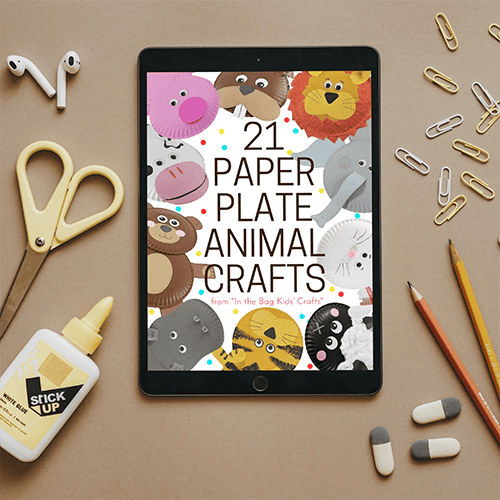
You’re Going to Love This Collection of Paper Plate Animal Crafts…
Fun Facts About Brown Bears
- During the Fall they eat non-stop in preparation for hibernation.
- Their fur ranges in color.
- Brown bears include species such as kodiaks and grizzly bears.
- Males are called boars and females are called sows.
- They are very fast and can run up to 30 to 40 mph.
For more interesting facts about brown bears, check out this article from Cool Kid Facts. This craft would be a great addition to a lesson plans on bears or hibernation. Or turn it into a polar bear and use it for a lesson about the Arctic.
All activities require adult supervision. By using this site, you are agreeing to our terms of use. This post may contain affiliate links, which means if you make a purchase through these links, I may receive a small commission at no extra cost to you. Click here to read my full disclosure policy.
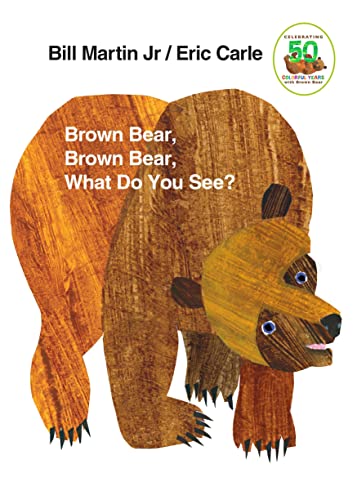
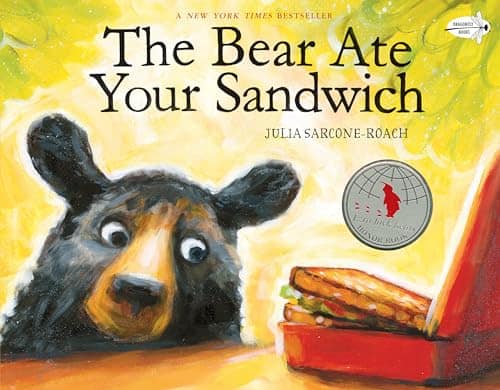
Grab Your Favorite Bear Book to Make the Crafting Experience Even Better

How to make a Hibernating Bear Craft
Making a craft is one of those perfect hibernation activities. Grab your paper plate and let’s get started. IYou’re going to love this fun activity.
SUPPLIES FROM THE BAG
- Paper plate (9-inch coated)
- Brown paint
- Pompoms (1 large brown and 1 for painting)
- Clothespin (optional)
- Newspaper
- Brown construction paper
- Crayons
- Glue stick
- Elmer’s glue
- Scissors
- Stapler with staples
- Bear craft template
To make crafting with your kids actually do-able and fun (like it should be), we always stick to a list of basic supplies that fit into one bag for all of the crafts that you see on this site. We never stray from the master list so that once you fill your bag, you’re ready to craft along over and over again, even when time and money is tight. Now let’s craft some memories!
Check Out the Sleeping Bear Craft Video Tutorial
Step-by-step Instructions:
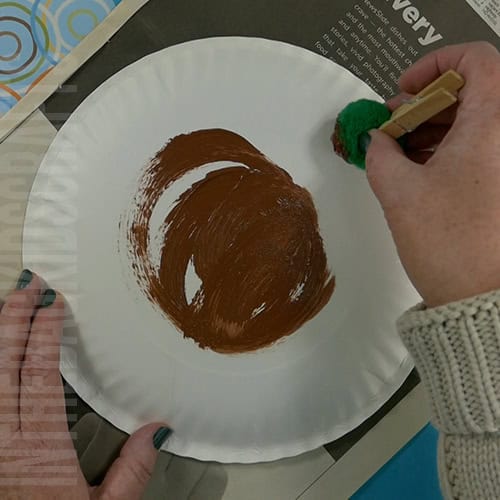
Step 1: Paint the Paper Plate
- Lay out some newspaper on your crafting surface.
- Optional: pinch a large pompom with your clothespin to form a “paint brush”.
- Place the paper plate onto the newspaper, bottom side up.
- Then generously paint it with brown paint.
- For a fur type look, tap the pompom all over the paint.
- Set the plate aside and give it time to dry while you move on to the next step.
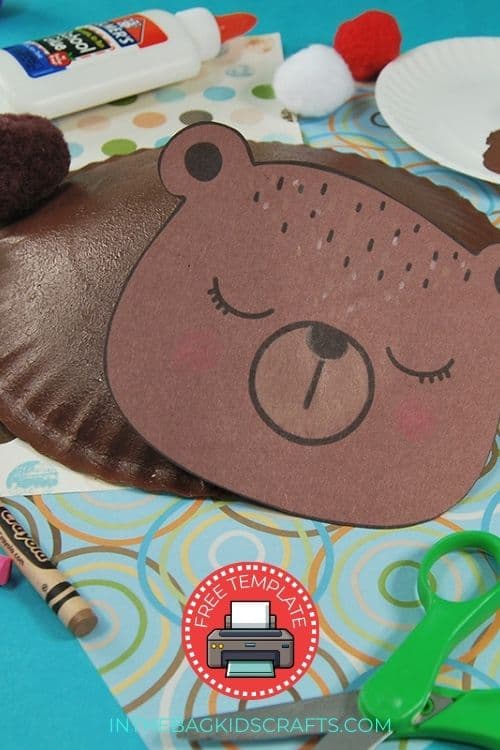
Step 2: Use the Free Printable Template
- Download and print the bear template. You can print it directly onto brown construction paper or onto regular printer paper, using it as a template. If you choose the second option, you’ll need to draw in the details.
- Optional: Use your crayons to add a few details to your little bear.
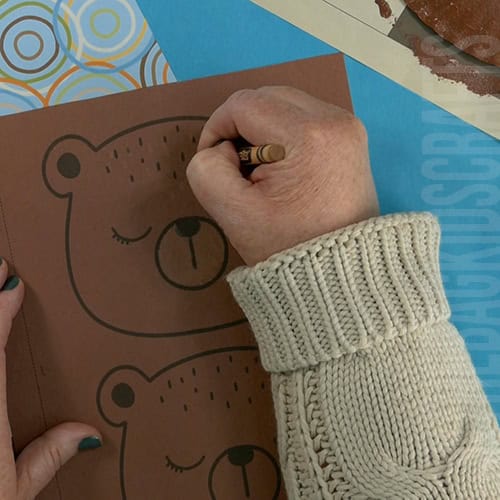
Step 3: Cut Out the Bear’s Head
- Cut out your bear’s head.
If crafting with young kids, you may want to precut the bear’s face.

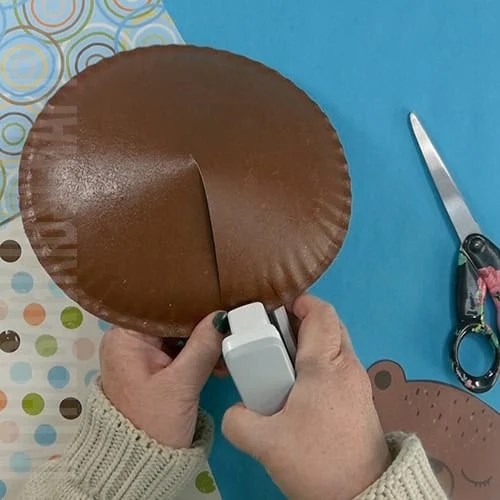
Step 4: Create the Sleeping Bear Body
- Once the paint has dried, cut a slit in your paper plate going from the outside to the center.
- Overlap the paper plate where you have made the cut and secure it with a few staples.
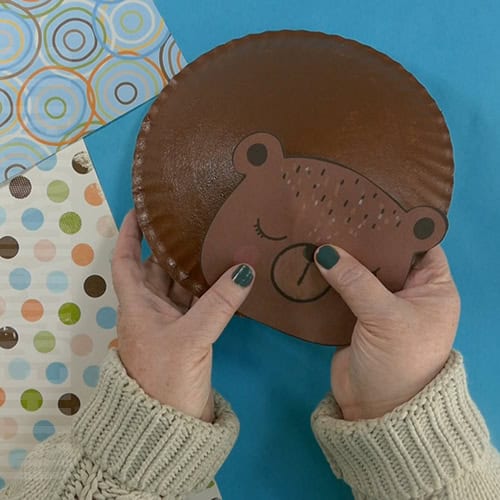
Step 5: Add the Head
- Place a generous amount of glue stick on the back of your bear’s head.
- Then place it at an angle, positioned like your bear is sleeping, over the cut.
- Press firmly for a minute so that the glue takes hold.
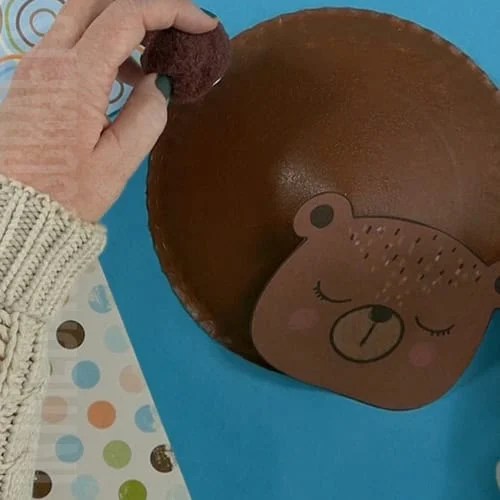
Step 6: Place the Tail for Your Hibernation Animal
- Place a glob of Elmer’s glue on a large brown pompom.
- Put it in place for the tail of your bear. It will be placed like the body is curled around in a sleeping posture.
- Hold the tail in place until the glue grabs hold.
*Tip: You can use a clothespin to temporarily hold the tail in place while the glue dries. Or…instead of using Elmer’s glue, use glue dots instead. They stick immediately and hold well.
How to Make This a Black Bear Craft
Black bears also hibernate and are a perfect fit for this craft. Alter the steps by using black paint instead of brown and cutting the bear’s head out of black construction paper. You will need a white gel pen or white Sharpie to create the details on the bear’s face so that they can be seen. Use a large black pompom for the tail.
Creating Lesson Plans
If you’re a preschool teacher or a kindergarten teacher, this simple craft is perfect for teaching a hibernation unit. Your students’ learning is always enhanced with a hands-on activity. Talk about the different animals, why they hibernate and how hibernation works. Bonus is that this activity has no small parts, is a great way to practice fine motor skills and is super easy prep.
Use this cold weather activity in a small group or as whole class craft activities. It’s important to be aware of the needs of little learners but also to let them do as much as they can on their own to encourage independence.
Add Some Cotton Balls Snow
When a bear is sleeping as long as they do during hibernation, some snow may accumulate. If you want to add this extra detail, pull some cotton balls to make them fluffy and glue to the bear’s back.
Bulletin Board Idea
Wouldn’t these make such a fun bulletin board? Create a background of a bear cave. Then staple a name on each bear so that students can see their own with pride. Again use a stapler to put all of the bears inside of the cave to sleep away the winter. It could say something like “Winter Together is so Beary Nice”.
Here are even more Bear Crafts to make
Washi Tape Bear Craft
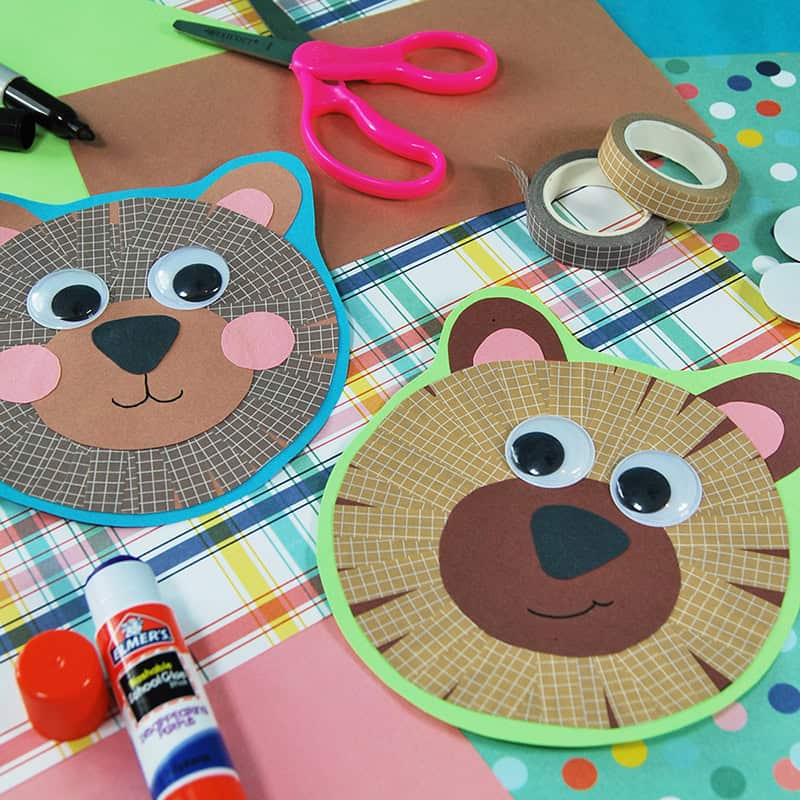
Teddy Bears Paper Plate Craft
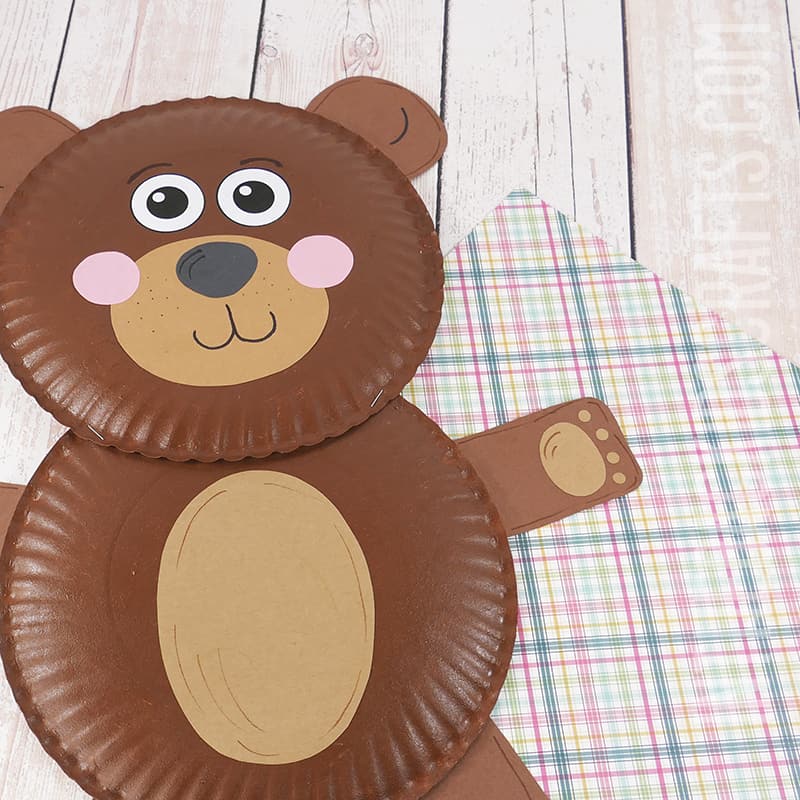
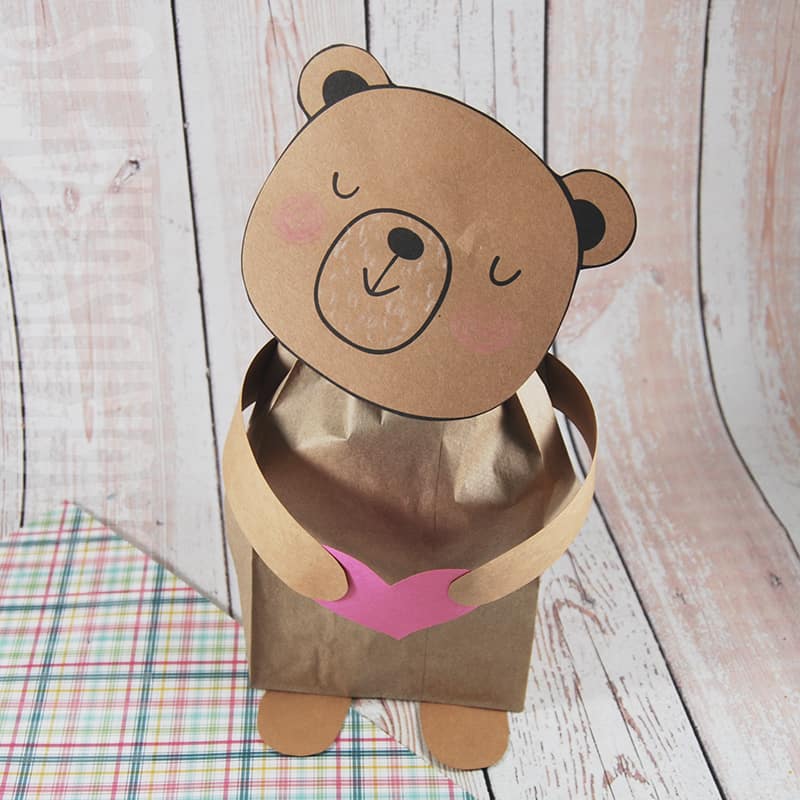
Paper Bag Brown Bear Craft
Share With Us
Did you make this activity with your kids or students? We’d love to feature them on our social media!
For a chance to have your child’s project featured, simply snap a picture of the completed project and email it to us directly by clicking here or use #inthebagkidscrafts on your social media!