Gnome Craft (with Free Template)
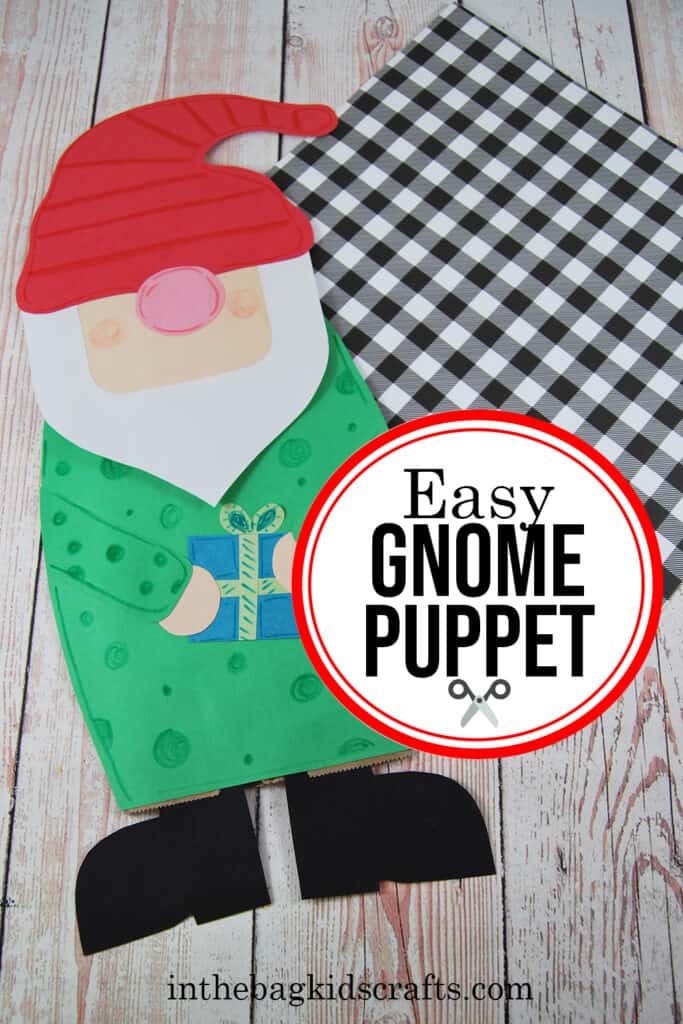
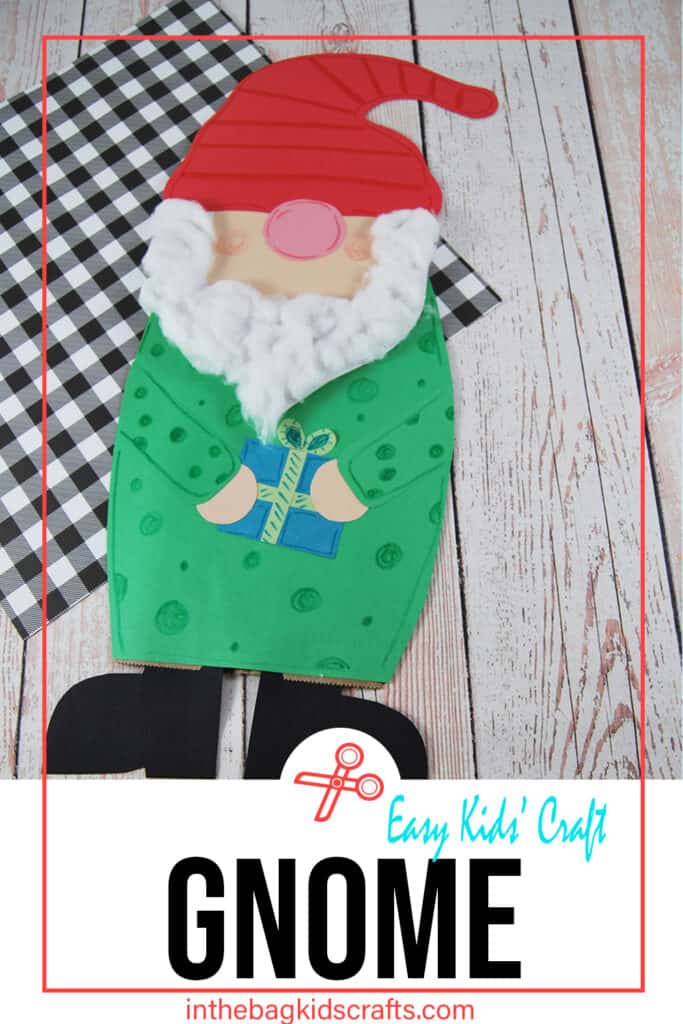
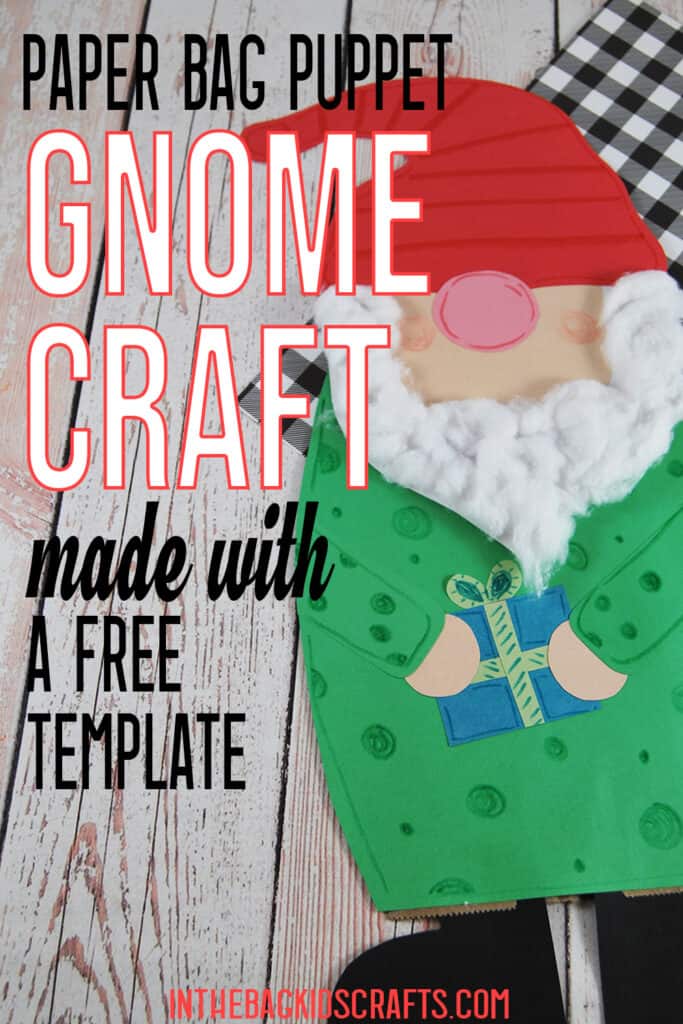
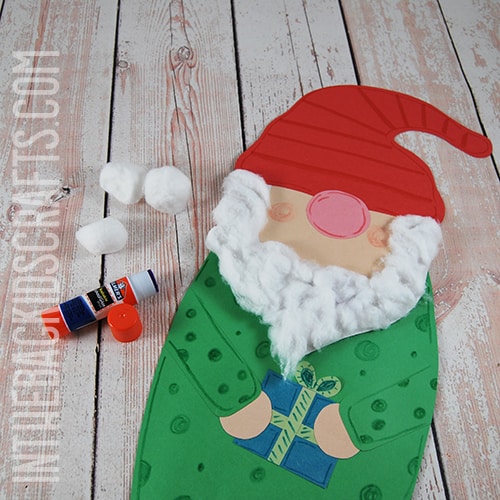
This gnome craft is so much fun to make and even more fun to play with as a puppet when you’re done creating. We chose traditional Christmas colors to make ours an adorable Christmas gnome craft, but this puppet can be made any time of the year. Just choose a different color scheme. You can also change what he’s holding in his hands.
If you like this gnome craft, you’re also going to love making this rocking Rudolph, these fun shape puppets and this Santa in a chimney card.
Nourish Your Relationship with Your Kids as You Craft Together all Year Long…
Fun Facts about Gnomes
- Gnomes are imaginary creatures that are regarded as good luck.
- They are often used as decor in gardens.
- Their main enemies are mean humans and trolls, of course.
- Gnomes kiss by rubbing noses.
- All male garden gnomes where red hats.
To learn more about garden gnomes, check out this article by Serenity Health & Home Decor.
All activities require adult supervision. By using this site, you are agreeing to our terms of use. This post contains affiliate links, which means if you make a purchase through these links, I may receive a small commission at no extra cost to you. Click here to read my full disclosure policy.
SUPPLIES FROM THE BAG
- Paper lunch bag
- Construction paper
- Scissors
- Glue stick
- Cotton balls
- Markers
- Crayons
- Gnome craft template
This adorable gnome puppet takes just a few craft supplies to create, and every one of them is part of the master list that we use to make every single project that you see here. I want crafting with your kids to actually be enjoyable…not just another thing on your “to do” list. By filling your craft bag in advance, you’ll be ready to make crafts with your kids anytime you find yourself with a few spare moments, no extra prep needed.
Save this Christmas craft for later. Pin it to your favorite Pinterest board…
How to make a Gnome Craft
Step 1: Use the Gnome Craft Template
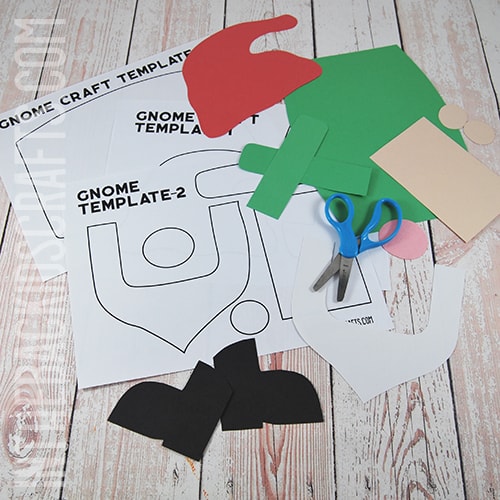
- Download and print the gnome craft template.
- Use the template to cut out all of the pieces for your gnome puppet.
- Make the beard from white paper, the face rectangle and hand circles from flesh colored and the nose from a pink or red.
- The red of the pieces can be the colors of your choice.
Step 2: Start the Assembly
- Place the paper lunch back in front of you with the flap up and the opening at the bottom.
- Take the cut out body section and glue it to the front of the paper lunch bag, placing it under the flap.
- Glue the boots in place inside the opening at the bottom of the body.
- Then cover the flap with the cut out rectangle by gluing it in place.
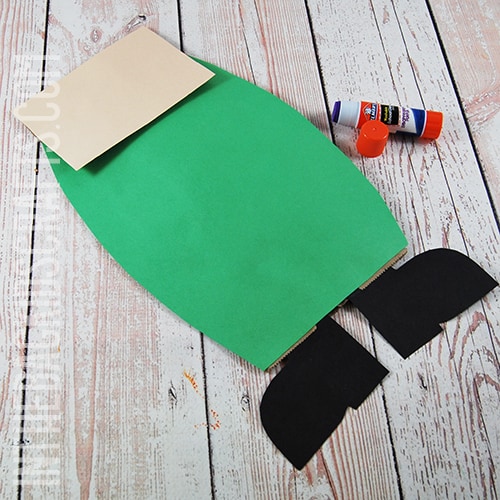
Step 3: Add the Hat and Beard to Your Gnome Craft
- Now use your glue stick to put the cut out beard in place.
- Next add the hat.
- Finally glue his nose in place, overlapping the hat slightly.
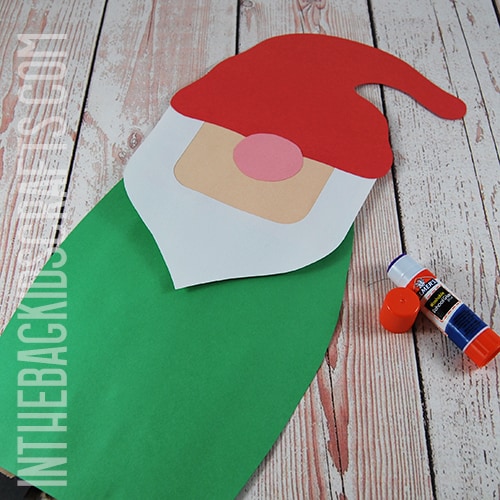
Step 4: Finish Off Construction
- If you’d like him to hold something in his hands, cut out a shape from construction paper. We made him a little gift to hold.
- Glue the hands in place at the end of each arm piece.
- Then glue the arms and anything you want him to hold onto the front of the body of the gnome.
- The arms will extend past the edge of the gnome. Just trim away the excess.
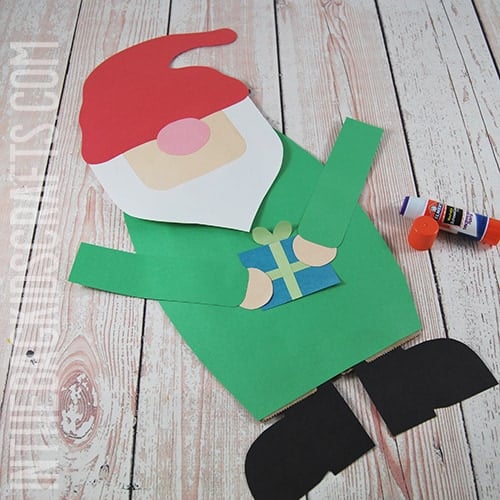
Step 5: Decorate Your Gnome Craft
- Now that your gnome is completely constructed, use your markers and crayons to add any details the you would like.
- We added stripes and polka dots to his clothing and game him rosy cheeks.
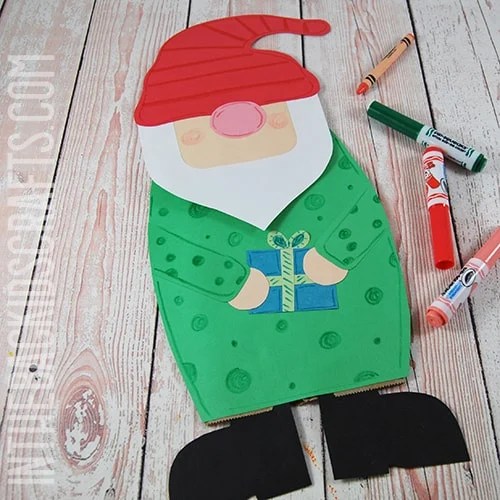
Step 6 (Optional): Add a Fluffy Beard
- As an optional finishing touch, pull on some cotton balls to fluff them up.
- Then glue the fluffed up cotton all over the beard.
- Pull the tip of the cotton at the bottom point so that it is pointed like a traditional gnome beard.
Now that you know how to make this gnome craft, it’s time to put on a puppet show. Make more even more puppets, giving them different personalities and create a story for them to play out. The only limit is your imagination. And if you need a puppet stage, check these out…


Enjoy watching this video of the reading of “The Little Gnome” together
Save this Paper Bag Puppet Craft for later. Pin it to your favorite Pinterest board…
