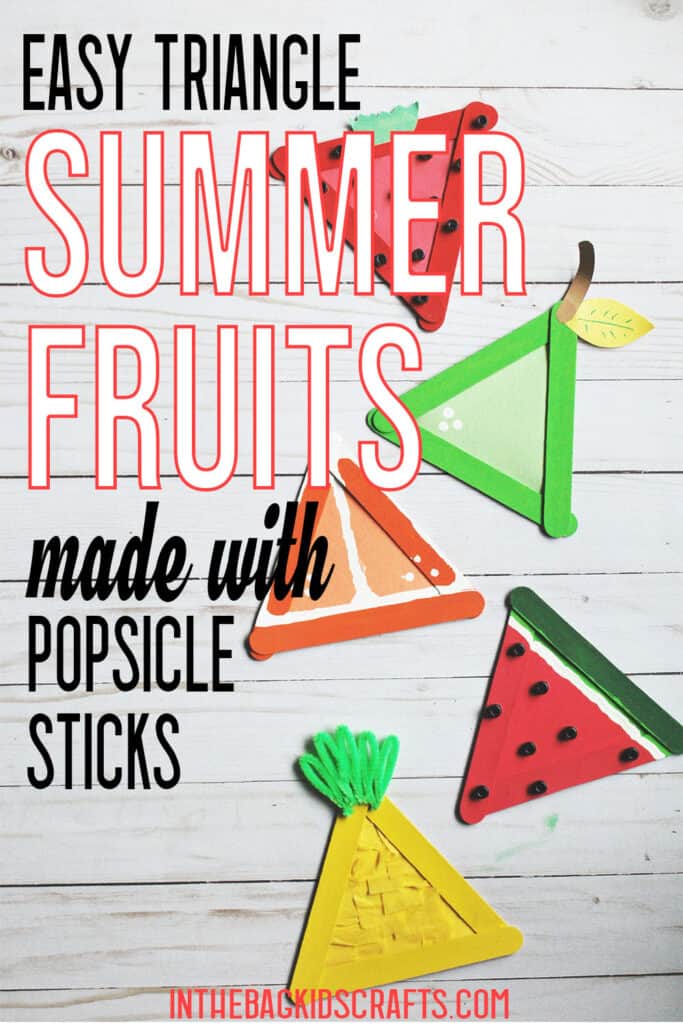
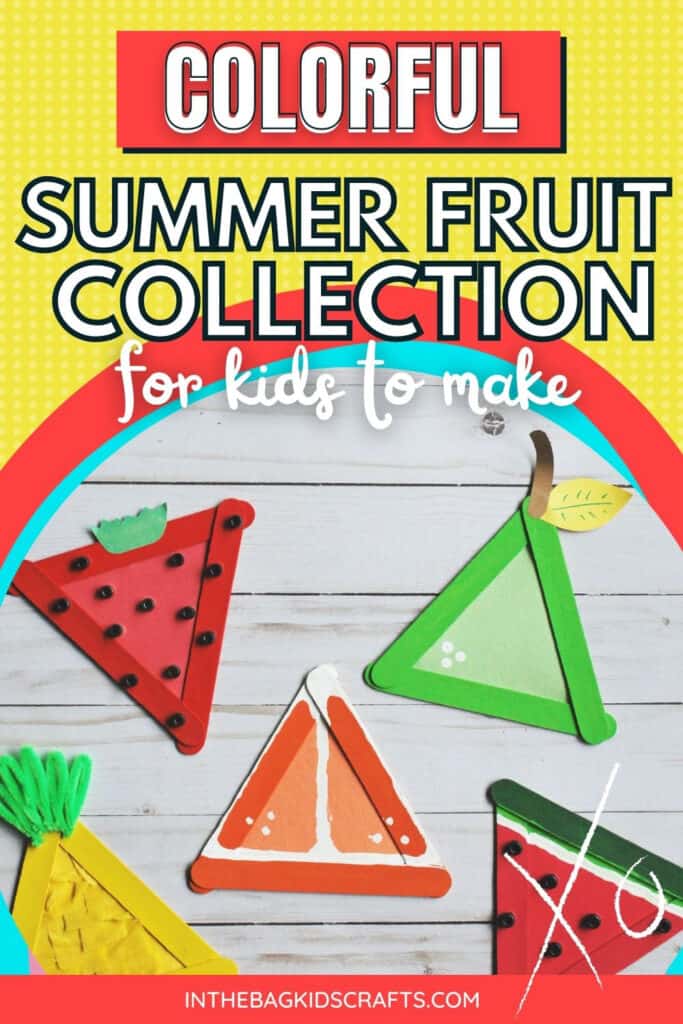
Fruit Art and Craft Collection
It’s sometimes the simplest crafts that are the best, and this fruit art and craft collection is fun to put together. Once you’ve made each summer fruit craft, there are a few fun things that you can do with the collection. For example, put magnets on the back and put them on the fridge. Or cluster them together and frame them for a piece of art to give away. They make a great gift for kids to make for the grandparents.
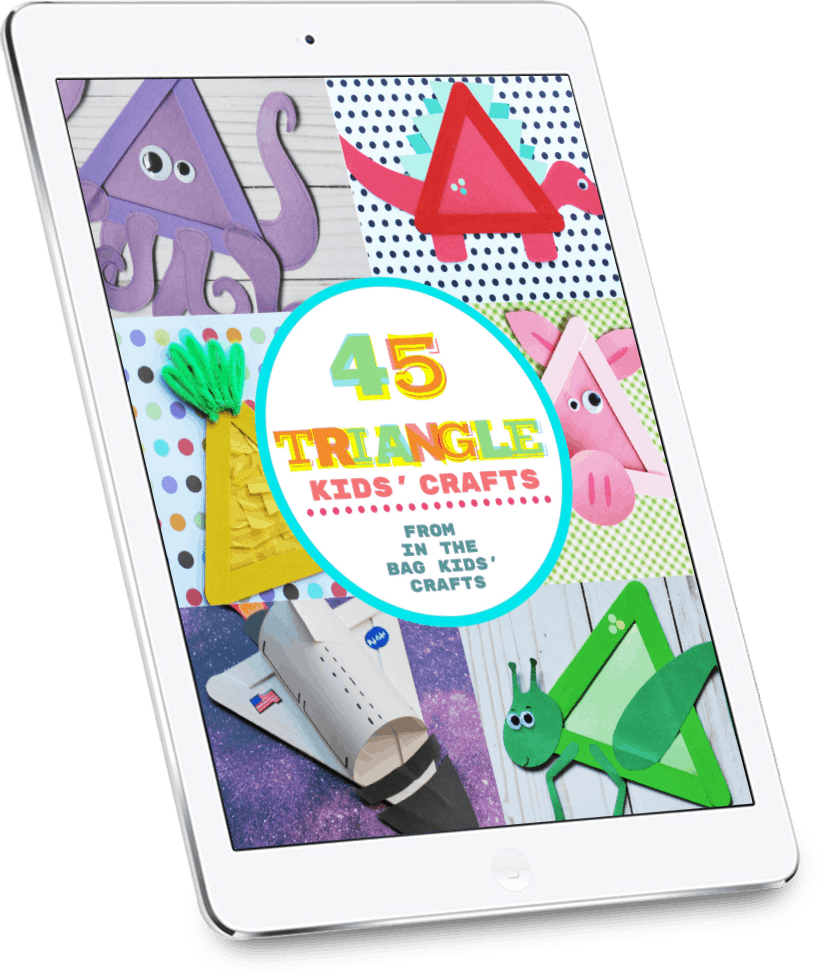
Get the Triangle Crafts eBook with these Summer Fruit projects and SO MANY MORE!
Save these Fruit Crafts for later. Pin them to your favorite Pinterest board…
Here’s a little bonus for you. If you’d like to skip step 2 in each of these fruit crafts and use a printable triangle template instead, here you go…Printable Triangle Templates
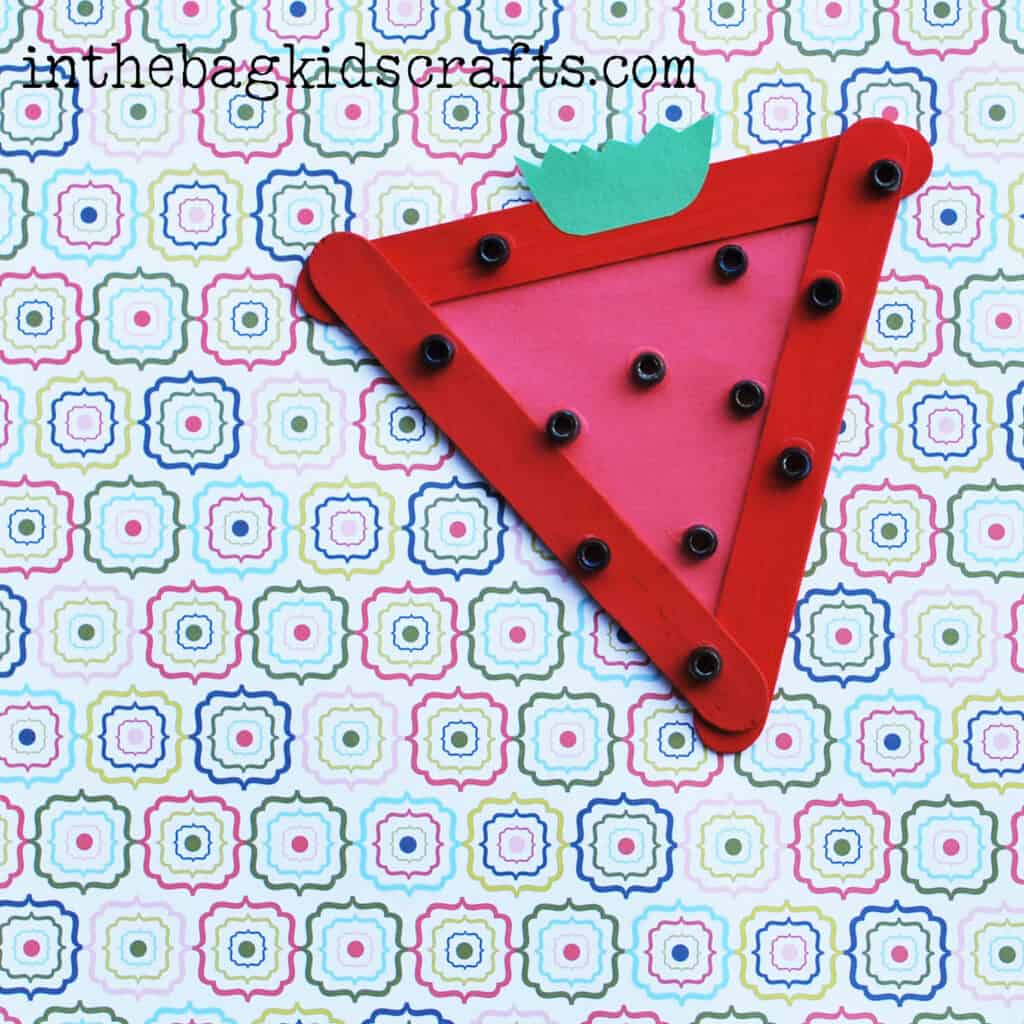
Craft 1: Strawberry Craft
SUPPLIES FROM THE BAG
- 3 Popsicle sticks
- Elmers glue
- Red construction paper
- Scrap of green construction paper
- Black pony beads
- Glue stick
- Scissors
- Pencil
- Clothespin
- Medium pompom
- Paper plate
- Red paint
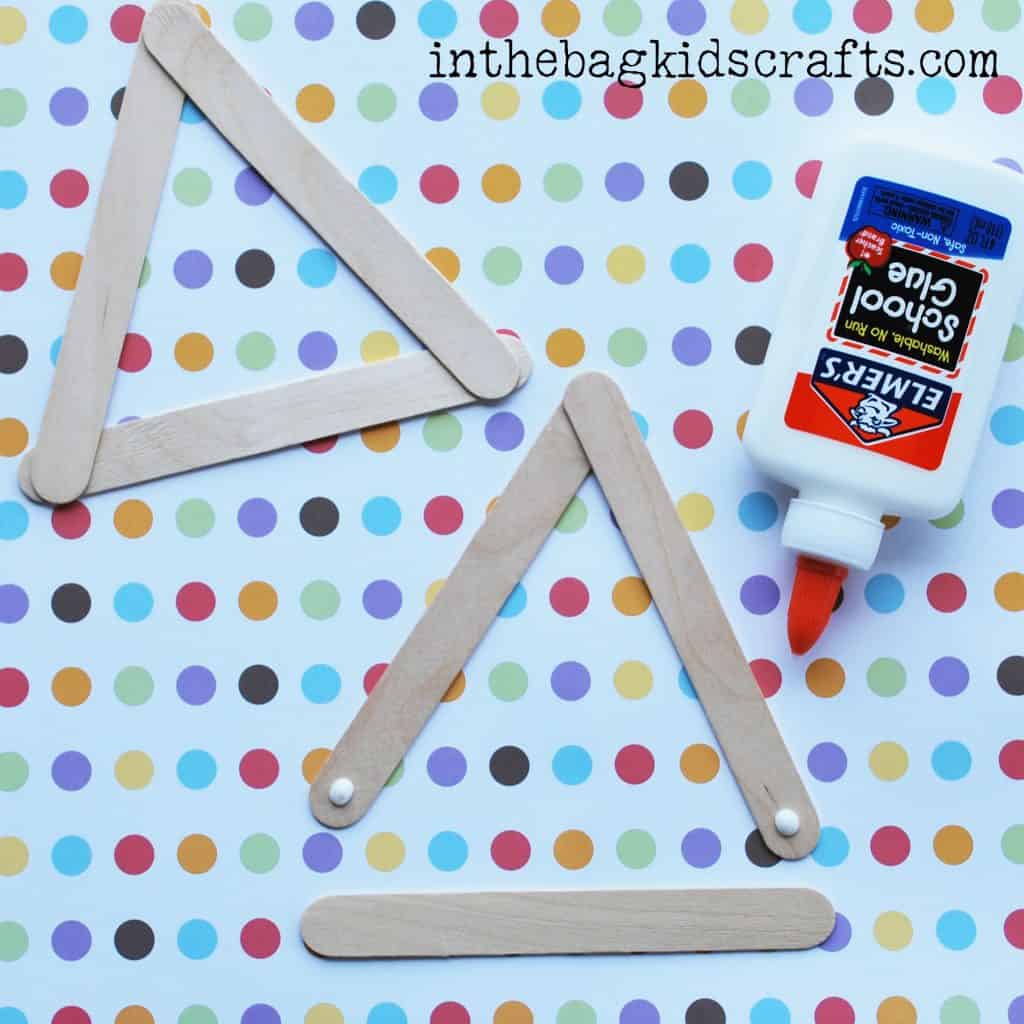
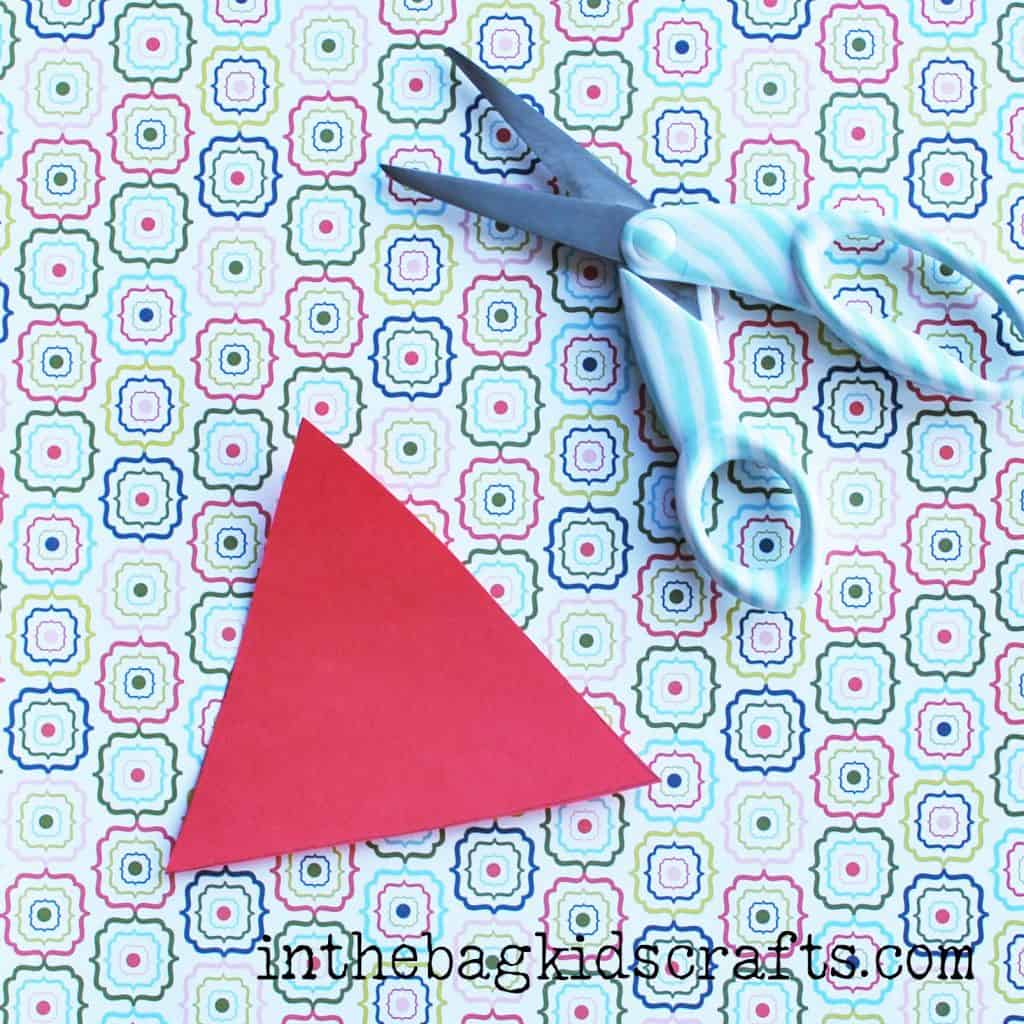
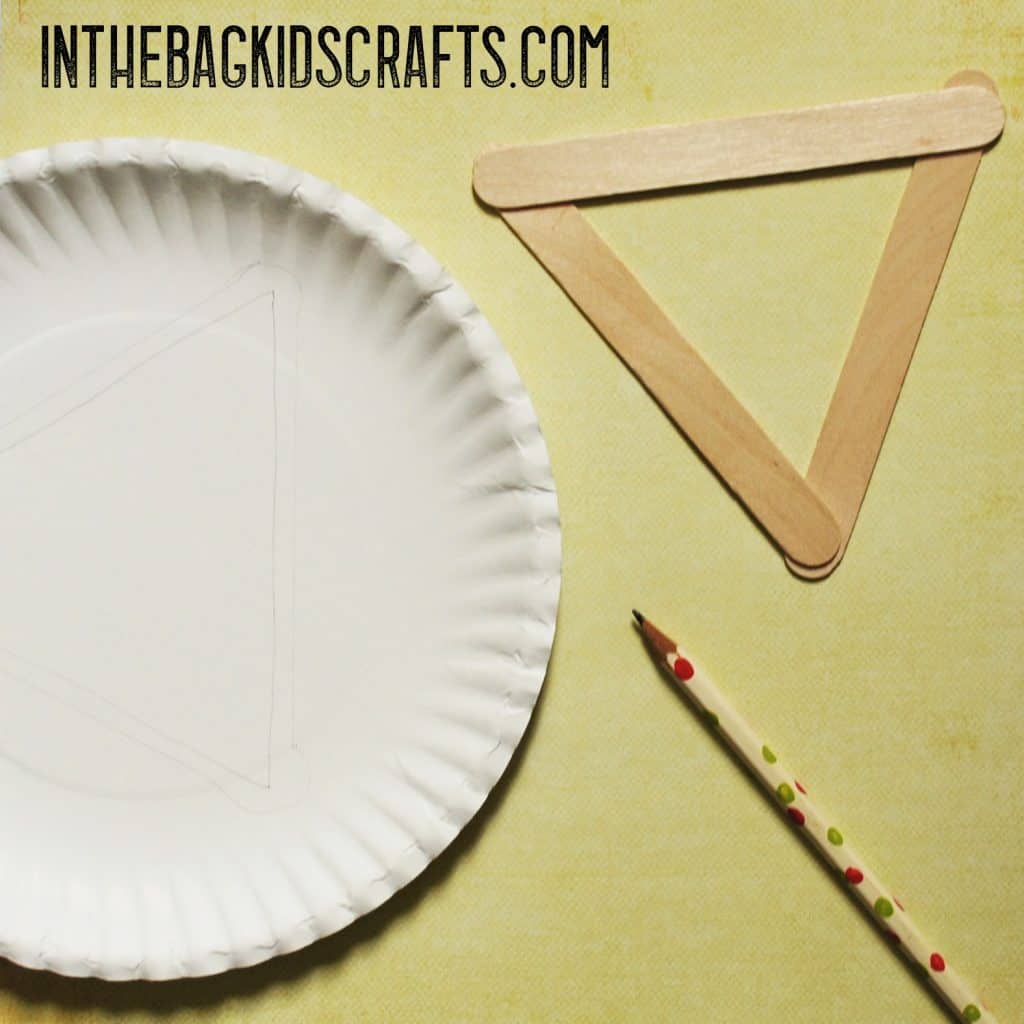
Step 1
- Glue 3 popsicle sticks together in the shape of a triangle
- Repeat this step 5 times at least so that you have enough triangles to make all of the fruit and then some
- Allow the glue to dry thoroughly before moving on to the next step
- You may even want to do this step the day before or use Glue Dots instead so that there is no wait time.
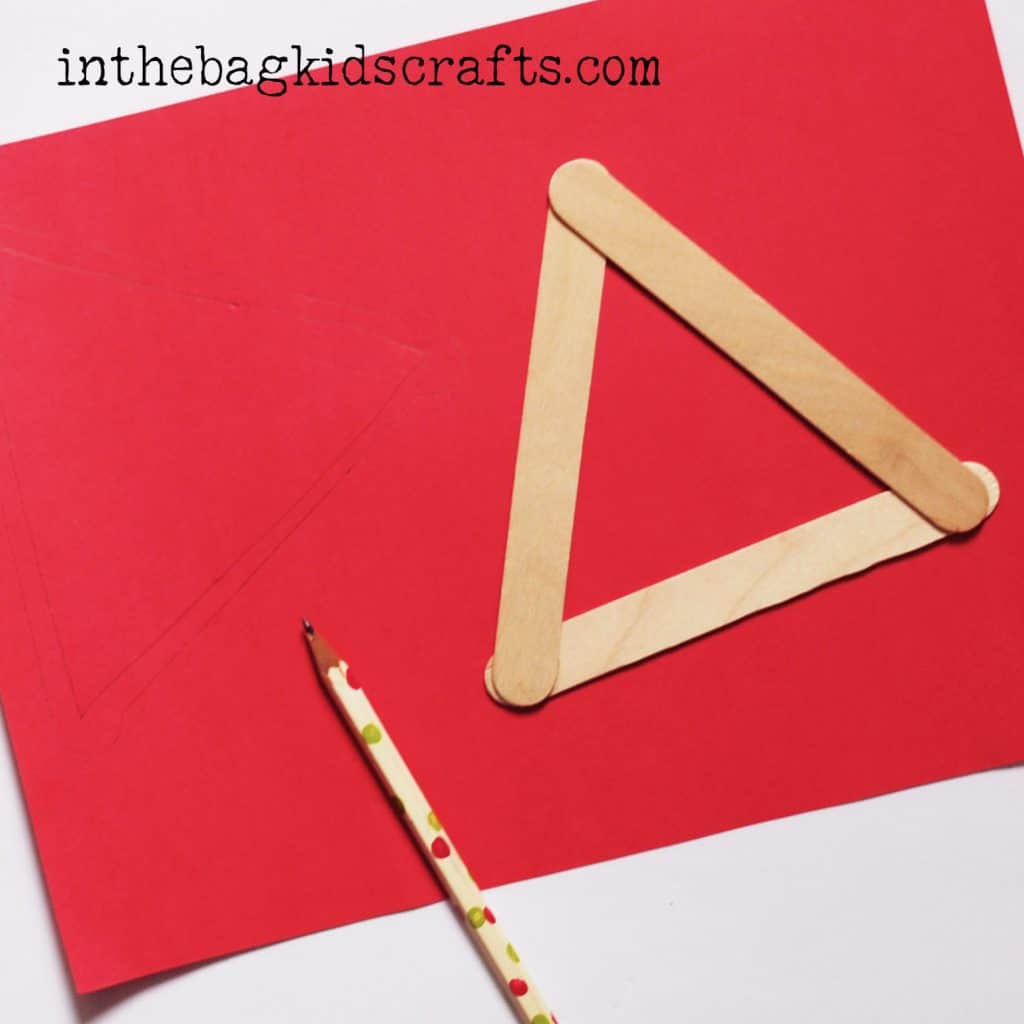
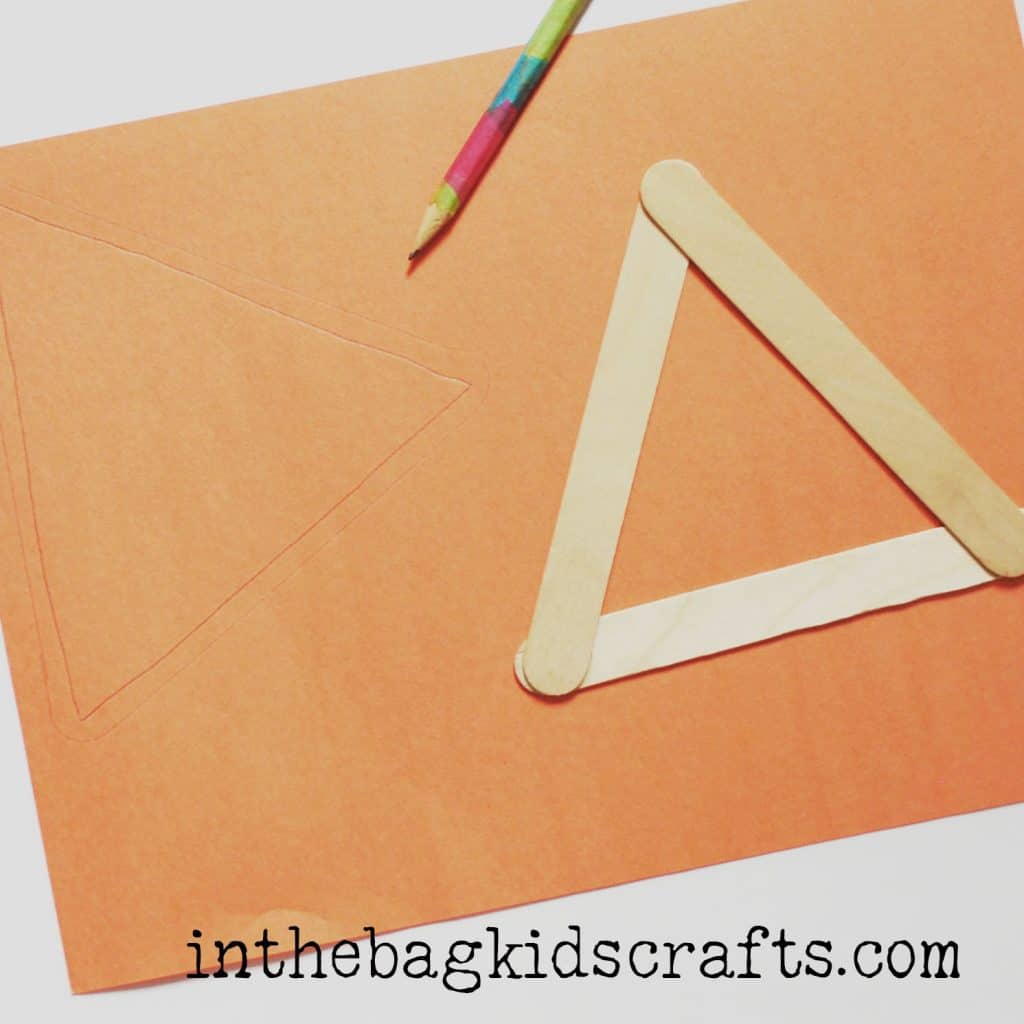
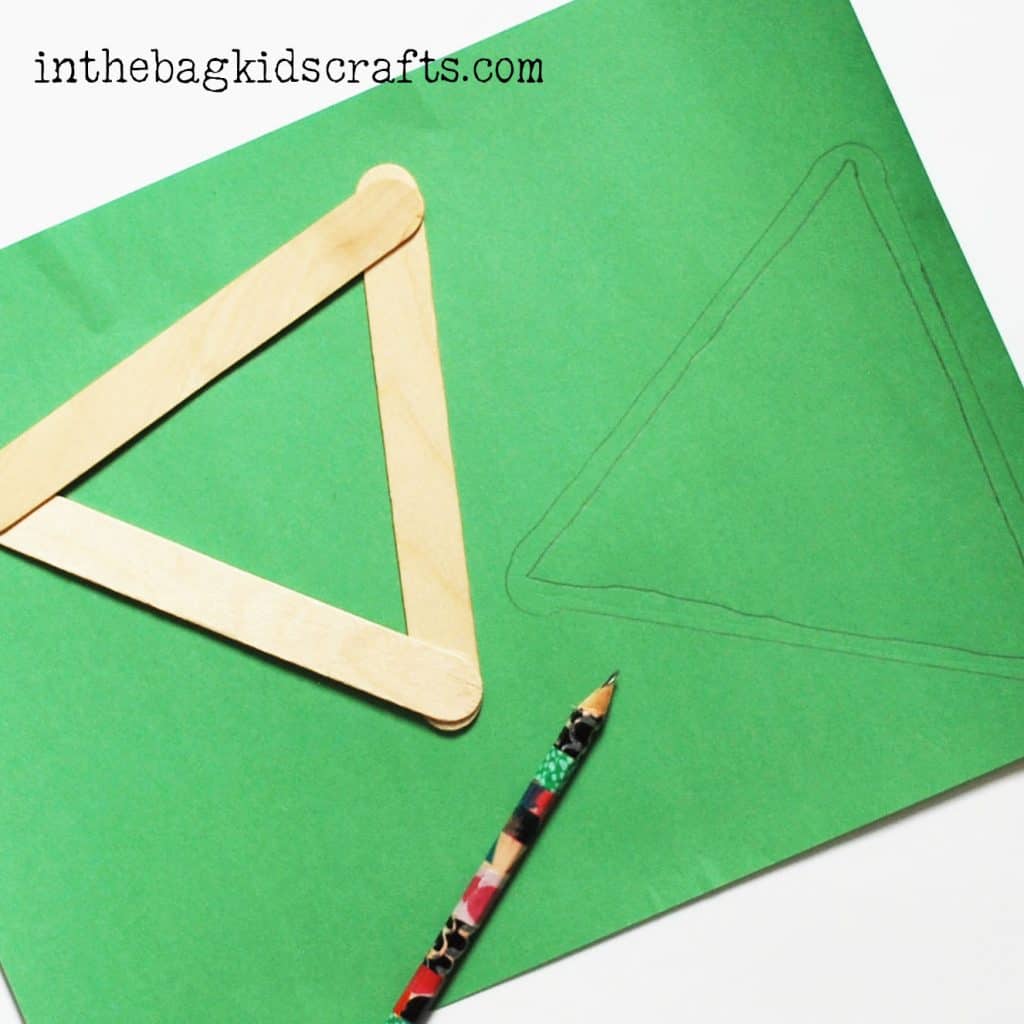
Step 2
- Trace the outside of the triangle onto the red construction paper
- Next draw another triangle inside that one using it as a guide, approximately 1/4″ inside the original traced triangle. If you aren’t sure if the newly drawn triangle is the right size, place the triangle frame over top to see of you can see the pencil markings. They should be hidden underneath.
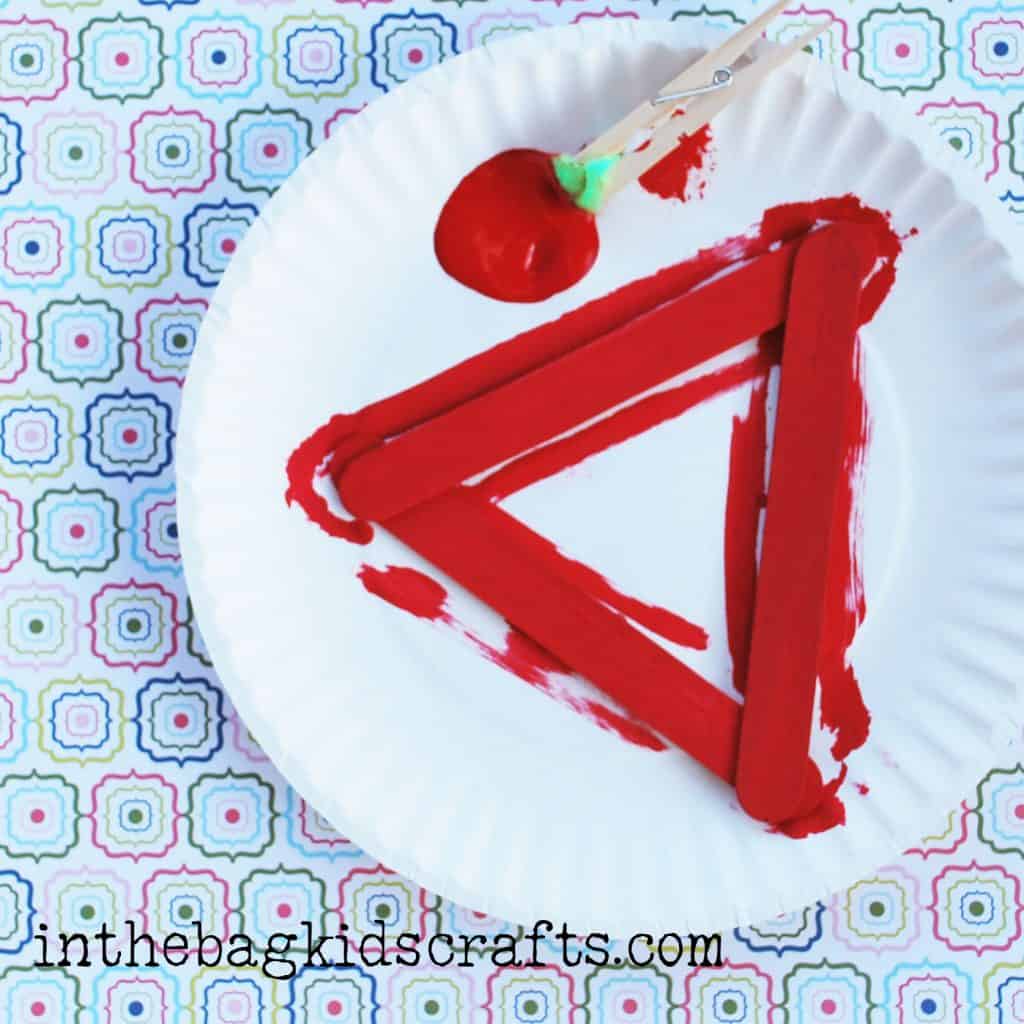
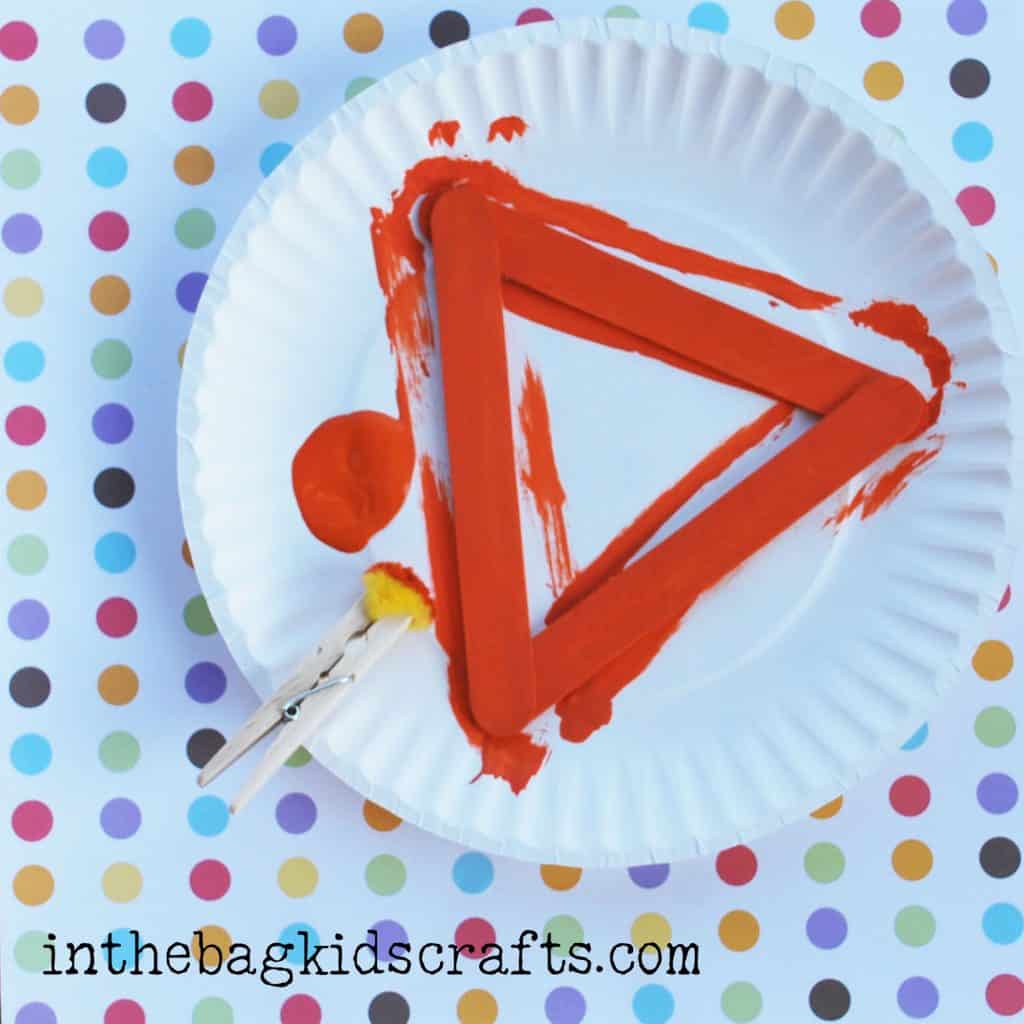
Step 3
- Pinch the pompom with the clothespin to form a “paint brush”
- Place one of the triangles on a paper plate
- Paint the triangle red
- Move on to step 3 while the paint dries
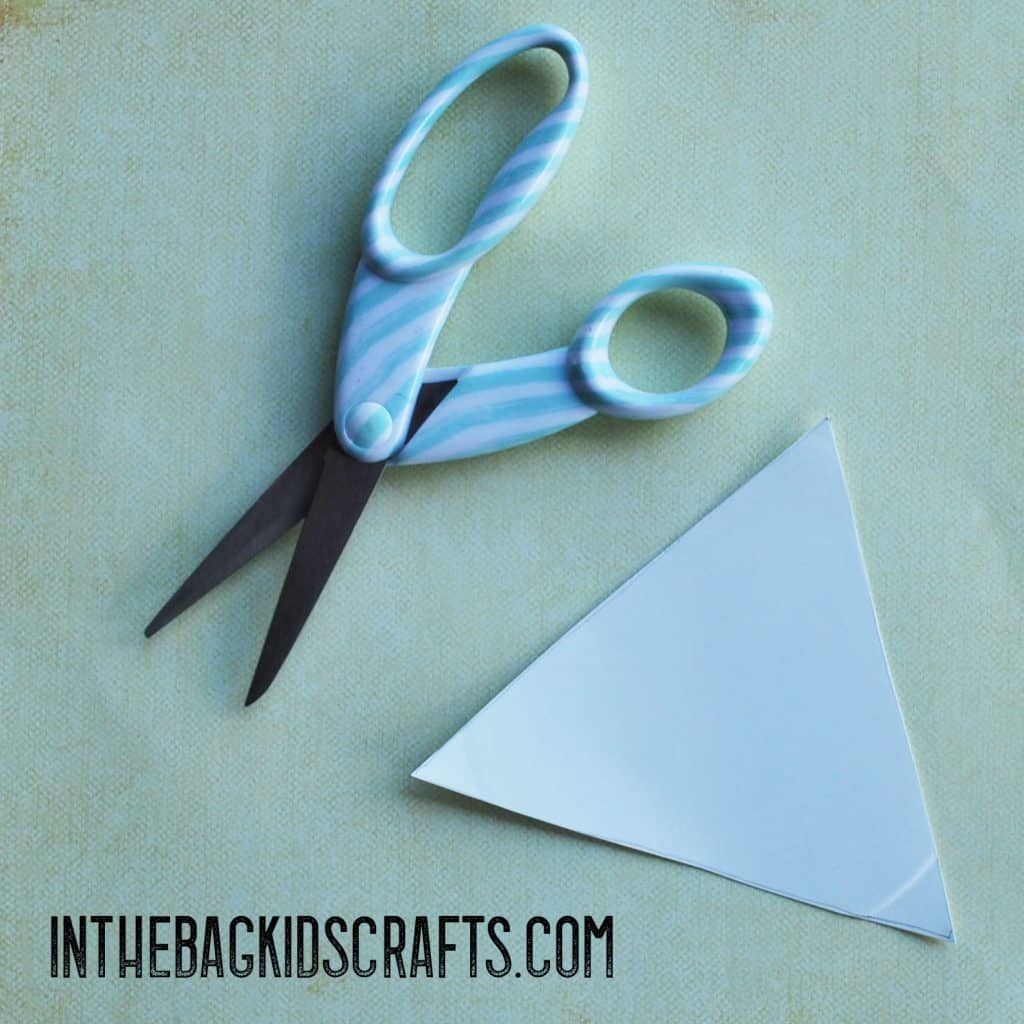
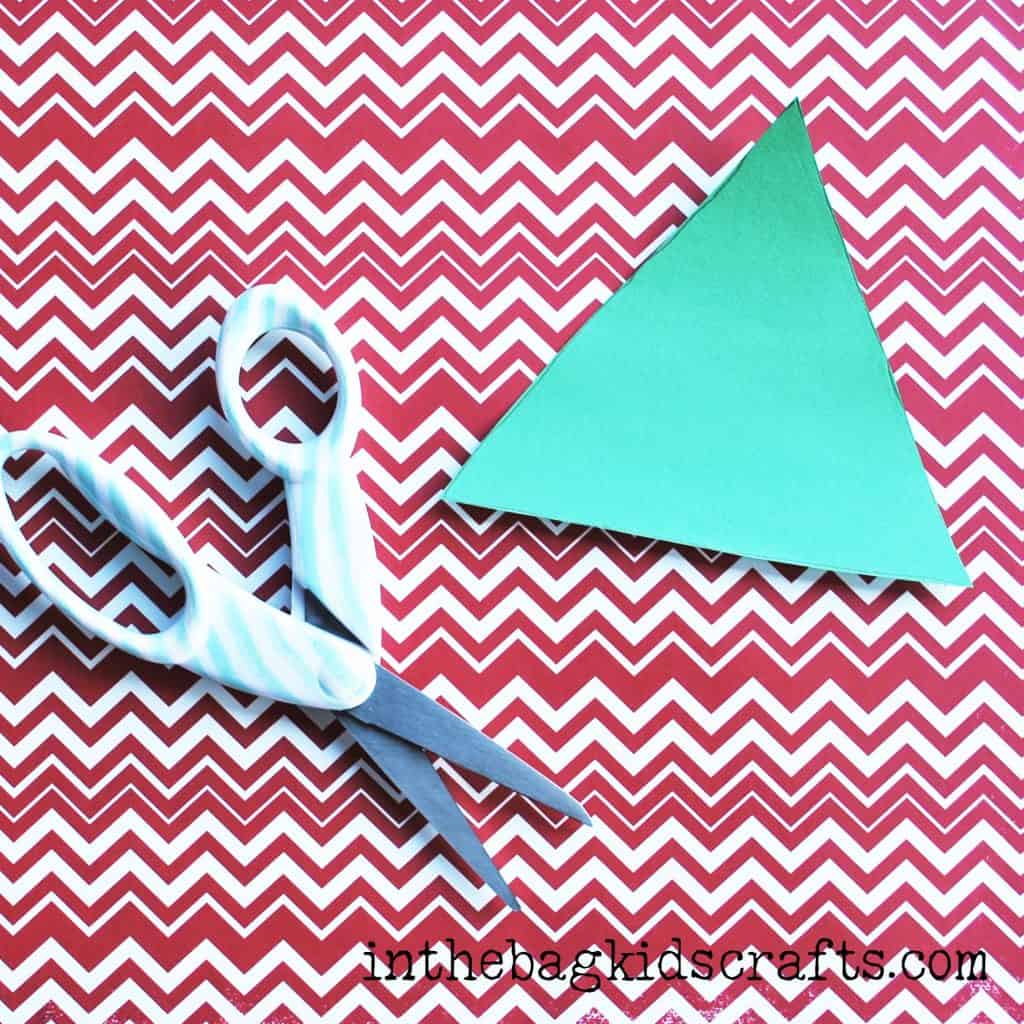
Step 4
- Cut out the inside triangle
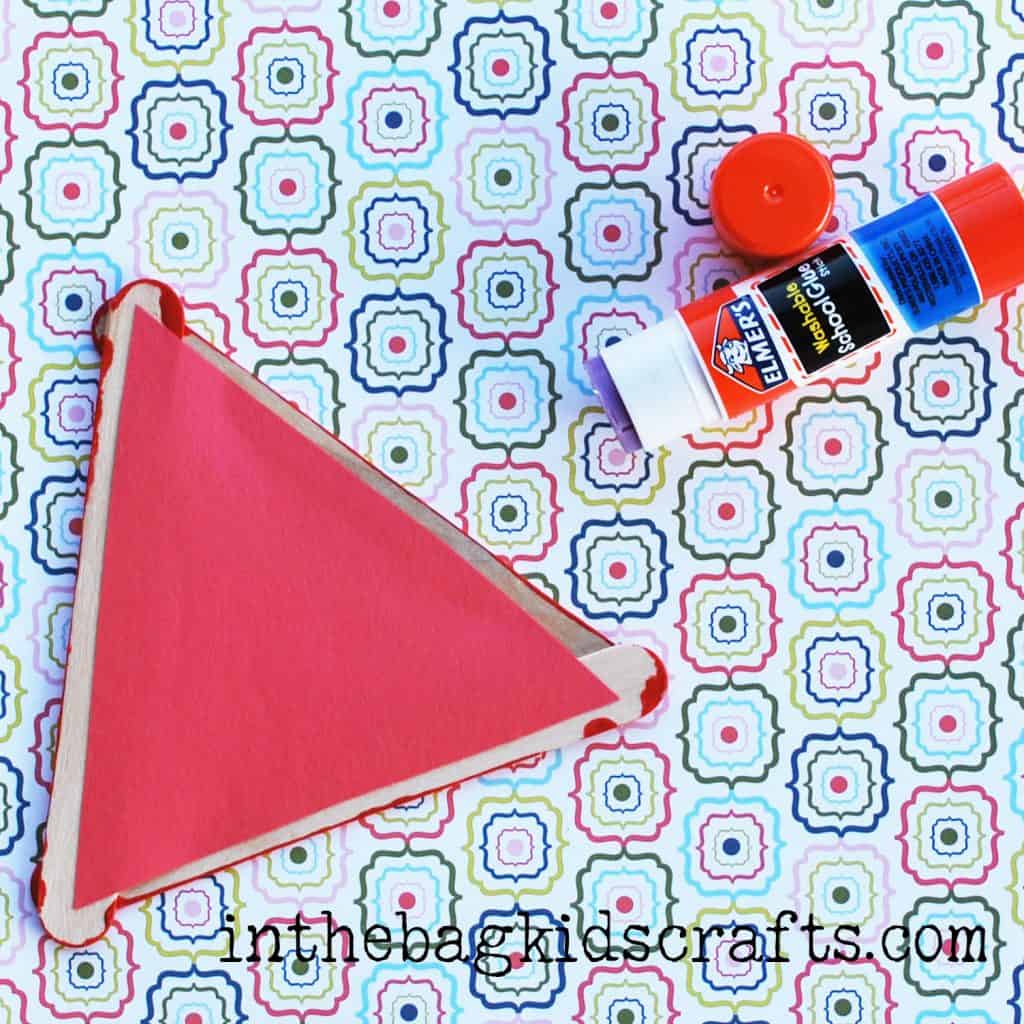
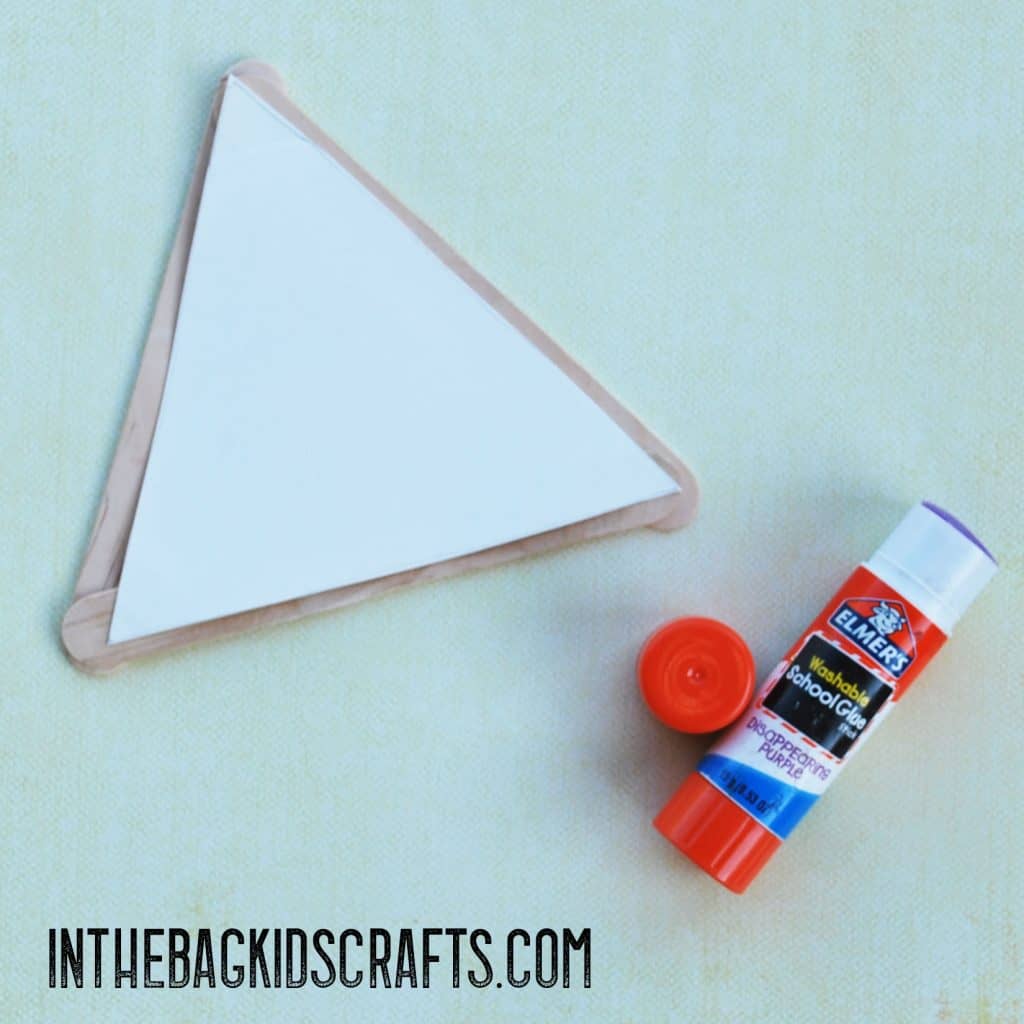
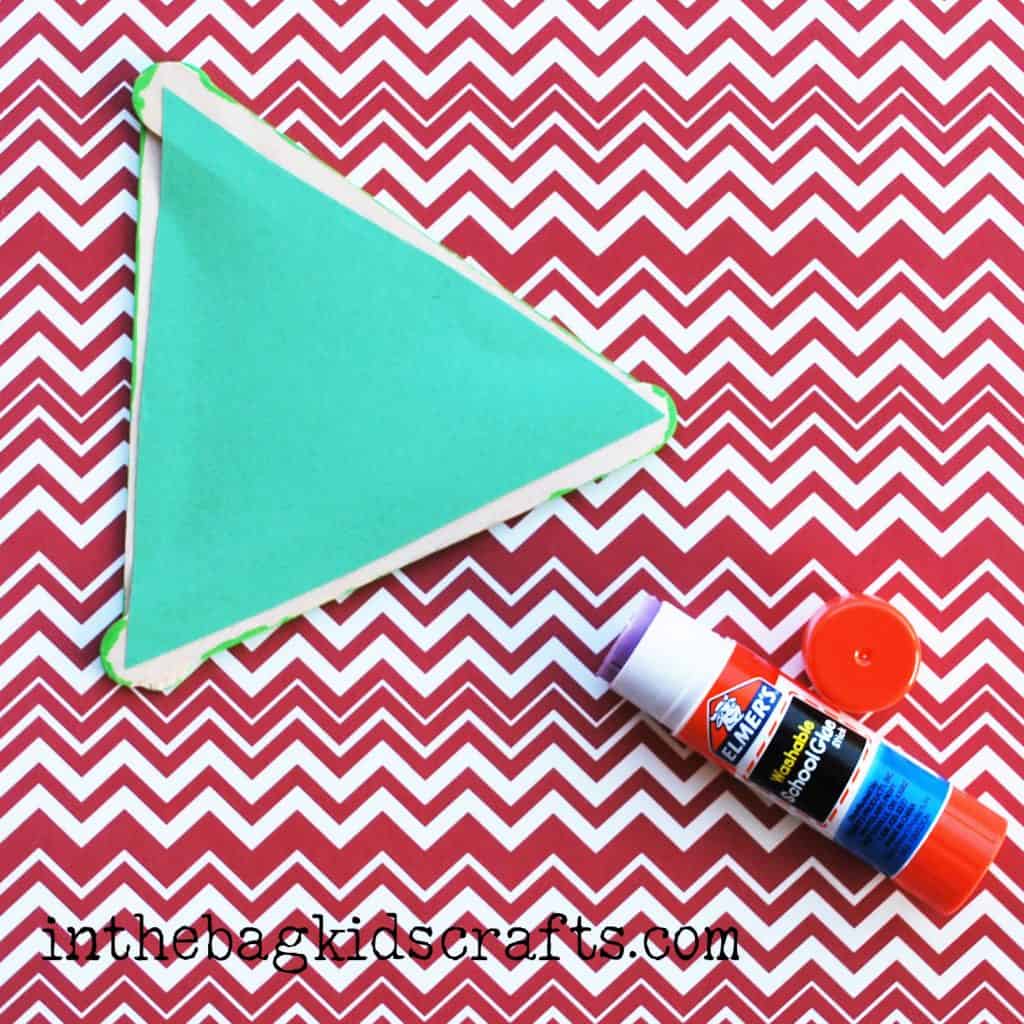
Step 5
- Use the glue stick to adhere the paper triangle to the back of the popsicle stick triangle
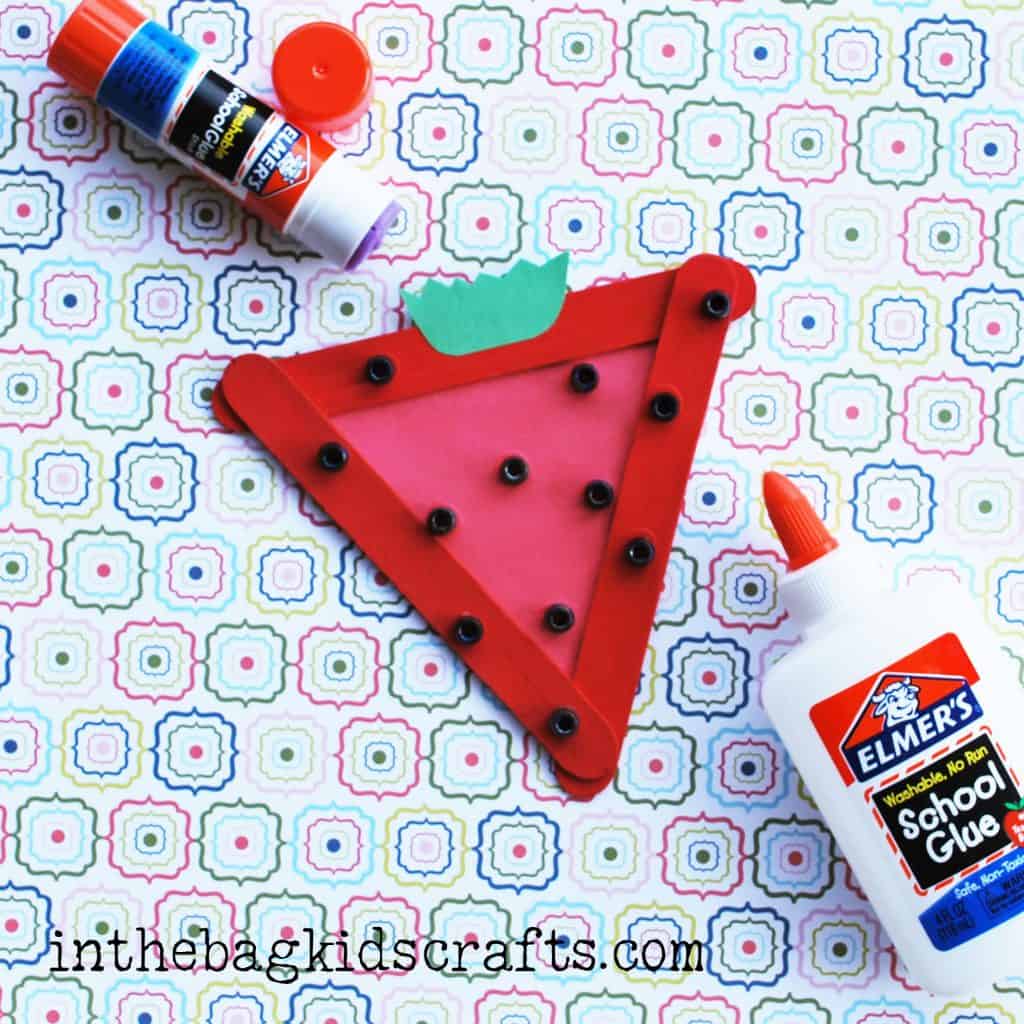
Step 6
- Use the Elmers glue to glue on pony beads for the “seeds”
- Cut the atrawberry top out of the scrap of green paper
- Glue the green top on with the glue stick
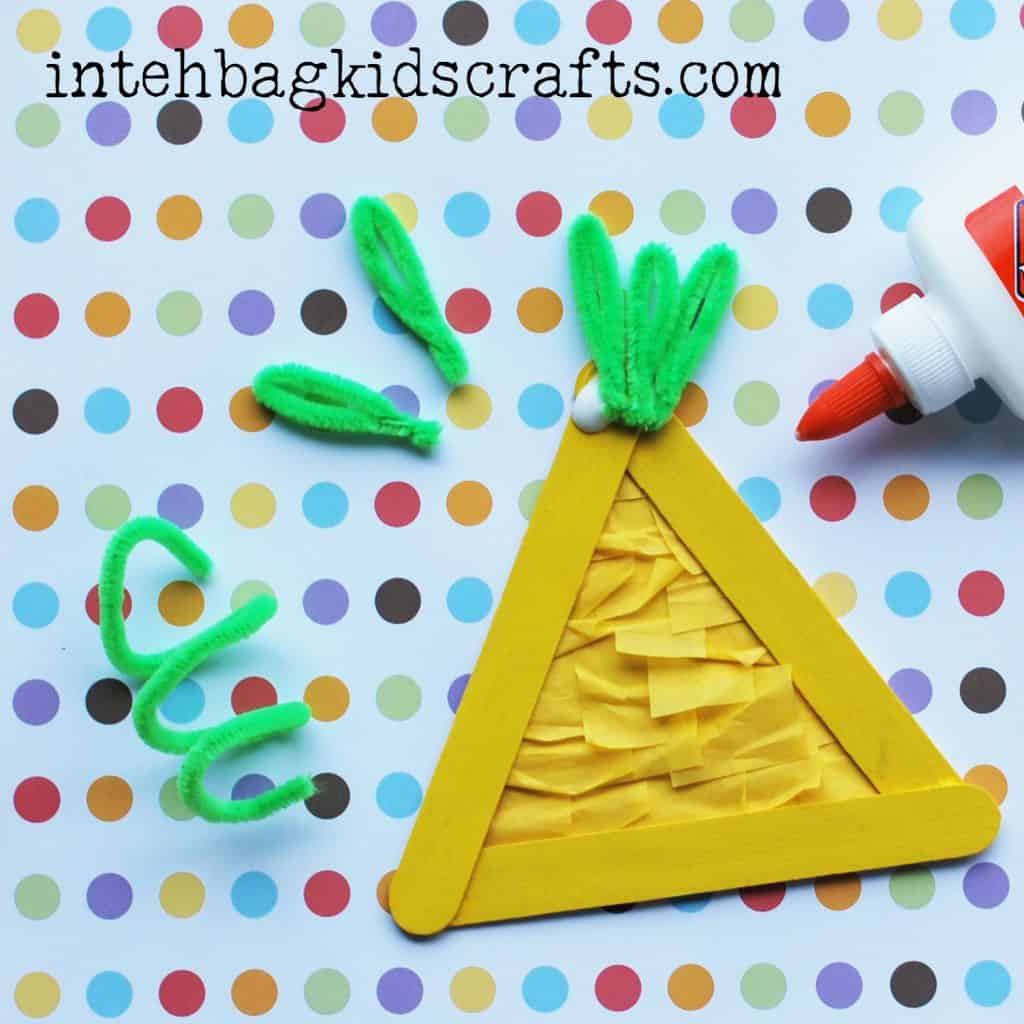
Craft 2: Pineapple Craft
SUPPLIES FROM THE BAG
- Paper plate
- Yellow paint
- Glue stick
- 3 Large popsicle sticks
- Elmers glue
- Medium pompom
- Clothespin
- Yellow tissue paper squares
- 2 Green pipe cleaners
- Yellow construction paper
- Pencil
- Scissors
Step 1
- Glue 3 large popsicle sticks together with Elmers glue and let dry thoroughly
- While you are at it, make several so that you are ready to make more crafts, like the other fruit in this fruit basket series 🙂
*You may want to do this step the night before or use Glue Dots to avoid dry time

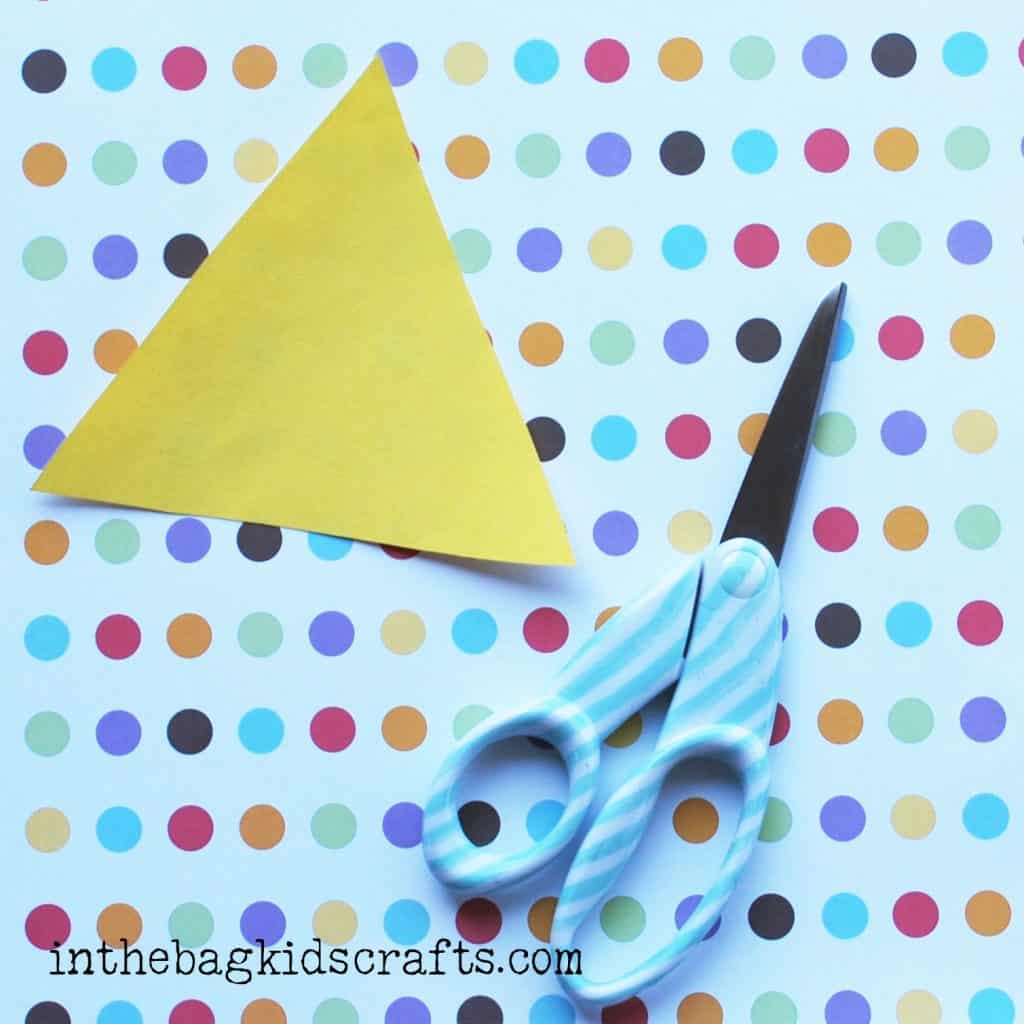
Step 2
- Trace the triangle onto the yellow construction paper
- The draw another triangle about 1/4″ inside the traced triangle

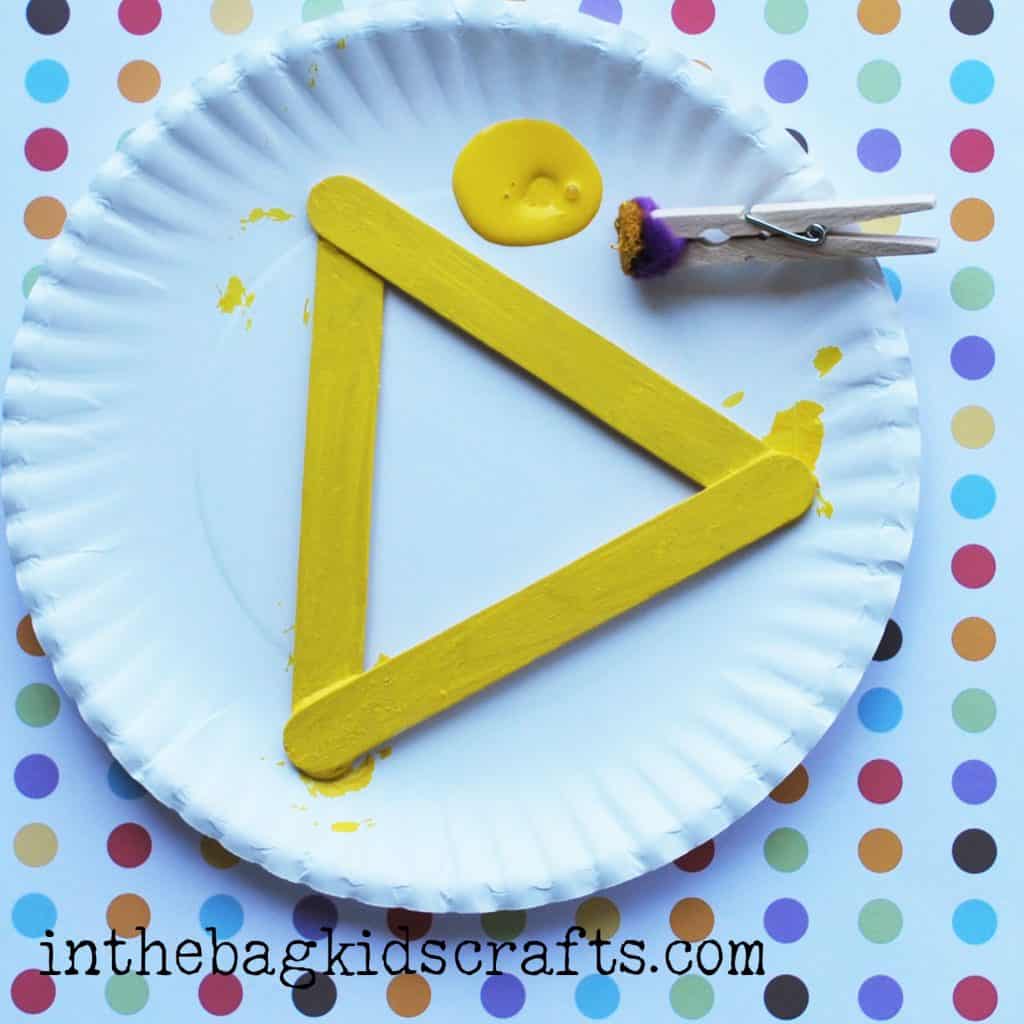
Step 3
- Pinch the pompom with the clothespin to make a “paint brush”
- Place the triangle frame onto the paper plate
- Squeeze some yellow paint onto the paper plate beside it
- Paint the triangle yellow and set asside until it dries thoroughly
Step 4
- Cut the inside triangle out of the construction paper
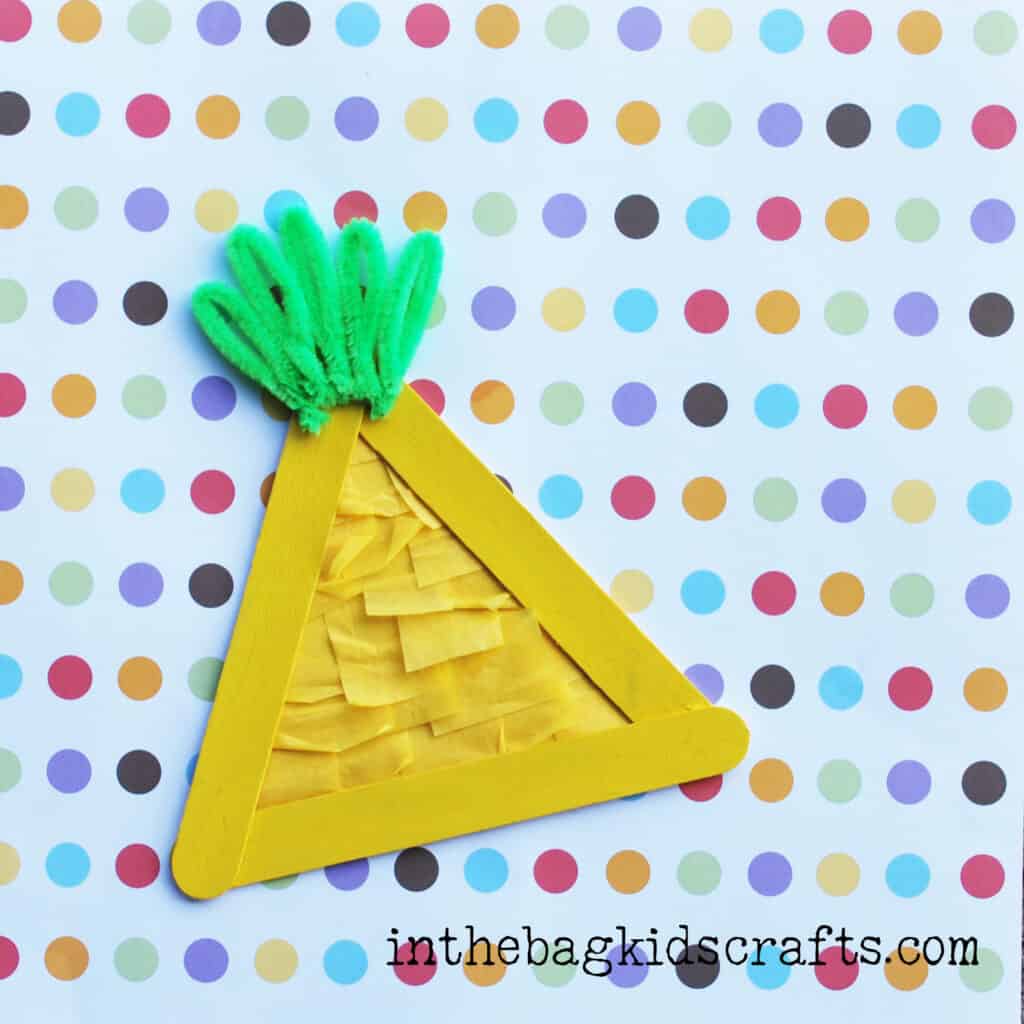
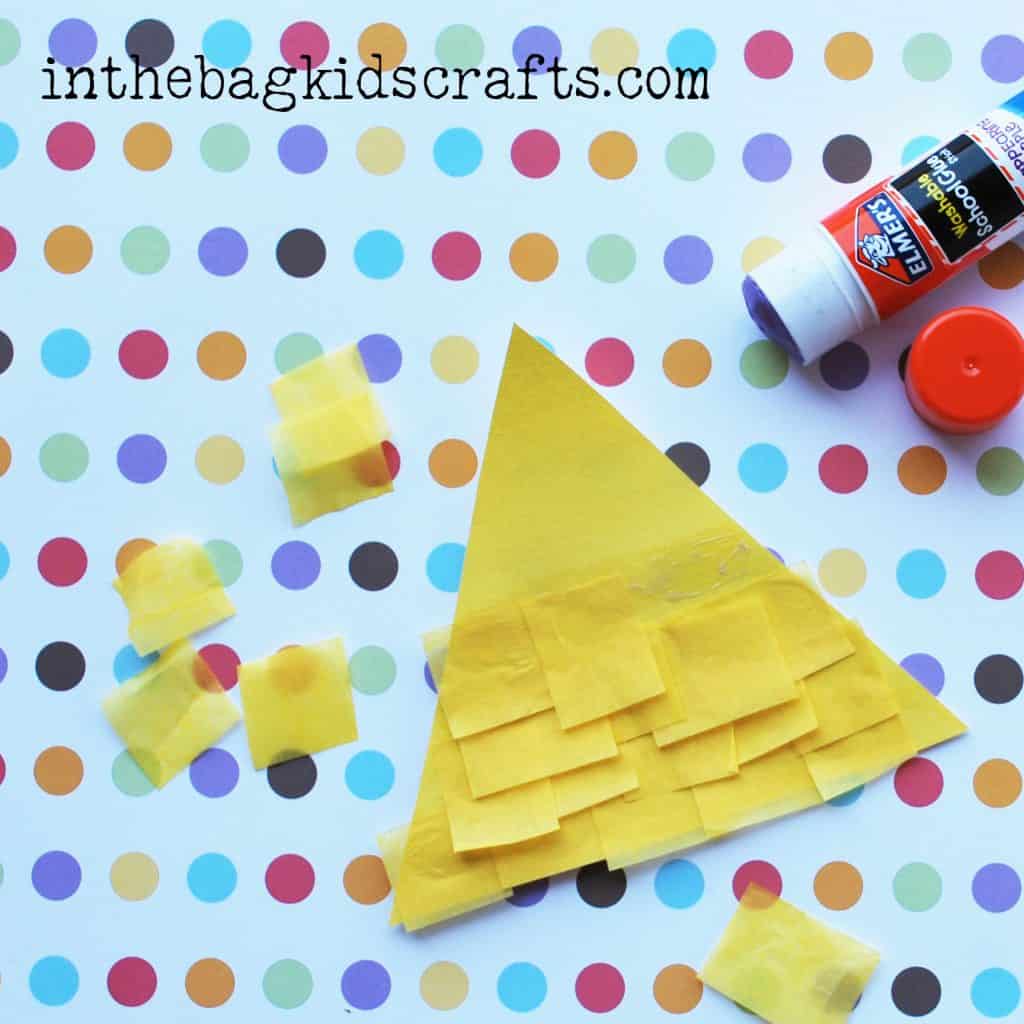
Step 5
- Glue layers of the tissue paper onto the yellow triangle
- Trim away the excess
- Rough up the edges of the tissue paper just a little so that it stands up
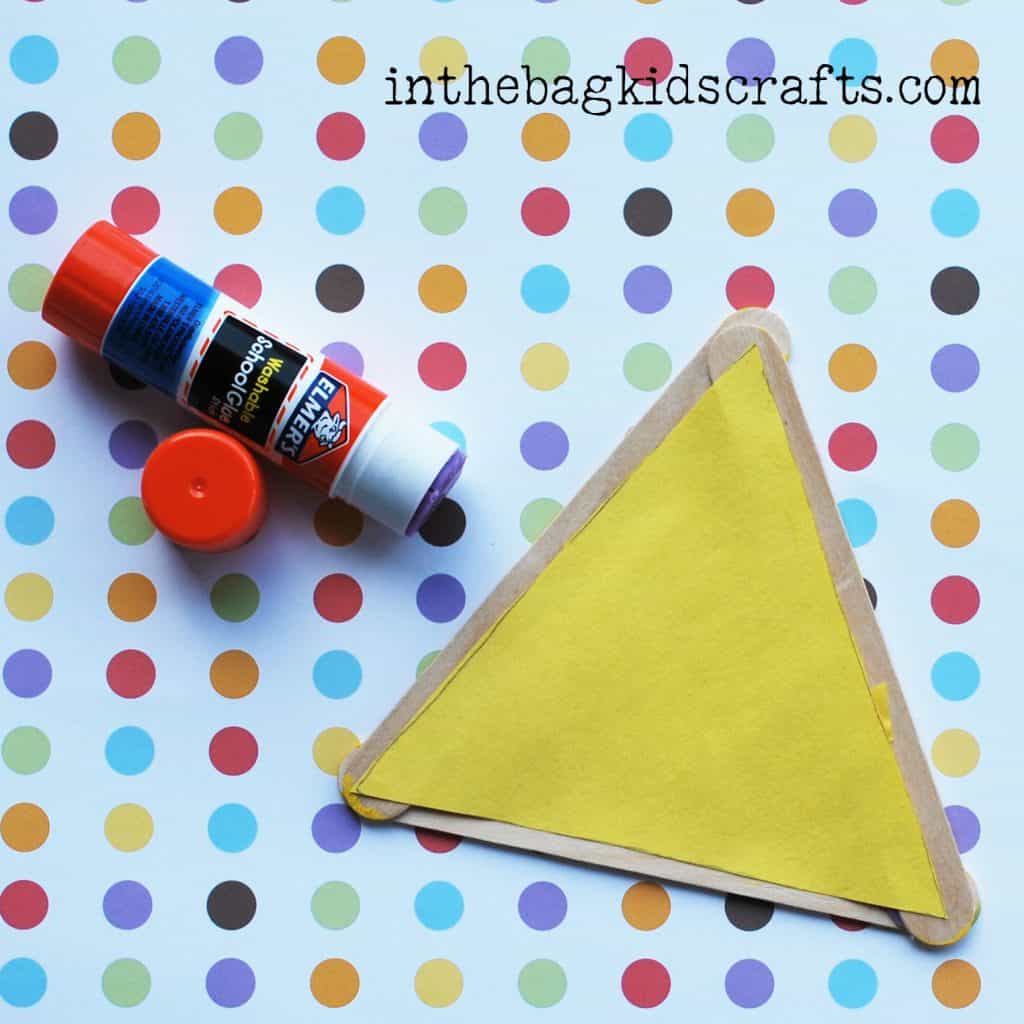
Step 6
- When the paint is completely dry, use the glue stick to glue the yellow triangle onto the back of the triangle frame. The tissue paper should show through the front.
Step 7
- Cut pieces of the pipe cleaners and make loops to form “leaves”
- Glue to the top of the pineapple and do not move until the glue is completely dry. This may take some time…if you dont want to wait, cut a small leaf topper out of green construction paper and glue on with the glue stick instead.
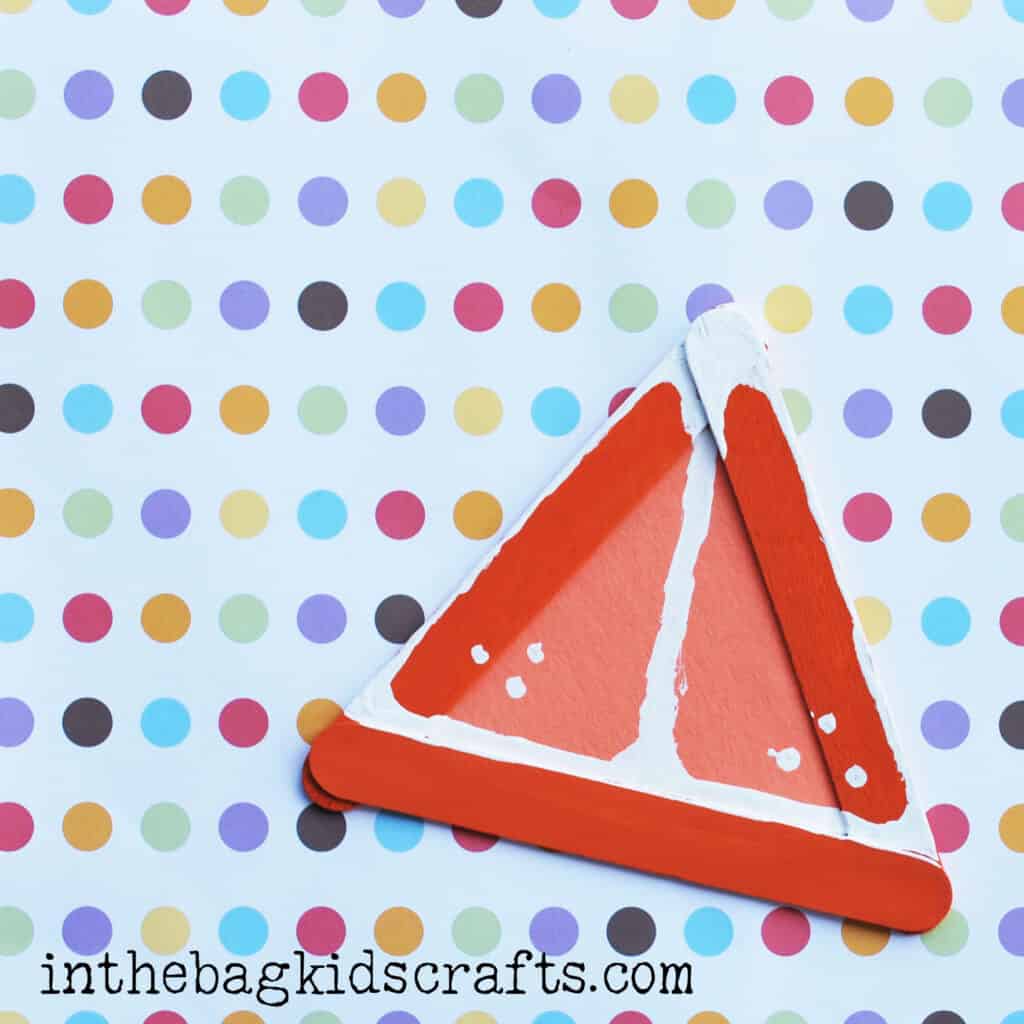
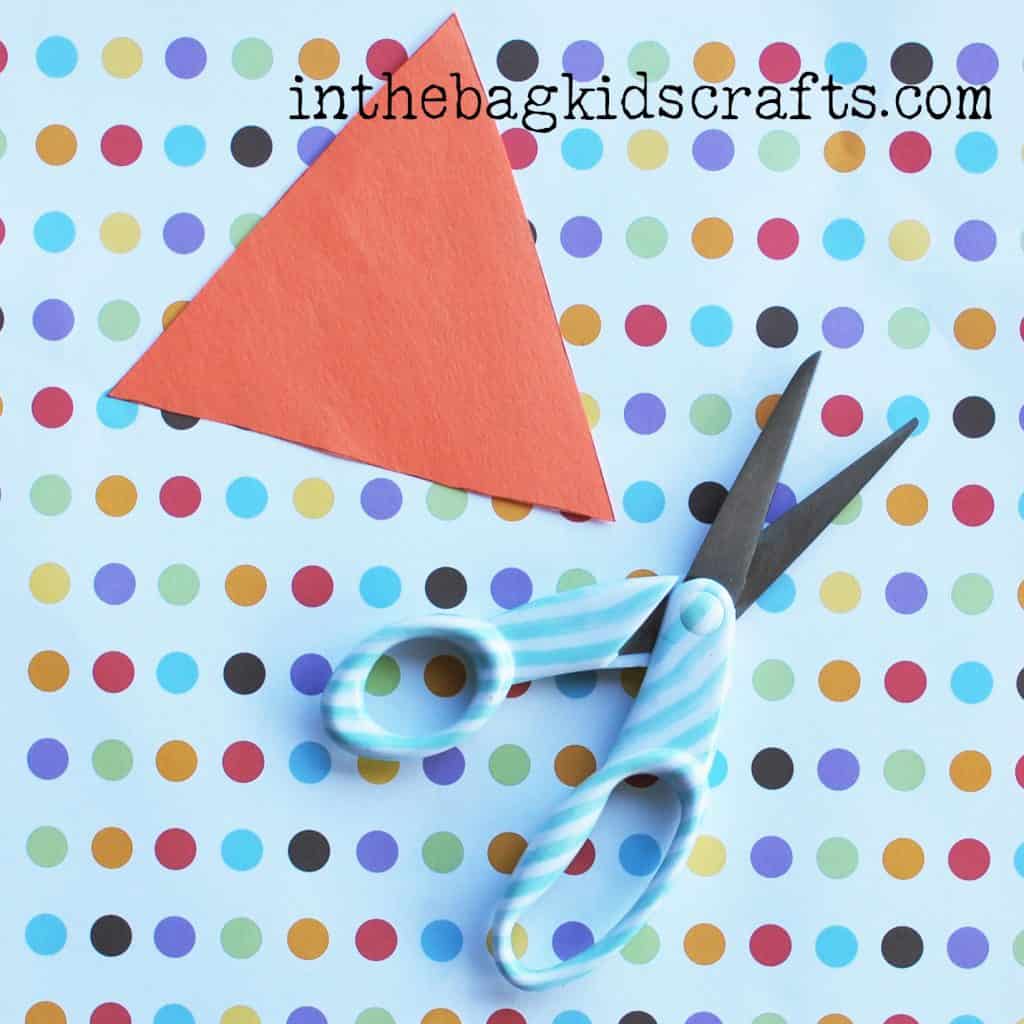
Craft 3: Orange Slice
SUPPLIES FROM THE BAG
- Orange construction paper
- Orange paint
- White paint
- Paper plate
- Clothespin
- Medium pompom
- 3 Large popsicle sticks
- Q-tip
- Glue stick
- Elmers glue
- Scissors
- Pencil
Step 1
- Glue together 3 large popsicle sticks using the Elmers glue to form a triangle frame
- Allow the glue to dry thoroughly
- While you are at it, make more triangle frames so that you have enough to make more crafts without extra prep!

Step 2
- Trace the triangle frame onto the orange construction paper
- Draw another triangle inside that one, about 1/4″
Step 3
- Place the triangle frame on the paper plate
- Pinch the pompom with the clothespin to form a “paint brush”
- Allow the paint to dry while you move on to step 4
Step 4
- Cut out the orange paper triangle
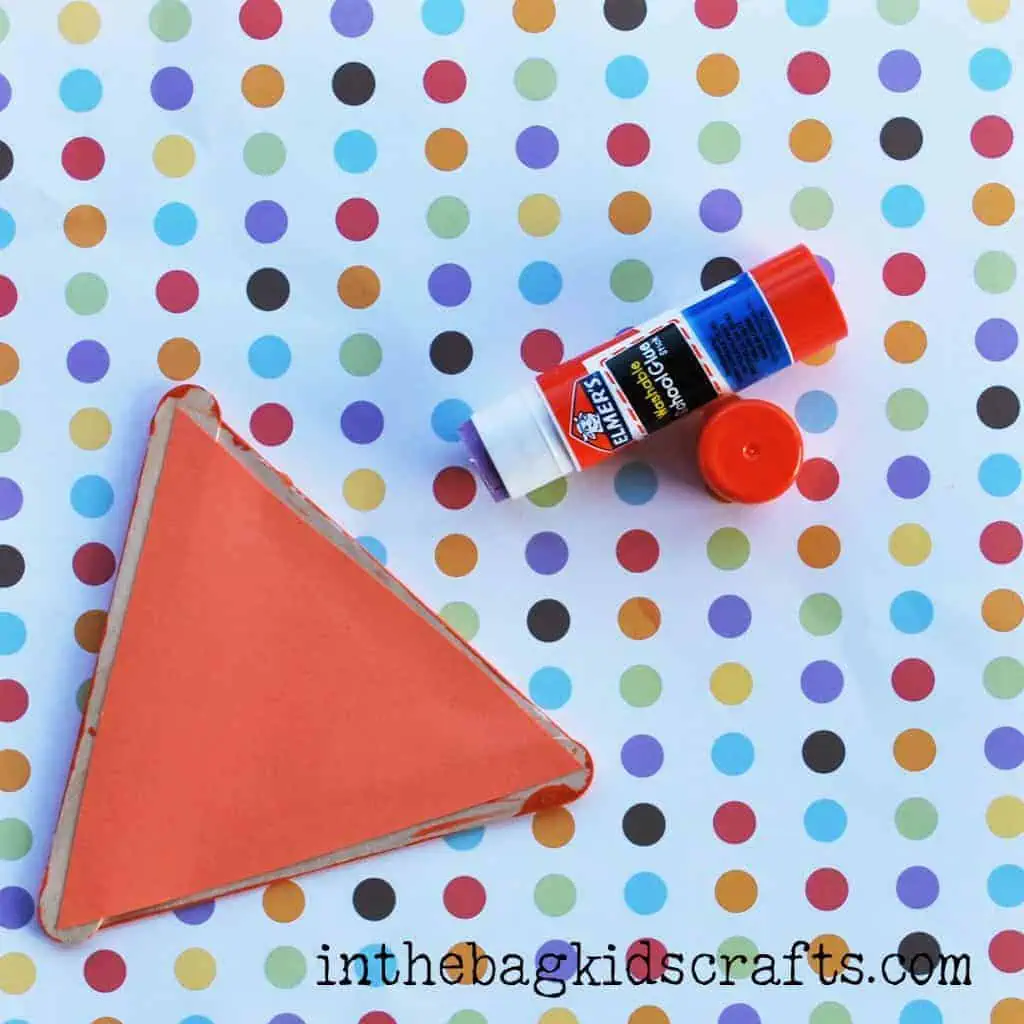
Step 5
- One the paint is dry, glue the orange paper onto the back of the triangle frame using a glue stick
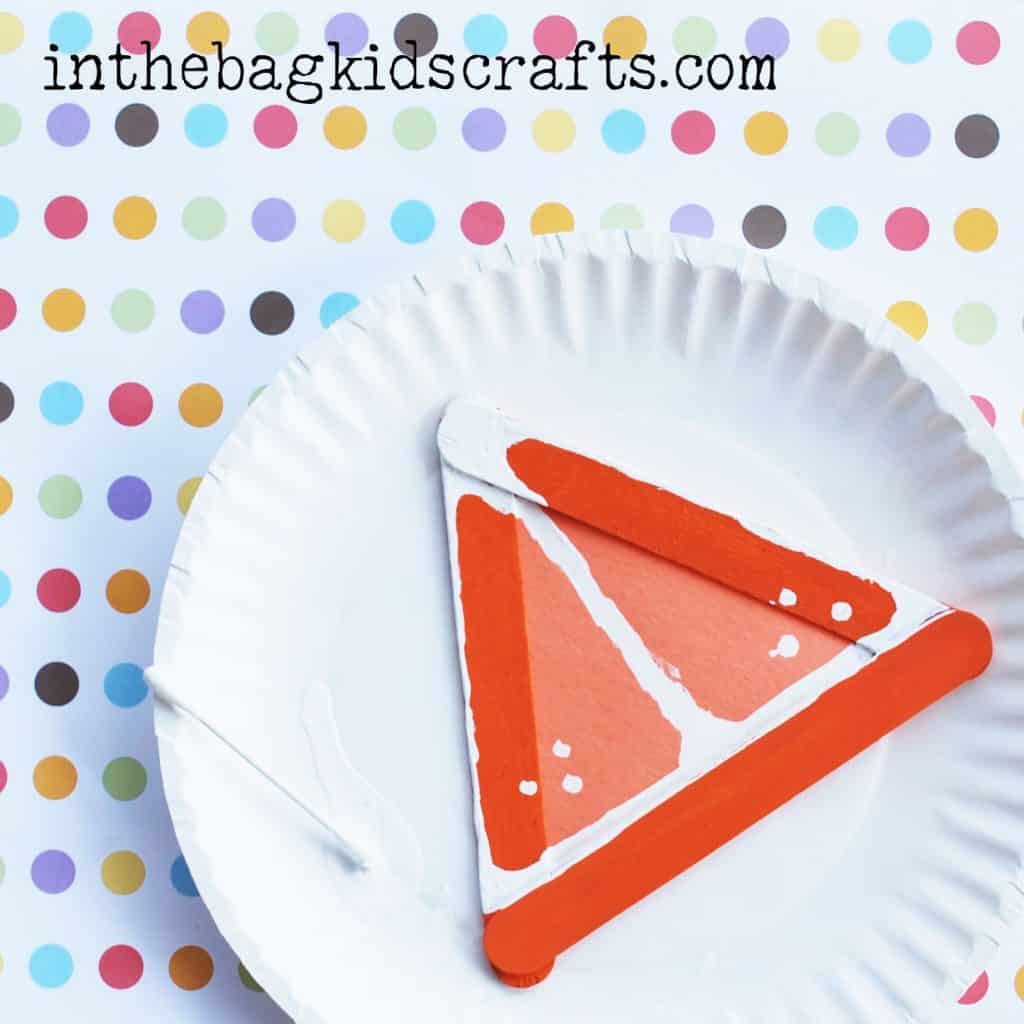
Step 6
- Add details to the orange slices using white paint and a q-tip
- Allow the paint to dry
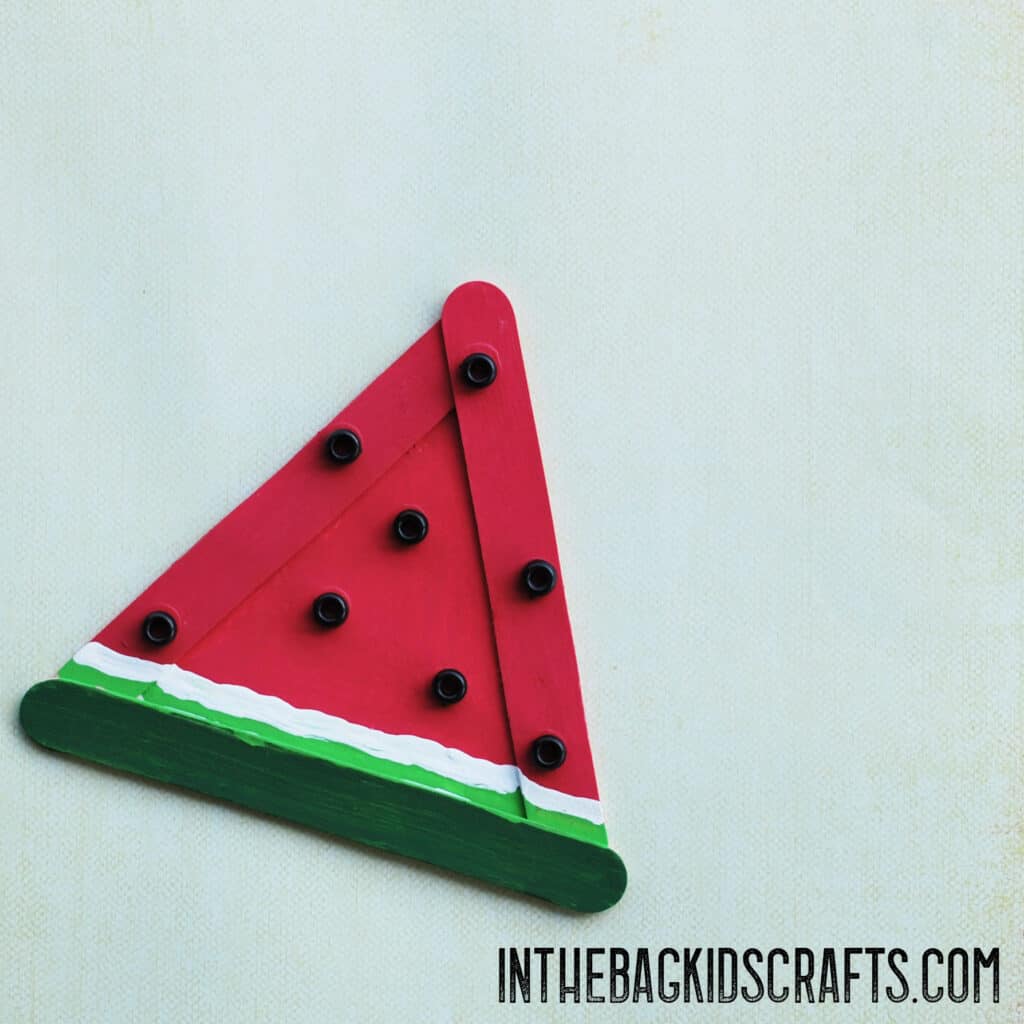
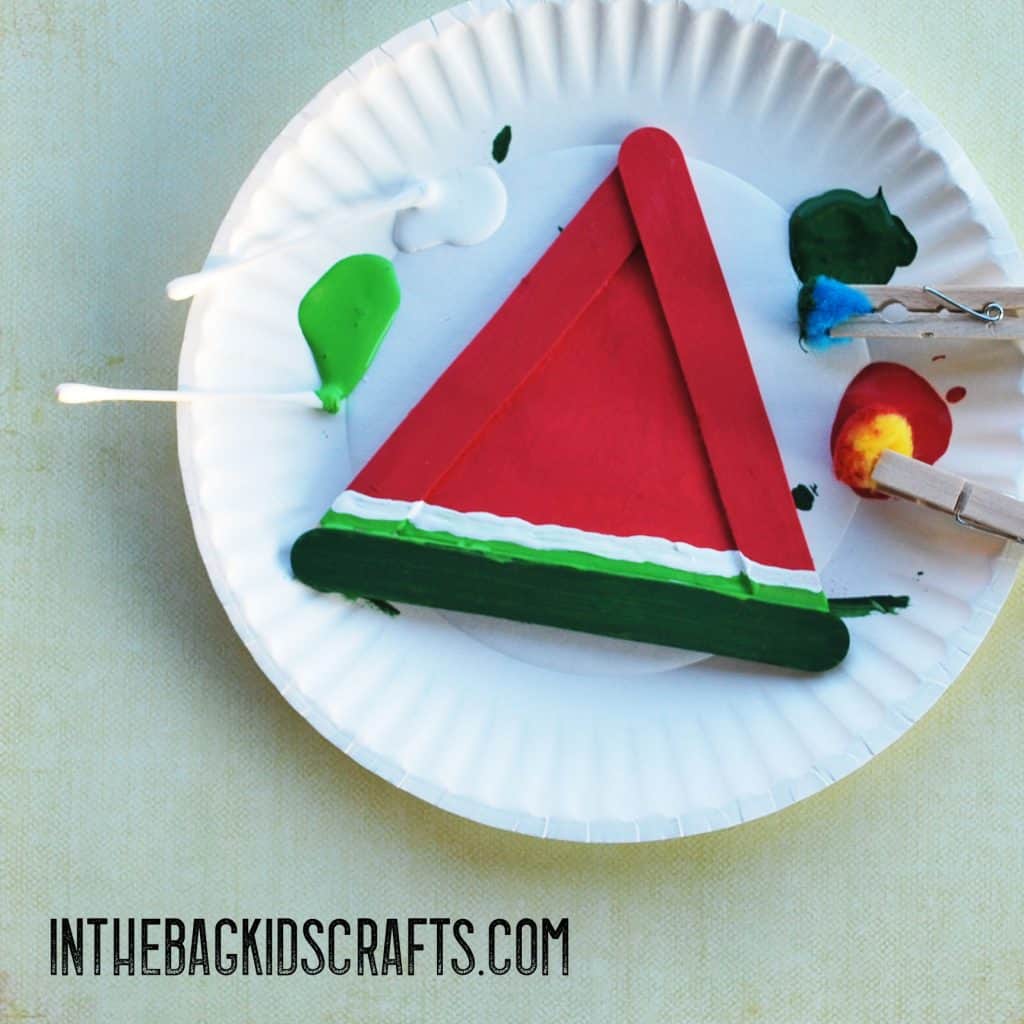
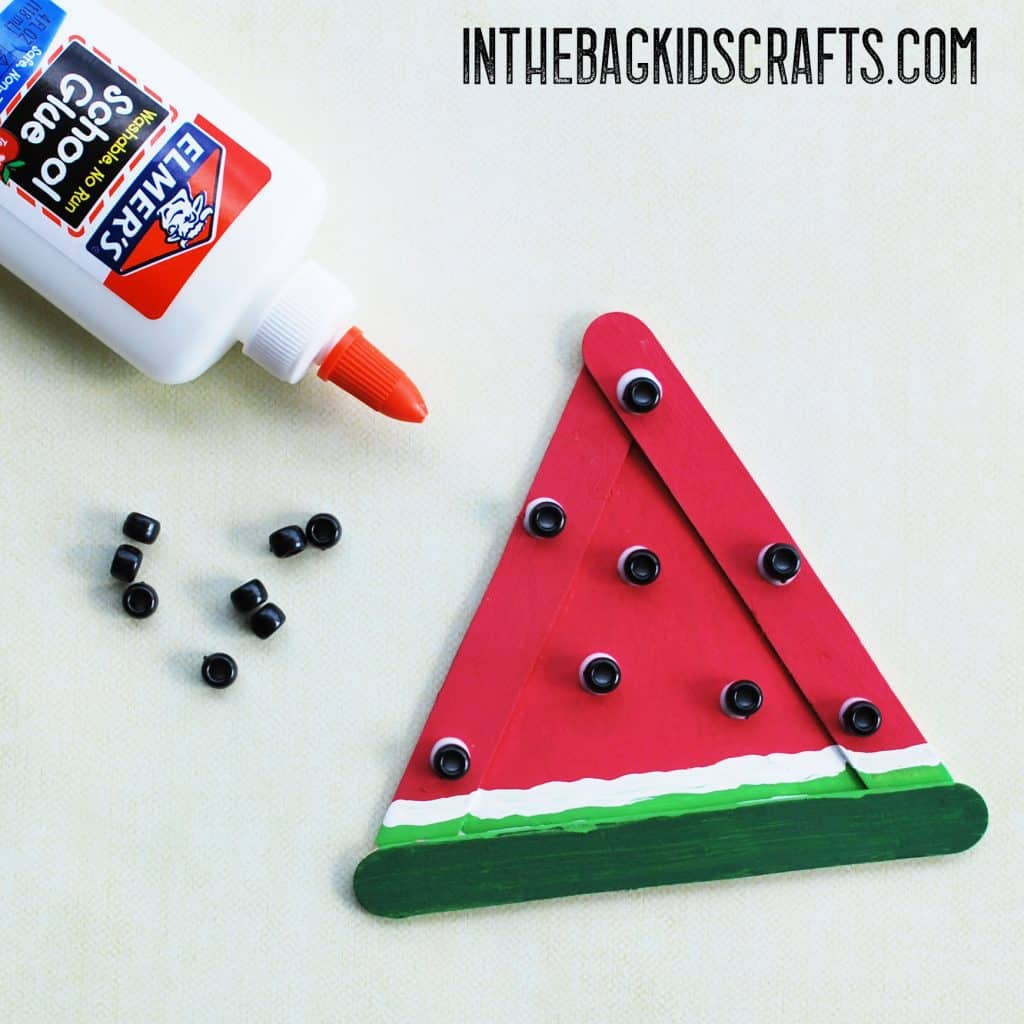
Craft 4: Watermelon Craft
SUPPLIES FROM THE BAG
- 2 Paper plates
- Hot pink, dark green, light green and white paint
- 3 Large popsicle sticks
- Elmers glue
- Scissors
- Pencil
- Glue stick
- Black pony beads
- 2 Medum pompoms
- 2 Clothespins
- Q-tips
*If you are wondering what I mean by “in the bag”, look no further than the “fill your bag” tab or just click on THIS LINK. In an effort to make crafting with your kids more accessible and doable, to fit your very busy lifestyle, I am simplifying the process by giving you the road map so that you only need to prep one time, no running to the store repeatedly because you are missing one obscure item. Then you have the freedom to create with your kids for hours, any time, anywhere, at a moments notice.
Step 1
- Glue together 3 large popsicle sticks using Elmers glue, forming a triangle
- Let the glue dry thoroughly
- While you are at it, make several…like 5 at least…so that you are ready to make other projects too. Just keep them in your bag.
Step 2
- Trace the triangle frame onto the center of a paper plate
- Draw another triangle just inside that triangle, approximately 1/4 inch inside the original
- Cut out the triangle
Step 3
- Glue the triangle to the back of the popsicle stick frame using the glue stick
Step 4
- Place the project on the other paper plate
- Pinch each pompom with the clothespins to form a “paint brushes”
- Squeeze some of the dark green and pink paint on the plate
- Start to paint the watermelon slice
- Use the q-tip to paint on the white and light green stripes
- Allow the paint to dry
Step 5
- Glue black pony beads on with the Elmers glue in a random pattern to form the seeds
- Allow the glue to dry completely
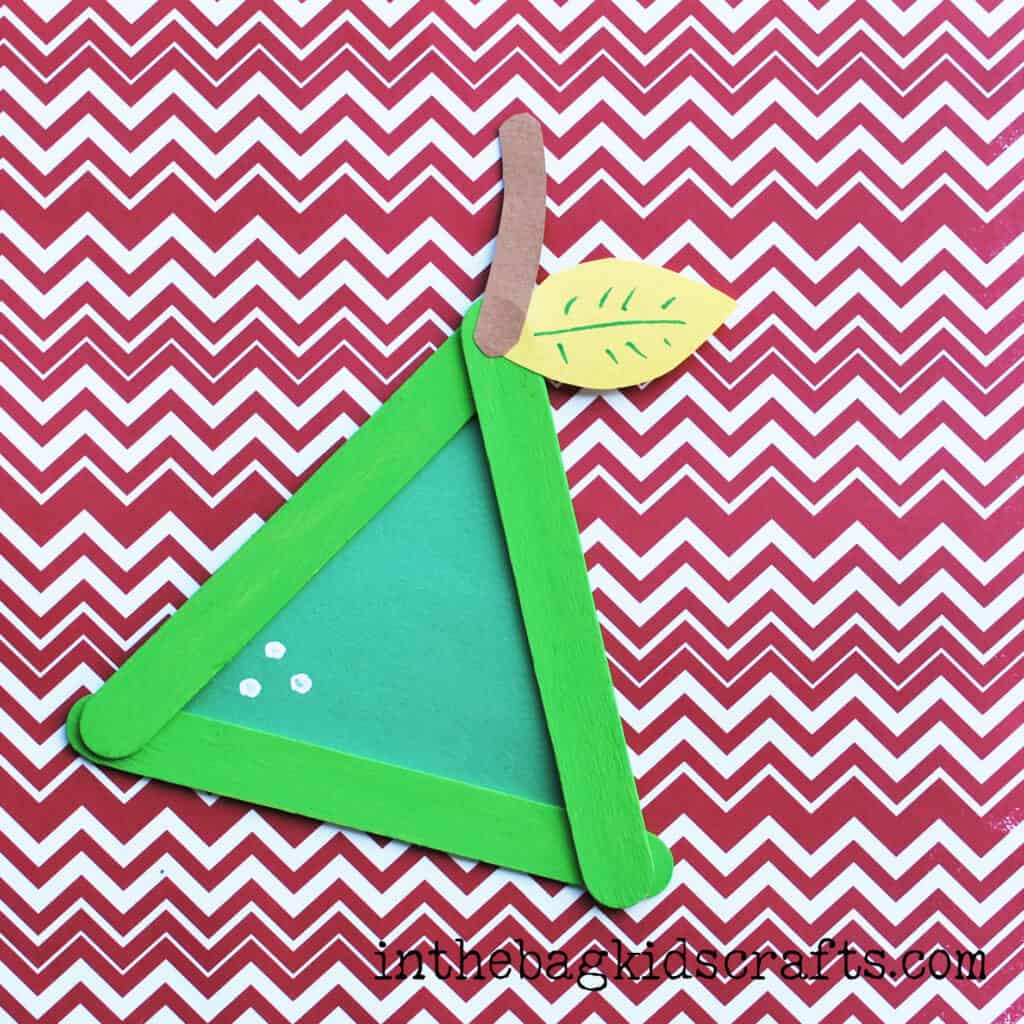
Craft 5: Pear Craft
SUPPLIES FROM THE BAG
- Paper plate
- Green paint
- Elmer’s glue
- Medium pompom
- Clothespin
- 3 large popsicle sticks
- Green construction paper
- Scraps of brown and yellow construction paper
- Pencil
- Scissors
- Q-tip
- White paint
- Glue stick
- Black marker
**Be sure to build your kit so that you are never left without all of the “ingredients” to craft along with EVERY…SINGLE…ONE of the projects on this blog. For more details, check out the “fill your bag” tab.
Step 1
- Glue together 3 large popsicle sticks using Elmer’s glue to form a triangle
- Let the glue dry thoroughly
- If you haven’t done so already, make several triangles now so that you are ready to do more triangle projects later.

Step 2
- Trace the triangle onto a green piece of construction paper
- Draw a smaller triangle just inside the traced line, approximately 1/4″
Step 3
- Place the wooden triangle on a paper plate
- Pinch the pompom with the clothespin to form a “paint brush”
- Squeeze out a small amount of green paint onto the plate and paint the triangle
- While the paint dries, move on to step 4

Step 4
- Cut out the paper triangle (the inside one)
Step 5
- Once the paint has completely dried, use the glue stick to adhere the paper to the back of the popsicle stick frame
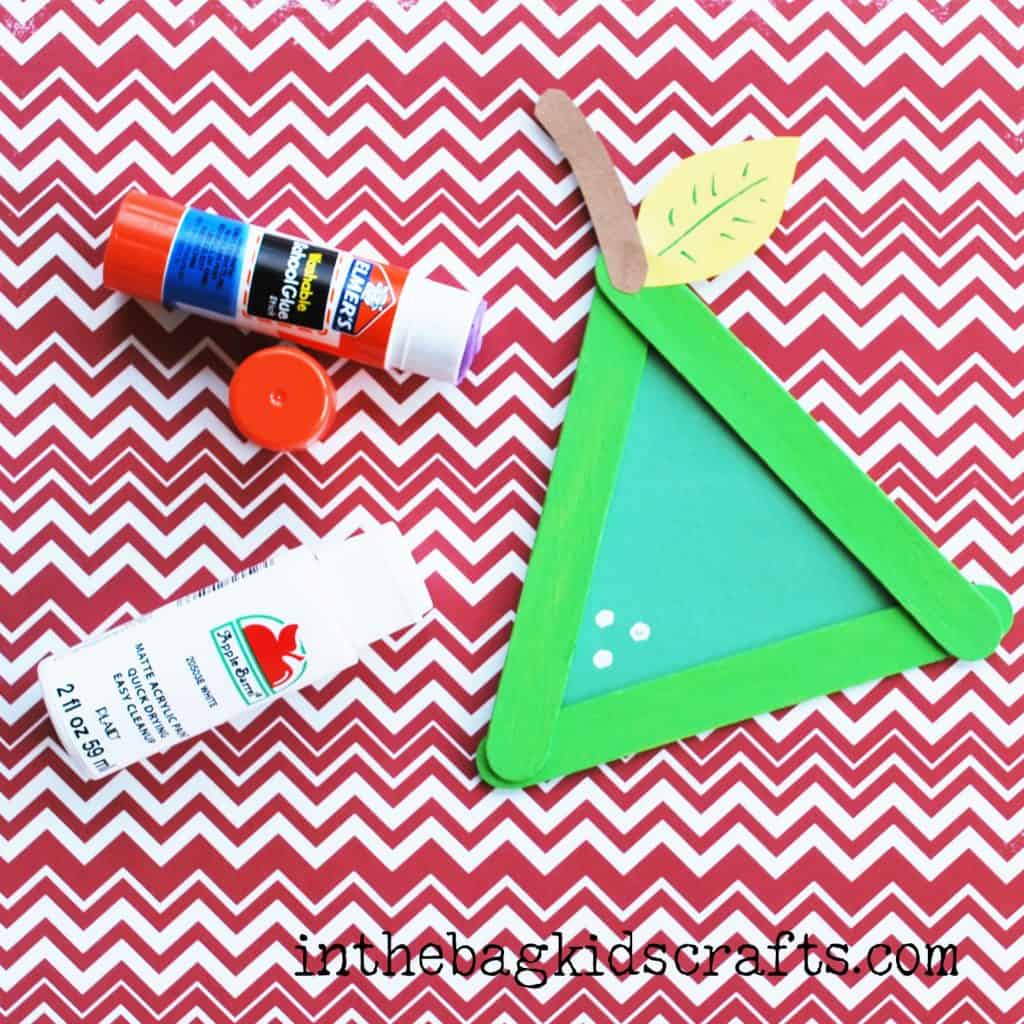
Step 6
- Add some details to the pear
- Cut out a small step from the scrap of brown paper
- Cut out a small leaf and add details from the scrap of yellow paper
- Glue the stem and leaf in place
- Add a couple of white dots (for character)
Save these Popsicle Stick Crafts for later. Pin them to your favorite Pinterest board…