Paper Plate Christmas Craft (with FREE Printables)
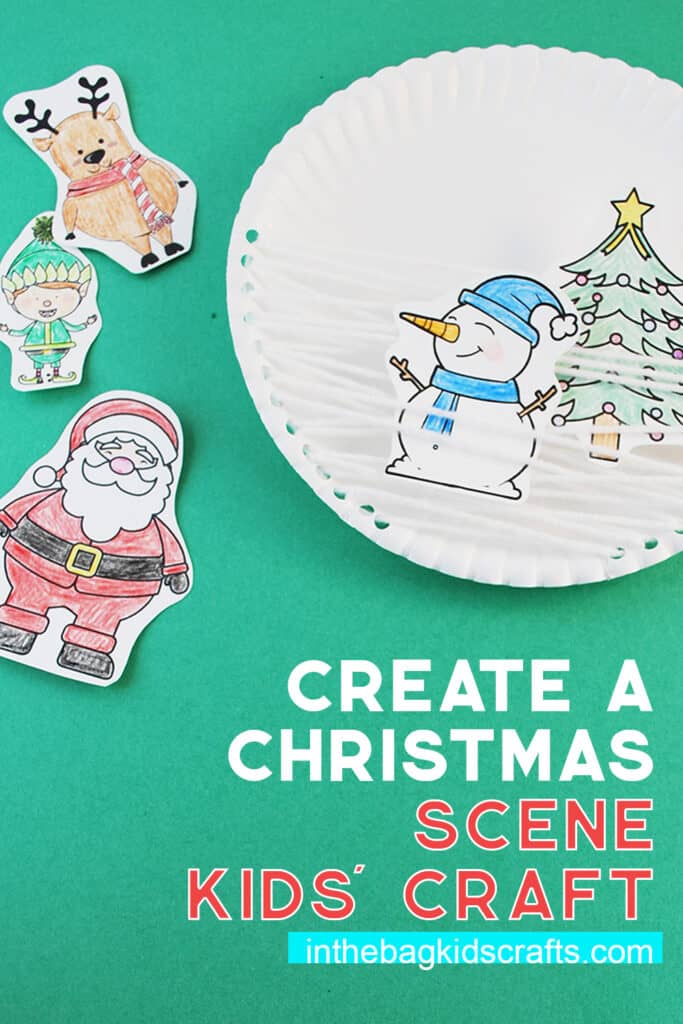
This paper plate Christmas craft is so much more than just a fun activity to keep kids busy. Not only is the lacing great for promoting fine motor skills, hand-eye coordination and bilateral coordination, but this craft also leads to more creativity through story telling. Go from scene to scene of your story, placing the Christmas characters in and out of the “snow”. It’s kind of like using an old flannel graph board where you would place the characters on and off the board as you tell a story. (Does anyone else remember those? Or is it just me?)
Give handmade Christmas cards from the heart this year with these 12 simple designs for kids to make.
All activities require adult supervision. By using this site, you are agreeing to our terms of use. This post contains affiliate links, which means if you make a purchase through these links, I may receive a small commission at no extra cost to you. Click here to read my full disclosure policy.
SUPPLIES FROM THE BAG
- Paper plate (9-inch coated)
- Single hole punch
- Tape
- White yarn
- Crayons or markers
- Scissors
- Christmas Craft Printables
In case you don’t already know, we do things a little bit differently here. To keep things simple and actually do-able (and focused on the kids, not the grown-ups), we stick to a basic list of craft supplies (just 27 items) that fit into one bag. That way, once your bag is filled, you can have endless hours of creative fun with your kids without additional prep or stress.
You will never be in the middle of a project and find that you are missing a key “ingredient”. And, I promise, you will not be required to spend all of your free time cutting things out of cardboard…no way! Also…did I mention that there is no glitter allowed? You’re welcome!
Instructions
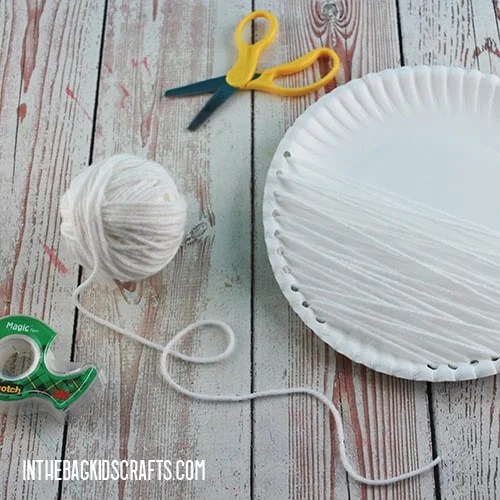
Step 1: Punch the Holes
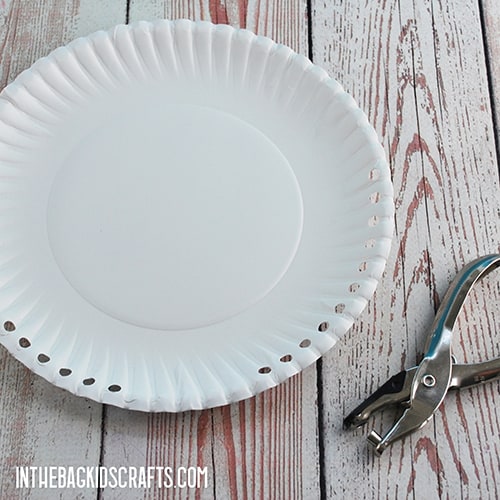
- Use the single hole punch to place holes around the edge of the bottom half of your paper plate.
*The holes should be close together, and you can leave out punch holes in the very bottom of the plate.
Step 2: Lacing Time
- Cut a piece of white yarn about a yard long and put tape on one end to make it easier to feed through the holes.
- With the plate facing right side up, lace the yarn through the first hole and secure the end on the back with tape.
- Weave the yarn back and forth across the bottom of the plate until there is plenty of yarn covering that section (until it looks like the picture below). *You will likely need to cut more pieces of yarn as you go for sufficient coverage.
- When you come to the end of a piece of yarn, secure it with a piece of tape on the back of the plate and trim off the excess.
Step 3: Use the Christmas Printables
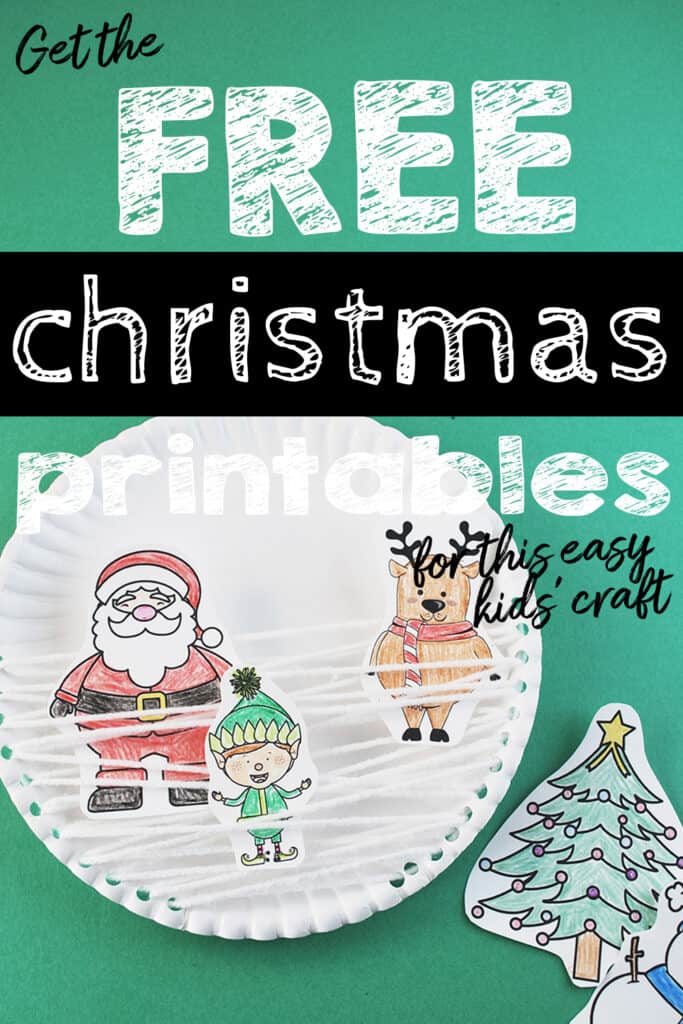
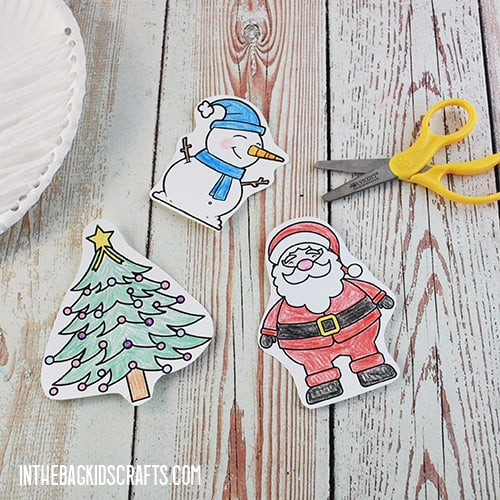
- Print the Christmas character printables. Printing them on card stock is the best choice but not essential. You can also mount your characters on paper plates to add some stability. *If you do not have access to a printer, you can also draw Christmas characters instead.
- Color whatever characters you have decided to use in your Christmas scene.
- Then roughly cut out each of the winter craft characters. This does not need to be exact.
Step 4: Create a Christmas Story
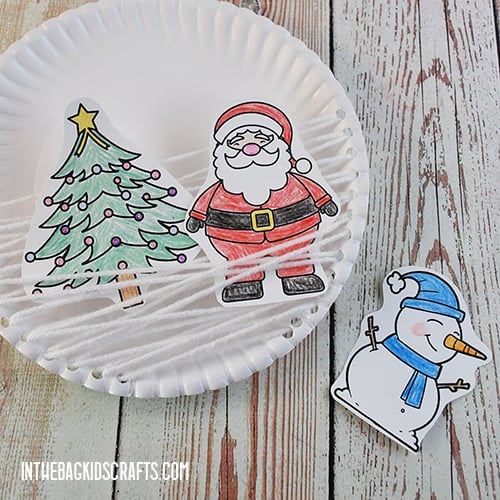
- Now it’s time to play with your paper plate Christmas craft. Place the characters into the “snow” however you want.
- Change up the scenes and create a story as you go. It’s kind of like using an old fashioned flannel graph board (some of you parents know what I’m talking about).
Check out the full Christmas craft video tutorial
Save this Paper Plate Christmas Craft for later. Pin it to your favorite Pinterest board…
