DIY Paper Christmas Decorations
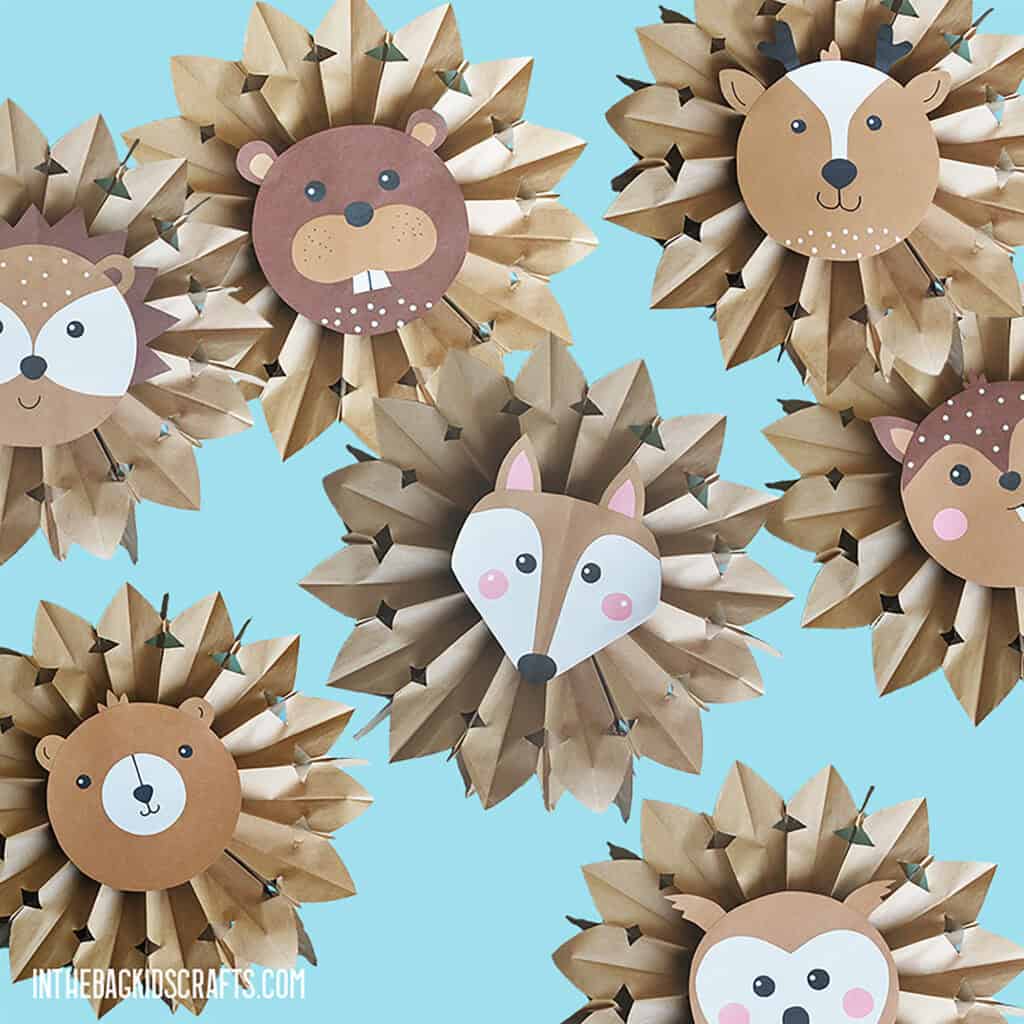
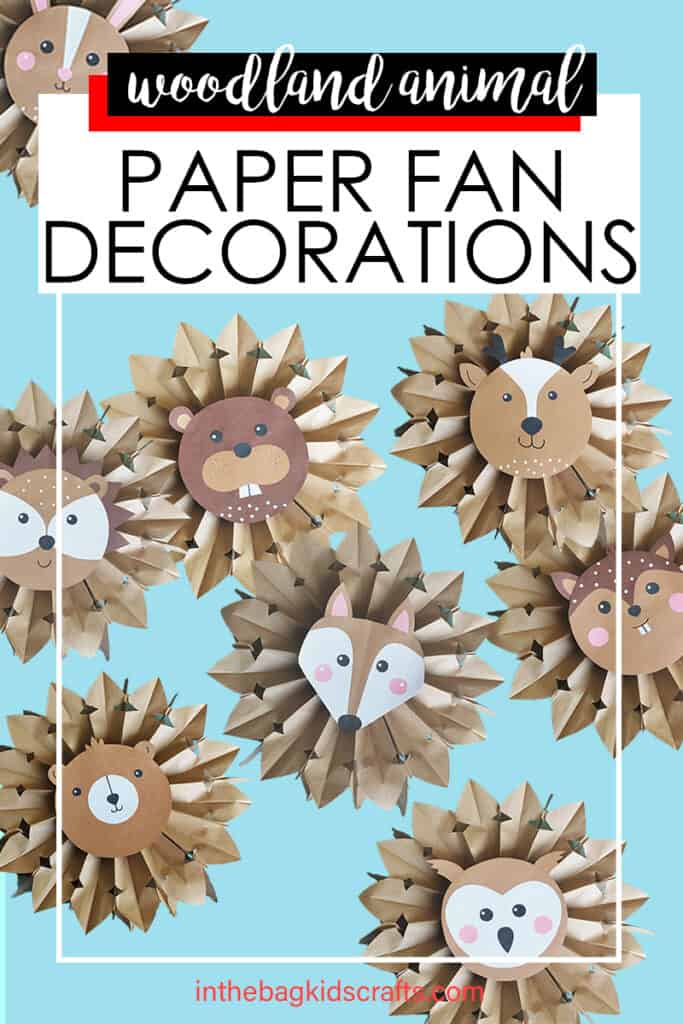
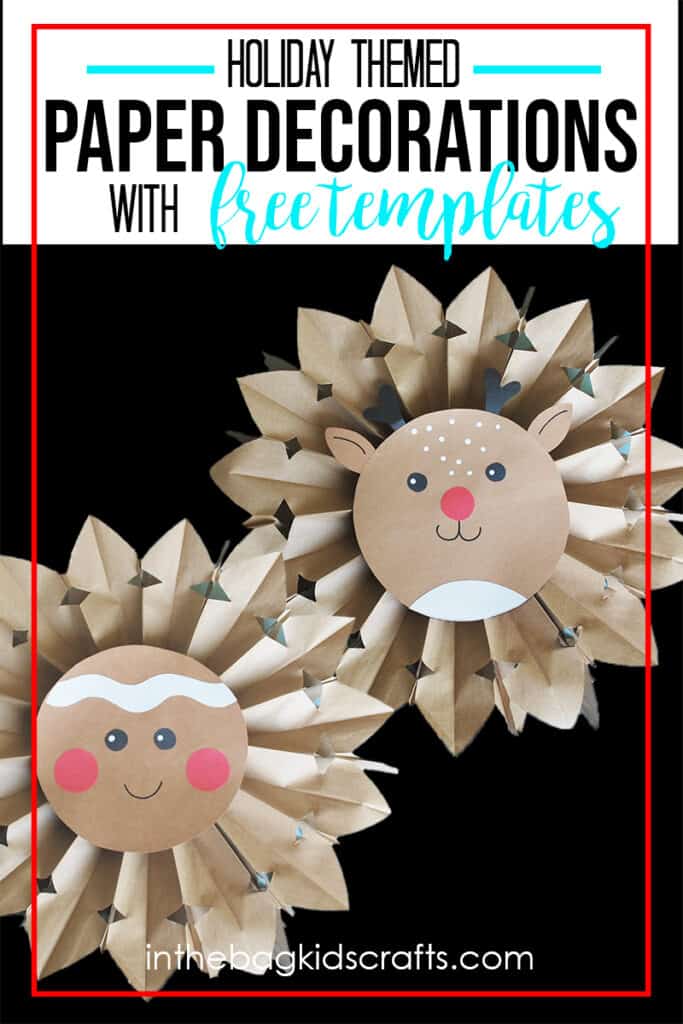
These DIY paper Christmas decorations are absolutely next level. The big paper fan decorations alone are amazing on their own, but then add the adorable Rudolph or Gingerbread man to make it into a truly epic Christmas decoration for kids. These are better than Dollar Store DIY Christmas decorations but just as inexpensive. And, the best part of these homemade decorations is that the fun does not need to stop at these two characters or even with the holiday theme. Check out the entire collection, including woodland animals and bonus holiday designs.
Find All of These Amazing Craft Templates in this Large Paper Fans Decorations Collection
SUPPLIES FROM THE BAG
- 16 Brown paper lunch bags
- Glue sticks (have extras ready)
- Scissors
- Stapler with staples
- Pipe cleaner (red is best if you have it)
- Paper Fan Decorations Templates
Just like every craft we make here at “In the Bag Kids’ Crafts”, these Christmas decorations and crafts are super kid-friendly. And they are made from supplies that are included on our master list used for every single creative project on this site. We do this to keep things simple and do-able and to make it possible for you to find the time, even when life is hectic, to craft some memories with your family. You can find the master list HERE.
This post contains affiliate links, which means if you make a purchase through these links, I may receive a small commission at no extra cost to you. Click here to read my full disclosure policy.
MAKING THE PAPER FAN DECORATIONS
Step 1: Build the Foundation
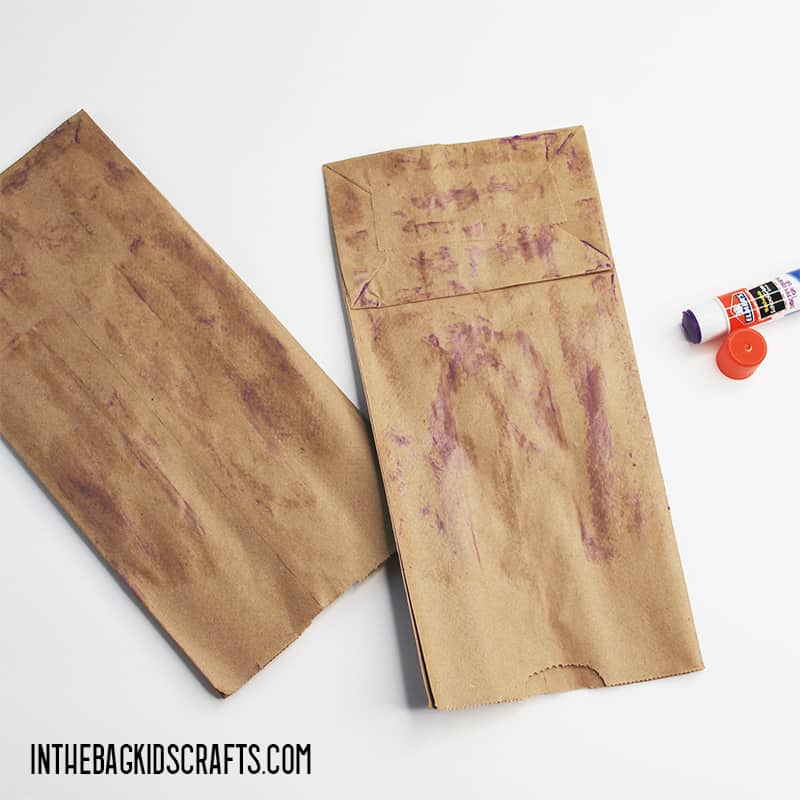
- Glue 4 brown paper lunch bags, one on top of another using your glue stick. *It is best if you put glue on both paper bags before putting them together to ensure that they will really stick together.
- Repeat this until you have 4 stacks, each with 4 paper bags.
Step 2: Cut in Some Decoration
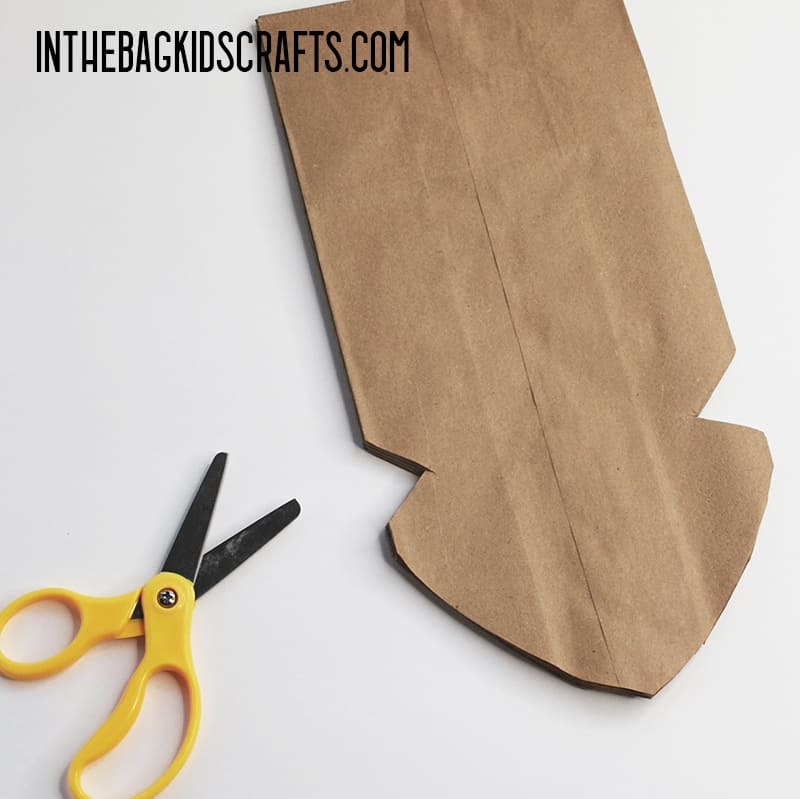
- With the first set of stacked paper lunch bags, cut in some basic designs. For example, make a large point at the ends and cut a couple of small triangle notches toward the outside of your DIY Christmas decoration crafts. You will not need to make any cuts in the center section since that area will not be seen once you put the holiday decorations in place.
Step 3: Build On
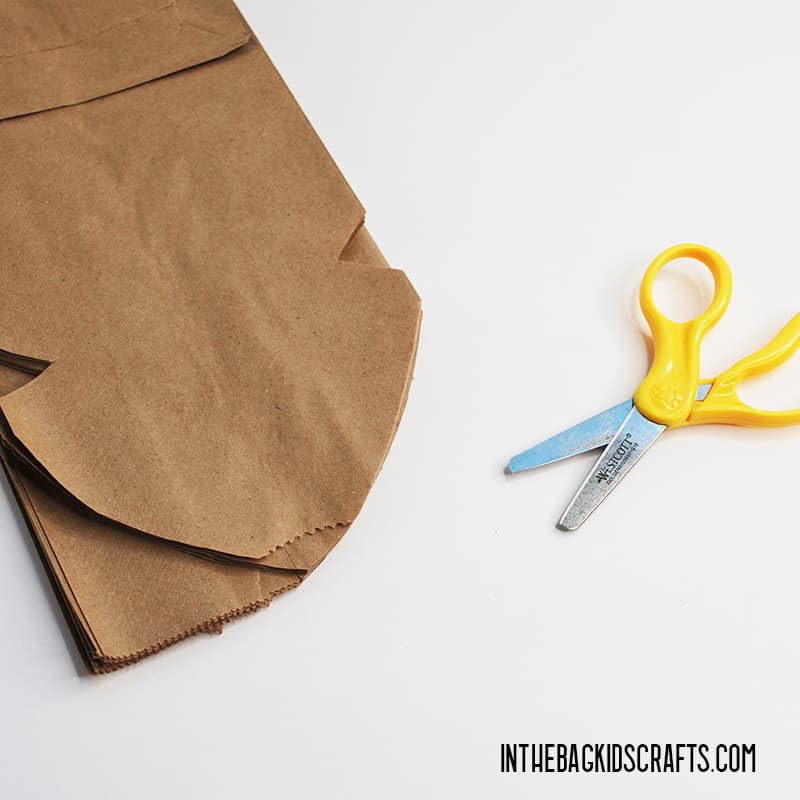
- Glue a second stack of 4 bags on top of the one that you cut your designs into. Use the same method as before, putting glue on both sides for a stronger bond.
- Now mimic the same decorations, cutting them into the second set of bags.
- Keep adding on the stacks of bags in this manner, each time cutting in the design before adding another stack.
*If you do not break the task down like this and put all of the bags together all at once, you will not be able to cut through all of the layers.
Step 4: Fan Out the Decoration
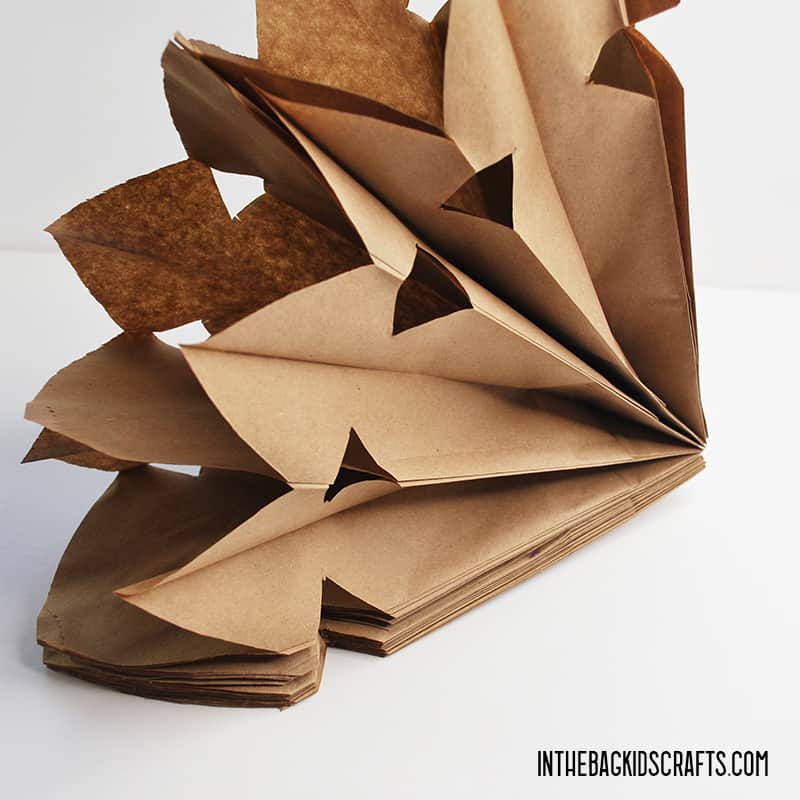
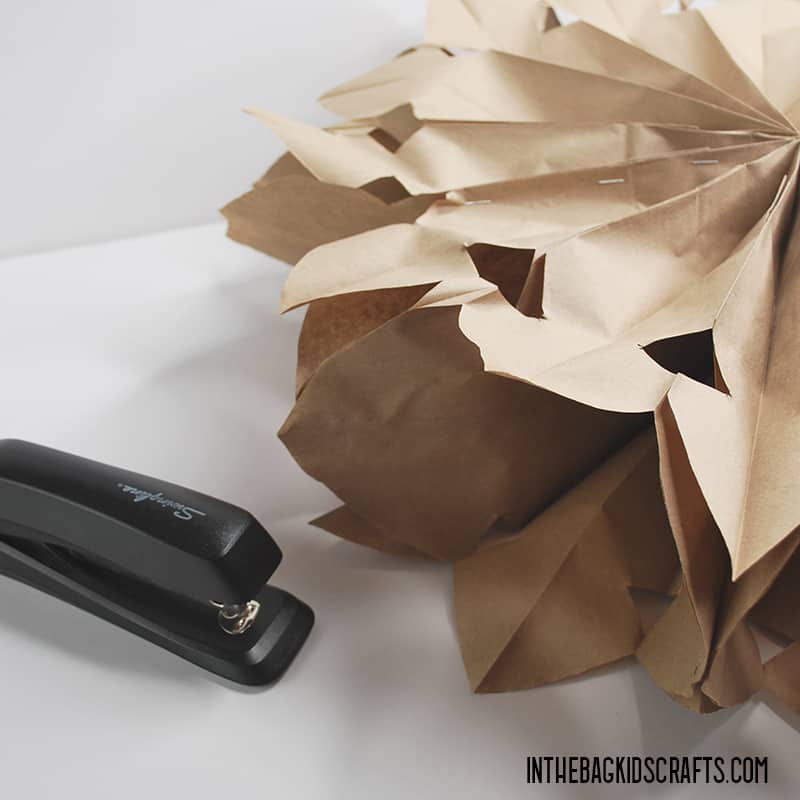
- Give the glue a minute to set in place (this will not take long) and then fan out all of the bags into a circle.
- Make sure that none of them are sticking together. This sometimes happens when glue seeps out the sides.
- Secure the circle with some staples, both on the front and back of your Christmas decorations.
Step 5: Add a Hanger
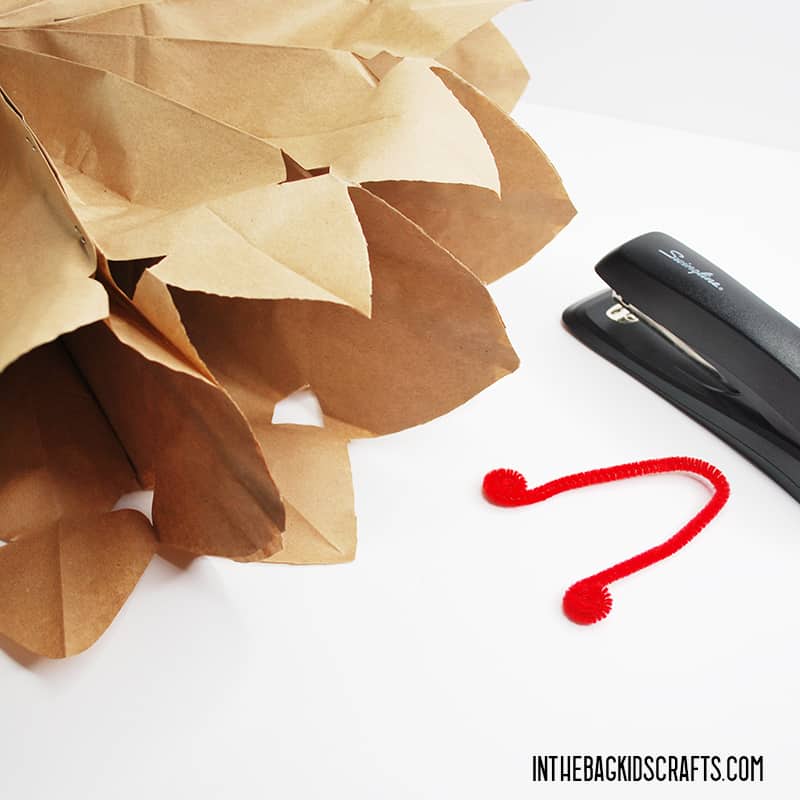
Your final step in these Christmas decorations crafts is to add a pipe cleaner hanger.
- First, fold the pipe cleaner in half and curl up each end.
- Slide it in between two of the bags at the top of the paper snowflake.
- Now staple it in place, being sure to catch each side of the pipe cleaner with a staple.
ADDING A HOLIDAY TOUCH TO YOUR HOMEMADE DECORATIONS
Rudolph Christmas Decoration
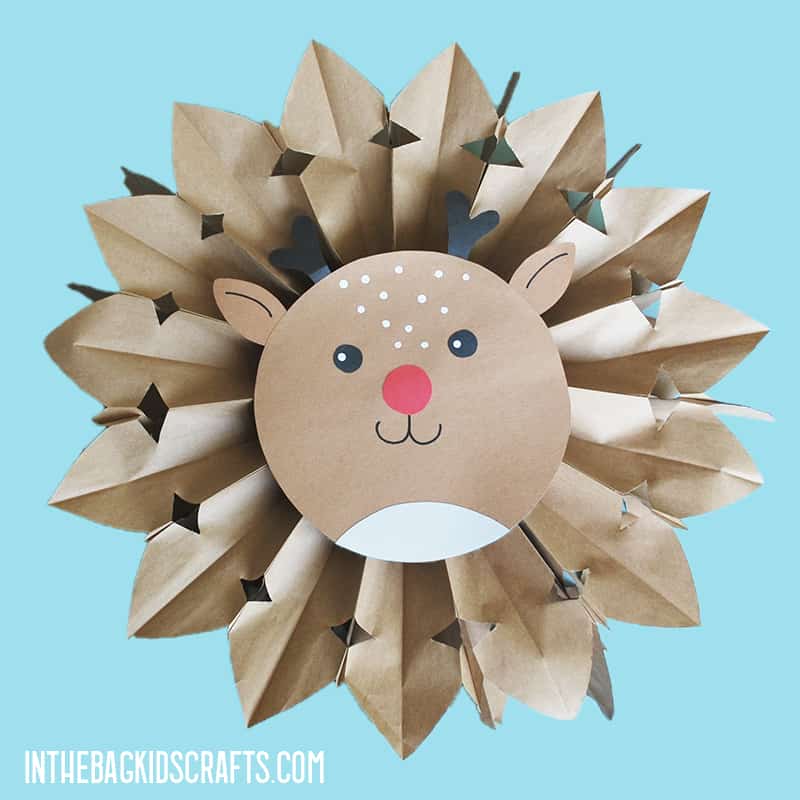
Additional Supplies for Rudolph Face:
- Brown, white, black and red construction paper
- White paint
- Q-tip
- Black sharpie marker
- Paper plate (for holding the paint)
- Printable Template for Rudolph
- Pencil
Step 1: Cut Out the Pieces
- Download the paper Christmas decoration templates.
- Print the Rudolph face template.
- Make the face and ears brown, the antlers and eyes black, his hairy chin white and, of course, the nose should be red.
*If you would like to make this without the template, use a bowl to trace your circle (about 8-10″ across) and then draw and cut out the other elements.
Step 2: Glue It Together
- Glue each of the pieces of Rudolph’s face together using the glue stick. *Use the picture above as a reference.
Step 3: Add Some Details
- With your black Sharpie marker, give Rudolph a smile and add details to his ears.
- Squeeze out a bit of white paint onto a paper plate and use the q-tip to add a dot to each of the eyes and some dots onto Rudolph’s forehead, as pictured.
- Feel free to add other details as you wish. After all, this is YOUR craft! Make it your own.
Gingerbread Man Christmas Decoration
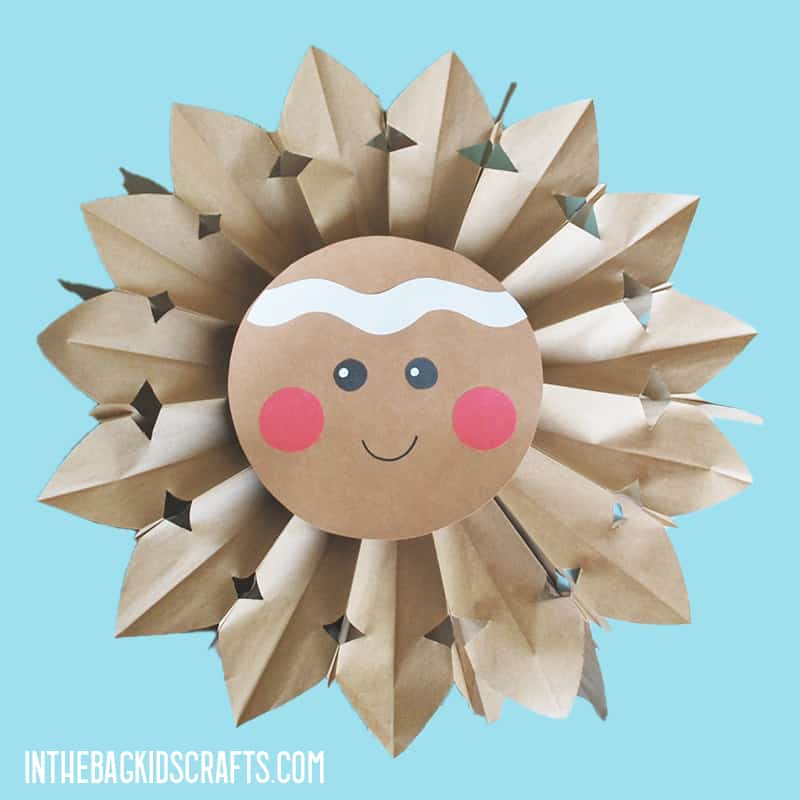
Additional Supplies for Gingerbread Man Face:
- Brown, white, black and red construction paper
- Black sharpie marker
- White paint
- Q-tip
- Paper plate
- Pencil
- Printable Template for the Gingerbread Man
Step 1: Cut Out the Pieces
- Download the Gingerbread template from the collection of large paper fan decorations.
- Use the template to cut out the pieces. Make the face brown, the cheeks red, the eyes black and the icing wave white.
*If you would like to make this without the template, use a bowl to trace your circle (about 8-10″ across) and then draw and cut out the other elements. This is the most basic of all the designs.
Step 2: Glue It Together
- Glue each of the pieces of the Gingerbread Man’s face together using the glue stick. *Use the picture above as a reference.
Step 3: Add Some Details
- Use the black Sharpie marker to give your gingerbread man a smile.
- For a final detail, squeeze a little bit of white paint onto a paper plate and use the q-tip to put a dot “sparkle” on each of the gingerbread man’s eyes.
How to attach the Holiday Decorations to the big paper fans
Once your Rudolph or Gingerbread man is complete, put a generous layer of glue stick on the back. To finish off your DIY paper Christmas decorations, place it in the center of your paper fan decoration and then lay and small stack of paper or a few magazines on top to keep it flat to the surface while it dries. Just don’t put anything too heavy on top. You wouldn’t want to crush your newly made homemade Christmas decorations for kids.
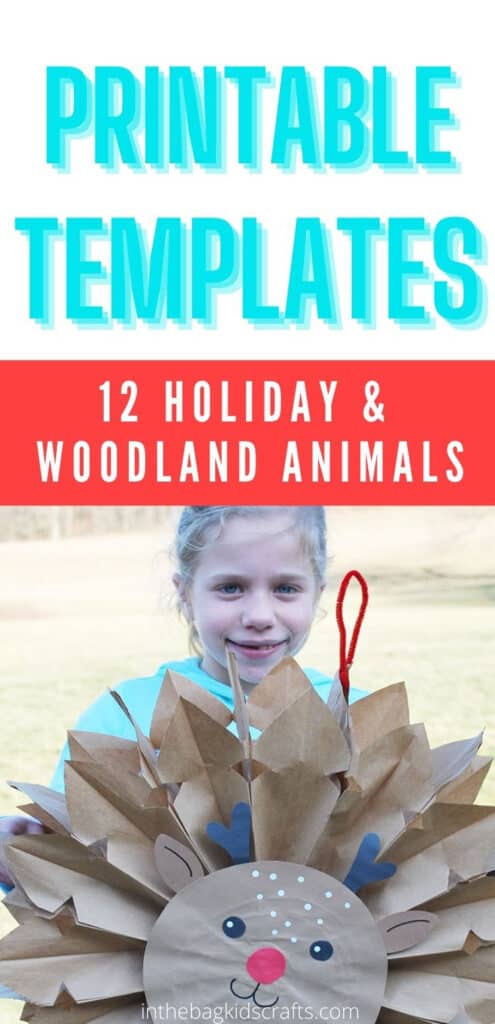
The possibilities with these DIY paper Christmas decorations are endless. They will make great Christmas wreath alternatives, in addition to being great for just hanging around the house, in a classroom or for party decorations. Beyond the holidays, the woodland animal collection takes things to the next level with its undeniable cuteness factor. Seriously, have you ever seen such adorable crafts? Learn more about getting this collection by clicking this link.
Save these DIY Paper Christmas Decorations for later. Pin to your favorite Pinterest board…
Get more Christmas decoration ideas:
