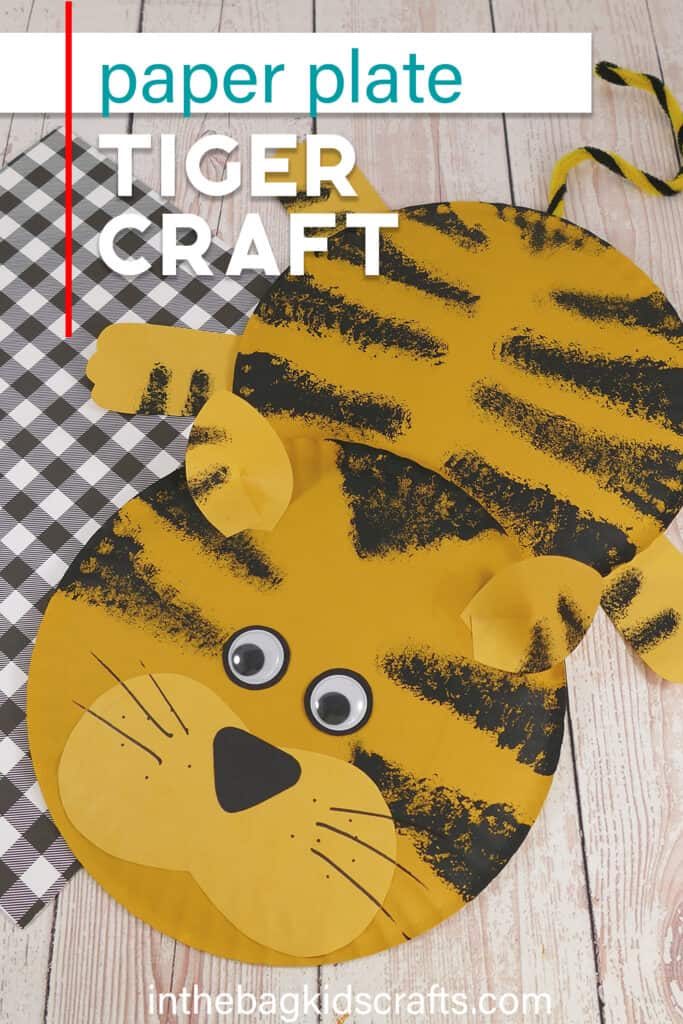
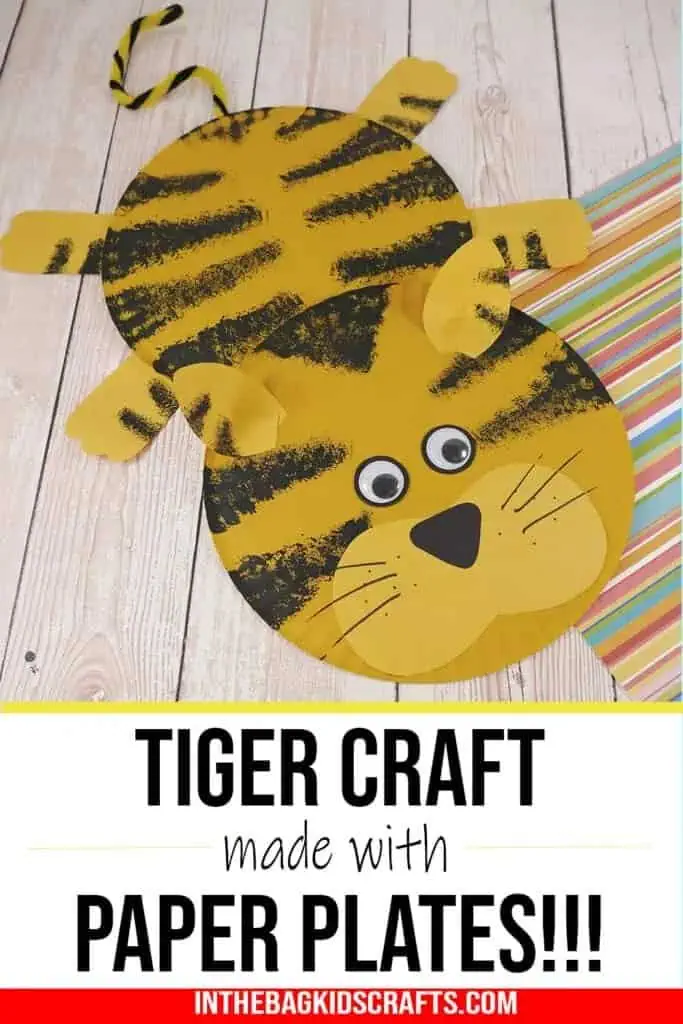
Paper Plate Tiger Craft
There are so many amazing and simple craft that you can make with your kids using paper plate, and this paper plate tiger craft does not disappoint. There are so many ways to customize this to make it a great craft for any age. It also creates an opportunity to learn a little bit about tigers if you’d like. This could even turn into a T is for Tiger craft. Just add a large ‘T’ to his back with marker or cut out construction paper.
And if you like making this paper plate tiger craft, you’re also going to love making this paper lion craft, this printable lion craft and this tiger craft with newspaper details.
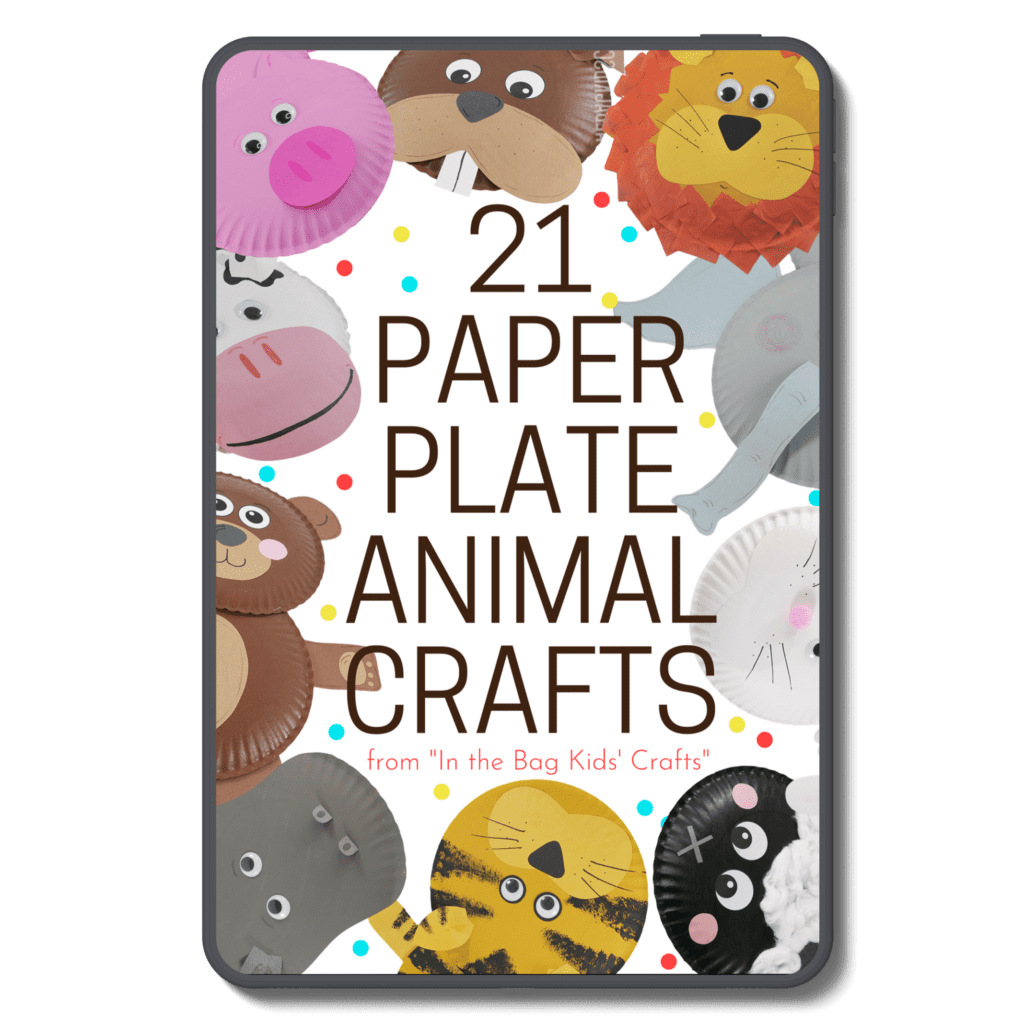
You’re Going to Want to Make EVERY SINGLE Paper Plate Animal Craft in this Collection with Your Kids…
Save this Tiger Craft for later. Pin it to your favorite Pinterest board…
Fun Facts About Tigers
- Tigers appeared on the earth 2 million years ago.
- A wild tiger lives approximately 10 to 15 years.
- They are the world’s largest cat and like to be alone for things like swimming and hunting.
- Each tiger stripe pattern is unique, like a fingerprint.
- Tigers have an extremely loud roar but can also mimic the sounds of other animals in the wild.
*Learn more at the World Wildlife Foundation.
All activities require adult supervision. By using this site, you are agreeing to our terms of use. This post contains affiliate links, which means if you make a purchase through these links, I may receive a small commission at no extra cost to you. Click here to read my full disclosure policy.
SUPPLIES FROM THE BAG
- 2 Paper plates (9-inch coated)
- Paint (yellow gold and black)
- Newspaper
- Pompoms
- Clothespin
- Glue stick
- Scissors
- Construction paper
- Googly eyes (or printable paper eyes)
- Markers
- Scotch tape
- Black and yellow pipe cleaners
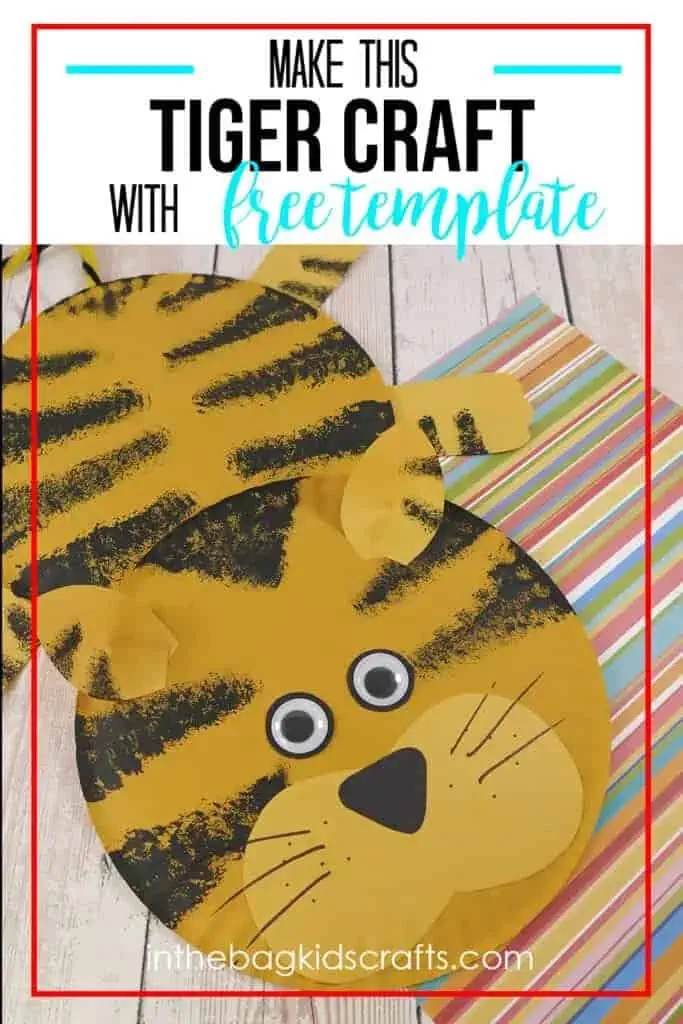
- Tiger craft template
This paper plate tiger craft is so fun to make, and the good news is you already have everything that you need if you’ve taken the step to fill your bag using our master list of craft supplies. We stick to this list for every single craft project that you see on this site and in our shop. With this approach, you are ready to create things with your kids whenever you have a minute to spare and just want to make some memories together.
Combine Crafting with Reading
The best way to elevate the crafting experience is to combine it with a good book. Here are some of our favorite books about tigers for kid…


How to Make a Paper Plate Tiger Craft
Step 1: Paint the Plates
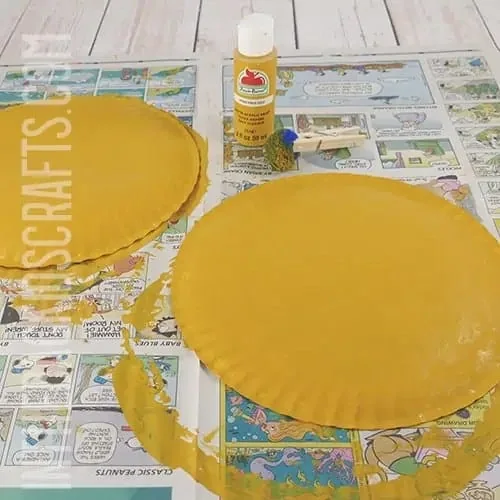
- Lay 2 paper plates bottom side up on newpaper that is spread out on your crafting surface.
- Pinch a pompom with a clothepin to form a “paint brush”.
- Use it to paint the bottoms of each plate golden yellow.
*If you really don’t want to get out the paints, use crayons instead to color the plates for your tiger craft.
Step 2: Use the Tiger Craft Template
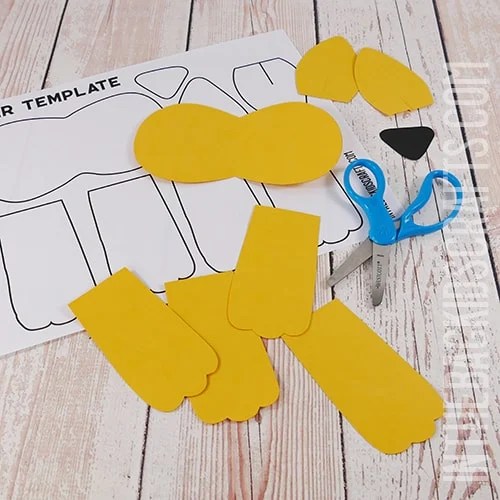
- While the paint is drying, print out the tiger craft template.
- Use it to cut out all of the parts for your easy tiger craft from construction paper, including 4 legs, a snout, 2 ears and a nose.
Step 3: Add the Stripes to Your Tiger Paper Plate Craft
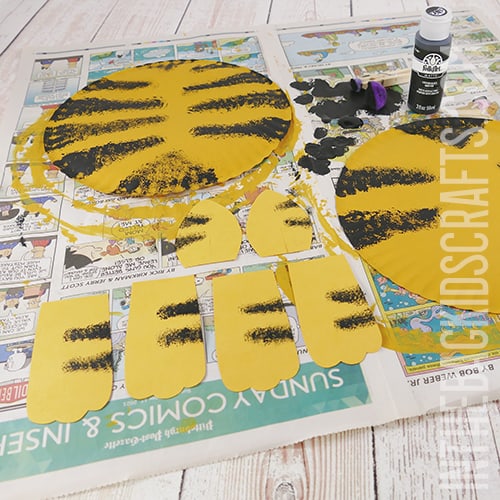
- Place the cut out parts by the painted paper plates on your newspaper.
- Squeeze out some black paint.
- Then use a smaller pompom to tap paint the strips onto the parts of your tiger, including the head and body of the tiger (the plates), the legs and ears.
Step 4: Put the Plates Together
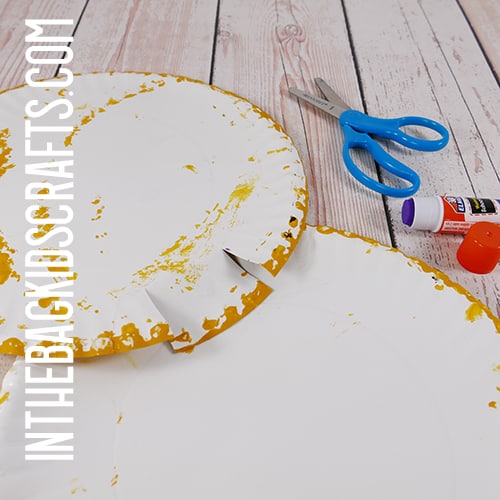
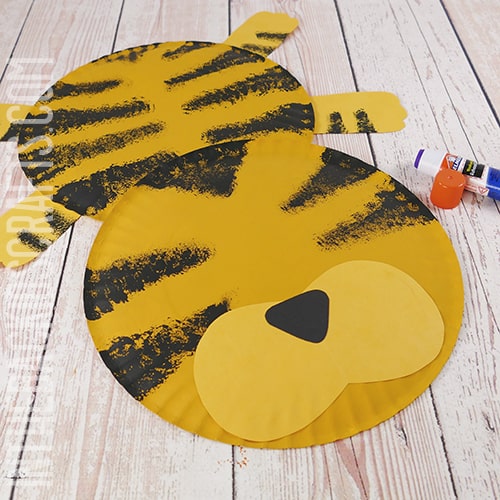
- Once the paint has dried, cut a flap into one of the paper plates about 2 inches wide and an inch deep, at the top of the body of your tiger.
- Fold the flap up and cover it in glue using your glue stick.
- Overlap the 2 plates by a couple of inches and attach with the tab, forming the head and body of your tiger craft.
- Press firmly and hold until the glue takes hold.
Step 5: Add All the Paper Plate Craft Parts
- Now put the parts of your tiger in place.
- Glue snout and nose in place.
- Then add the legs to your tiger.
Step 6: More Details
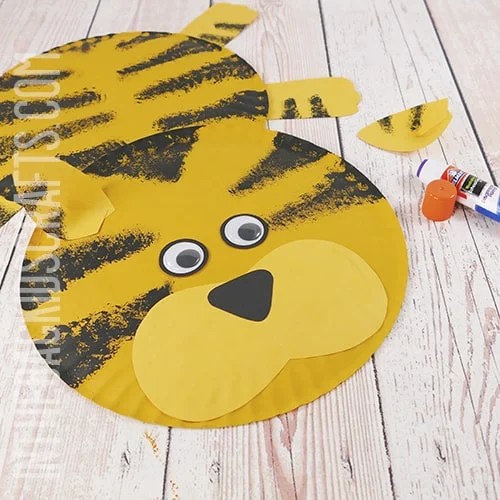
- Place the googly eyes onto a black piece of construction paper and cut around so that you can see a black rim around the eyes.
- Glue the eyes into place.
- Cut a slit in the center of the bottom of each ear, about an inch long.
- Overlap the sides of the ear at the flap and secure with some glue to make the ear curved.
- Last, glue each of the ears in place.
Step 7: Give Your Tiger Some Whiskers
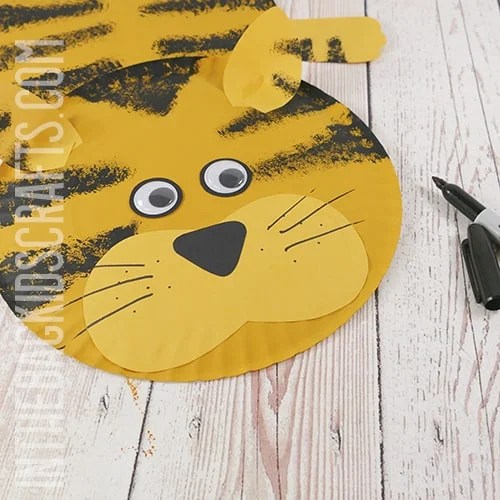
- Use a black sharpie marker to add details to the face of your simple tiger craft. We added whiskers. You can add whatever details you would like.
Step 8: Finish It Off with a Tail
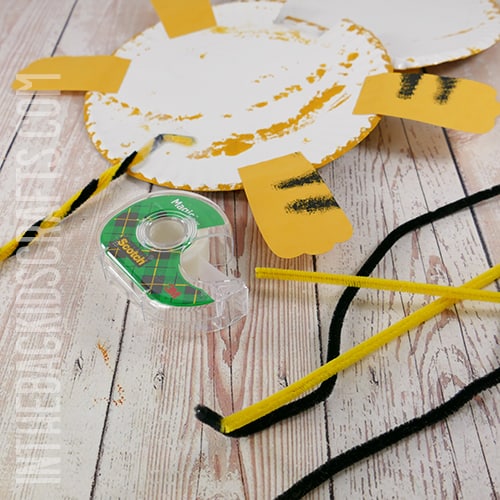
- Find a yellow gold and black pipe cleaner.
- Then twist the pipe cleaners together to form the tail of your tiger.
- Fold over the end so that it is not sharp and pointy.
- Then tape the other end of the pipe cleaner in place to form the tail of your tiger.
- Bend and curl it for effect.
Now that you know how to make a tiger craft, it’s time to make it your own. We used traditional yellow and black colors for our tiger, but you can change it up and use any colors that you would like. Make your animal craft rainbow colored or pink and orange or white with purple stripes…anything you can imagine. Or maybe your tiger has extra eyes or 2 tails. The only limit is your imagination. I can’t wait to see what you make!
Save this Paper Plate Animal Craft for later. Pin it to your favorite Pinterest board…
