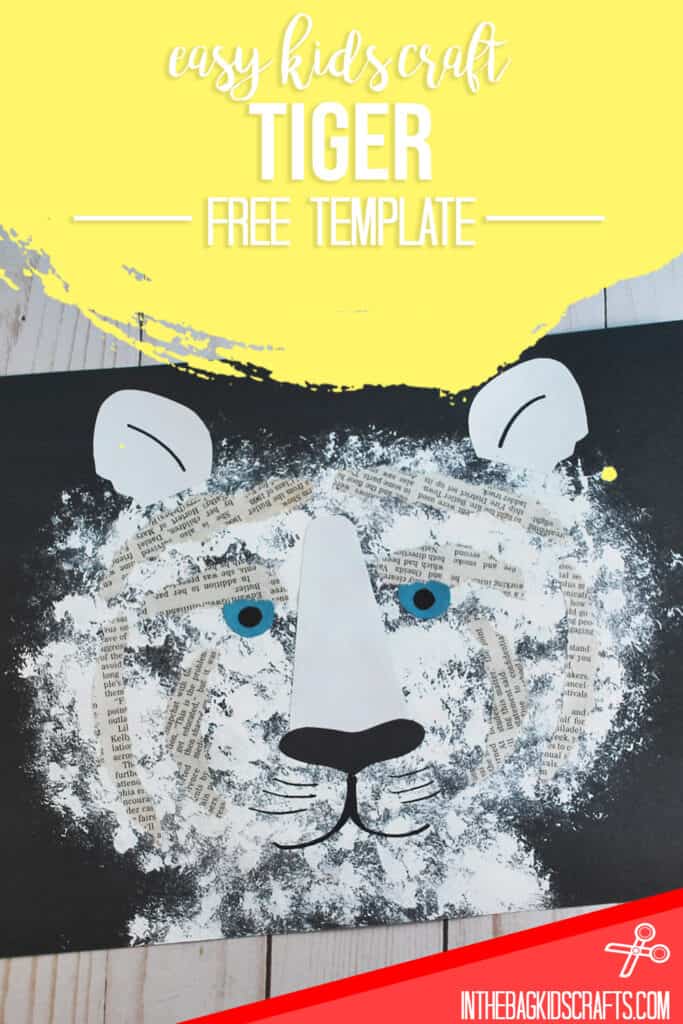
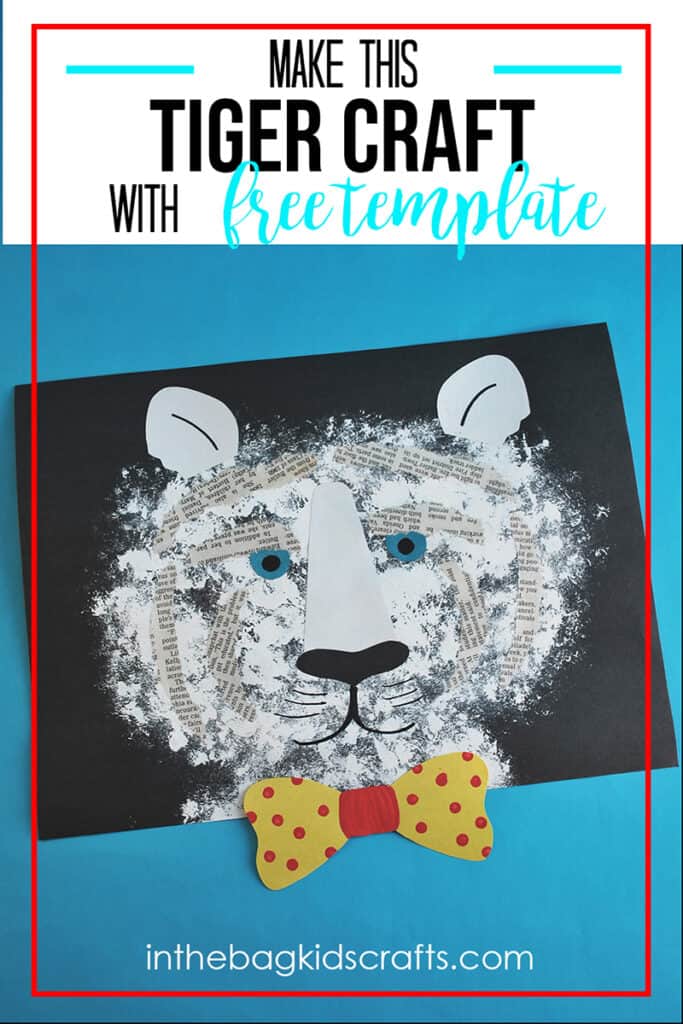
Easy Tiger Craft for Kids
This easy tiger craft is so fun and simple to make. The newspaper details push it over the top. Plus, tearing paper is a great activity for little ones who are about to start to use scissors. It is great for promoting fine motor skills and bilateral coordination. You can keep this art and craft tiger as is or add a little whimsy with a bow tie or whatever you can imagine.
Save this Tiger Craft for later. Pin it to your favorite Pinterest board…
This post contains affiliate links, which means if you make a purchase through these links, I may receive a small commission at no extra cost to you. Click here to read my full disclosure policy.
SUPPLIES FROM THE BAG
- Piece of black construction paper (or other dark color)
- White paint
- Large pompom
- Newspaper
- Scraps of white, black, yellow and blue construction paper
- Scissors
- Pencil
- Glue stick
- Black Sharpie marker
- Tiger craft template
It is our mission to make crafting with your kids actually possible, even when life is hectic. We know that you have a lot on your plate. That’s just reality. But crafting with your kids is something that you will never regret taking the time for. And, to make it simpler, we stick to a basic list of craft supplies that fit into one bag (thus the name). This master list has been carefully curated so that each item is versatile, inexpensive, and totally ready for hours of creativity.
I always love to add some reading to crafting. Check out these books all about tigers.


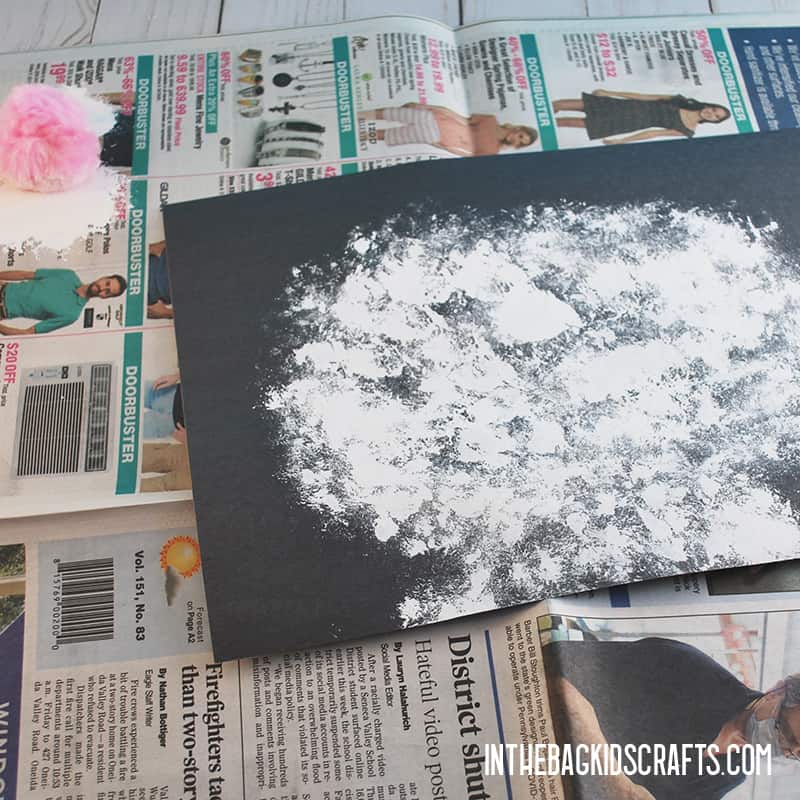
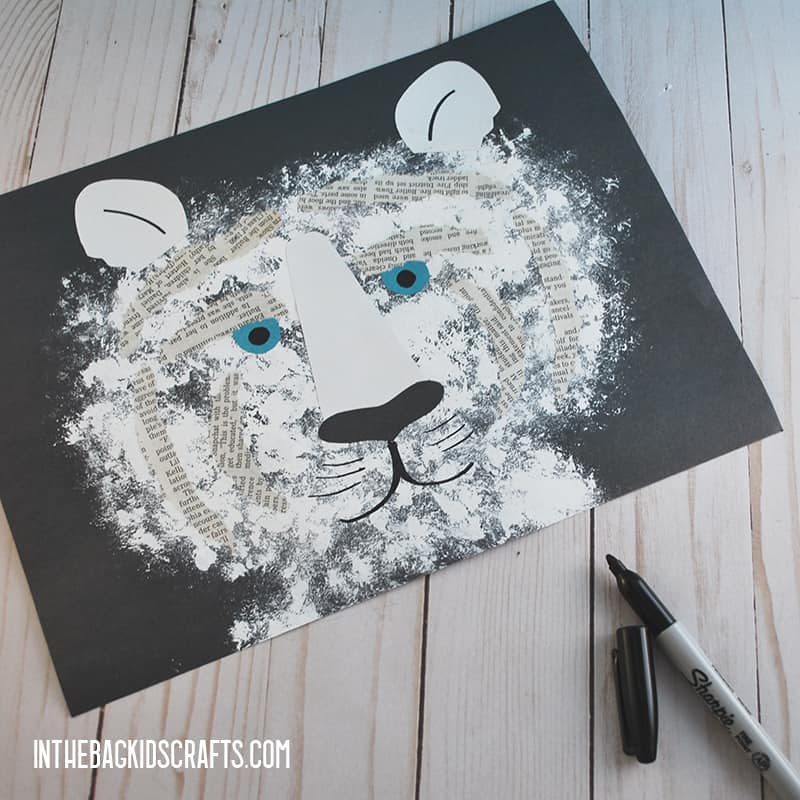
Step 1: Paint Your Tiger Craft
- Place your black construction paper on a piece of newspaper.
- Then squeeze out some white paint into the corner.
- Use the large pompom to tap paint a large circle or oval in the middle of your paper.
- Then add a painted “body” for your tiger. Just a triangle shape from the circle down to the bottom of the paper.
- Sit this aside to dry.
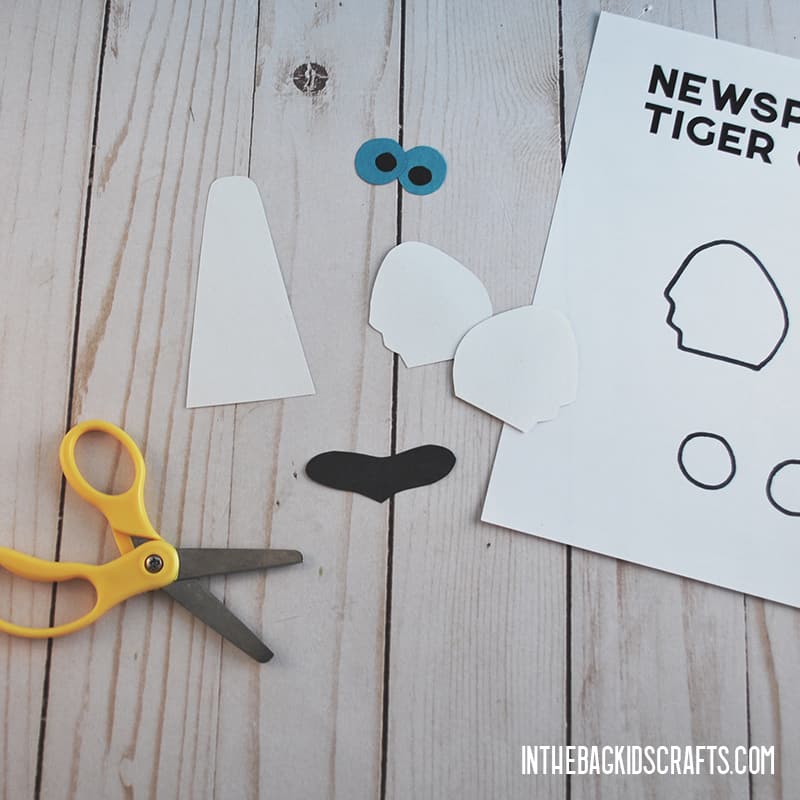
Step 2: Cut Out the Pieces
- Print out the tiger craft template and cut out the pieces.
- Trace the pieces onto the appropriate colors of construction paper
- Then cut out the pieces and set them aside.
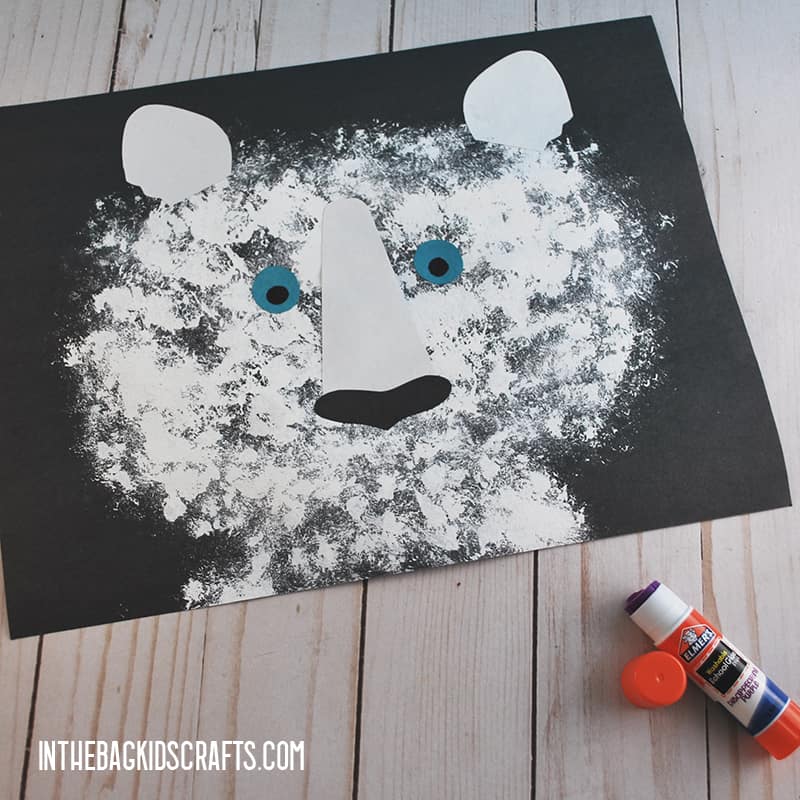
Step 3: Glue On the Pieces
- Once the paint has dried (which happens very quickly), glue on the tiger’s ears, nose and eyes.
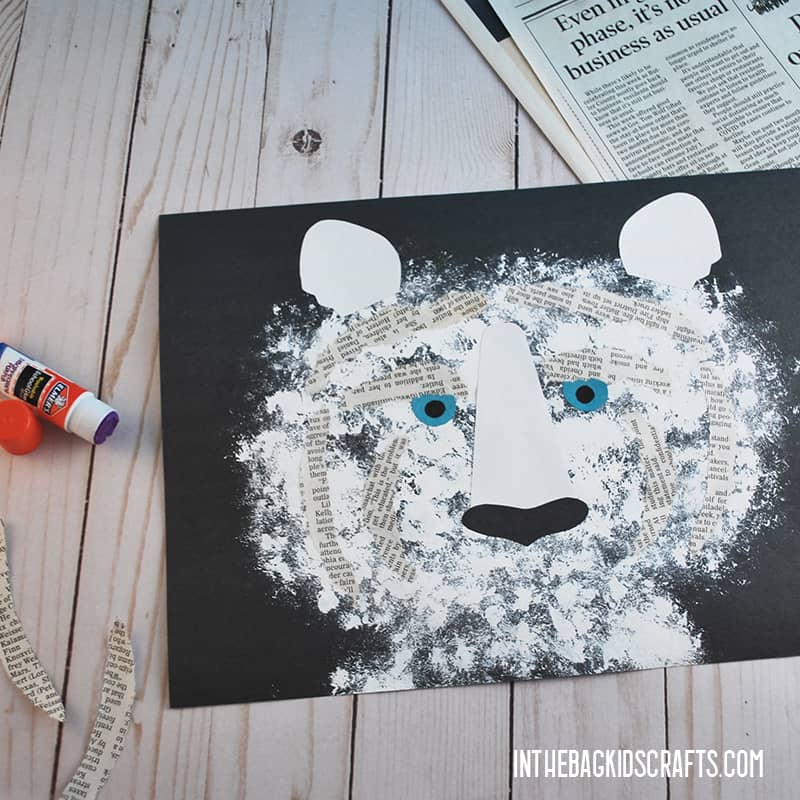
Step 4: Add Newspaper Stripes to the Tiger Face Craft
- Tear some thin strips of newspaper. Pay attention to use print and not pictures or comics unless you want a totally different look for your tiger art and craft.
- Once you have your thin strips of newspaper torn, tear them down to size and glue them in place on the tiger face craft.
Step 5: Finish Off Your Tiger Craft
- Finish off your tiger by using the black Sharpie marker to add some details.
- Give your tiger a mouth, whiskers, details in the ears, and eye balls.
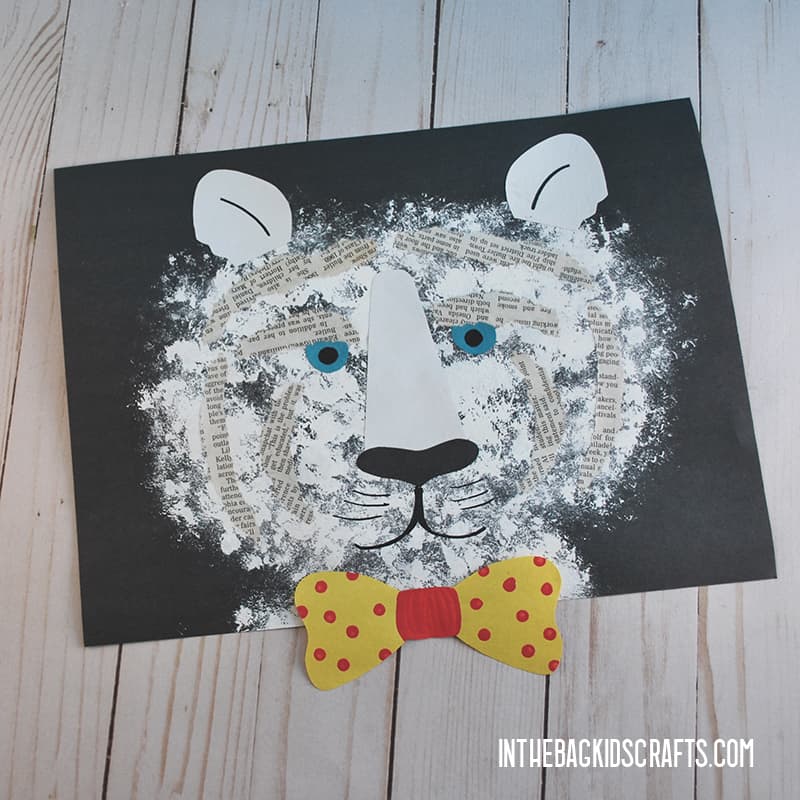
Optional Step: Add Some Whimsy
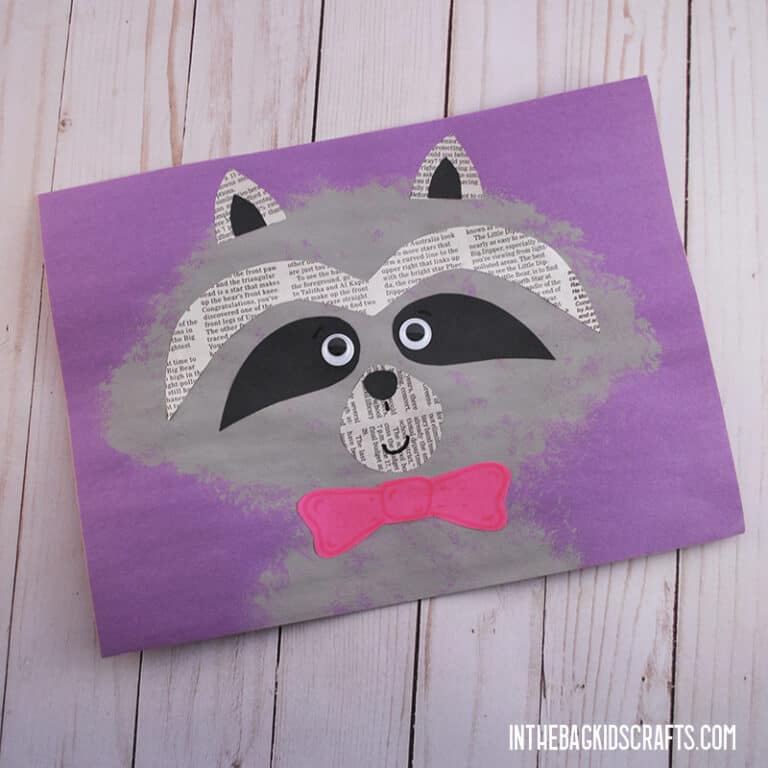
- This tiger craft as is looks totally awesome. But you can make it a little more whimsical by adding a bow tie.
- Or you can choose to add other details, like a party whistle or polka dots or whatever. Use your imagination.
I simply cannot wait to see your adorable tigers. This simple newspaper craft is so fun and easy to make. But please, don’t make yours look like the picture. After all, every tiger in the wild is different. You should put your personality into yours. As a matter of fact, if you want to make your pink instead of white or purple with orange stripes, that is what you should do. Just use your imagination and go for it.
More Animal Crafts for Kids to Make
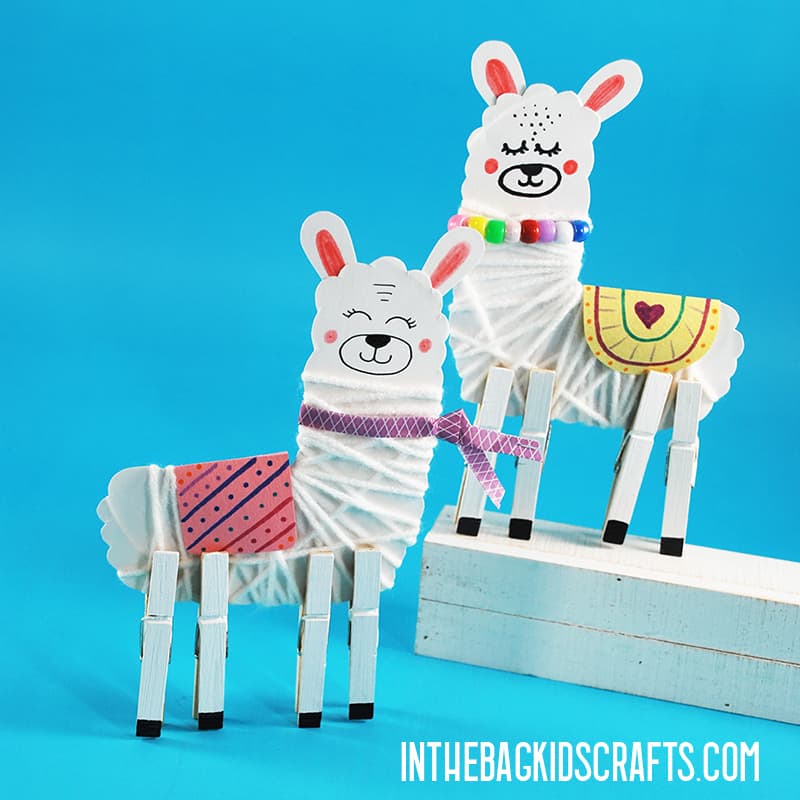

- Llama Craft
- Kangaroo Craft
- Ocean Animal Crafts
- Skunk Craft
- Giraffe Craft
- Clothespin Animals (Tiger, Unicorn and Zebra)
- Paper Bag Squirrel Craft
- Wiggly Eared Dog Craft
- Axolotl Craft Puppet
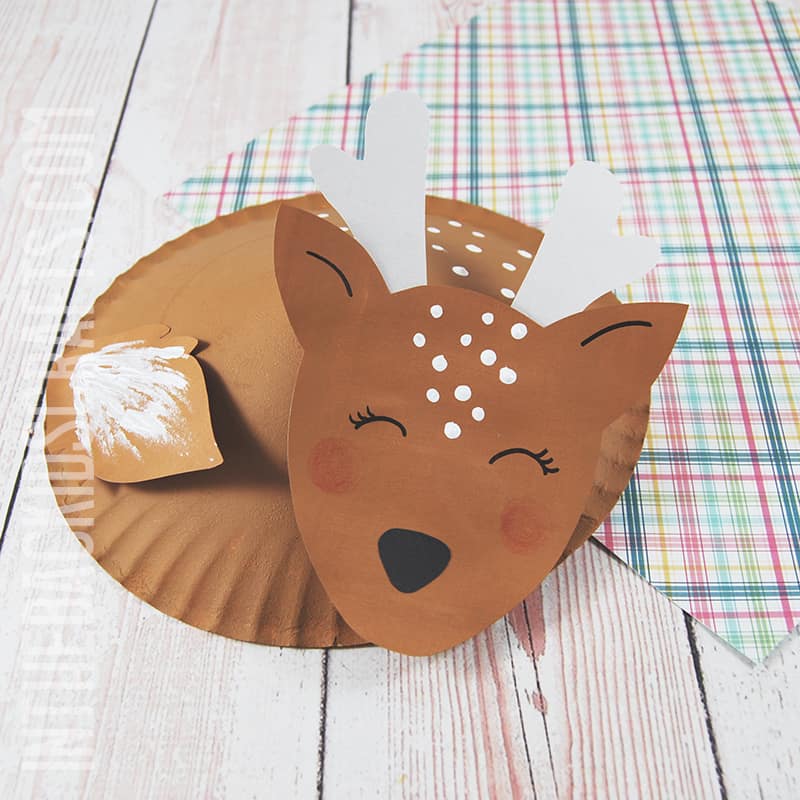
- Sleeping Deer Craft
- Paper Bag Cats
- Paper Bag Owl Crafts
- Fluffy Bunny Craft
- Sleeping Cat Craft
- Clothespin Porcupine Craft
Save this tiger face craft for later. Pin them to your favorite Pinterest board…
Happy Crafting!
XO -Joy