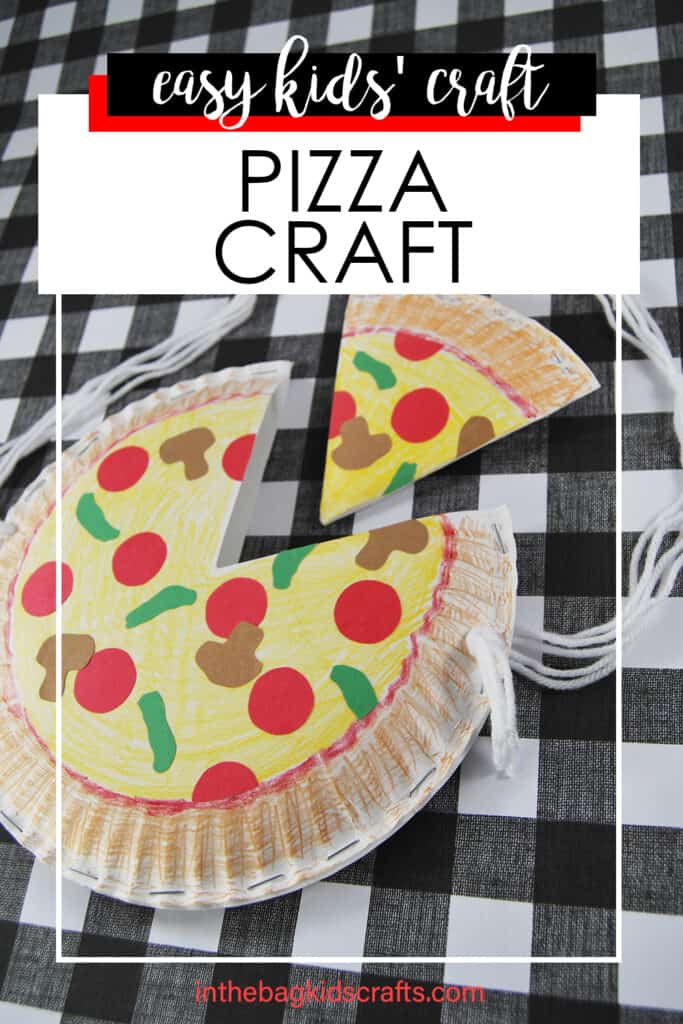
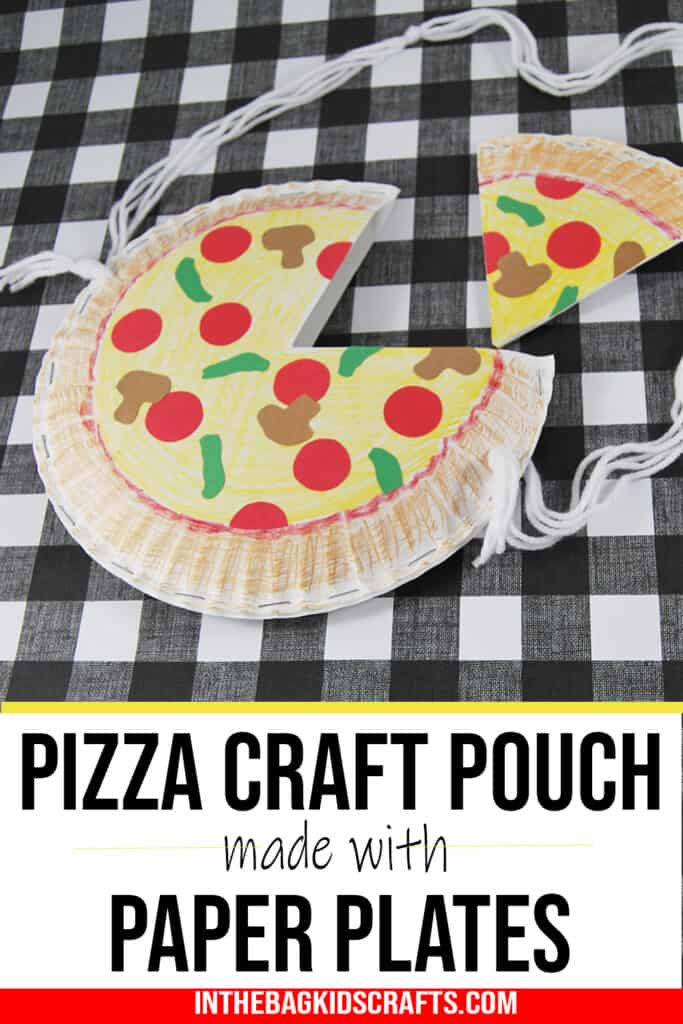
Pizza Craft Pouch
This pizza craft is extra special because it’s not just a craft. It’s also a pouch that you can use for holding your treasured possessions. We’ll even make a special pizza slice mini pouch or wallet to go with your pizza. This paper plate craft is perfect for any age, from toddlers to elementary aged. (To be honest, I even like it as an adult.)
It makes the perfect preschool craft and can be customized with any toppings you like, which leaves lots of room for creativity. Have your students color on the cheese and sauce. Have the toppings pre-cut for them to glue on whatever they want on their own pizza. You could even use it for a P is for Pizza craft.
Make Crafts with your kids all Year Long…week after week.
If you enjoy this pizza craft, check out this play food craft and this Italy craft too.
All activities require adult supervision. By using this site, you are agreeing to our terms of use. This post contains affiliate links, which means if you make a purchase through these links, I may receive a small commission at no extra cost to you. Click here to read my full disclosure policy.
SUPPLIES IN THE BAG
- 3 Paper plates (9-inch coated)
- Stapler with staples
- Scissors
- White yarn
- Hole punch
- Crayons
- Construction paper scraps
- Glue stick
Crafting with your kids is supposed to be fun, but we often don’t slow down to enjoy it. It can be more like a chore. So, we’ve made it our mission to make it fun again by taking out the prep work. Every craft that we make is created using the same master list of supplies that fit into one bag. That way, once you fill your bag, you’re ready to craft along. So simple!
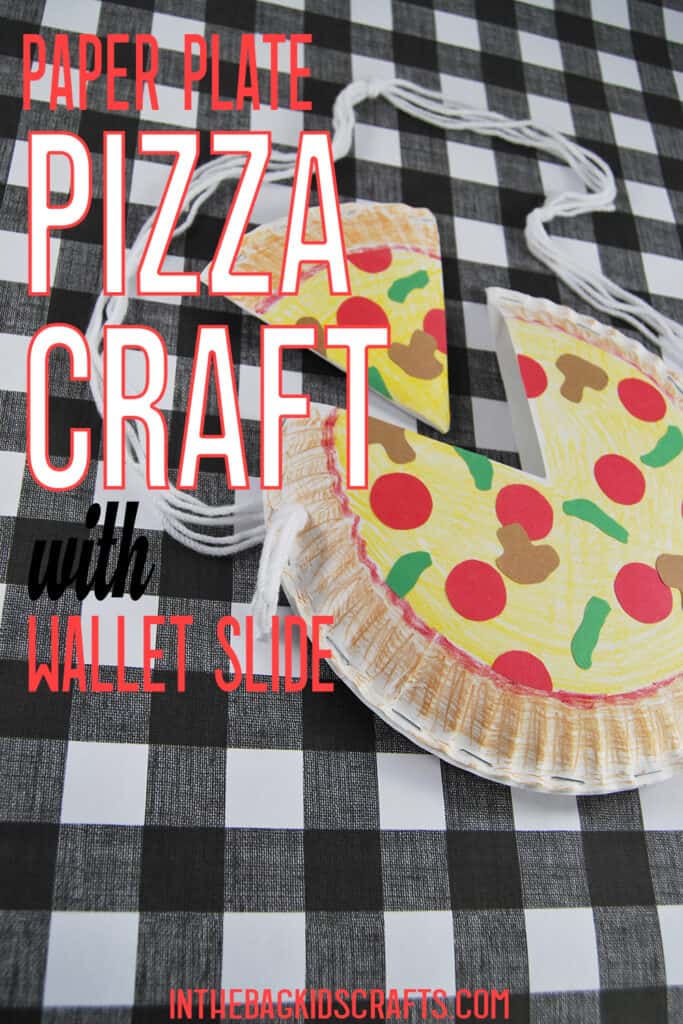
How to Make a Pizza Craft
Step 1: Cut Out a Slice
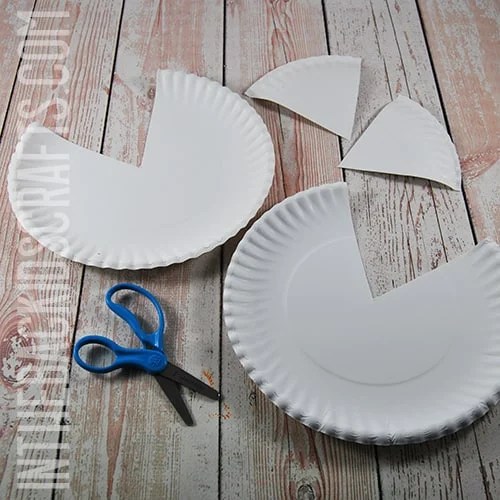
- Layer together 2 paper plates.
- Cut out a pizza “slide” from the plates. This will be a triangle that goes from the edge to the center of the plate, about 4 inches across at the widest section.
- *If it would be easier, draw the triangle with a pencil before cutting it out.
Step 1b: Make a Slice
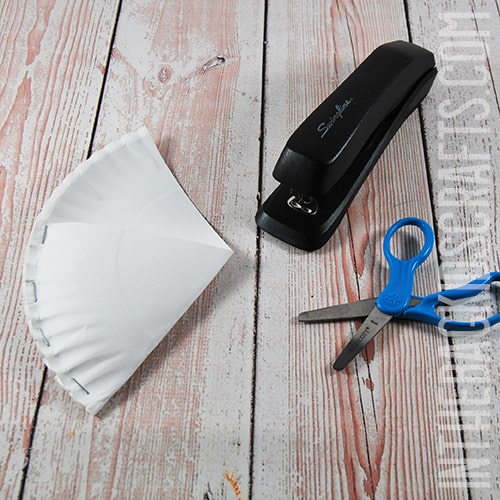
- Take another paper plate and cut it in half. This is for your individual pizza slice wallet.
- Fold one third of the half plate over to form a triangle, leaving a section out to the side (as pictured).
- On the folded section, staple along the edge of the plate.
Step 2: Put the Pizza Purse Together
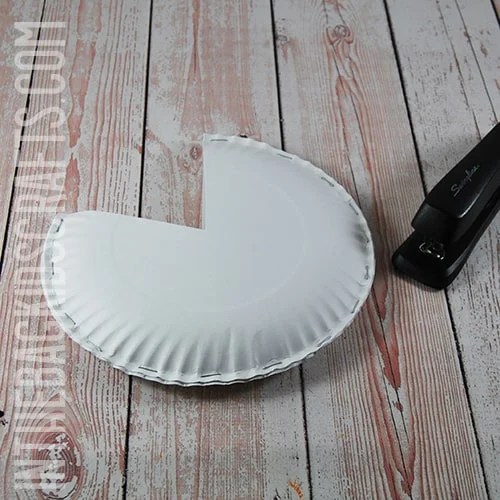
- Now for the big pizza pouch, sandwich the two plates with the cut out slide so that they are face to face, leaving an opening in the center.
- Attach the two plates by stapling all around the outside edge, with the staples about an inch or so apart.
- Leave the cut out section open.
Step 3: Color the Pizza Craft
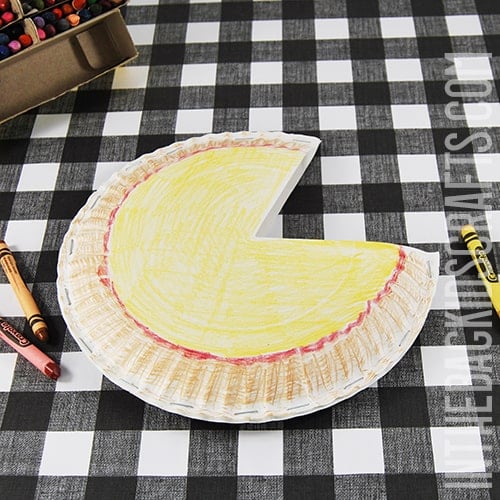
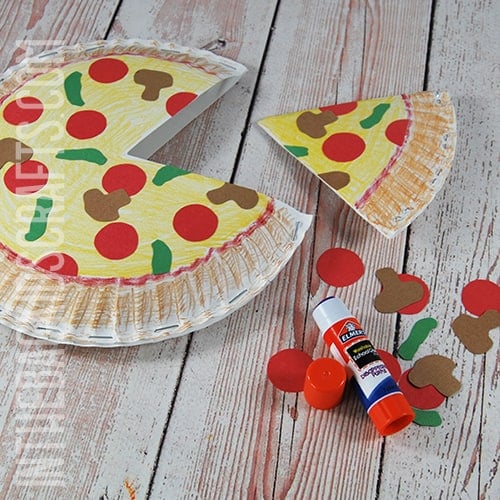
- Use crayons (or markers or paint) to color the crust, sauce and cheese on your pizza.
- Do this for the cut out “slice” also.
Step 4: Add the Toppings
- Cut out shapes from construction paper for the toppings on your pizza. Make it easier by drawing the toppings with a pencil first.
- Once the pieces are cut out, use your glue stick to add them to the pizza and the slice.
*Notice that we put some on the edge and cut off the excess to make it look more like a real pizza.
Step 5: Create a Handle to Finish off the Pizza Craft
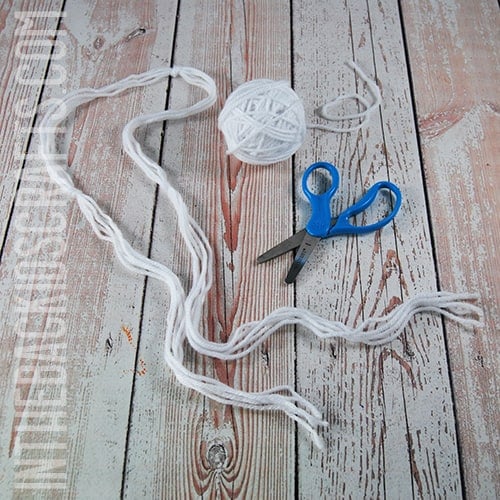
- Cut 5 lengths of white yarn about a yard long each.
- Bundle the pieces of yarn together and tie a knot in the center.
- Tie a couple more knots on the sides to hold the pieces together.
- This is the handle for your pizza pouch.
Step 6: Add the Handle
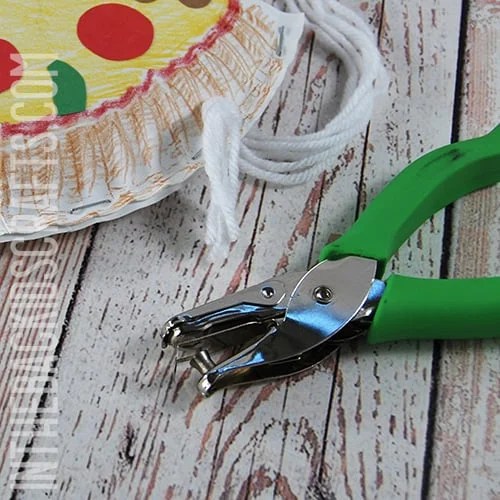
- Punch holes on each side of the pizza pouch.
- Lace one end of the string handle through one of the holes so that the end comes out the front.
- Tie a knot, leaving a couple of inches of yarn on the end for a tassel.
- Repeat this on the other side.
- Trim the ends of the yarn to even them out.
For the pizza slice “wallet”, you can just keep it as is. Or you can cut down the flap so that it tucks in. Or, though it isn’t in the bag, if you happen to have one on hand, add a little velcro dot as the closure.
Now that you know how to make a pizza craft, really make it your own. Treat it like you’re ordering the pizza exactly how you want it. Or make it look like the most unique pizza ever and change up the colors. Maybe your cheese will be blue and the pepperoni pink.
Save this Preschool Pizza Craft for later. Pin it to your favorite Pinterest board…
