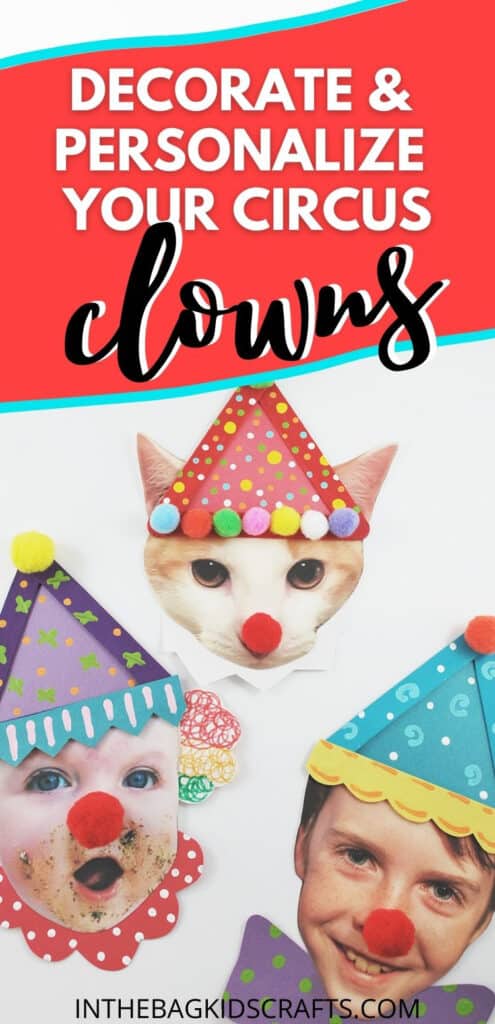
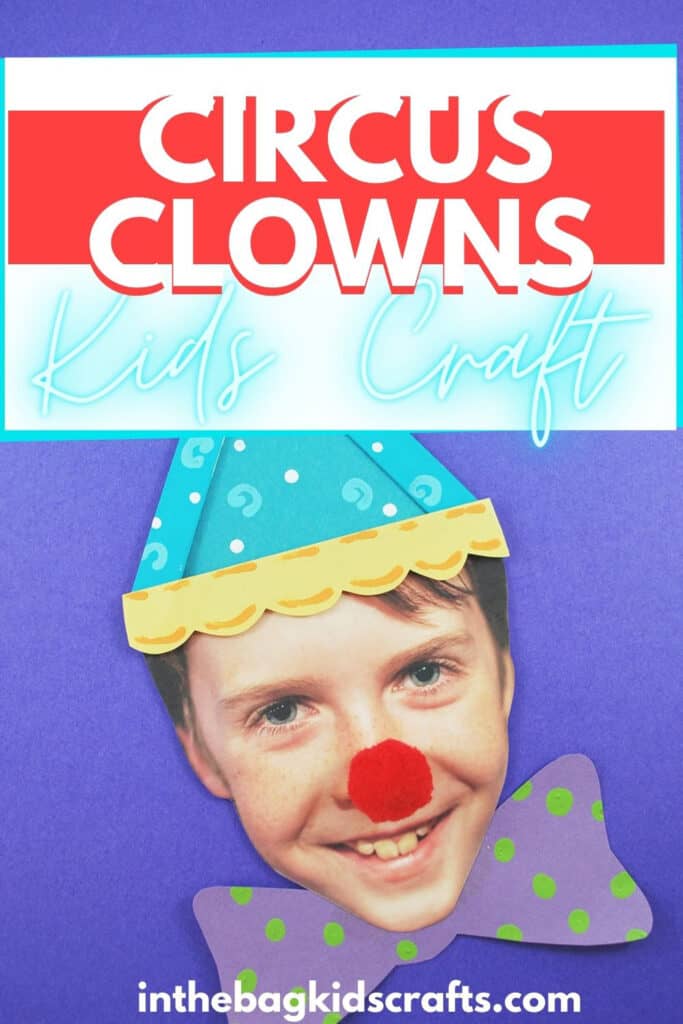
Personalized Clown Craft {Clown Yourself!}
In my experience, clowns are not always a joyful experience for kiddos. But this clown craft will definitely bring more than a smile. It may even bring on the giggles as they see themselves made into a fun circus clown craft before their very eyes, including the big red nose. And you do not need to stick to just making yourself into a clown. We even went a step further and clowned our sweet little kitty too. No pictures are off limits, as you will see. The only limit is your imagination.
Save this Clown Craft for later. Pin it to your favorite Pinterest board…
All activities require adult supervision. By using this site, you are agreeing to our terms of use. This post contains affiliate links, which means if you make a purchase through these links, I may receive a small commission at no extra cost to you. Click here to read my full disclosure policy.
SUPPLIES FROM THE BAG
- 3 Large popsicle sticks
- Elmer’s glue (or Glue Dots)
- Paint (colors of your choice)
- Newspaper
- Medium pompom (for painting)
- Clothespin
- Construction paper
- Glue stick
- Scissors
- Picture enlarged and printed on cardstock (optional)
- Markers
- Red pompom (for the nose)
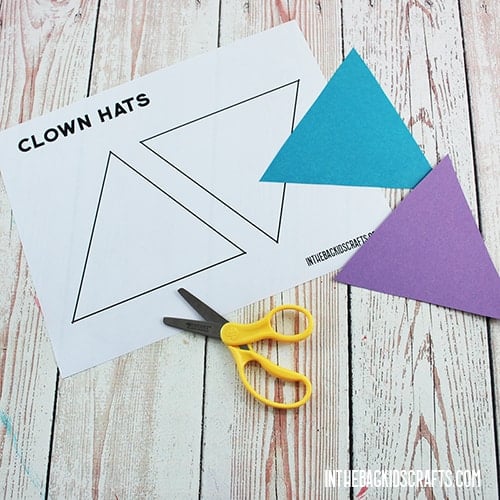
- Hat templates
We believe that it is possible to do more with less. And this approach makes crafting with your kids so much easier (and more fun). Instead of spending hours cutting out cardboard forms for your kids to spend 5 minutes decorating or setting elaborate “invitations to play”, just get out your kids craft bag. If you have filled it using our master list, you are ready to go to make any of the hundreds of crafts on this site. Just pick one from the drop downs and you will be crafting memories together in no time.
Clown Craft Instructions
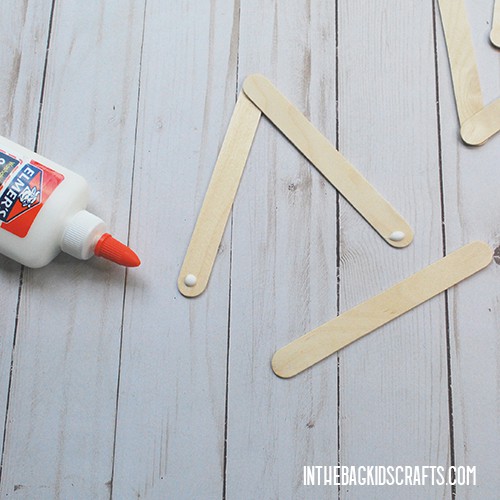
Step 1: Prepare the Triangle Popsicle Stick Frame
- Glue together 3 large popsicle sticks into a triangle shape using your Elmer’s glue.
- Give the glue some time to dry. *You may even want to do this step the day before and let it dry over night. Make several while you are at it so that you can create more triangle crafts.
- OR…if you simply do not want to wait for glue to dry (and who does), you can use glue dots to connect the popsicle sticks instead. There is no wait time with this method.
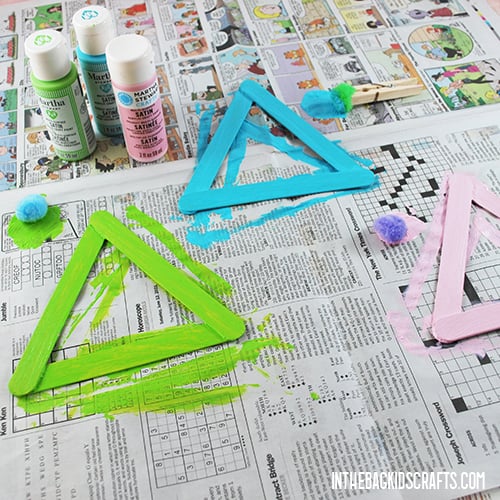
Step 2: Paint the Frame for Your Circus Clown Craft
- Lay out some newspaper on your work surface to control the mess.
- Pinch the pompom with a clothespin to form your “paint brush” and squeeze out a little paint in whatever color you want your clown hat craft to be.
- Then paint the popsicle stick triangle and give it some time to dry while you move on to the next step.
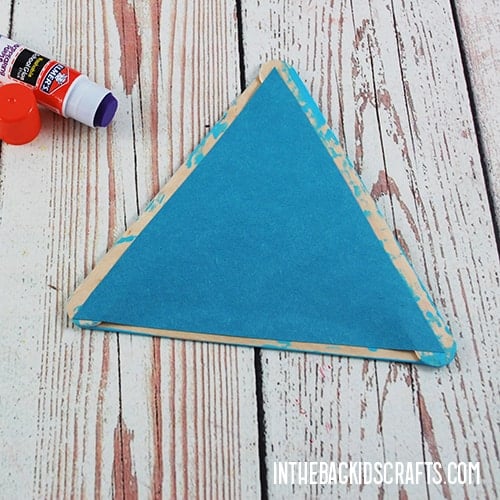
Step 3: Complete the Triangle for Clown Hat Craft
- Cut out a triangle from construction paper in the same color as your paint (or different if that’s what you want…this is your craft so you make the rules).
- We have provided a free clown craft template for this step to make things a little easier.
- Then use your glue stick to attach the cut out paper triangle to the back of the painted frame.
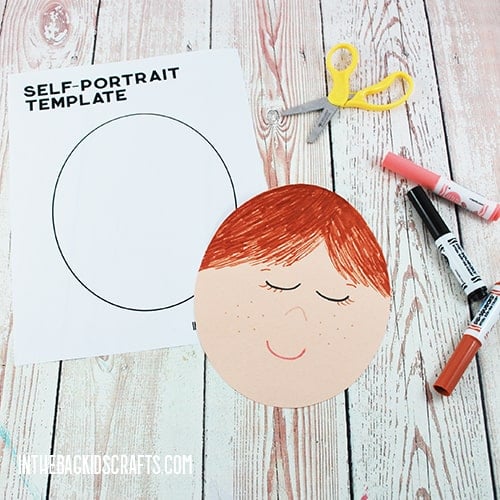
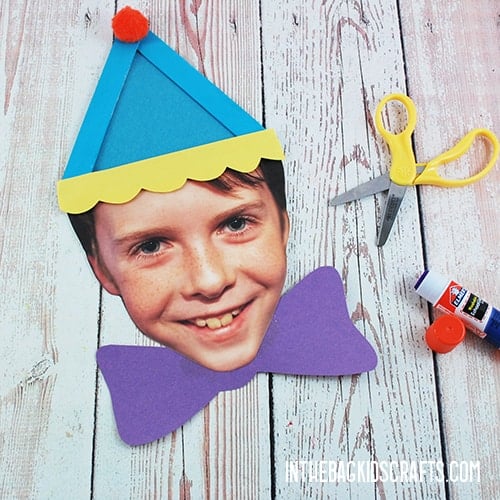
Step 4: Print or Draw
- Choose a photo that you love, preferably one that is a close up face shot.
- Blow it up so that it is about 5 to 6 inches across and print it out on card stock.
- Then cut around the silhouette of the head. OR…

- If you prefer or do not have access to a photo or printer, draw (or use this template) to cut out a large oval shape and draw the clown’s face to go under the hat. Again, it should be about 5 to 6 inches across for the best fit.
*I especially like the drawing option if you are doing this as a preschool clown craft. It is a great way for little ones to also work on visual perceptual skills and facial awareness.
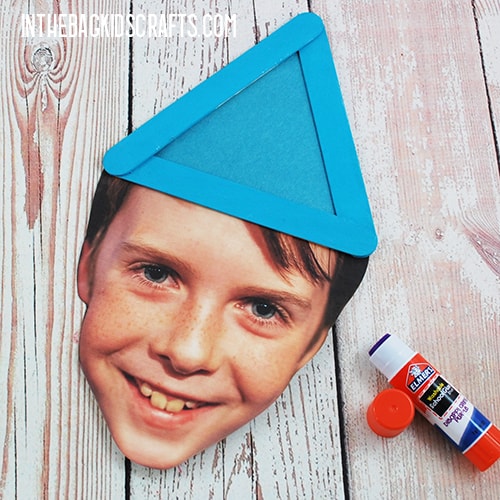
Step 5: Start the Decorating of Your Clown Art and Craft
- Now use your glue stick to attach the hat form to the face that you have cut out.
- Start adding a few details with scraps of construction paper. Just use your imagination.
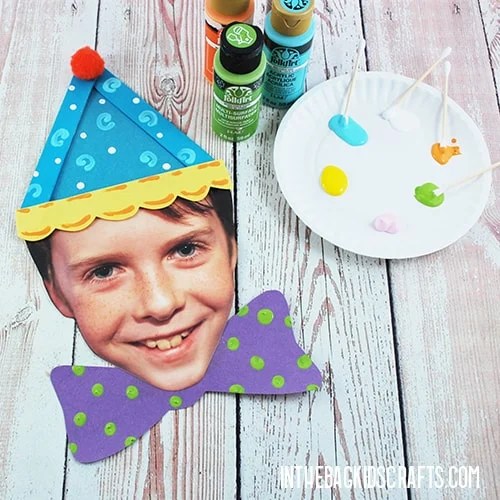
Step 6: Paint on Some Details
- And now bring out a few paints in whatever colors you like and squeeze just a little bit onto a paper plate.
- Use q-tips to add paint details to the clown hat craft however you like.
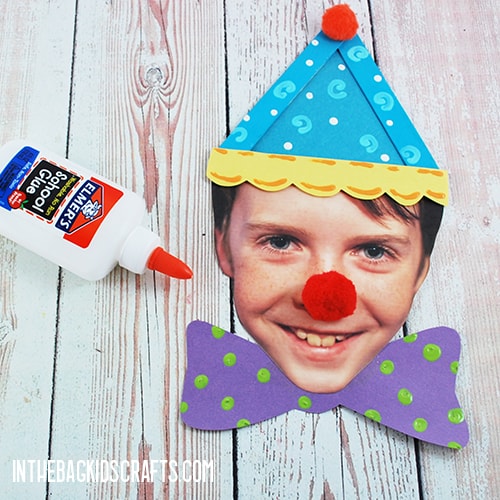
- We also added a pompom to the top of the clown hat for a special little detail. You can attach this with Elmer’s glue (though give it time to dry) or a glue dot.
Step 7: The Finishing Touch to Your Clown Craft
- And finally, every clown needs a red nose. So, add a red pompom and attach it with Elmer’s or a Glue Dot to the clown’s face.
- Give everything a bit to dry before you move your circus craft around too much.
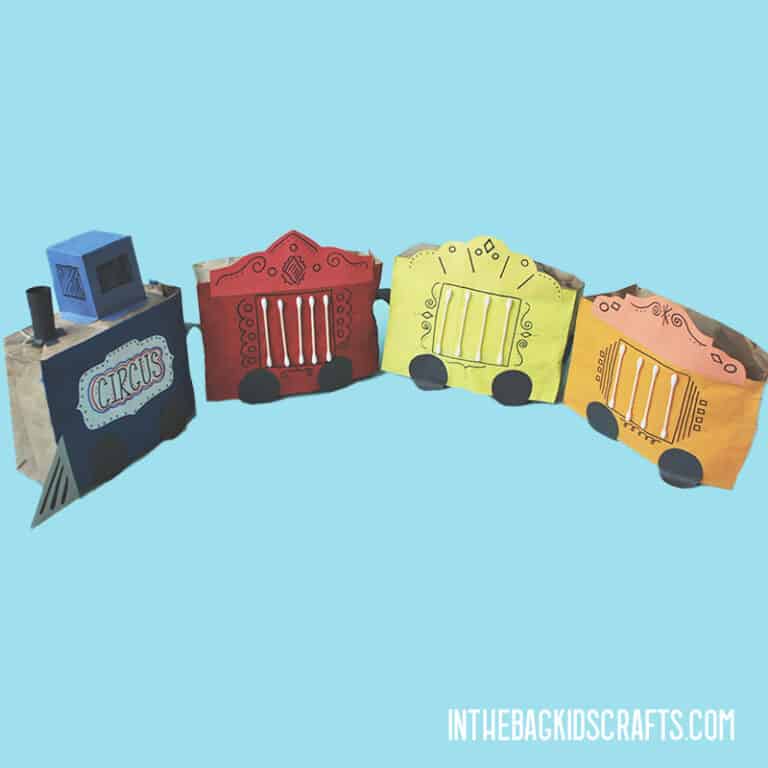
And now that you know how to make a clown craft, maybe you will want to craft an entire circus with flying acrobats to go with them. Drive them from place to place in their circus train. You can also add a popsicle stick handle to these circus crafts to make them into fun puppets. Imagine a story and put on a puppet show.
Save this Circus Art and Craft for later. Pin it to your favorite Pinterest board…