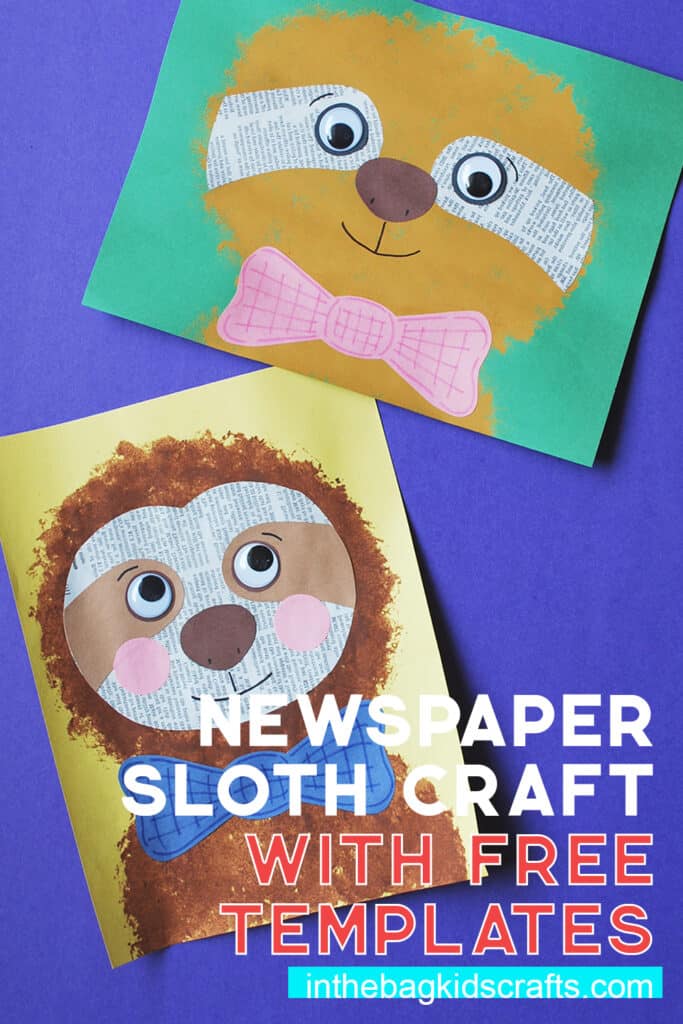
Sloth Craft (with Newspaper Details)
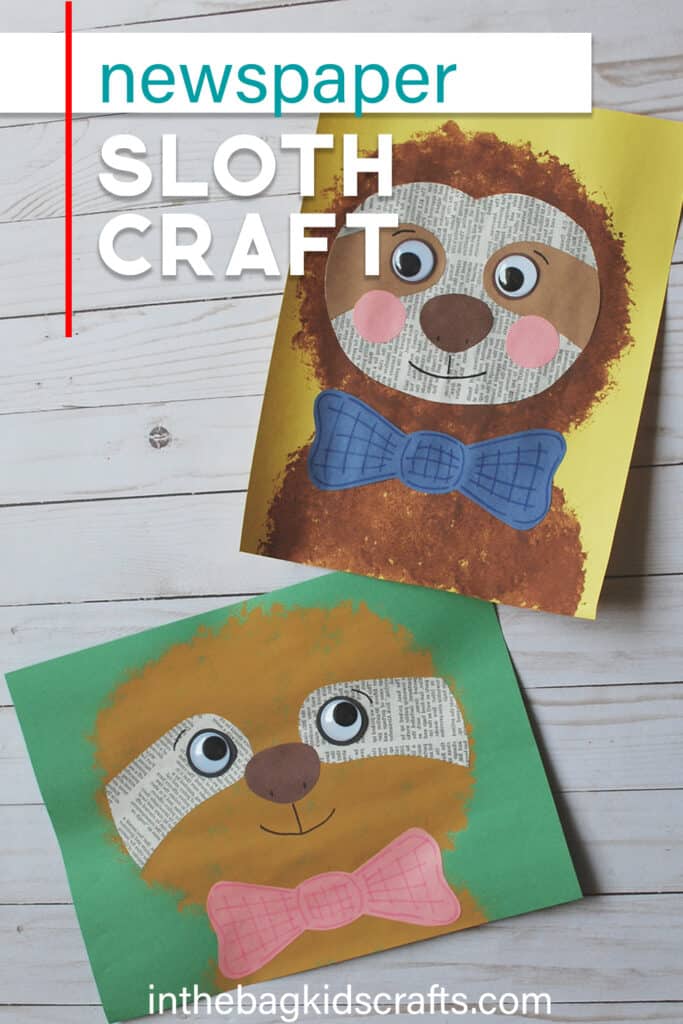
These sloth crafts are so completely adorable and so easy to make. The newspaper details really make them extra special. We are going to go through how to make one of these easy sloth crafts, but the same steps apply to either of the designs. So, choose which one you like best, print the sloth craft template and follow the steps. Then add in your own personality and make it as unique as you are.
Save these DIY Sloth Crafts for later. Pin to your favorite Pinterest board…
All activities require adult supervision. By using this site, you are agreeing to our terms of use. This post contains affiliate links, which means if you make a purchase through these links, I may receive a small commission at no extra cost to you. Click here to read my full disclosure policy.
SUPPLIES FROM THE BAG
- Newspaper
- Construction paper (color of your choice for the background)
- Scraps of brown and black (or other color of your choice)
- Scissors
- Glue stick
- Markers
- 2 Large googly eyes (25mm self-adhesive recommended)
- Brown or tan paint
- Large pompom
- Black Sharpie marker
- Sloth craft template
All of these supplies come from the master list that we use for every single creative project on this site. We’ve carefully curated a list of 27 basic items that we can mix and match into all kinds of crafty goodness…like when you create a capsule wardrobe that you can wear over and over again, making tons of different outfits. Browse around and check out all of the kids’ crafts that we have made so far…with so many more to come!
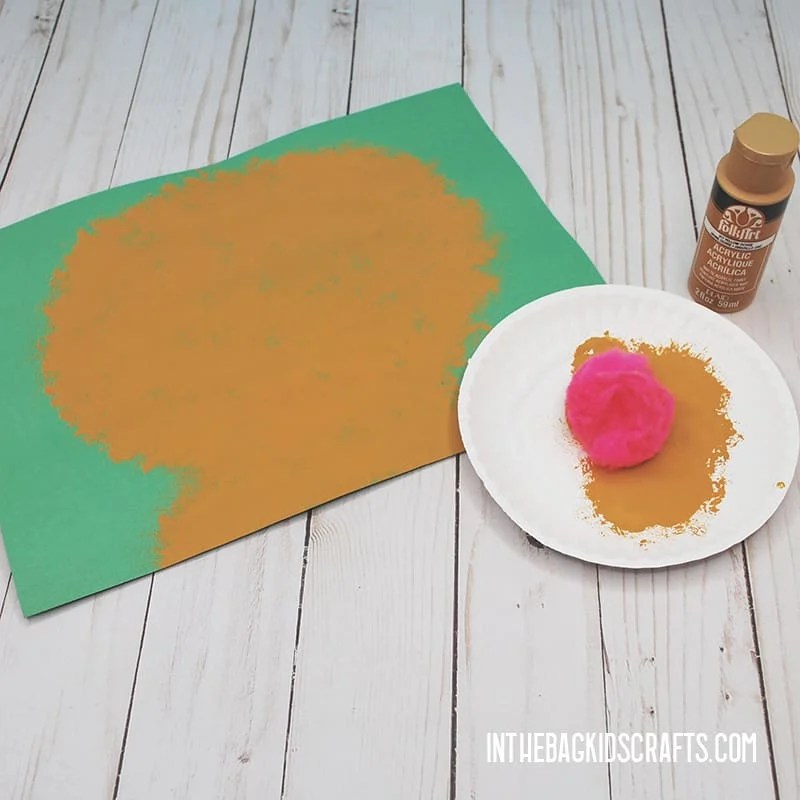
Step 1: Paint the Sloth Craft
- Lay out some newspaper on your work surface.
- Then place the piece of construction paper on top of the newspaper.
- Squeeze a little bit of brown or tan paint onto the newspaper.
- Use your pompom to tape paint a large oval for the sloth’s head and then a triangle below for the body of the sloth.
Step 2: Use the Sloth Craft Template
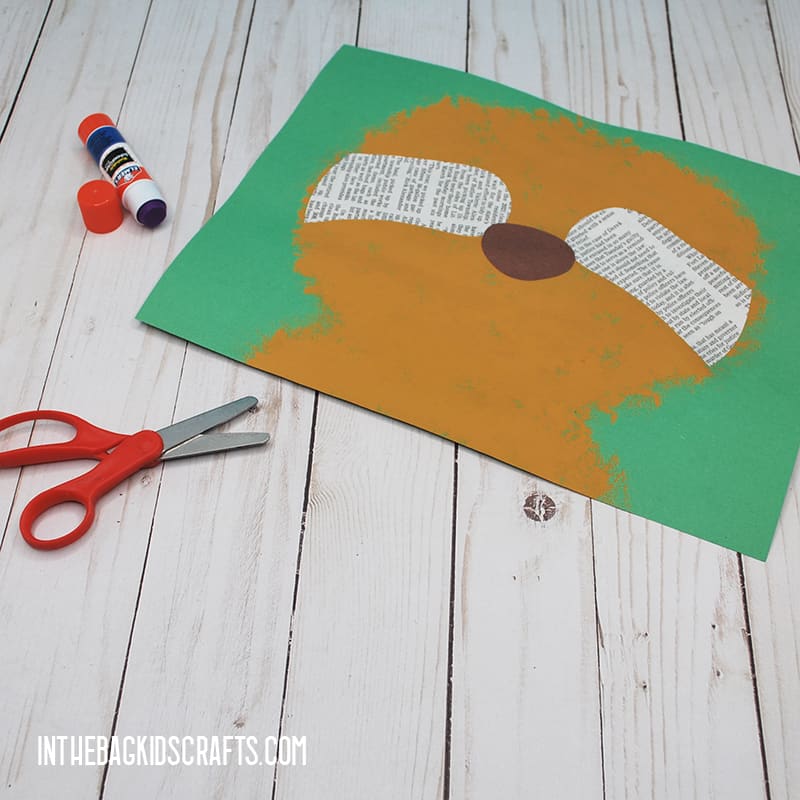
- Print the sloth craft template to use to cut out the parts of your craft.
- Using the template, cut out the the area that will go around your sloth’s eyes out of newspaper.
- Then glue it in place.
- Next, cut the sloth craft nose out of a scrap of brown construction paper, also using the template.
- Finally, use the glue stick to put it in place right in the center.
You may have noticed that there are actually 2 versions of this easy sloth craft. That means that there are also 2 printable templates.
Step 3: Put the Eyes in Place
- Stick the 2 large googly eyes each onto a scrap of black construction paper and cut out around it, leaving a black border around the eye.
- Now use the glue stick to put the sloth craft eyes in place.
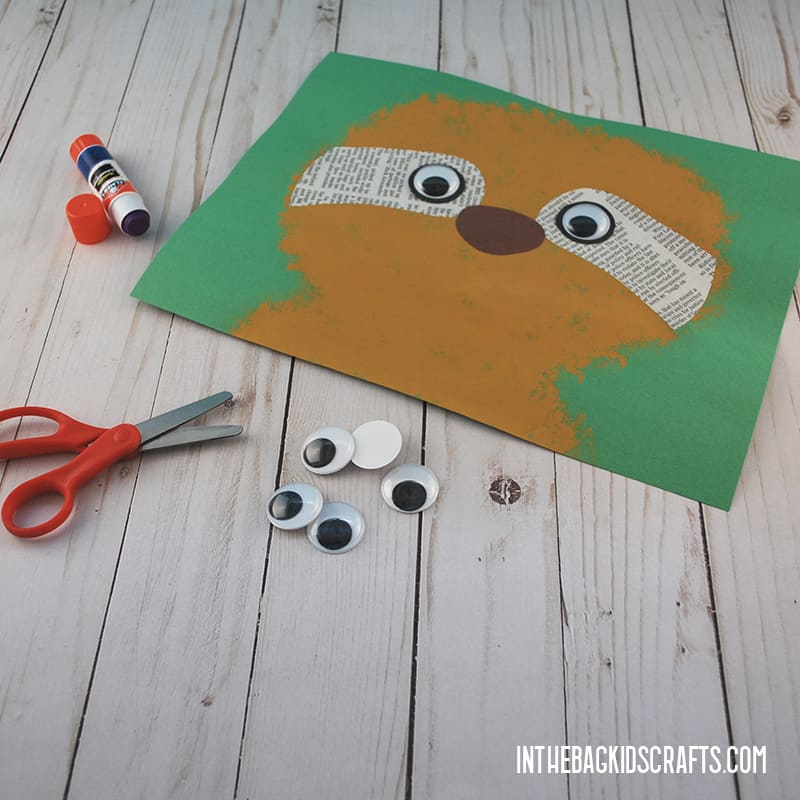
Step 4: Add More Details to Your Newspaper Craft
- Use the black Sharpie marker to give your sloth a smile and any other details that you would like to add.
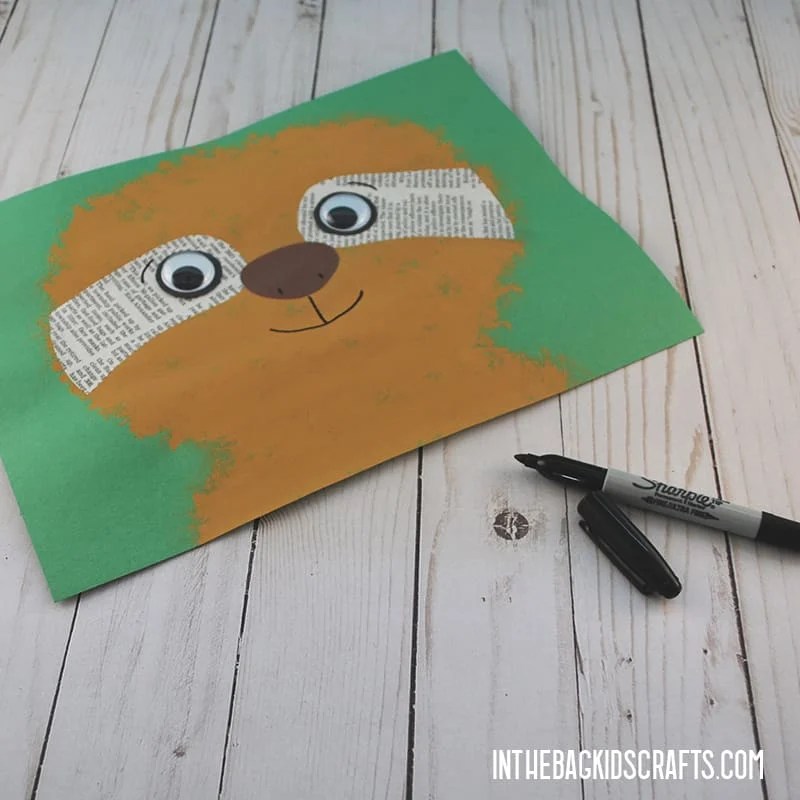
Step 5: Give Your Easy Sloth Craft a Bowtie
- For our final step, let’s give our sloth a little bit of personality by adding a bowtie
- Use the template as a guide to cut out a bow tie.
- Then add a little detail to the bowtie using your markers and glue it in place.
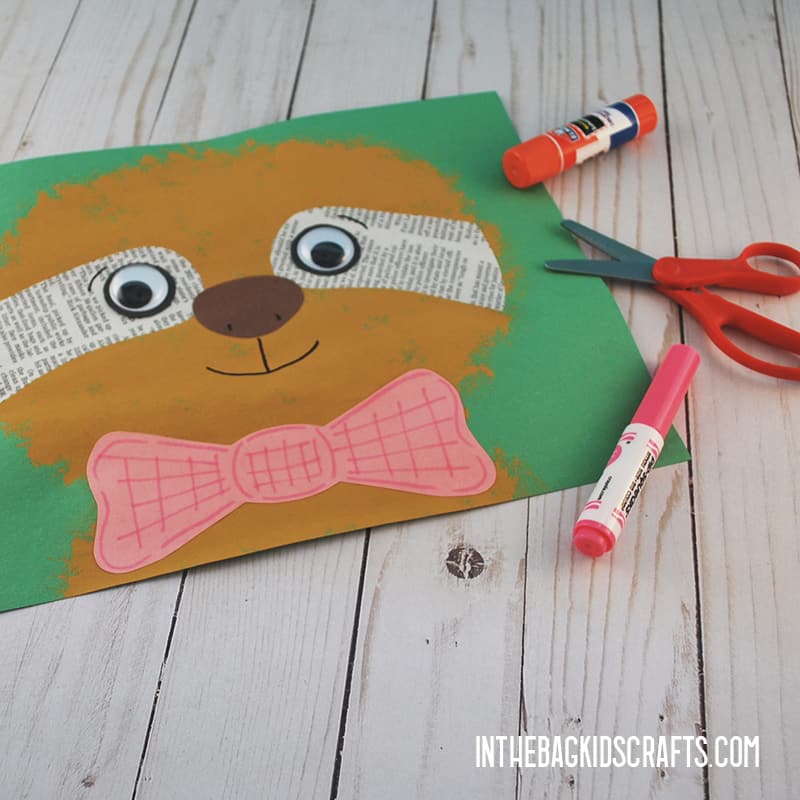
Now that you know how to make a sloth craft, it’s time to make it your own. We gave ours a bowtie, but you can do whatever you want to put your own spin on it. Change up the colors, add more details and accessories, write a message on the picture…do whatever you want to make it your own. This is your craft, and there is no wrong way to create. The only limit is your imagination.
Save these Animal Crafts for later. Pin it to your favorite Pinterest board…
