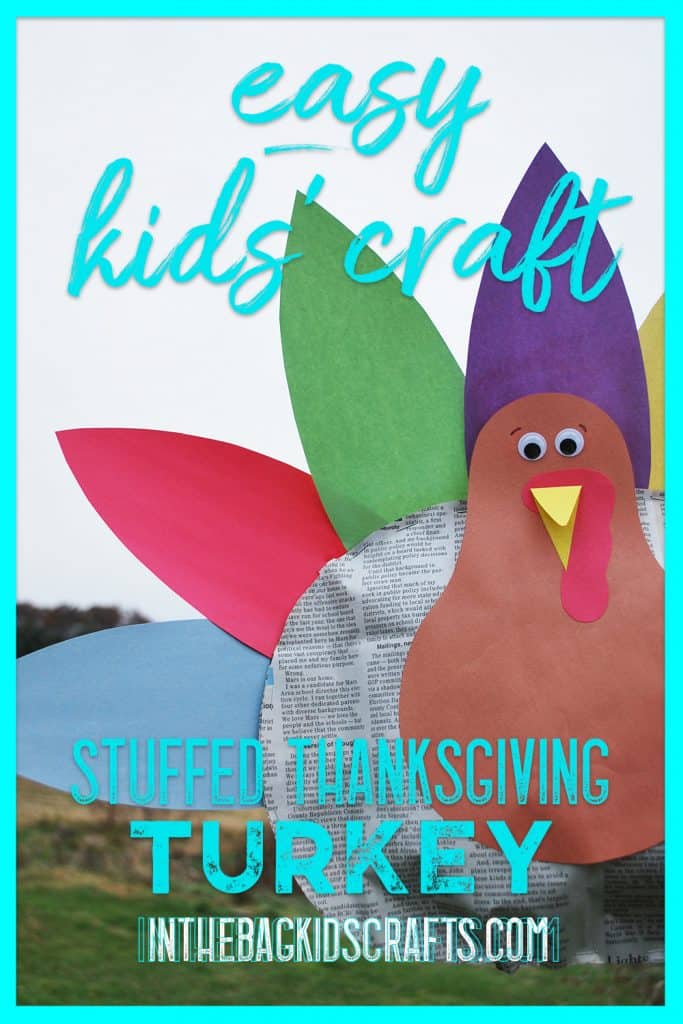
Stuffed Thanksgiving Turkey Kids’ Craft
“It’s the Most Wonderful Time of the Year…” Well, in my opinion that song was written for the wrong holiday. Because I absolutely LOVE Thanksgiving. I know that as a craft blogger, I am supposed to be moving on to Christmas ideas (and I promise there are LOTS on the way) but I just wanted to get one more fun Fall craft in before moving on. So, please enjoy this Thanksgiving Turkey Kids’ Craft. You will be happy that you took this time to create with your children.
This post contains affiliate links, which means if you make a purchase through these links, I may receive a small commission at no extra cost to you. Click here to read my full disclosure policy.
SUPPLIES FROM THE BAG
- Newspaper
- Scissors
- Stapler with staples
- Construction paper: brown + 7 other colors (for feathers)
- Scraps of yellow and red construction paper
- 2 large googly eyes
- Glue stick
It is my mission to help every family create together. But I know that it can be a challenge…so much time, effort and mess involved…I get it! So, I have developed a system to simplify the process of crafting with your kids. Instead of prepping every project that you want to do, one at a time, you will prep just once to be ready to make every…single…craft…on this blog! Seriously, it is that simple. To find out what to put in your bag so that you are ready to jump into creating hands-on projects with your kids, sign up for the basic shopping lost and fill up your craft bag.
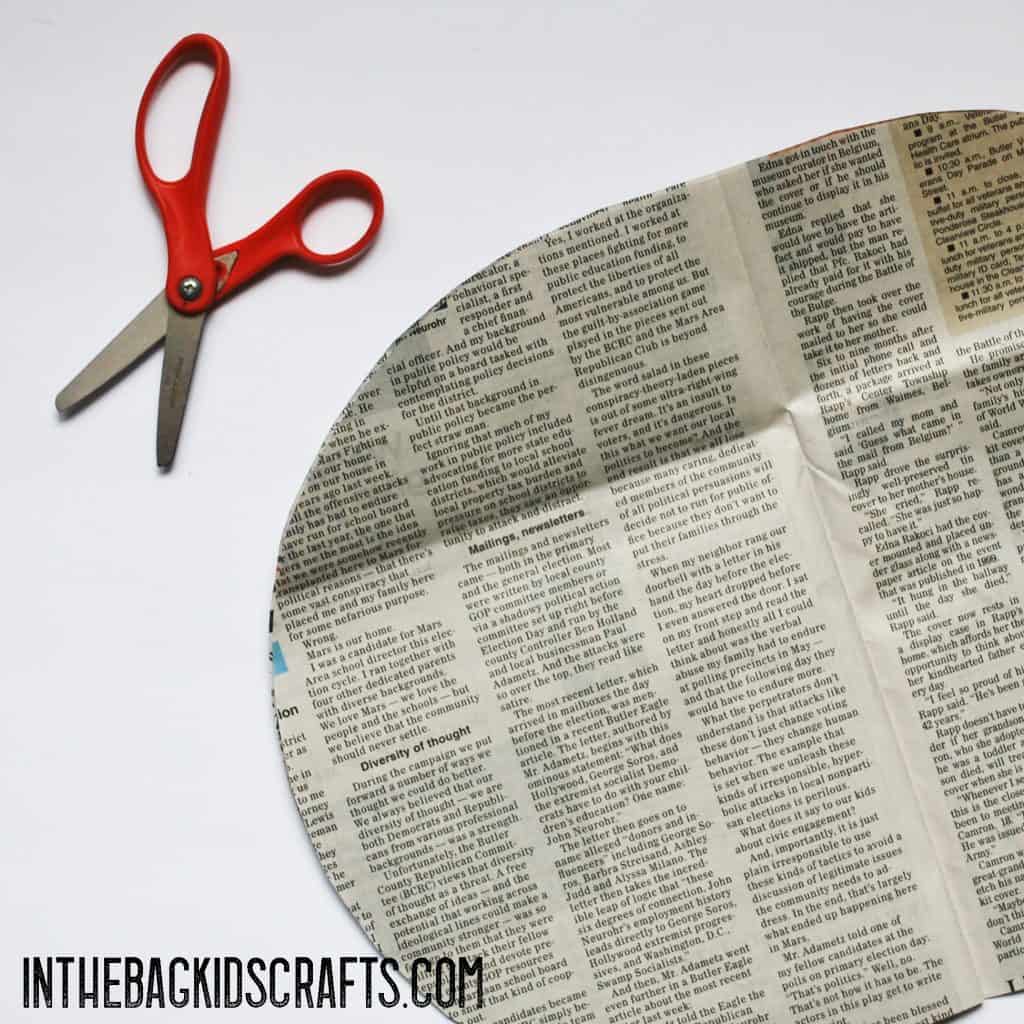
Step 1
- Layer 2 pieces of the newspaper
- Cut a large circle/oval, approximately 14-16 inches across, for the body of the turkey
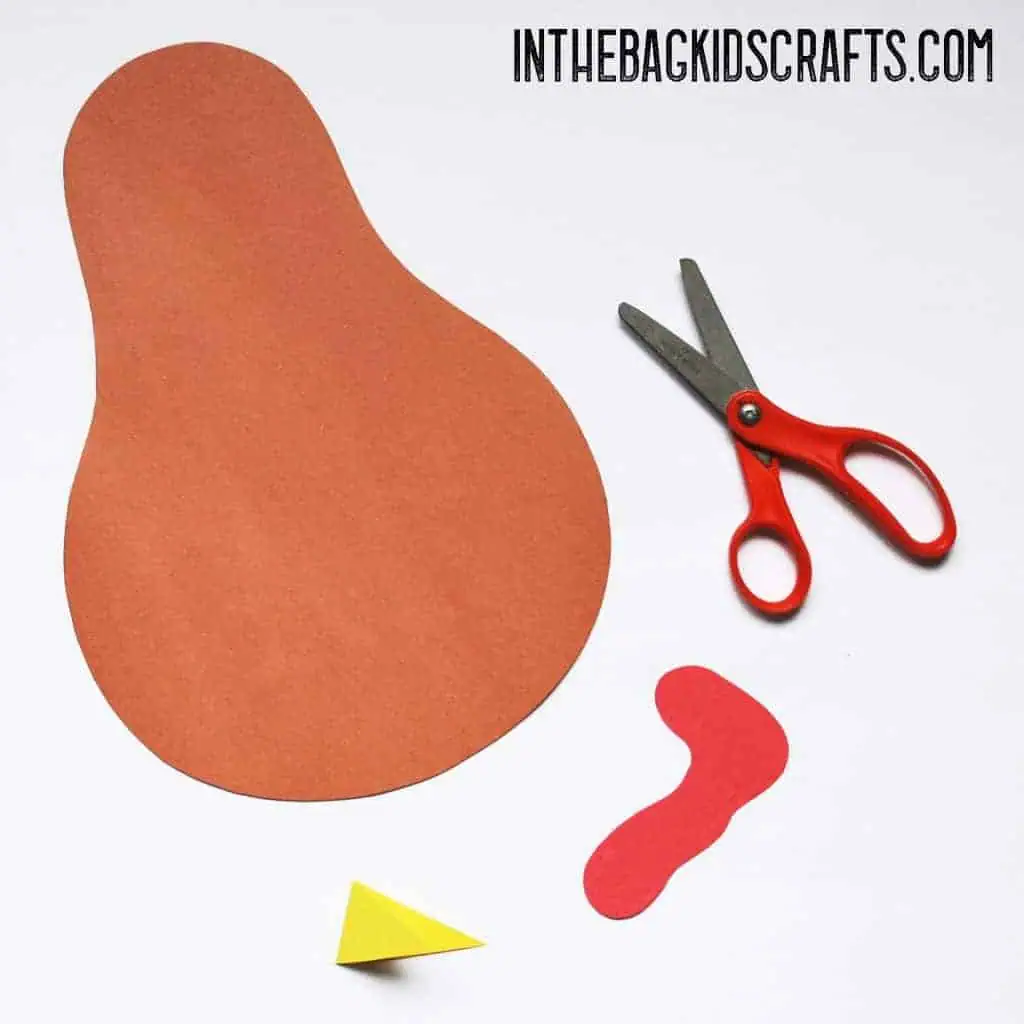
Step 2
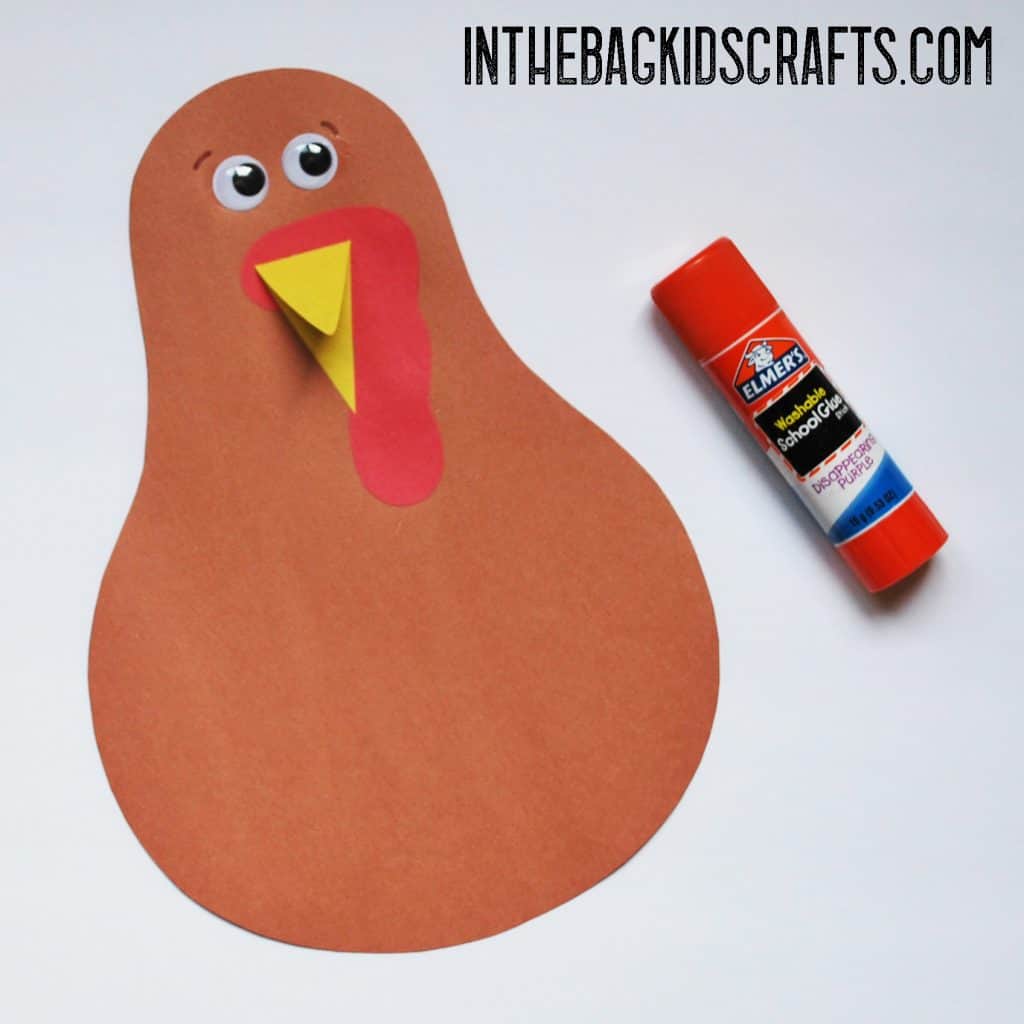
- Print the templates and trace the body of the turkey onto brown construction paper (you can also draw it free-hand if you choose)
- Use the templates for the wattle and beak and cut the pieces out (yellow for the beak and red for the wattle). *Remember to place the top of the beak on a fold so that the mouth opens.
Step 3
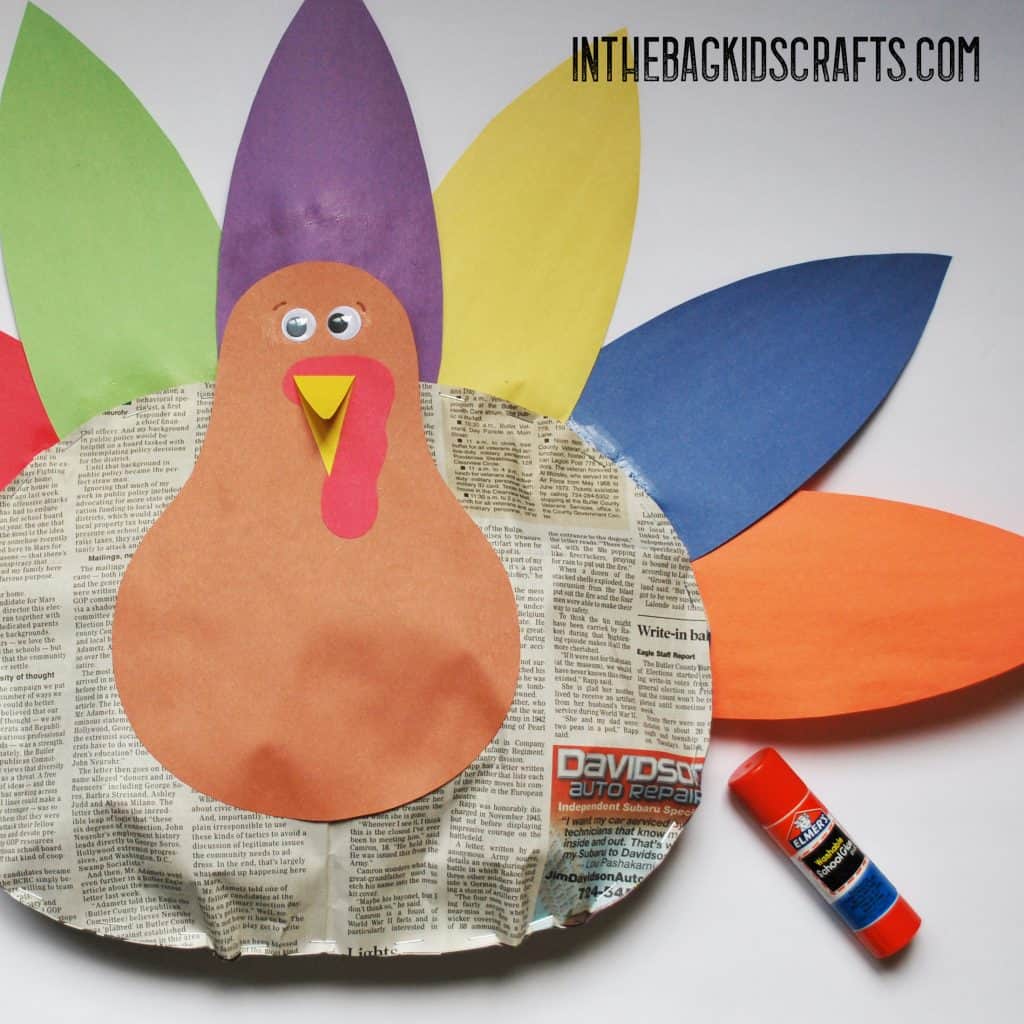
- Using the template, trace and cut out 7 feathers, each using a different color of construction paper

As you work with you kiddo, crafting side by side, it is important to give positive feedback. You want your child to feel like they are successful and accomplishing something in order to encourage them to do this activity again and again. But what is the best way to say “good job”? I am glad you asked…
Step 4
- Put the pieces of the turkey’s face on his body and glue into place
Step 5
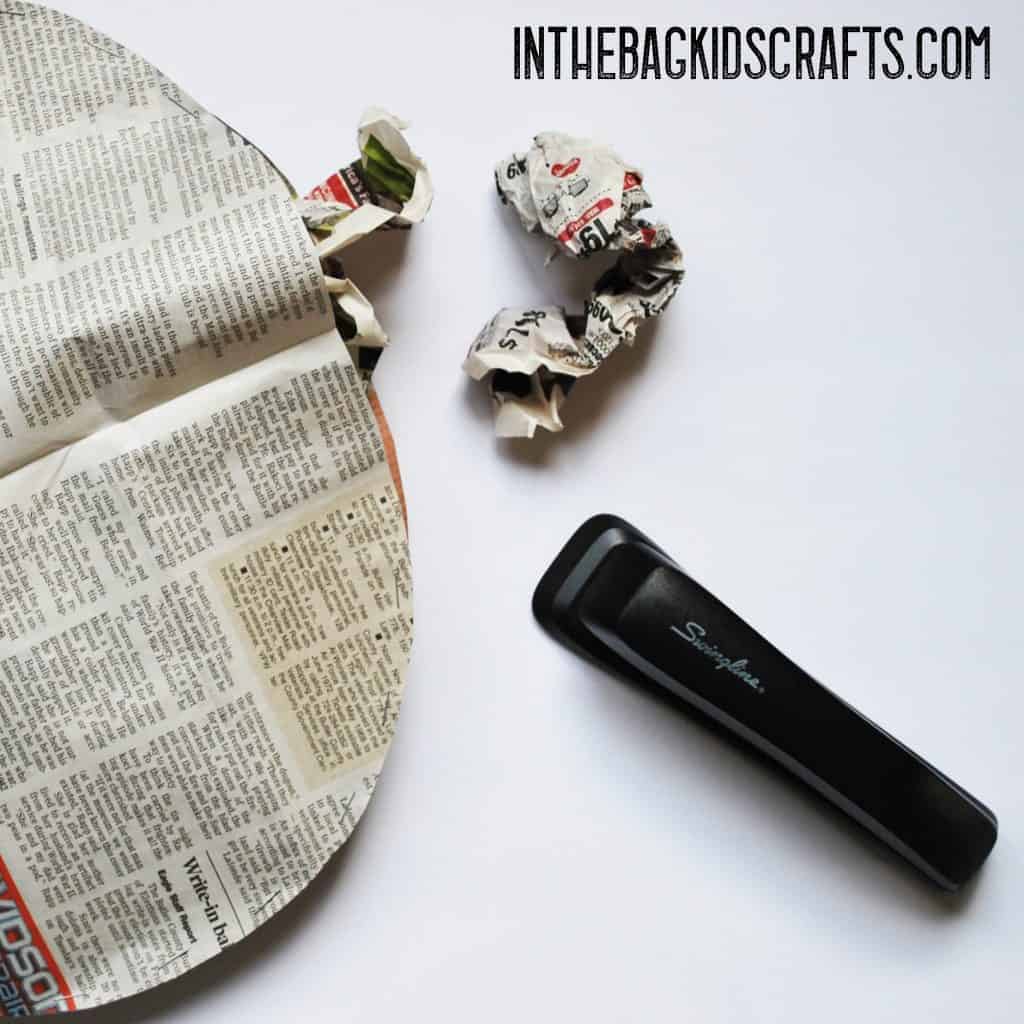
- Staple around the outside edge of the turkey’s newspaper body, leaving a space big enough to stuff it with newspaper
- Tear more strips of newspaper and crumple them up. Place them in the opening of the body one at a time until the body is stuffed (but not too much).
- Staple the opening shut.

If you have little ones and find yourself helping with most steps of this craft, that is ok. But let them do this step on their own. Tearing paper and crumpling it into balls may seem like nothing, but by doing this your kiddo is actually learning to work his/her hands together. Coordinating our upper body is vital to just about everything you will do in life. So, hold back and let them go crazy just tear, crumpling and stuffing their turkey. This is my favorite part of this craft 🙂
Step 6
- First, glue the feathers into place on the back of the turkey’s body.
- Then, adhere the body onto the front using the glue stick
- Last, put it in a place to enjoy it for the Thanksgiving holiday!
Like this craft? Share it with your friends! Pin it to your favorite Pinterest board…