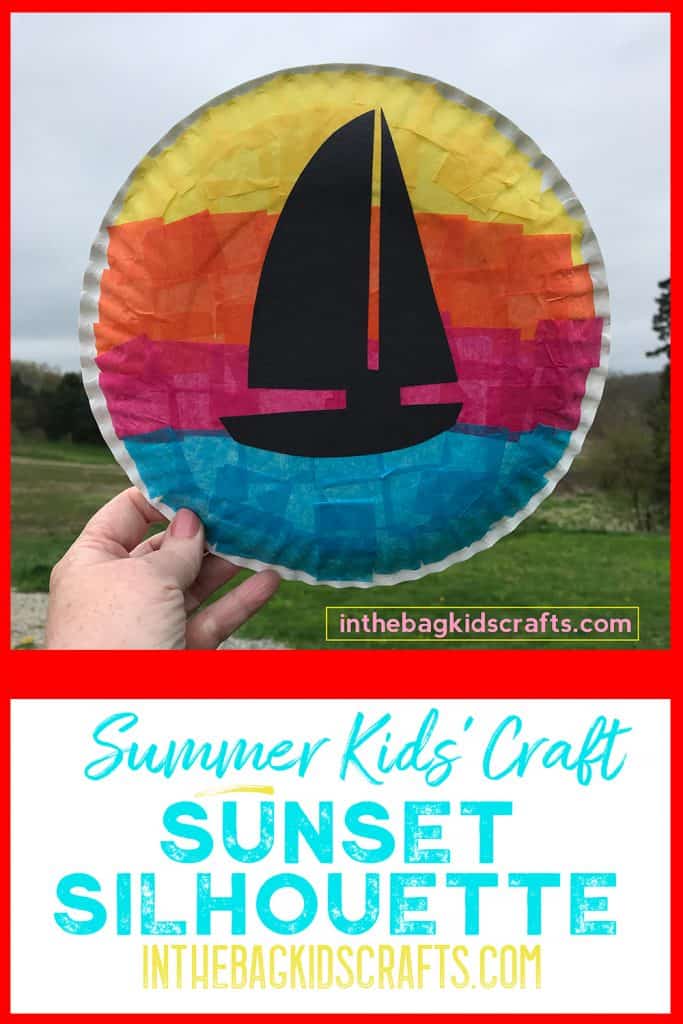
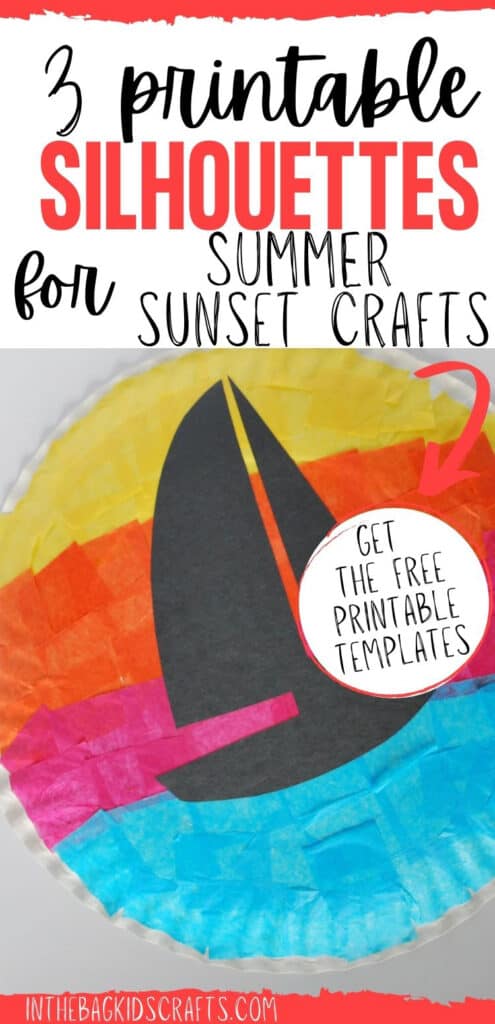
Sunset Crafts {with FREE Printable Silhouettes}
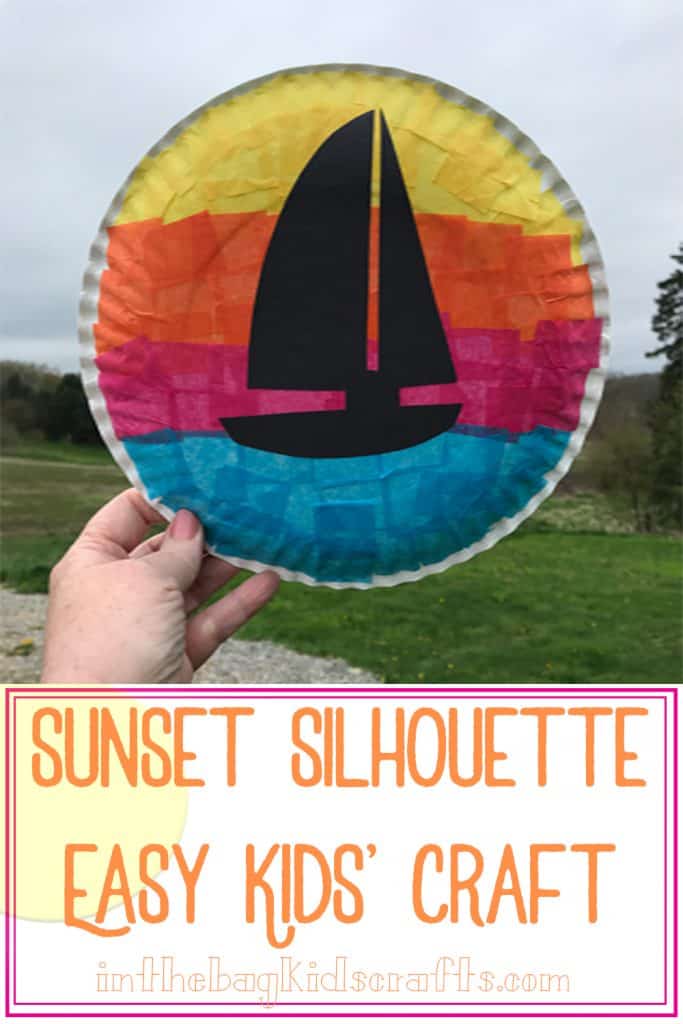
One of the most serene experiences I’ve ever had was sitting on the beach during while the sun was setting and seeing dolphins jumping in the water in front of us. These sunset crafts help you experience these beautiful moments using just a few basic craft supplies. Get out the tissue paper squares and create a beautiful backdrop. Then just pick one of our free printable summer silhouettes, cut it out and add it to your beautiful beach craft.
Save this Paper Plate Summer Craft for later. Pin it to your favorite Pinterest board…
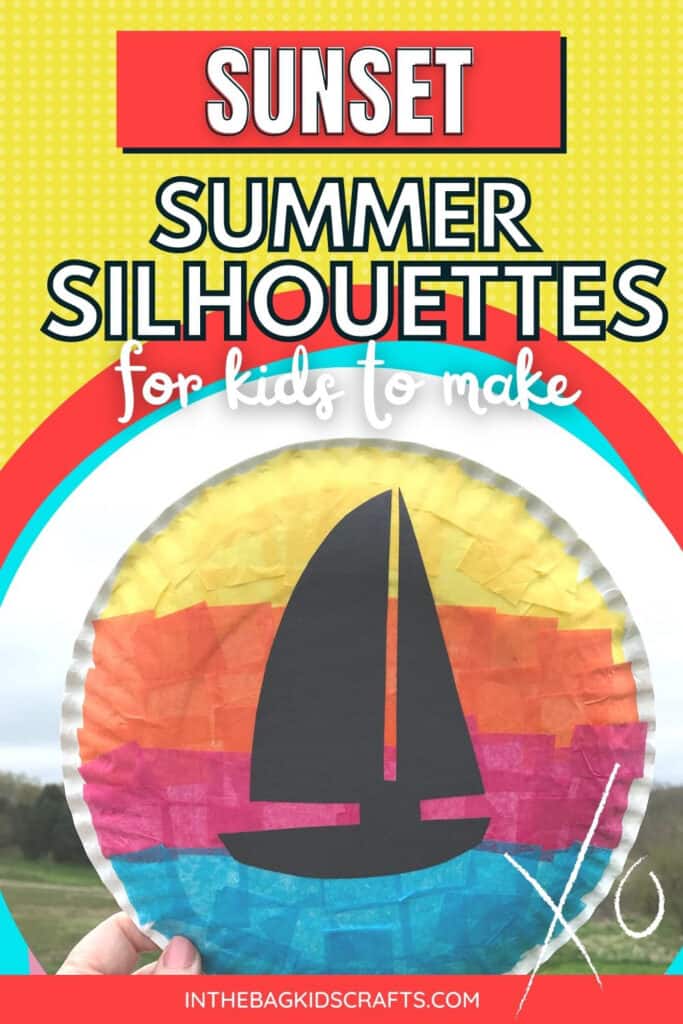
SUPPLIES FROM YOUR BAG
- Paper plate
- Blue, pink, orange and yellow tissue paper squares
- Glue stick
- Black construction paper
- Scissors
- Black Sharpie marker
- Printable silhouette
If you haven’t filled your bag yet, check out the “fill your bag” page. Print the FREE supply list or follow the Amazon links to get all of the craft supplies you need to make every single craft on this site! Prep once, and then create with your family for hours, any time, anywhere, with no additional preparation needed! We never stray from this list for every single creative project that we make on this site (and in our kids’ crafts ebooks) so that you are never missing an ingredient when you sit down to craft together.
SUNSET CRAFTS INSTRUCTIONS
STEP 1: Create the Sunset
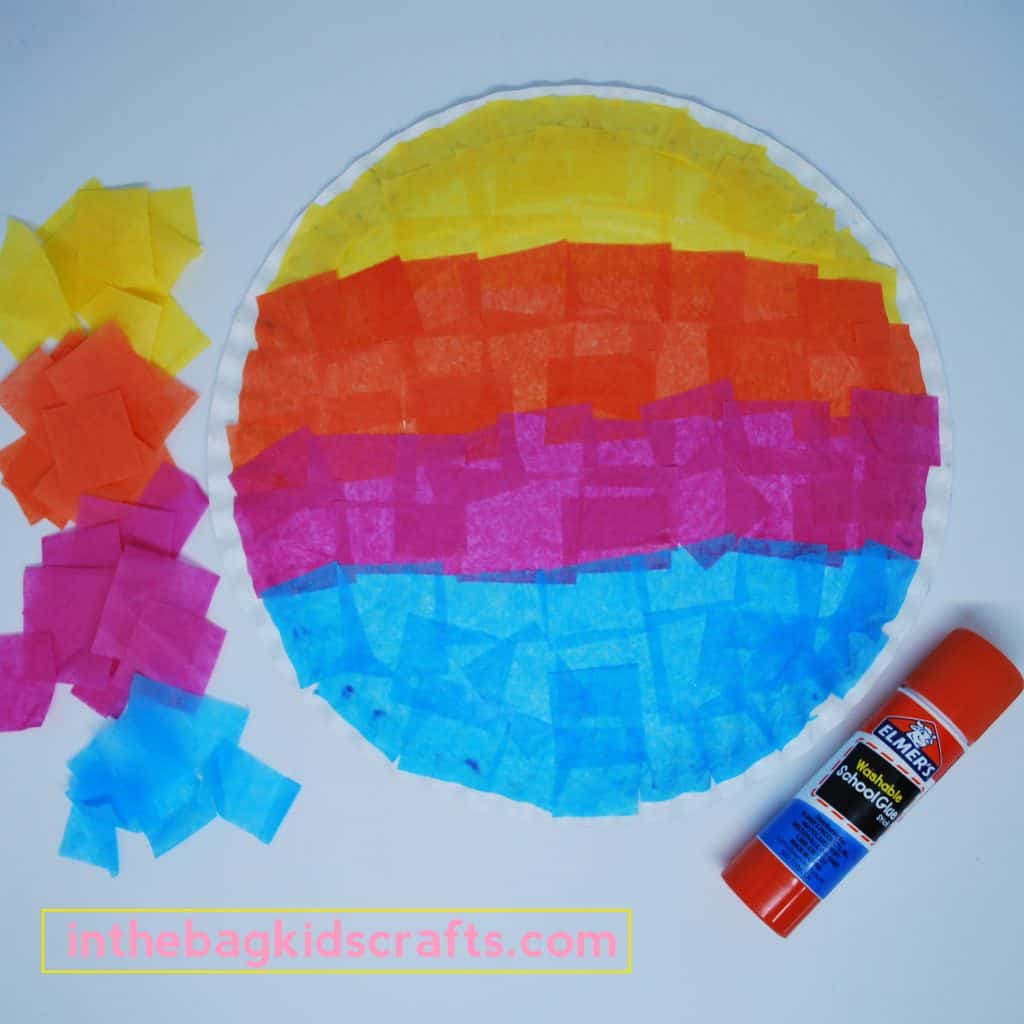
- Get out the tissue paper squares and begin with gluing a section of blue to the bottom of your paper plate (I used the back of the plate).
- Then add strips of orange, pink, red, yellow…whatever sunset colors you want to use.
- The colors should overlap slightly as a sunset does not have harsh lines, but rather blends together.
STEP 2: Use the FREE Printable Craft Template
- Print out the free printable sunset crafts silhouettes and choose the one you would like to use (sailboat, dolphin or whale tail)
- Use the template to cut the silhouette out of black construction paper. *If this is going to be an easy summer craft for preschoolers, you may want to precut the silhouette or choose the whale tail which is a little easier to cut out.
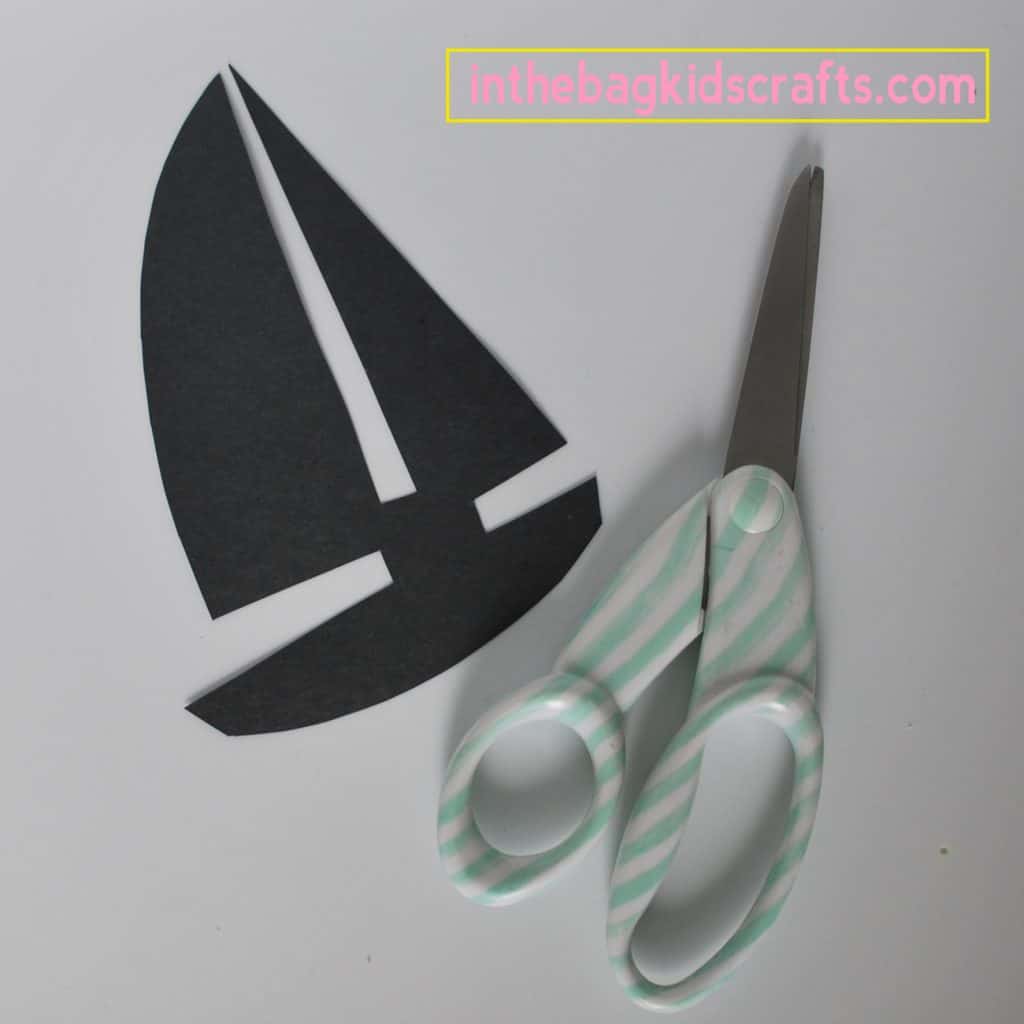
STEP 3: Put Together Your Beach Craft
- Use the glue stick to adhere the silhouette in place. That’s it 🙂 You did it…beautiful!

This is the perfect craft for practicing the skill of crossing midline. What is crossing midline? Glad you asked…Imagine that there is an invisible line going vertical down the center of the body. On one side is your right and the other your left. When one side of the body moves across that middle line into the space of the other side, that is crossing midline.
Most adults use this skill every day without even thinking about it. For example, if you are right handed, you likely reach across the dinner table to retrieve the salt using your right hand regardless of where it is, even if it is on your left side. When we read our, eyes cross midline, and when we write our hands cross midline. Many little ones, and even some elementary aged kids, have not yet developed this skill.
Children who have difficulty with this skill may struggle with tasks such as reading and writing, in addition to throwing a ball, cutting with scissors, tying shoes, zipping a jacket, and a whole host of other activities. Crossing midline has also been found to be linked to proper letter orientation. When I get an OT call from a teacher asking me to look at a student who has lots of letter reversals, the first thing I check out is if they are crossing midline spontaneously and consistently.
An easy and effective way to practice this skill is to set daily activities up so that items are placed opposite of the child’s preferred hand (If they have not yet established a strong hand dominance choose the hand that seems to be most coordinated or take turns until you find that they are preferring one over the other.)
For example, if a kiddo loves to snack on gold fish crackers, don’t place them in the center of the tray, but rather off to his/her left while he/she uses the right hand to reach over to retrieve the crackers. You will likely need to remind the child verbally or with gentle touch to use the right hand, as he/she will want to reach with the hand that is closest, even if that means transitioning the food into the other hand before it goes into the mouth.
For this craft, place small piles of the tissue paper squares opposite the kiddo’s dominant hand so that he/she is reaching across the body to retrieve them. Encourage your child to only retrieve one square at a time and to use a pinch to pick them up (also working on fine motor coordination here…2 for 1…yay!) Crossing midline is such an important and foundational skill. I think that you will find that once this is mastered, lots of other skills that have been lagging behind will begin to fall in place.
If you’d like to learn more about crossing midline you can check out this article at “The Inspired Tree House”
Now that you know how to make these sunset crafts, make more! Change up the sunset. Create your own summer silhouettes. Maybe you can even use an actual picture of your family at the beach instead of using our printable silhouettes. This is your craft. Make your own. The only limit is your imagination.
Happy Crafting!
XOXO Joy
If you enjoyed making these Easy Summer Crafts, share to your favorite Pinterest board!
