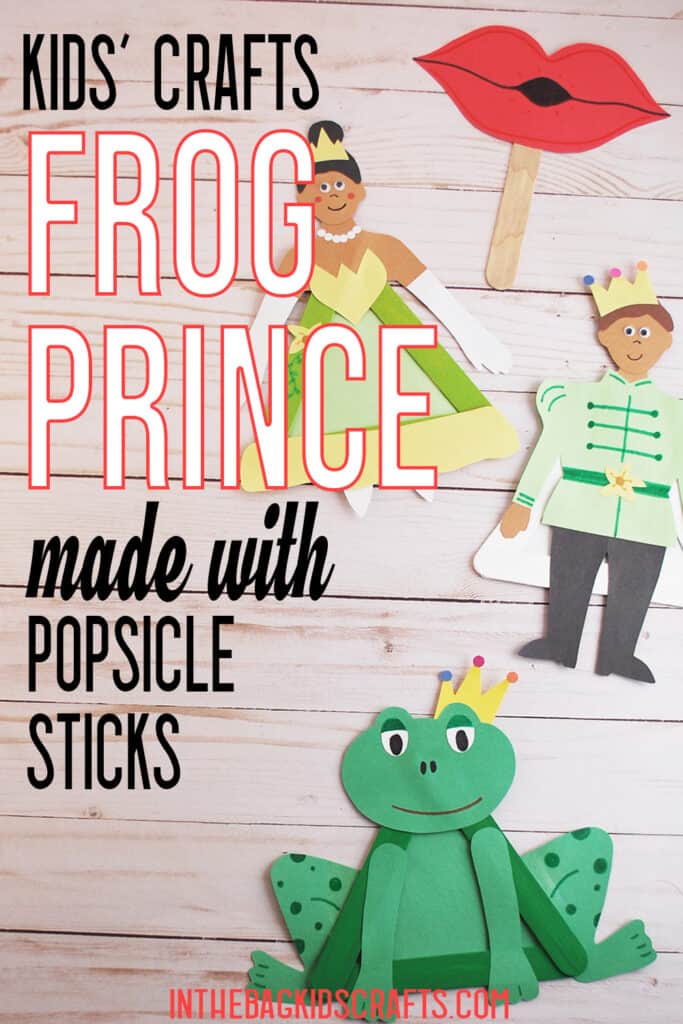
The Princess and the Frog Crafts for Kids
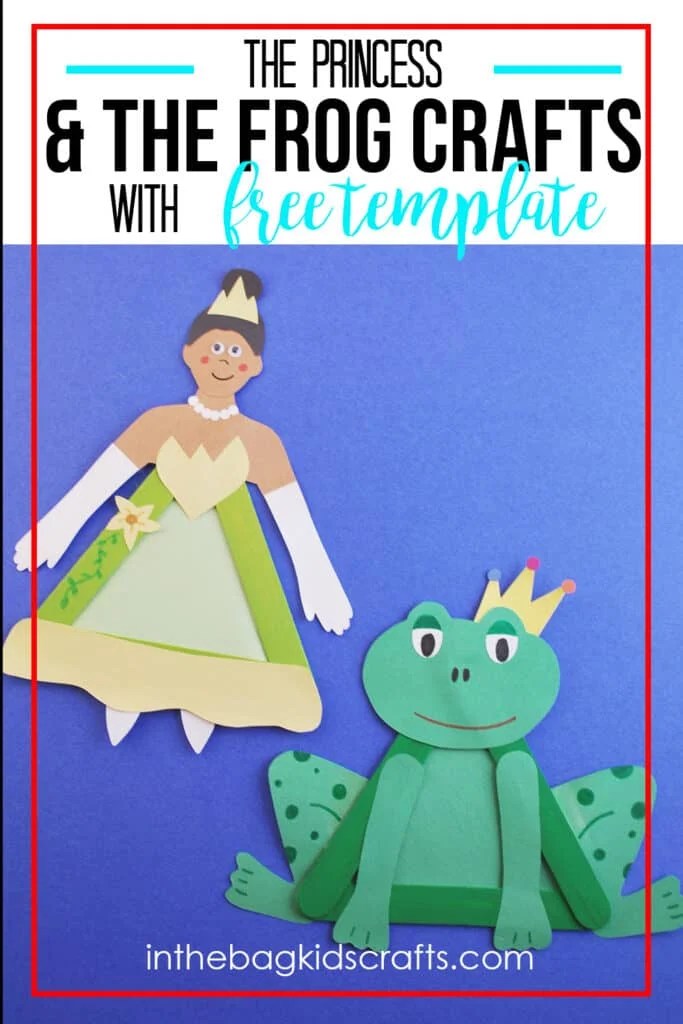
The Princess and the Frog story is beautiful, full of hope and love and magic and so much more. It’s both a classic and timeless fairy tale and a story that has been retold in modern day as a Disney fairy tale. Our collection will include the princess, the prince, a frog (which you can replicate to be a boy or a girl frog…more on that later) and a pair of kissy lips. Because kissing a frog is fundamental to the plot of this fairy tale.
Save this fairy tale craft for later. Pin it to your favorite Pinterest board…
This post contains affiliate links, which means if you make a purchase through these links, I may receive a small commission at no extra cost to you. Click here to read my full disclosure policy.
Craft #1: The Frog Prince
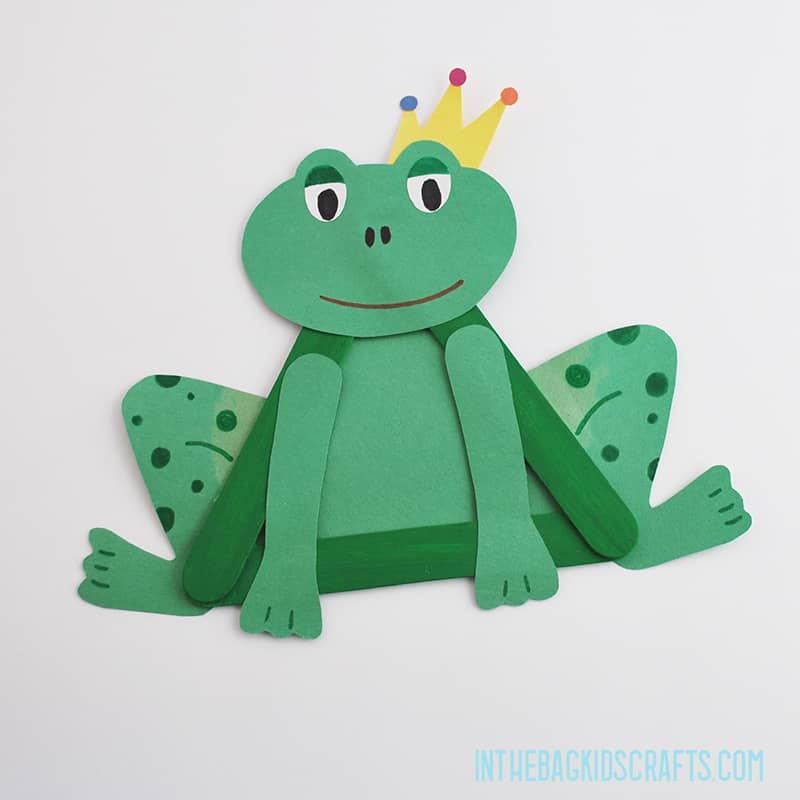
The frog craft is my favorite of the Princess and the frog characters. I mean what is this fairy tale without the frog?…Nothing.
Now, I realize that the most recent Disney version of of the Princess and the Frog story have both characters turn into frogs for a large part of the story. If you would like to follow that story line, just use this same template to make both a prince and princess frog. You can change up the colors slightly, maybe use a little yellow or light green for your princess or add some accessories (like a necklace for the girl).
SUPPLIES FROM THE BAG
- 3 Large popsicle sticks
- Elmer’s glue
- Green construction paper
- Scrap of yellow and white construction paper
- Scissors
- Markers
- Black Sharpie marker
- Glue stick
- Newspaper
- Pompom
- Clothespin
- Green paint
- Fairy Tale Template
Step 1: Make the Triangle
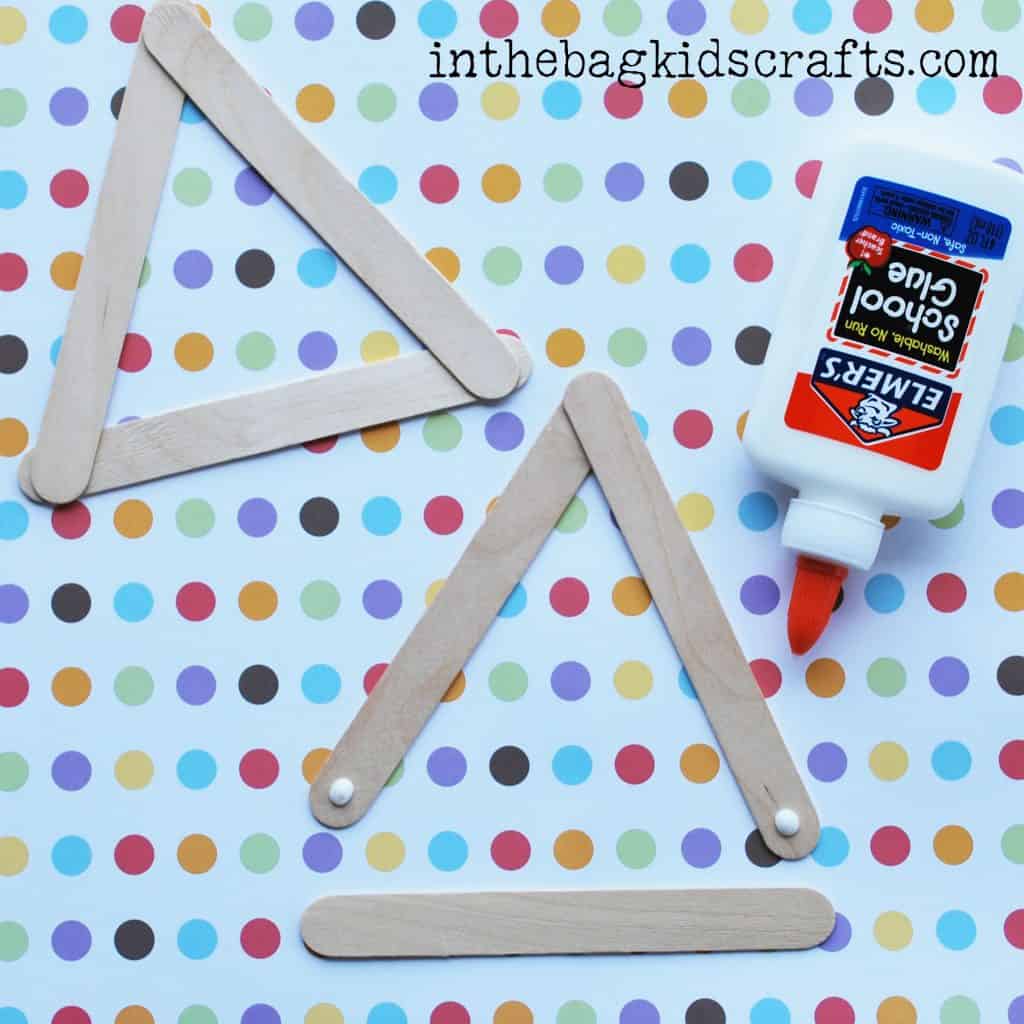
- Use the Elmer’s glue to attach 3 large popsicle sticks, forming a triangle frame
- Set the triangle to the side and allow the glue to dry thoroughly
*This is a step that you may want to do the day before and let them sit overnight so that the glue dries completely. While you are at it, make lots of triangle frames so that you are ready to make as many crafts as you want! (And, believe me, you are going to want to make them all and then some!)
Step 2: Paint
- Place the triangle frame on the newspaper and squeeze out some green paint
- Pinch the pompom with the clothespin to form a “paint brush”
- Paint the triangle frame green and set it aside to allow the paint to dry
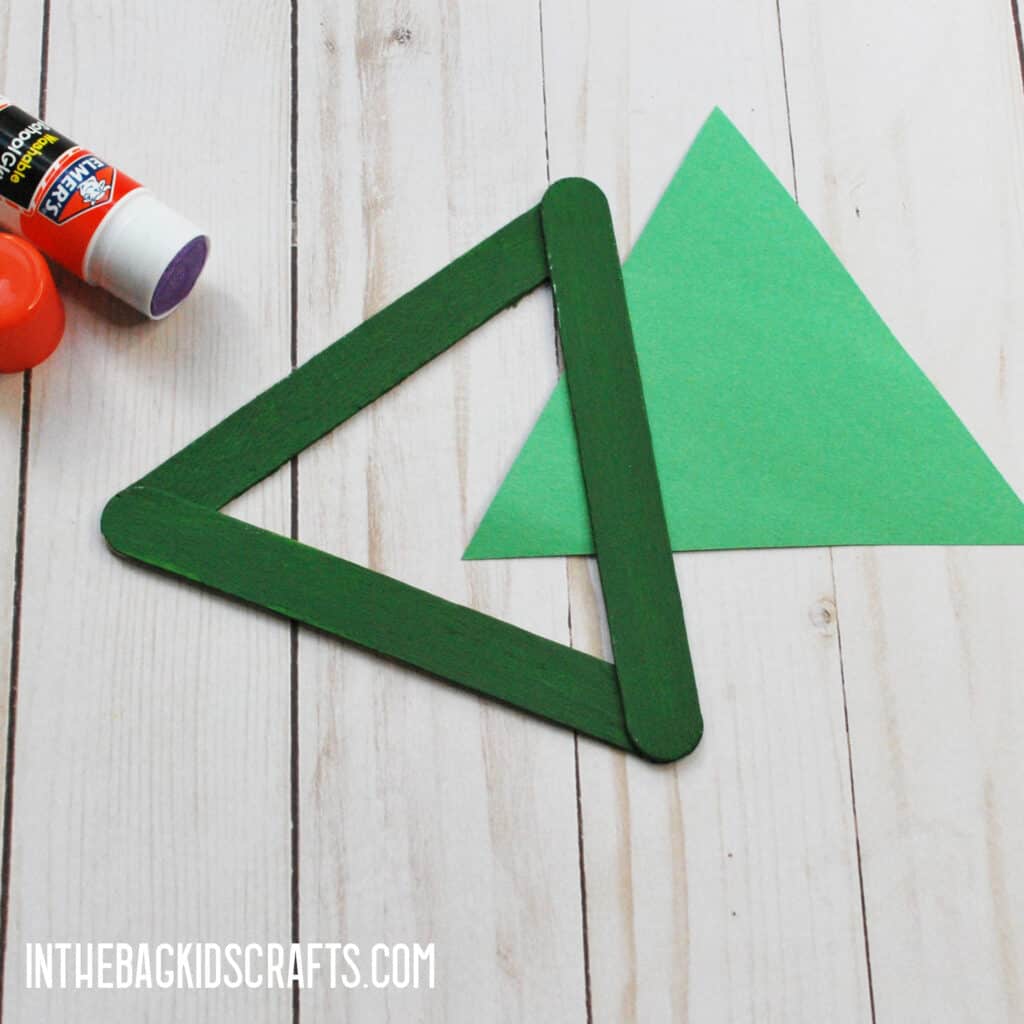
Step 3: Cut Out the Parts
- While the triangle frame for your frog craft is drying, print the free template for tracing.
- Trace each part on the green construction paper and cut them out.
*If you do not have access to a printer, you can look at the craft or the template and draw the pieces free-hand to cut out.
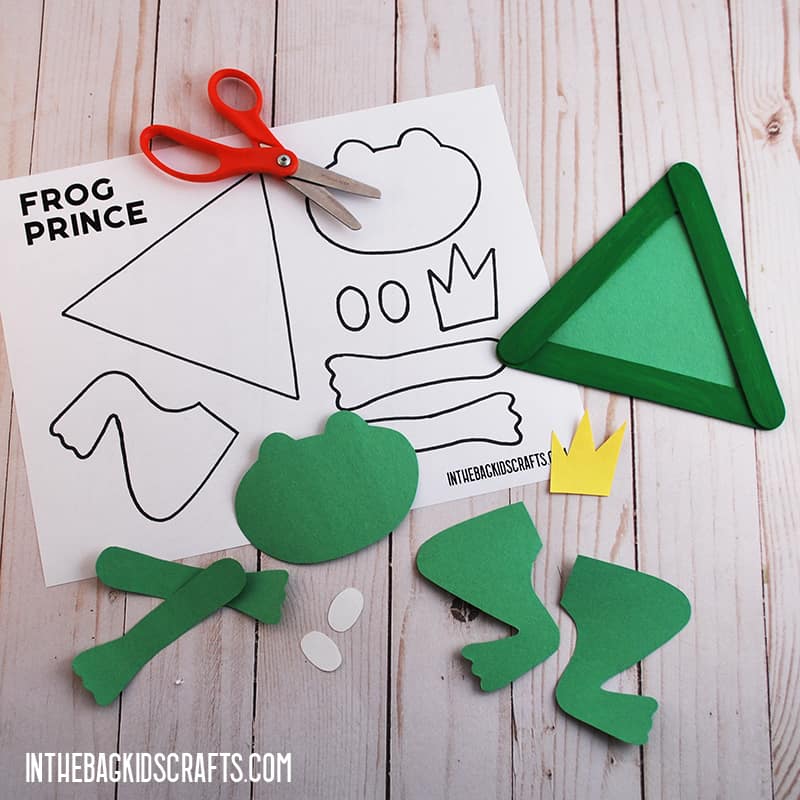
Step 4: Put Your Frog Prince Craft Together
- And now it’s time to put all of the pieces of your frog prince together. Use the glue stick to attach the green triangle to the center first.
- Then add the head and legs. And put his crown on his head.
- Before you add the eyes, color them with your markers. That way if you “mess up” and want to redo one or both, you haven’t already glued them in place. Once you draw his eyes on, glue them in place too.
- Last, use your markers to give him his happy face and maybe some spots. Remember, if you are making your frog a princess instead of a prince, change up the design.
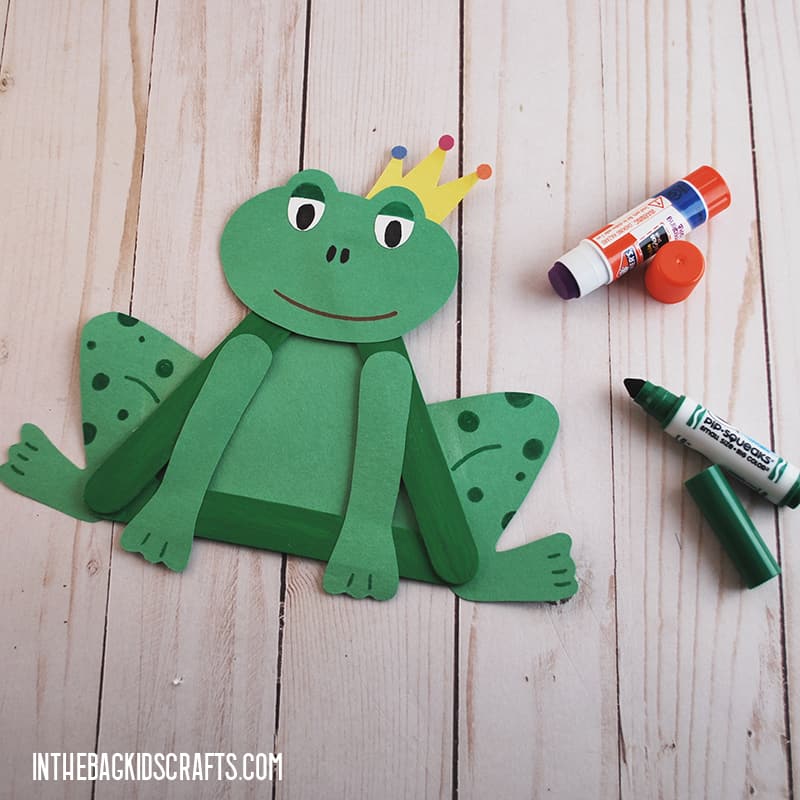
Craft #2: The Prince Craft
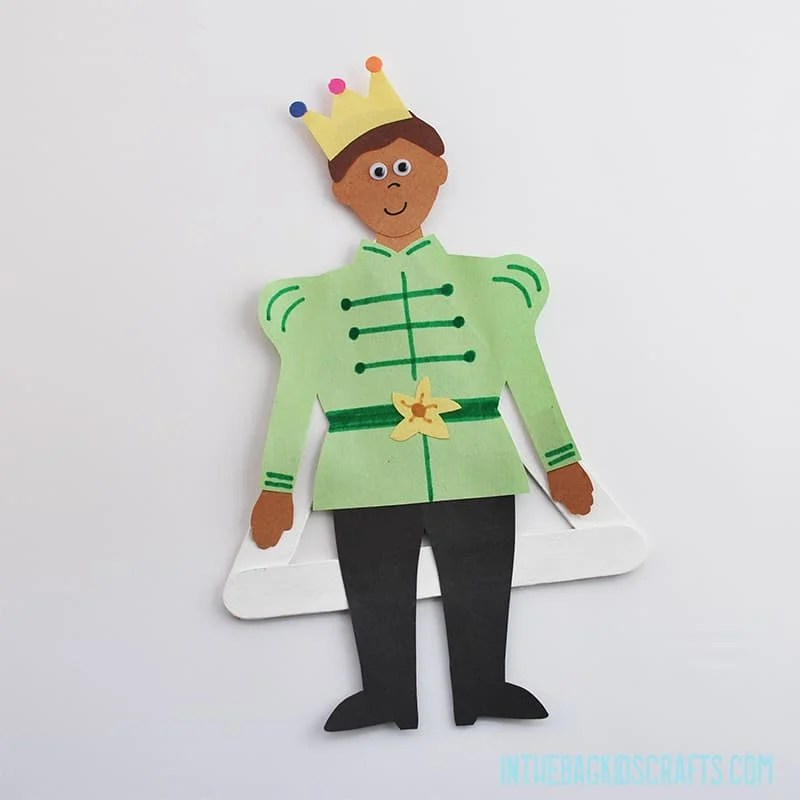
And now for the Prince of our Fairy Tale story. He starts out as selfish and entitled but is changed by love. How beautiful. Proof that we can all grow and change and be better. Our prince craft starts with the same popsicle triangle frame that our other crafts start with, and that is his cape. Don’t you just love a man in a cape?
SUPPLIES FROM THE BAG
- 3 Large popsicle sticks
- Elmer’s glue
- Glue stick
- Scissors
- Construction paper (light green, black, white)
- Scraps of construction paper (brown, light brown, yellow)
- Markers
- Black Sharpie marker
- 2 Small googly eyes (self-adhesive are best)
- Newspaper
- Clothespin
- Pompom
- White paint
- Fairy Tale Template
Step 1: Make the Triangle
- Use the Elmer’s glue to attach 3 large popsicle sticks, forming a triangle frame
- Set the triangle to the side and allow the glue to dry thoroughly
*This is a step that you may want to do the day before and let them sit overnight so that the glue dries completely. While you are at it, make lots of triangle frames so that you are ready to make as many crafts as you want! (And, believe me, you are going to want to make them all and then some!)

Step 2: Paint
- Place the triangle frame on the newspaper and squeeze out some white paint
- Pinch the pompom with the clothespin to form a “paint brush”
- Paint the triangle frame white and set it aside to allow the paint to dry
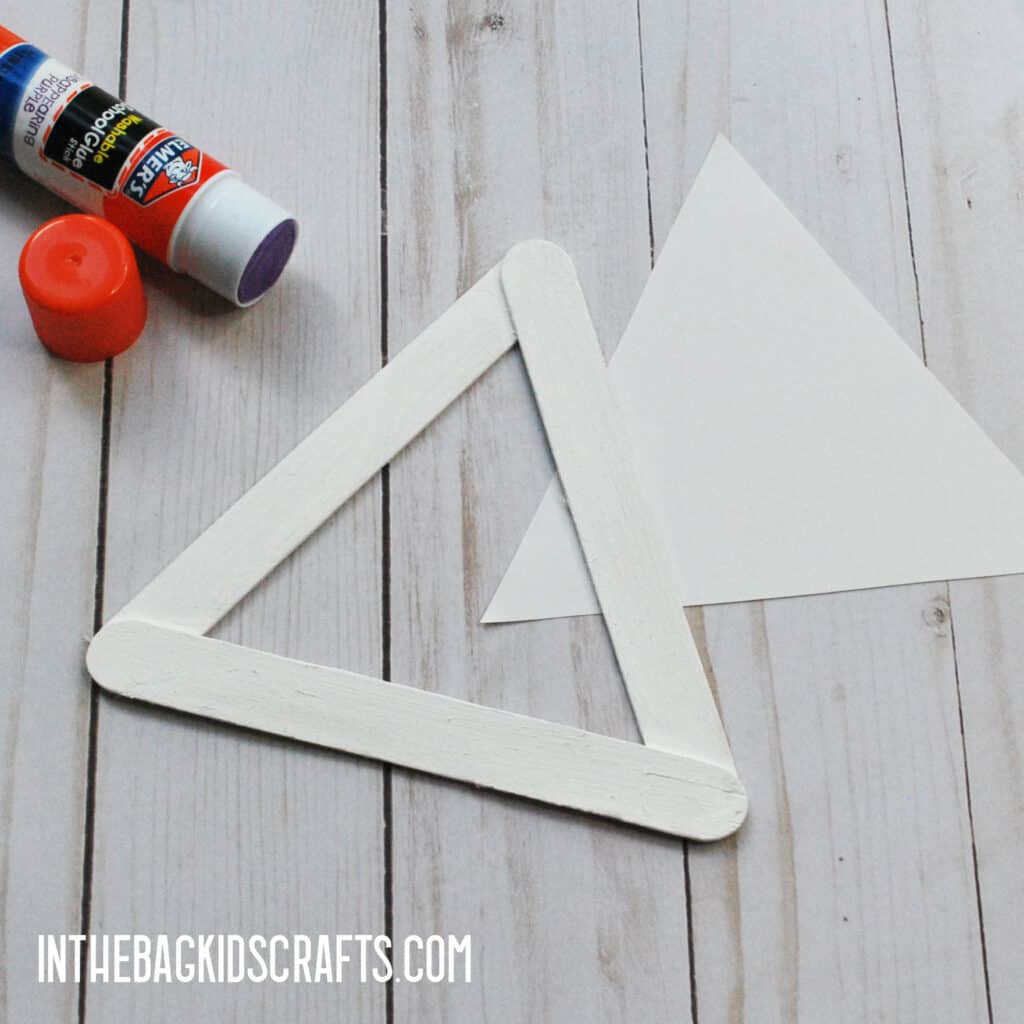
Step 3: Cut Out the Parts
- While the triangle frame for your prince craft is drying, print the free template for tracing.
- Trace each part on the colored construction paper of your choice and cut them out. (I did his jacket light green, pants black, hands, face and neck light brown, hair dark brown, and white for the triangle cape.)
*If you do not have access to a printer, you can look at the craft or the template and draw the pieces free-hand to cut out.
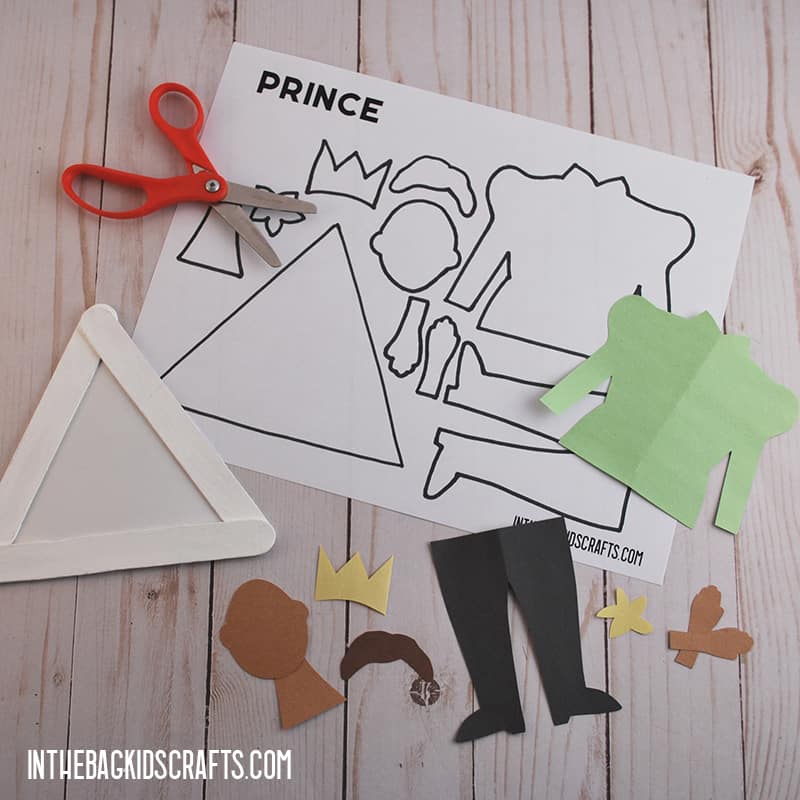
Step 4: Put Your Prince Craft Together
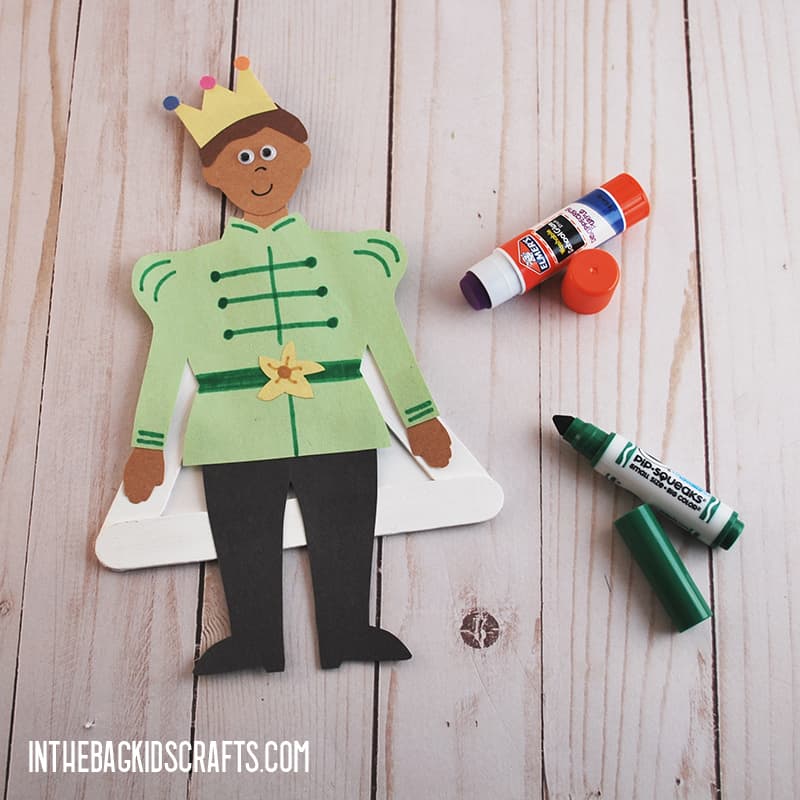
- Now it’s time to build your perfect prince craft. All you need to do is glue the paper pieces together.
- Then glue the entire thing onto the white triangle (now filled in with a white paper triangle). Once he is in place, he is wearing his cape.
- Add his googly eyes.
- Last, use your markers to draw on some details, like a belt, a smile, etc.
Craft #3: The Princess Craft
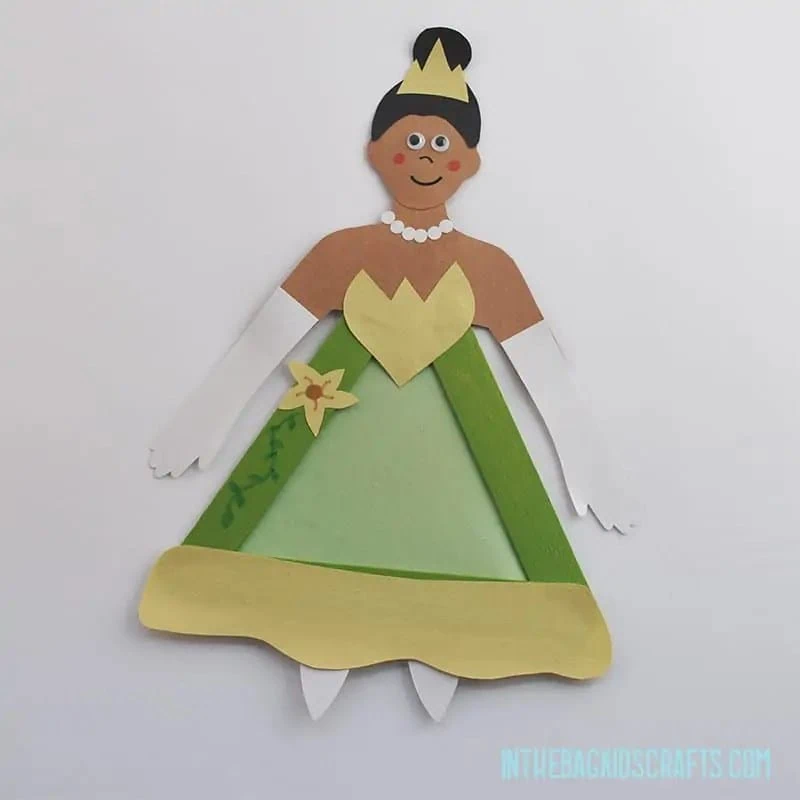
The story of the Princess is my favorite part. She is strong and determined but also able to grow and find love. If you Google images for the Princess and the Frog, you will see that the Princess has worn many different gowns and colors through the years, even in the same movie. So, for our princess craft, she is dressed in a light green with yellow accents, but you should make her however you like. This is your craft. Make it your own.
SUPPLIES FROM THE BAG
- Scissors
- Light green construction paper
- Scraps of light brown, black, yellow and white construction paper
- 3 Large popsicle sticks
- Elmer’s glue
- 2 Small googly eyes (self-adhesive are best)
- Newspaper
- Pompom
- Clothespin
- Black Sharpie marker
- Light green paint
- Markers
- Glue stick
- Hole punch
- Fairy Tale Template
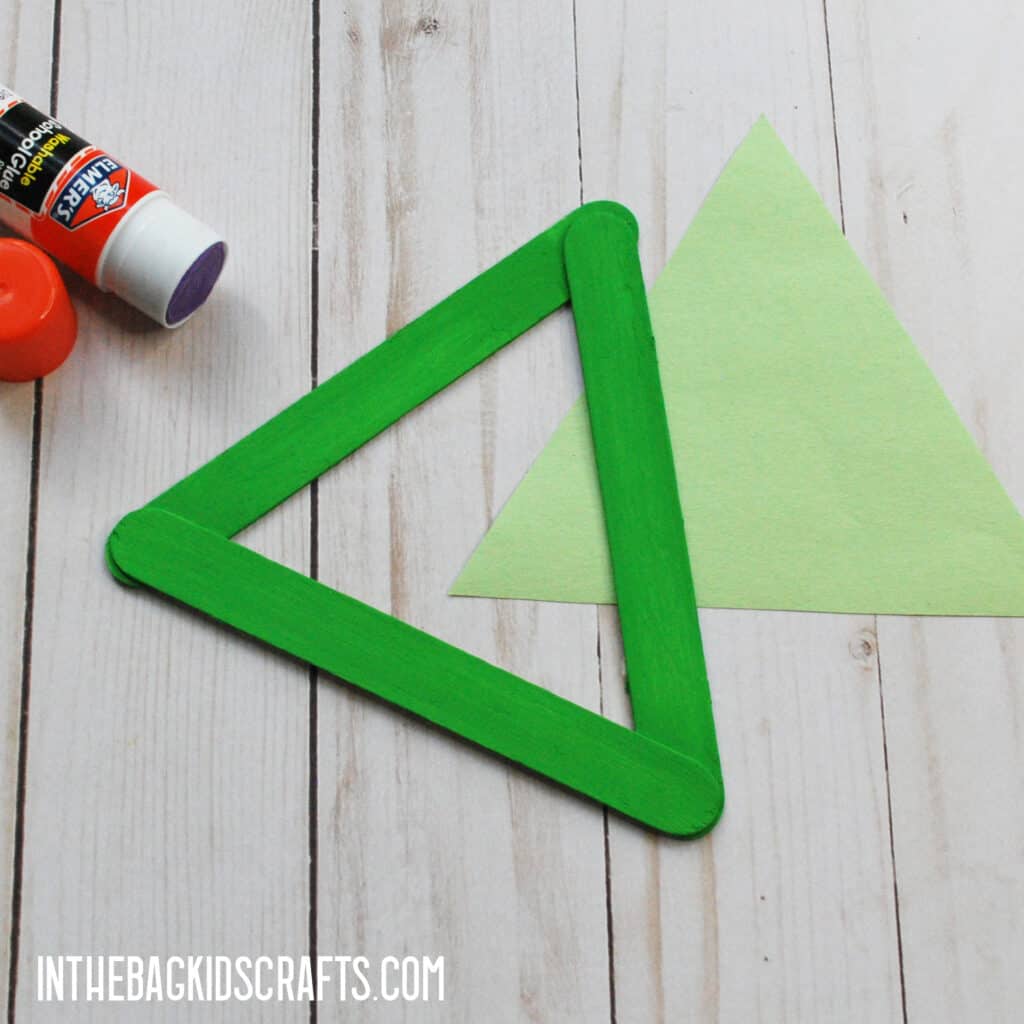
Step 1: Make the Triangle
- Use the Elmer’s glue to attach 3 large popsicle sticks, forming a triangle frame
- Set the triangle to the side and allow the glue to dry thoroughly
*This is a step that you may want to do the day before and let them sit overnight so that the glue dries completely. While you are at it, make lots of triangle frames so that you are ready to make as many crafts as you want! (And, believe me, you are going to want to make them all and then some!)

Step 2: Paint
- Place the triangle frame on the newspaper and squeeze out some light green paint
- Pinch the pompom with the clothespin to form a “paint brush”
- Paint the triangle frame light green and set it aside to allow the paint to dry
Step 3: Cut Out the Parts
- While the triangle frame for your princess craft is drying, print the free template for tracing.
- Trace each part on the colored construction paper of your choice and cut them out. (I did her dress light green with a yellow ruffle and top, white gloves, light brown skin color, black hair and a yellow crown and flower.)
*If you do not have access to a printer, you can look at the craft or the template and draw the pieces free-hand to cut out.
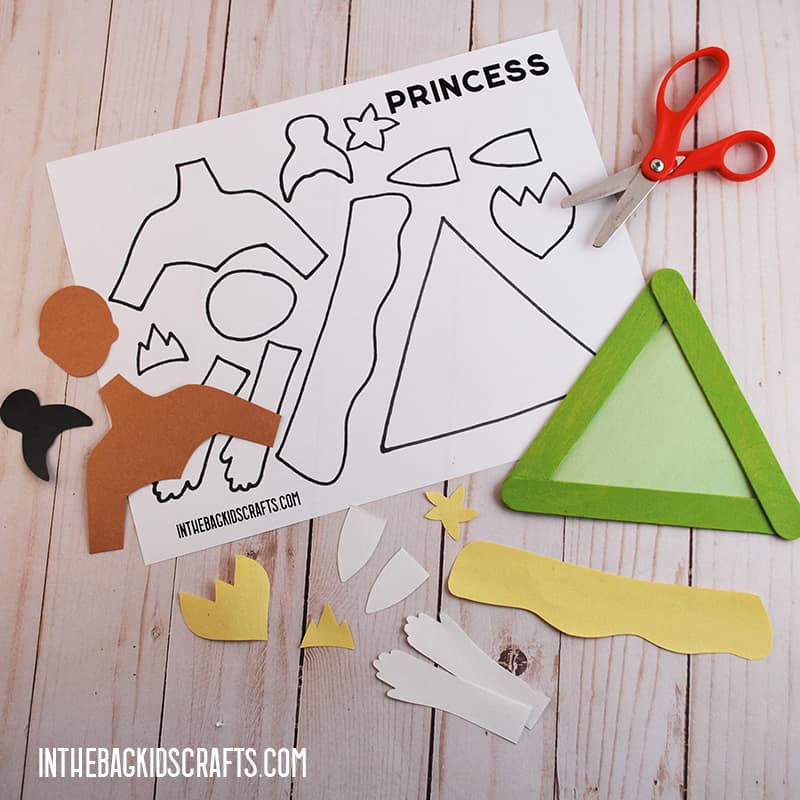
Step 4: Put Together Your Princess Craft
- Now that you have all of the parts cut out, it’s time to start putting together your princess craft. First, glue the light green triangle into the center of the frame.
- Then begin to build the rest of the craft, putting the pieces of the Princess together.
- Put the googly eyes in place.
- Once she is all put together, use the markers to add some markers.
Craft #4: Kissing Lips
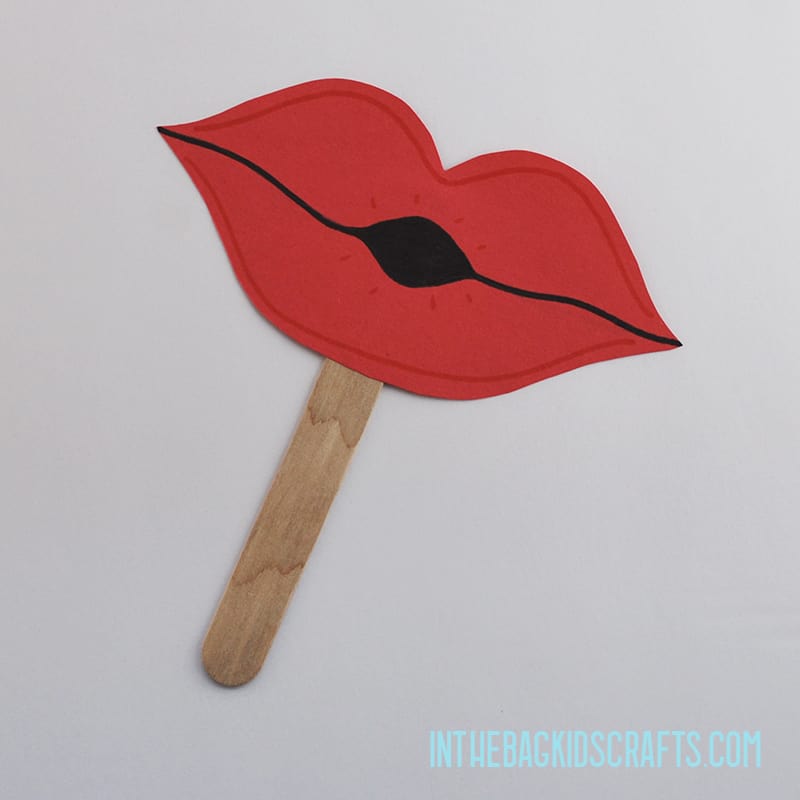
This set of kissy lips is the easier of the crafts in this series. But kissing is central to the story, and I thought it would just be a fun addition to the Princess and the Frog story.
SUPPLIES FROM THE BAG
- Red construction paper
- Scissors
- Glue stick
- Black sharpie marker
- Large popsicle stick
- Red marker
- Fairy Tale Template
Step 1: Cut Out the Lips
- Print the template for the kissy lips, trace it onto the red paper and cut them out.
- Now use your black sharpie marker to make the center of the smooch.
- You can also use the red marker to add some details to the lips.
Step 2: Make It a Puppet
- So that we can better use these lips in the Princess and the Frog story, glue the lips onto a large popsicle stick.
- Give the glue a minute to set up before using it to tell your fairy tale story.
Don’t you just love crafts that lead to hours of imaginative play. I cannot wait to see the Princess and the Frog crafts that you make. What details will you add and what stories will you tell? The possibilities are endless.
Happy Crafting!
XO Joy
Save the Princess and the Frog crafts for later. Pin to your favorite Pinterest board…
